manuals.online logo
Brands
  1. Home
  2. •
  3. Brands
  4. •
  5. INTIRION
  6. •
  7. Refrigerator
  8. •
  9. INTIRION MICRO FRIDGE 5.6MFR User manual

INTIRION MICRO FRIDGE 5.6MFR User manual

INSTRUCTION
MANUAL
5.6MFR
REFRIGERATOR
What is Safe Plug® Technology
MicroFridge® combination appliances utilize Sa e Plug® technology, a revolutionary,
patent-pending design, to conserve electricity and reduce potential ire hazards that can be caused
by overloaded circuits. This technology, built into the microwave, works by temporarily shutting o
the power to the re rigerator and charging outlets when the microwave is in use. When the
microwave is inished, power to the re rigerator and charging outlets resumes. Engineered with
unique one-plug-to-the-wall operation, our combination appliances never draw more than
11-15 amps o current.
MicroFridge® with Sa e Plug® uses patent-pending intelligent load monitoring technology to control
the microwave, re rigerator and extra outlets. The two charging outlets are designed to
conveniently re-charge cell phones, digital cameras, laptops or similar low power devices.
ATTENTION
For your protection in the event o the t or loss o
re rigerator, ill in spaces provided below.
Model and Serial Numbers are indicated on the
inside right liner o the re rigerator.
MODEL No. ____________________________
SERIAL No. ____________________________
MicroFridge® with Safe Plug®, a Product of Intirion Corporation
Microwave Oven and Refrigerator/Freezer Residential Limited Warranty
Intirion is pleased to provide a comprehensive warranty on these products. Intirion takes
pride in its product and manu acturing standards and warrants its products and parts
against de ects in materials or workmanship to the original purchaser.
All requests or service should be directed to Customer Service at Intirion by calling
1-800-637-7567. Intirion o ers a quick response customer service program. Customer
Service will diagnose the problem and either replace or the original purchaser will carry-
in the appliance to an authorized service provider or repair, at the discretion o
Intirion.
MicroFridge® with Sa e Plug® warranty services are per ormed by Intirion authorized
service providers. Intirion expects prompt, courteous and e icient service. Intirion
urther expects that all authorized service providers will make every reasonable e ort
to enhance the image and reputation o Intirion and its products. Inadequate service or
customer dissatis action should be promptly reported to Intirion.
Damage initiated by spark ires caused by using inappropriate material inside the
microwave oven is speci ically excluded rom this warranty. Intirion assumes no liability
and does not guarantee or warranty any repairs and/or replacement parts not supplied
or per ormed by an authorized service provider, nor any 50/60 cycle or 60/50 cycle
conversions, damage caused by ailure to ollow the owner’s manual as to adjustments
and/or maintenance, customer adjustments that are not covered in the instruction
booklet, broken or marred cabinet, misuse, neglect, accident, ire, lood or other acts o
nature.
THIS WARRANTY WILL BECOME INVALID IF ANY SERIAL NUMBER ON THE
PRODUCT IS ALTERED, REPLACED, DEFACED OR MISSING. THIS WARRANTY IS
FOR INTIRION PRODUCTS PURCHASED AND USED IN THE UNITED STATES
EXCEPT FOR UNITED STATES POSSESSIONS AND/OR DOMINIONS OF THE
UNITED STATES.
This is the entire Intirion warranty and it may not be changed or amended by any
person, agency, distributor, dealer, or company. Intirion assumes no liability and indeed
speci ically denies responsibility or any consequential damages beyond the repair or
replacement o the product or its components.
The warranty period begins on the date o sale and proo o that date (evidenced by an
original sales slip or bill o sale) will be necessary to initiate a warranty claim.
MICROFRIDGE® WITH SAFE PLUG®, A PRODUCT OF INTIRION CORPORATION,
10 Walpole Park South, Walpole MA 02081 1-800-637-7567
Subassembly Duration
− Microwave oven magnetron 2 years
− Re rigerator/ reezer sealed system and compressor 2 years
− Microwave oven and re rigerator/ reezer mechanical components 1 year
Part No. 8336460135700
SR5616MF* Printed in Mexico
by Intirion
Parts and Features
1. Ice Compartment: Use it or making ice cubes and short term storage o
rozen ood.
2. Temperature Control with Push-Button Defrost
3. Full-Width Door Shelves
4. 2-Liter Shelf
5. Interior Light
6. Interior Light Switch
7. Adjustable Feet
8. Slide Out Shelves
9. Drip Tray
10. Glass Shelf with Crisper
11. Ice Cube Tray (inside ice compartment)
CAUTION:
Do not operate your re rigerator near lammable materials such as gasoline. Do not use or storage o
lammable materials. Your refrigerator must be grounded. Use a 120 volt, 60 Hz outlet. If you are using
this refrigerator as part of a MicroFridge® with Safe Plug® combination appliance, you must use the
120 V/60 Hz outlet located on the back of the Microwave Oven in order to take advantage of patent-
pending Safe Plug® technology to limit electrical draw. Do not use an extension cord.
Use a 3-prong plug with the 3-prong grounded outlet on the Microwave Oven. (This is the only method that
complies with the National Electric Code, local codes and ordinances.)
UNLESS THE ABOVE GROUNDING METHOD IS FOLLOWED, YOU ARE NOT PROTECTED AGAINST
SEVERE OR LETHAL SHOCK IN THE EVENT OF A SHORT CIRCUIT OF AN ELECTRICAL COMPONENT
OR WIRING OF THE REFRIGERATOR.
When you start this re rigerator rom the Microwave Oven Power Supply: Do NOT plug in while the Microwave
Oven is working. WAIT at least three (3) minutes a ter using the Microwave Oven be ore plugging in the
re rigerator because the electricity will be cut o during this period.
5.6MFR
① ②
③
④
⑤ ⑥
⑦
⑧
⑨
⑩
⑪
1. Locate the microwave oven. Remove the
packet o twelve (12) screws located inside
the microwave oven. Retain the
screws.
2. Place the bracket on top o the
re rigerator/ reezer with its rear lip
acing downward over the back edge
o the re rigerator/ reezer, and the
two sides acing up to accept the
microwave oven.
3. Align the holes in the rear lip o the
bracket with those on the back o the
re rigerator/ reezer, and attach using
the screws rom Step 1.
4. Using the screws rom Step 1, attach
the bracket to the top o the
re rigerator/ reezer using the six (6)
holes located near the two upright
sides o the bracket. Three (3) holes
on each side. There are no preset
holes in the top o the re rigerator/
reezer so apply pressure when
installing the screws.
5. Place the microwave oven on top o
the re rigerator/ reezer and inside the
two upright sides o the bracket. Line
up the two (2) holes on each side o
the microwave oven with those on
the bracket, and attach the microwave oven
using the screws rom Step 1.
6. Plug the re rigerator/ reezer AC cord into
the outlet on the back o the microwave oven.
7. Plug the AC cord rom the microwave oven
into an appropriate, grounded outlet.
The MicroFridge® with Sa e Plug® combination appliance will now operate within
eleven (11) to i teen (15) amps o current draw.
NOTE:
The MicroFridge® with Sa e Plug® brand re rigerator and charging outlets will not operate when
the microwave oven is on. This is part o the patent-pending MicroFridge® with Sa e Plug®
technology that prevents wiring overload.
I your oven does not operate properly, unplug it rom the 120 volt household outlet and then plug
it back in. This unit is not designed or 50 Hz or any circuit other than 120 volt/ 60Hz AC current.
Installation o Microwave Models
MicroFridge® with Safe Plug®
Model 5.6MFR Assembly
All manuals and user guides at all-guides.com
all-guides.com
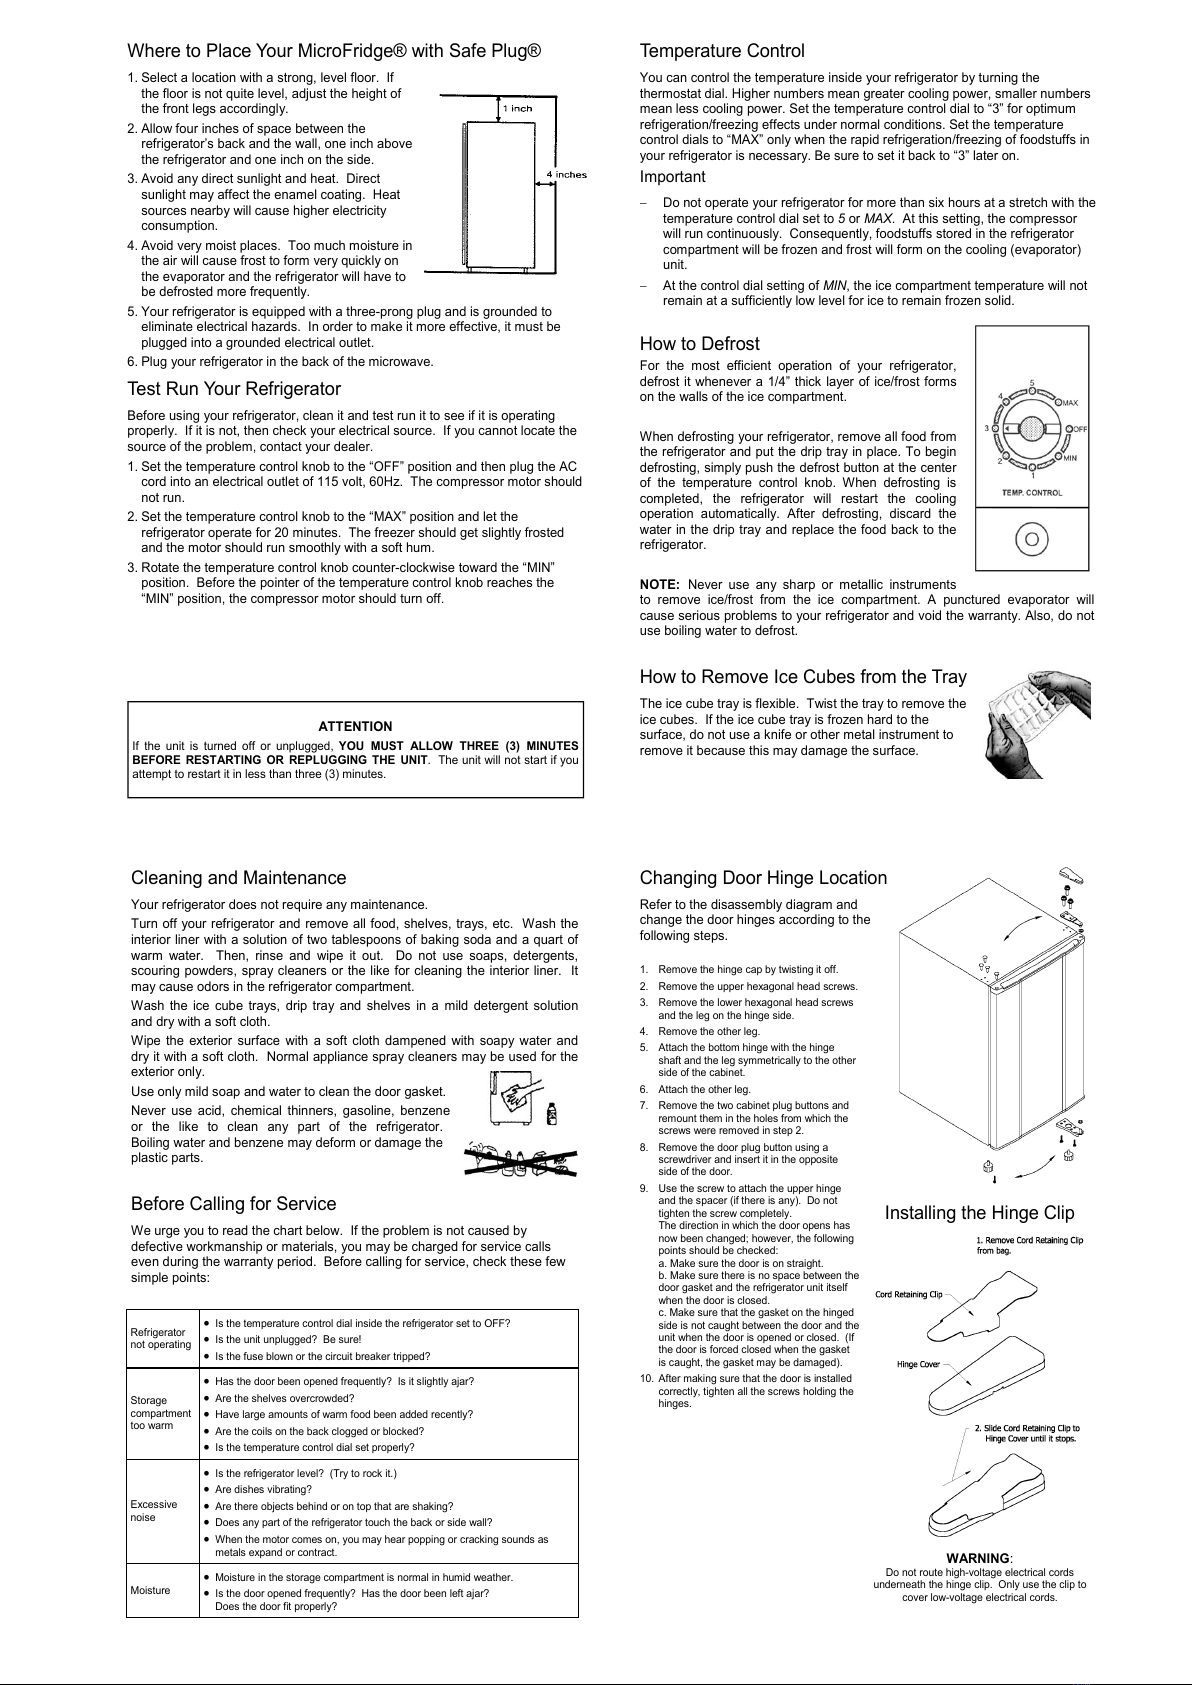
Where to Place Your MicroFridge® with Sa e Plug®
1. Select a location with a strong, level loor. I
the loor is not quite level, adjust the height o
the ront legs accordingly.
2. Allow our inches o space between the
re rigerator’s back and the wall, one inch above
the re rigerator and one inch on the side.
3. Avoid any direct sunlight and heat. Direct
sunlight may a ect the enamel coating. Heat
sources nearby will cause higher electricity
consumption.
4. Avoid very moist places. Too much moisture in
the air will cause rost to orm very quickly on
the evaporator and the re rigerator will have to
be de rosted more requently.
5. Your re rigerator is equipped with a three-prong plug and is grounded to
eliminate electrical hazards. In order to make it more e ective, it must be
plugged into a grounded electrical outlet.
6. Plug your re rigerator in the back o the microwave.
Test Run Your Re rigerator
Be ore using your re rigerator, clean it and test run it to see i it is operating
properly. I it is not, then check your electrical source. I you cannot locate the
source o the problem, contact your dealer.
1. Set the temperature control knob to the “OFF” position and then plug the AC
cord into an electrical outlet o 115 volt, 60Hz. The compressor motor should
not run.
2. Set the temperature control knob to the “MAX” position and let the
re rigerator operate or 20 minutes. The reezer should get slightly rosted
and the motor should run smoothly with a so t hum.
3. Rotate the temperature control knob counter-clockwise toward the “MIN”
position. Be ore the pointer o the temperature control knob reaches the
“MIN” position, the compressor motor should turn o .
ATTENTION
I the unit is turned o or unplugged, YOU MUST ALLOW THREE (3) MINUTES
BEFORE RESTARTING OR REPLUGGING THE UNIT. The unit will not start i you
attempt to restart it in less than three (3) minutes.
Temperature Control
You can control the temperature inside your re rigerator by turning the
thermostat dial. Higher numbers mean greater cooling power, smaller numbers
mean less cooling power. Set the temperature control dial to “3” or optimum
re rigeration/ reezing e ects under normal conditions. Set the temperature
control dials to “MAX” only when the rapid re rigeration/ reezing o oodstu s in
your re rigerator is necessary. Be sure to set it back to “3” later on.
Important
− Do not operate your re rigerator or more than six hours at a stretch with the
temperature control dial set to 5 or MAX. At this setting, the compressor
will run continuously. Consequently, oodstu s stored in the re rigerator
compartment will be rozen and rost will orm on the cooling (evaporator)
unit.
− At the control dial setting o MIN, the ice compartment temperature will not
remain at a su iciently low level or ice to remain rozen solid.
How to De rost
For the most e icient operation o your re rigerator,
de rost it whenever a 1/4” thick layer o ice/ rost orms
on the walls o the ice compartment.
When de rosting your re rigerator, remove all ood rom
the re rigerator and put the drip tray in place. To begin
de rosting, simply push the de rost button at the center
o the temperature control knob. When de rosting is
completed, the re rigerator will restart the cooling
operation automatically. A ter de rosting, discard the
water in the drip tray and replace the ood back to the
re rigerator.
NOTE: Never use any sharp or metallic instruments
to remove ice/ rost rom the ice compartment. A punctured evaporator will
cause serious problems to your re rigerator and void the warranty. Also, do not
use boiling water to de rost.
How to Remove Ice Cubes rom the Tray
The ice cube tray is lexible. Twist the tray to remove the
ice cubes. I the ice cube tray is rozen hard to the
sur ace, do not use a kni e or other metal instrument to
remove it because this may damage the sur ace.
Cleaning and Maintenance
Your re rigerator does not require any maintenance.
Turn o your re rigerator and remove all ood, shelves, trays, etc. Wash the
interior liner with a solution o two tablespoons o baking soda and a quart o
warm water. Then, rinse and wipe it out. Do not use soaps, detergents,
scouring powders, spray cleaners or the like or cleaning the interior liner. It
may cause odors in the re rigerator compartment.
Wash the ice cube trays, drip tray and shelves in a mild detergent solution
and dry with a so t cloth.
Wipe the exterior sur ace with a so t cloth dampened with soapy water and
dry it with a so t cloth. Normal appliance spray cleaners may be used or the
exterior only.
Use only mild soap and water to clean the door gasket.
Never use acid, chemical thinners, gasoline, benzene
or the like to clean any part o the re rigerator.
Boiling water and benzene may de orm or damage the
plastic parts.
Be ore Calling or Service
We urge you to read the chart below. I the problem is not caused by
de ective workmanship or materials, you may be charged or service calls
even during the warranty period. Be ore calling or service, check these ew
simple points:
Changing Door Hinge Location
Re er to the disassembly diagram and
change the door hinges according to the
ollowing steps.
WARNING:
Do not route high-voltage electrical cords
underneath the hinge clip. Only use the clip to
cover low-voltage electrical cords.
Installing the Hinge Clip
Re rigerator
not operating
• Is the temperature control dial inside the re rigerator set to OFF?
• Is the unit unplugged? Be sure!
• Is the use blown or the circuit breaker tripped?
Storage
compartment
too warm
• Has the door been opened requently? Is it slightly ajar?
• Are the shelves overcrowded?
• Have large amounts o warm ood been added recently?
• Are the coils on the back clogged or blocked?
• Is the temperature control dial set properly?
Excessive
noise
• Is the re rigerator level? (Try to rock it.)
• Are dishes vibrating?
• Are there objects behind or on top that are shaking?
• Does any part o the re rigerator touch the back or side wall?
• When the motor comes on, you may hear popping or cracking sounds as
metals expand or contract.
Moisture
• Moisture in the storage compartment is normal in humid weather.
• Is the door opened requently? Has the door been le t ajar?
Does the door it properly?
1. Remove the hinge cap by twisting it o .
2. Remove the upper hexagonal head screws.
3. Remove the lower hexagonal head screws
and the leg on the hinge side.
4. Remove the other leg.
5. Attach the bottom hinge with the hinge
sha t and the leg symmetrically to the other
side o the cabinet.
6. Attach the other leg.
7. Remove the two cabinet plug buttons and
remount them in the holes rom which the
screws were removed in step 2.
8. Remove the door plug button using a
screwdriver and insert it in the opposite
side o the door.
9. Use the screw to attach the upper hinge
and the spacer (i there is any). Do not
tighten the screw completely.
The direction in which the door opens has
now been changed; however, the ollowing
points should be checked:
a. Make sure the door is on straight.
b. Make sure there is no space between the
door gasket and the re rigerator unit itsel
when the door is closed.
c. Make sure that the gasket on the hinged
side is not caught between the door and the
unit when the door is opened or closed. (I
the door is orced closed when the gasket
is caught, the gasket may be damaged).
10. A ter making sure that the door is installed
correctly, tighten all the screws holding the
hinges.
All manuals and user guides at all-guides.com

Other INTIRION Refrigerator manuals

INTIRION MicroFridge 3.0MF4R User manual

INTIRION

INTIRION MicroFridge 3.0MF4R User manual

INTIRION MICRO FRIDGE SAFE PLUG 2.5MF4RE User manual

INTIRION

INTIRION MICRO FRIDGE SAFE PLUG 2.5MF4RE User manual

Popular Refrigerator manuals by other brands

AEG RCB736D5MX user manual

AEG

AEG RCB736D5MX user manual

GE Spacemaker GMR06AAZ Dimensions and installation information

GE

GE Spacemaker GMR06AAZ Dimensions and installation information

GE Profile PSFW3YGXSS Dimensions and installation information

GE

GE Profile PSFW3YGXSS Dimensions and installation information

Viking VCSB5482 installation guide

Viking

Viking VCSB5482 installation guide

Dometic EA0300C User handbook

Dometic

Dometic EA0300C User handbook

Delfield 4472N-18M Specifications

Delfield

Delfield 4472N-18M Specifications

Vivax VL- 235 W instruction manual

Vivax

Vivax VL- 235 W instruction manual

GE GFSF2HCY Dimensions and installation information

GE

GE GFSF2HCY Dimensions and installation information

KitchenAid KSSS48QDW04 parts list

KitchenAid

KitchenAid KSSS48QDW04 parts list

Haier Aficionado M111 user manual

Haier

Haier Aficionado M111 user manual

Beko CNG4792VPS user manual

Beko

Beko CNG4792VPS user manual

ETNA KVV128ZWA Instructions for use

ETNA

ETNA KVV128ZWA Instructions for use

Silver King SKRCB97HL Technical manual and replacement parts list

Silver King

Silver King SKRCB97HL Technical manual and replacement parts list

Whirlpool EM8GK Use & care guide

Whirlpool

Whirlpool EM8GK Use & care guide

KitchenAid KSSC36FJB00 parts list

KitchenAid

KitchenAid KSSC36FJB00 parts list

Amana ABL1927VES10 parts list

Amana

Amana ABL1927VES10 parts list

montpellier MBUL134 Installation and operating instructions

montpellier

montpellier MBUL134 Installation and operating instructions

ELBER GELADEIRAS instruction manual

ELBER

ELBER GELADEIRAS instruction manual

manuals.online logo
manuals.online logoBrands
  • About & Mission
  • Contact us
  • Privacy Policy
  • Terms and Conditions

Copyright 2025 Manuals.Online. All Rights Reserved.