4
iOptron Corp. | 6E Gill Street | Woburn, MA 01801 USA | (781) 569-0200 | support@ioptron.com | www.iOptron.com
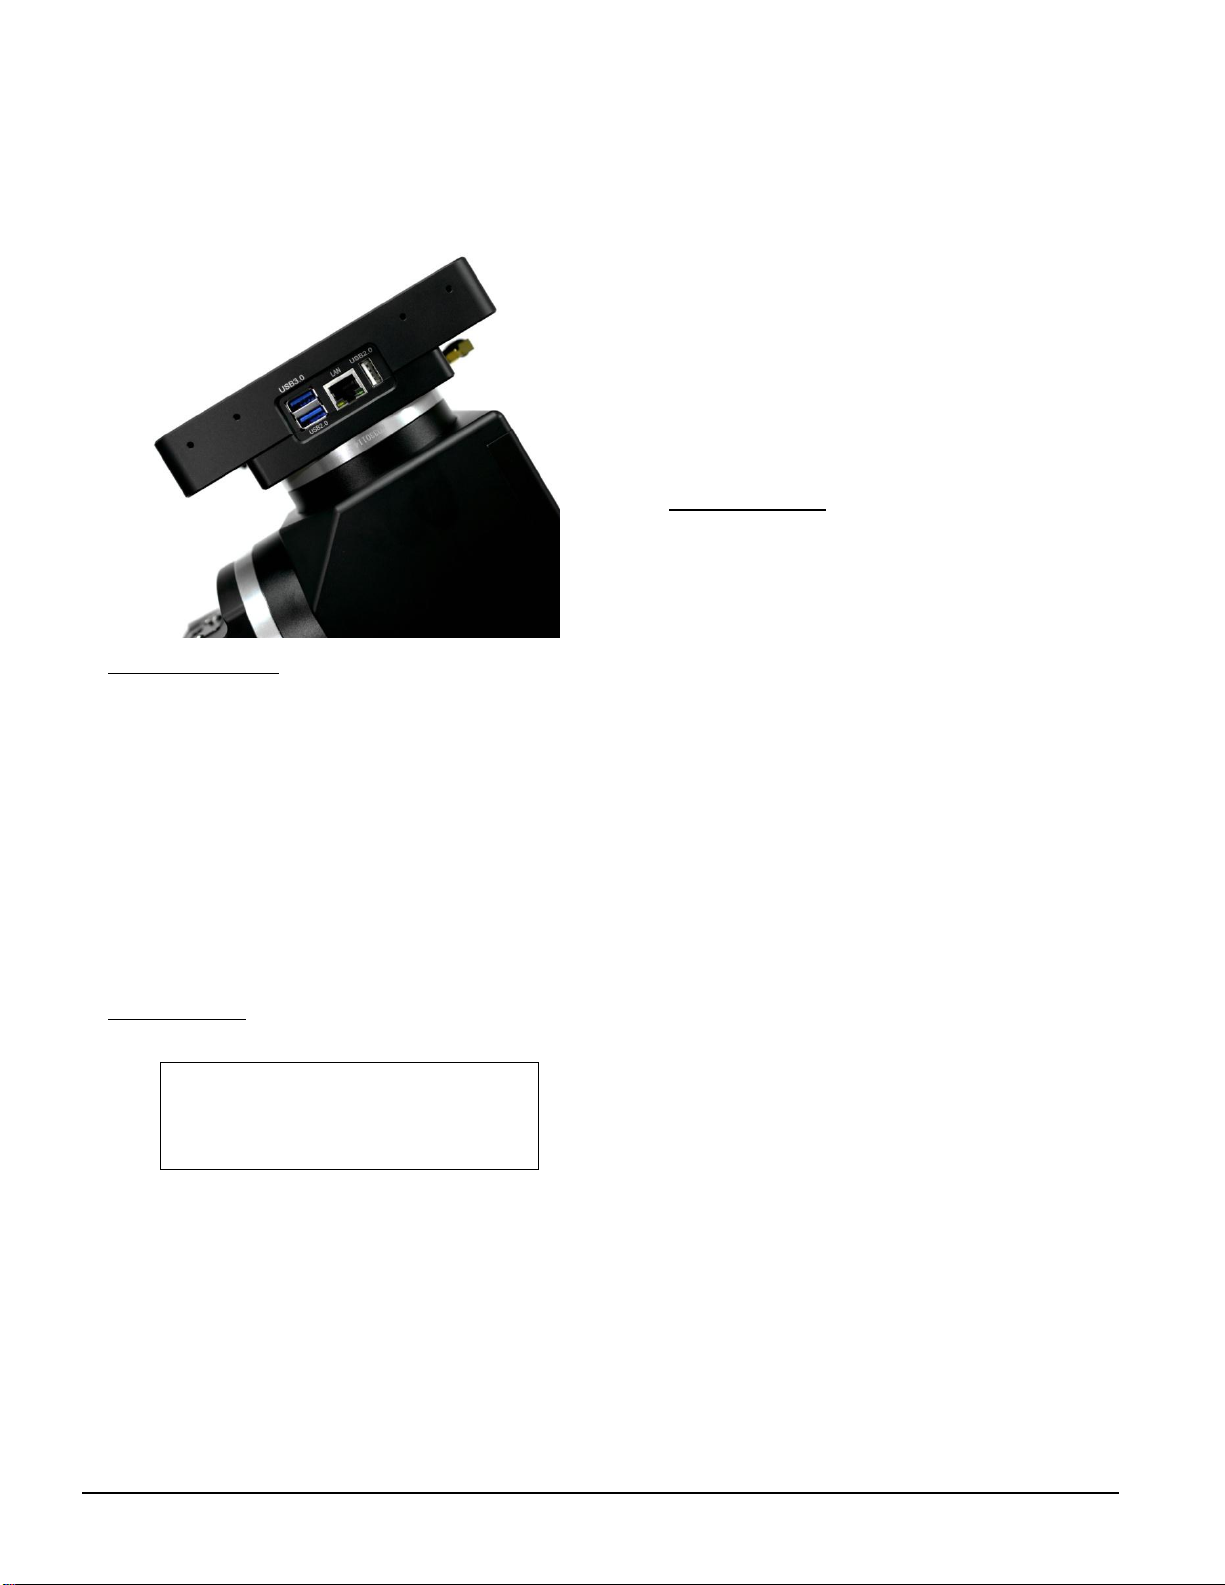
If you have a HAE69B mount, it has a built-in iMate
computer which has an open source Kstar/EKOS, an
advanced cross-platform (Windows, OSX, Linux)
observatory control and automation tool with
particular focus on Astrophotography.
8. Set Zero Position: The Zero Position is the mount
GOTO reference. Without setting the mount zero
position properly, it may cause a large GOTO error or
even cause the scope to hit the tripod leg. The
simplest way to find the mount Zero Position of the
EQ mode is using the zero position sensors. If you
have an 8411 hand controller, press MENU=>Zero
Position =>Search Zero Position, then press ENTER.
Follow the online instruction to complete the
process. The Zero Position also can be set via the
iOptron Commander or the built-in iMate computer.
Check the online manual for AA mode Zero Position.
9. Initial Settings: Press the MENU button on the hand
controller ; then “Settings”=> “Set Time & Site”.
Enter the current date. Enter the time zone offset to
the UTC; for example:
Boston is “UTC -300 minutes”
Los Angeles is “UTC -480 minutes”
Rome is “UTC +060 minutes”
Sydney is “UTC +600 minutes”
Enter longitude and latitude coordinates according to
your GPS information. Toggle the Daylight Savings
Time (DST) between N(No) and Y(Yes) using the arrow
key. Move the cursor to the end of the screen to
select the Northern or Southern Hemisphere.
You may also set the mount via iOptron Commander
or Kstars/EKOS software from the built-in iMate
computer.
[TIPS: All time zones in N. America are “UTC -XXX
minutes”. Latitude and longitude coordinates can be
obtained from GPS-equipped devices (navigator,
phone), or from the internet, if you are entering them
manually. “W/E” = western/eastern hemisphere;
“N/S” = northern/southern hemisphere; and “d” =
degree; “m” = minute; and “s” = second. Use arrow
and number keys to enter location information.]
10. Polar alignment: For an HAE mount without polar
scope or if the pole star is not in sight, you may use
two bright stars for coarse polar alignment if you
have the optional hand controller.
(1) Level the mount and set it to the Zero Position.
Align the telescope to the R.A. axis of the mount. An
eyepiece with an illuminated crosshair is highly
recommended.
(2) Use the Hand Controller (MENU => “Alignment”
=> “Polar Iterate Align”) to display the azimuth and
altitude position of several bright stars near the
meridian. Select one that is visible at a high altitude
as Alignment Star A. Follow the HC instruction to
move Alignment Star Ato the center of the eyepiece
using a combination of the Latitude Adjustment
Knob and the “◄” or “►” buttons. Press ENTER to
confirm when the star is centered. Next, select a
bright star that is close to the horizon as Alignment
Star B. Center it using the Azimuth Adjustment Knob
and the “◄” or “►” button. Press ENTER to confirm
the settings.
(3) The telescope will now slew back to Alignment
Star A. Repeat the steps above. The iteration can be
stopped when it is determined that the alignment
error has been minimized. Press the BACK button to
exit the alignment procedure.
Both Azi and Lat. Locking screws/knobs need to be
slightly loosened in order to adjust the mount. Make
sure to tighten them when done.
You may also use a planetarium software or
Kstars/EKOS from the built-in iMate computer for
polar alignment.
2022-05-05 12:01:36
UTC -300 Minute(s)
W071d08m50s DST: Y
N42d30m32s Northern