1514 EN
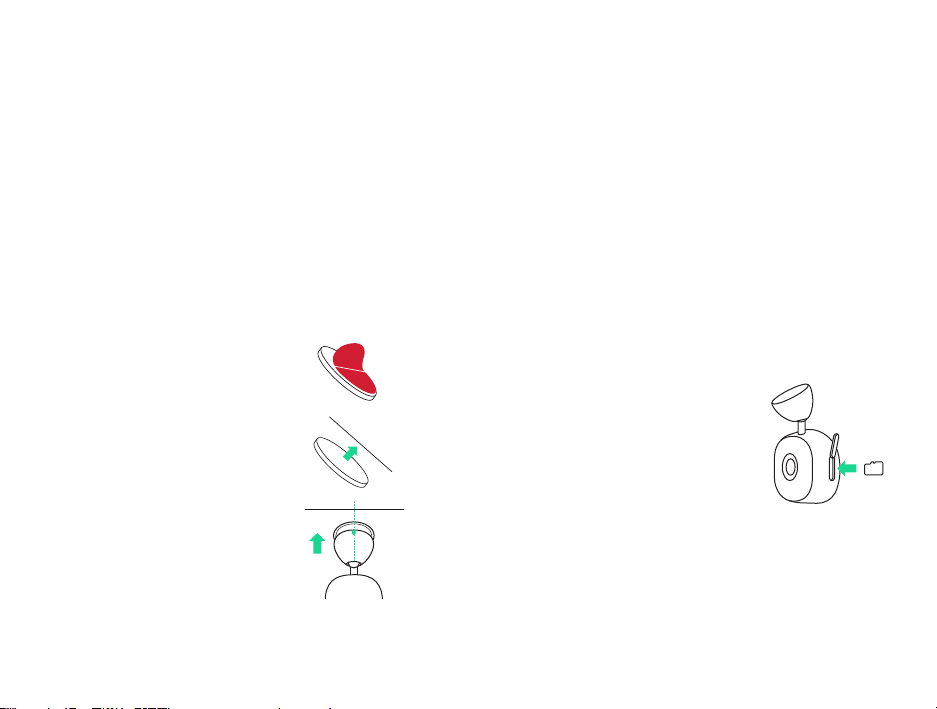
Positioning Your Dash Cam
Do NOT mount the Dash Cam in front of the
driver, as depicted by the red area in the
illustration above.
When installing the Dash Cam in a vehicle,
always place the device securely against
the windshield and conceal the cable where
possible.
Make sure that the Dash Cam power cable
does not interfere with the driver’s operating
controls, such as the steering wheel, pedals,
or gear levers.
Do NOT mount the Dash Cam in front of an
airbag field of deployment or in a position that
obscures any mirrors.
Clean the windshield at the mounting location,
prior to fitting and adhering the Dash Cam’s
Magnetic Mounting Base, to ensure absolute
adhesion.
Operating the Dash Cam or iOttie Connect
App while driving is NOT recommended,
and in some cases may be illegal. The user
is responsible for using this product and its
features in compliance with all applicable laws
and regulations.
Never adjust settings or review recordings
while driving, only do so when parked and
stationary.
*Please check your state and local laws and
ordinances before using the device on your
windshield. Some laws prohibit or restrict the
placement of objects on the windshield of a motor
vehicle. It is the user’s responsibility to mount the
device in compliance with all applicable laws and
ordinances.
*iOttie does not assume any responsibility for any
fines, penalties, or damages that may be incurred as
a result of any state or local law or ordinance relating
to the use of your Aivo View Dash Cam.
*Green area shows where the camera can be
mounted. Red area shows where it should NOT be
mounted.