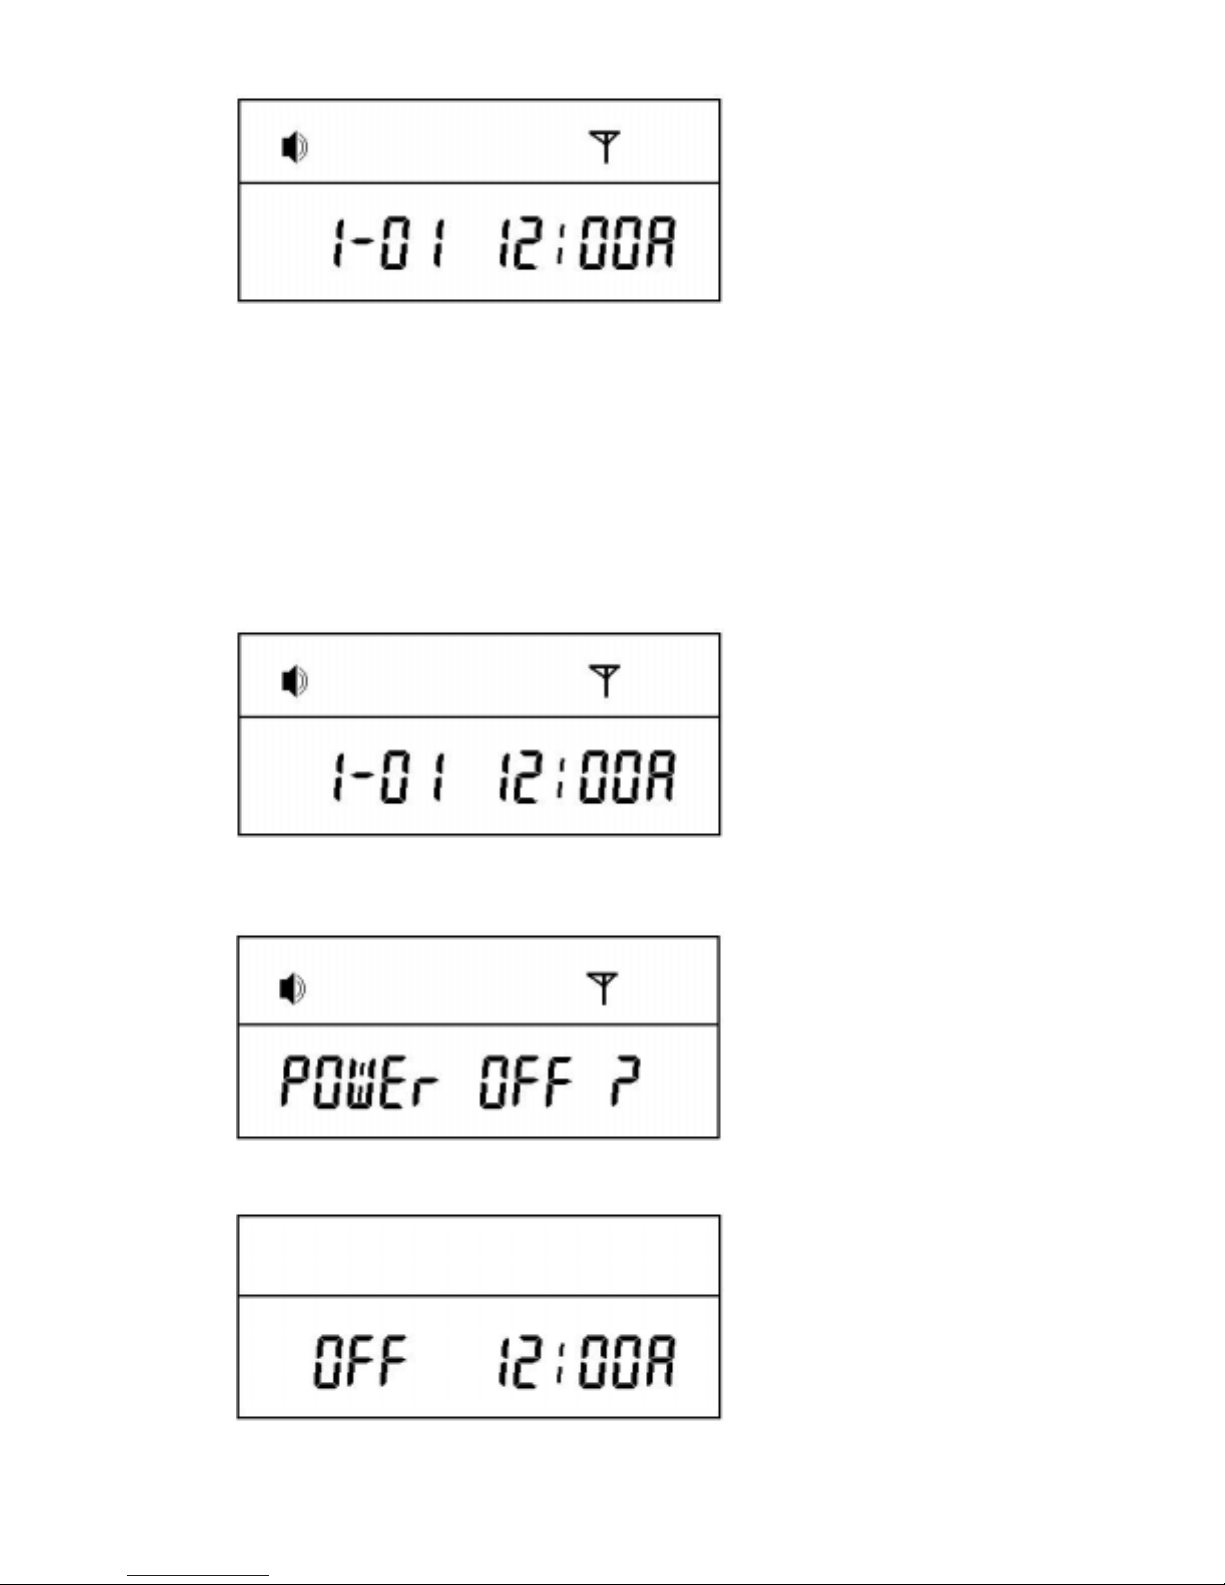
ISE ISP-5900 User manual

USER'S MANUAL
ISP-5900
FLEX
TABLE OF CONTENT
1. Control Button Illustration
2. List of Features and Specifications
3. LCD Referrence Guide
4. Power On
5. Power Off
6. Service Area Indicator
7. Message Indicator
8. Reading Messages

9. Deleting Messages
10. Message Lock and Release Function
11. Selecting the Incoming Message Alert
12. Setting the Date and Time
13. Setting the Alarm
14. Low Battery Indicator
15. Care and Maintance
16. Patent Information
17. Warranty Information
18. One Year Full Warranty Turms and Conditons
1. Control Buttons Illustration

. MENU BUTTON ( Function Key )
. SELECT BUTTON
. LCD ( Flex Pager Display Window
2. Features and Specification
1) Paging Bit Per Second : 1600bps, 3200bps, 6400bps
2) Store Up to 16 Messages
3) Lock Up to 12 Messages
4) AGC Function
5) Unread Message Indicator
6) Message Delete Function
7) Duplicate Message Indicator
8) Date and Time Display Function
9) Alarm Function
10) Beep and Melody Function
11) Vibrate Function
12) Low Battery Indicator
13) Service Area Indicator
14) Backlight Function
15) Lamp
16) Care and Mantainance Instruction
17) Regulatory Agency Compliance
18) One Year Full Warranty Terms and Conditions
3. LCD Referrence Guide

: Alert Indicator
: AlarmIndicator
: Lock Indicator
: Low Battery Indicator
: Duplicate Message Indicator
: Service Area Indicator
: More than 13 Messages Indicator
4. Turning Your Pager On
While your pager is in the Off Mode, press and hold any button for at least three (3) seconds then release.
Youwill hear an alert tone, then the pager will vibrate. Now your pager is ON.
LCD Display
Initial Display When Turned ON

Stand By Mode
5. Turning Your Pager Off
While in the Stand By Mode, press the Menu button three (3) times until LCD displays, "POWER OFF ?"
Press the Select button to say "yes."
Stand By Mode
Press the Menu button 3 times
Press the Select Button
Off Mode

6 Finding the Service Area
While in the Stand By Mode, if the Service Indicator is displayed, then you are in the service area. You
will be able to receive messages.
Service Area
However, if LCD display does not show the Service Indicator, the pager is unable to receive any
messages.
Service Area is out of reach
7. Message Indicator
When a new message is received, your pager will either alert or vibrate for 8 seconds
( and the backlight will go on. ) On the LCD, the Message Indicator will appear.
You can push any button to stop the pager from continuing to alert or vibrate.

Message Indicator
Sample Message
When a new message is received, a number will show up to indicate how many messages you have.
This number contains all unread messages and periodically message alert will sound.
Three Unread Messages
Whena Duplicate Message is detected, the Duplicate Message Indicator will appear.
Duplicate Message Indicator
8. Reading Messages
From Stand By Mode, if the message is new, the following symbol is displayed, [ ]. The number inside
the brackets indicate how many new massages you have received.
If no button is presses for the first 16 seconds, the pager will automaticallystore the message.

New Message
("[01]" indicates quantity of new messages)
Press the Select Button
Stored Message
(Displays the time and date when the message was first received)
Press the Select Button to Read
If no message was left,
"NO Page" will be displayed
If the message is longer than 13 characters, the More than 13 Characters Indicator will show.

The Right Arrow indicates additional characters
Press the Select Button
The Rest of your message is displayed
9. Deleting Messages
You can delete all your messages at once.
Stand By Mode
press the Menu button 4 times
press the Select button

Stand By Mode
After all messages have beendeleted, the pager will go backto Stand By Mode.
However, locked messages are still stored.
10. Locking and Unlocking Your Messages
Up to 10 Stored Messages can be locked. Until a Locked Message is Unlocked, it remains in locked
position. See important note at the bottomof this section for the exception to the rule.
To lock a message, you need to display the message you want to lock. When the battery has been
completely discharged and you replace the battery locked messages will also obliterated. If you want to
lock the message press menu button.
The locked message will turn to unlock and if it was in unlocked message, it will turn to lock mode. If
you press select butoon you can obtain a mode you desire.
If you press menu button, the display shows erase and if you press select button, the message goes off.
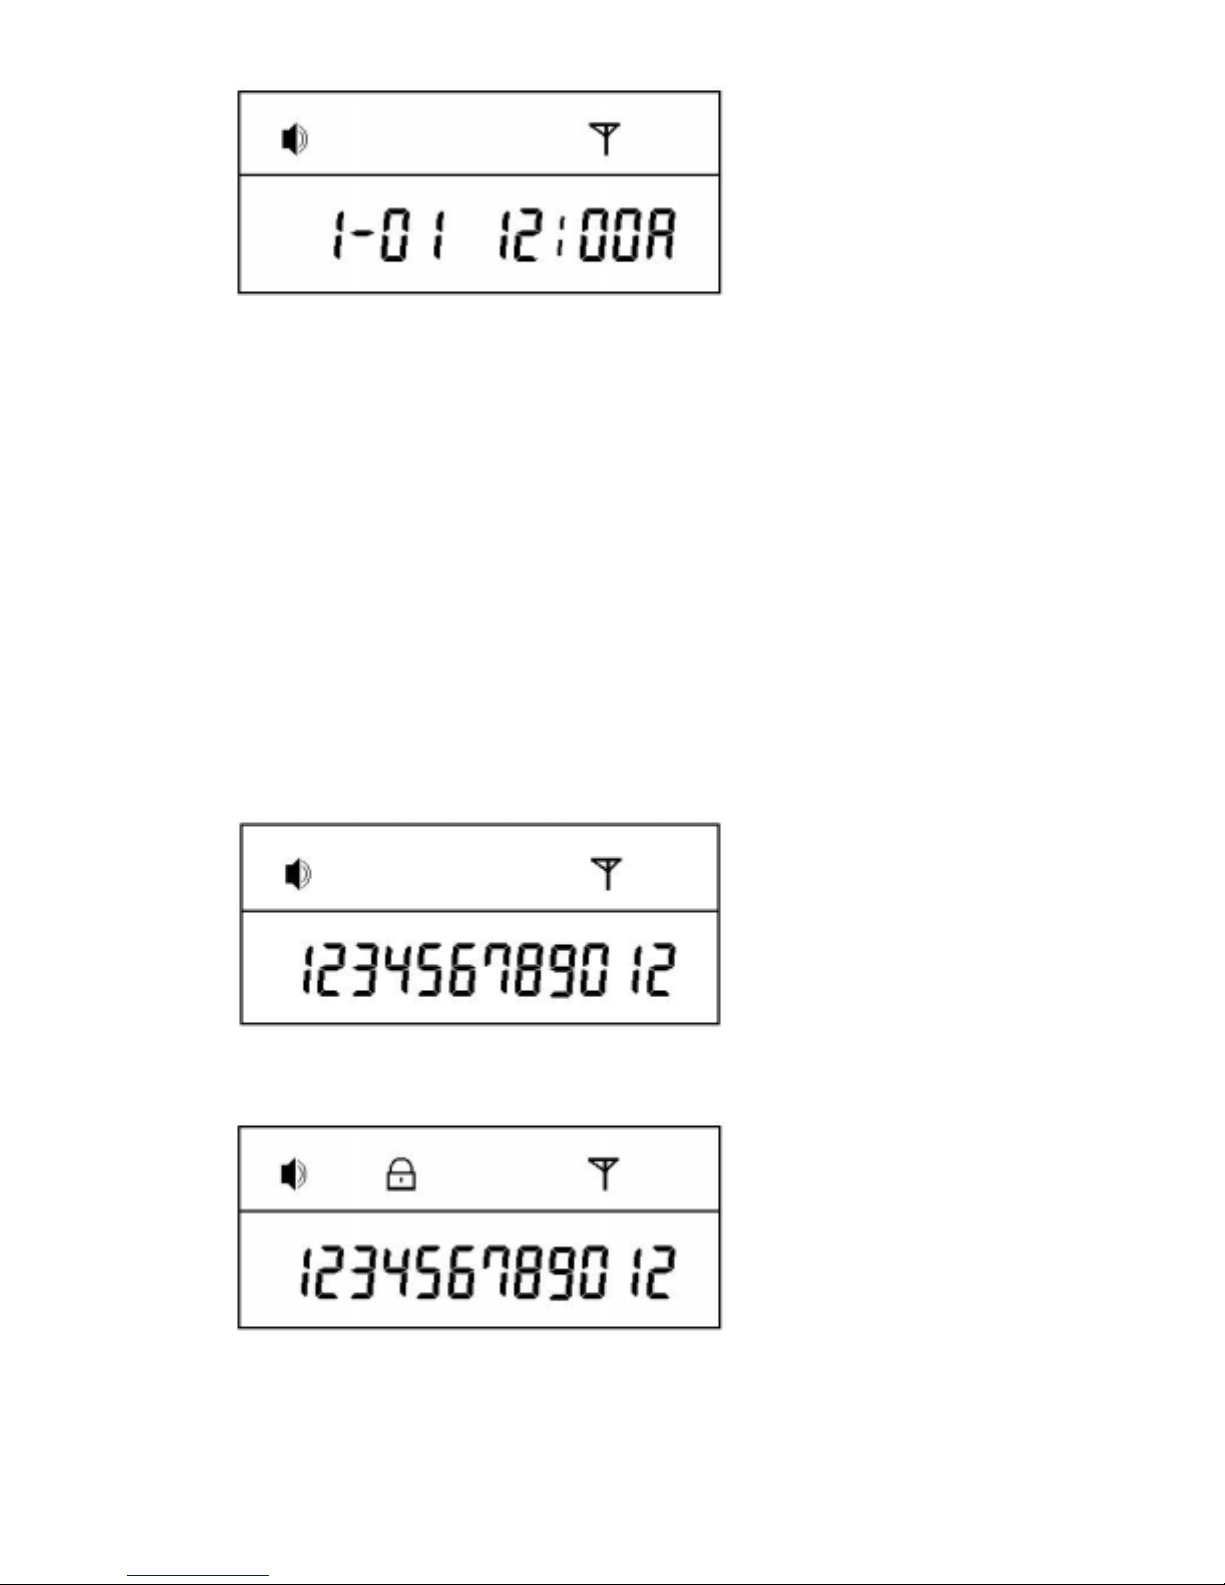
Select the message you want to Lock
While holdingdown the Selectbutton, press Menubutton
Locked Message
To Unlock a message, press and hold Select button, then press the Menu button.
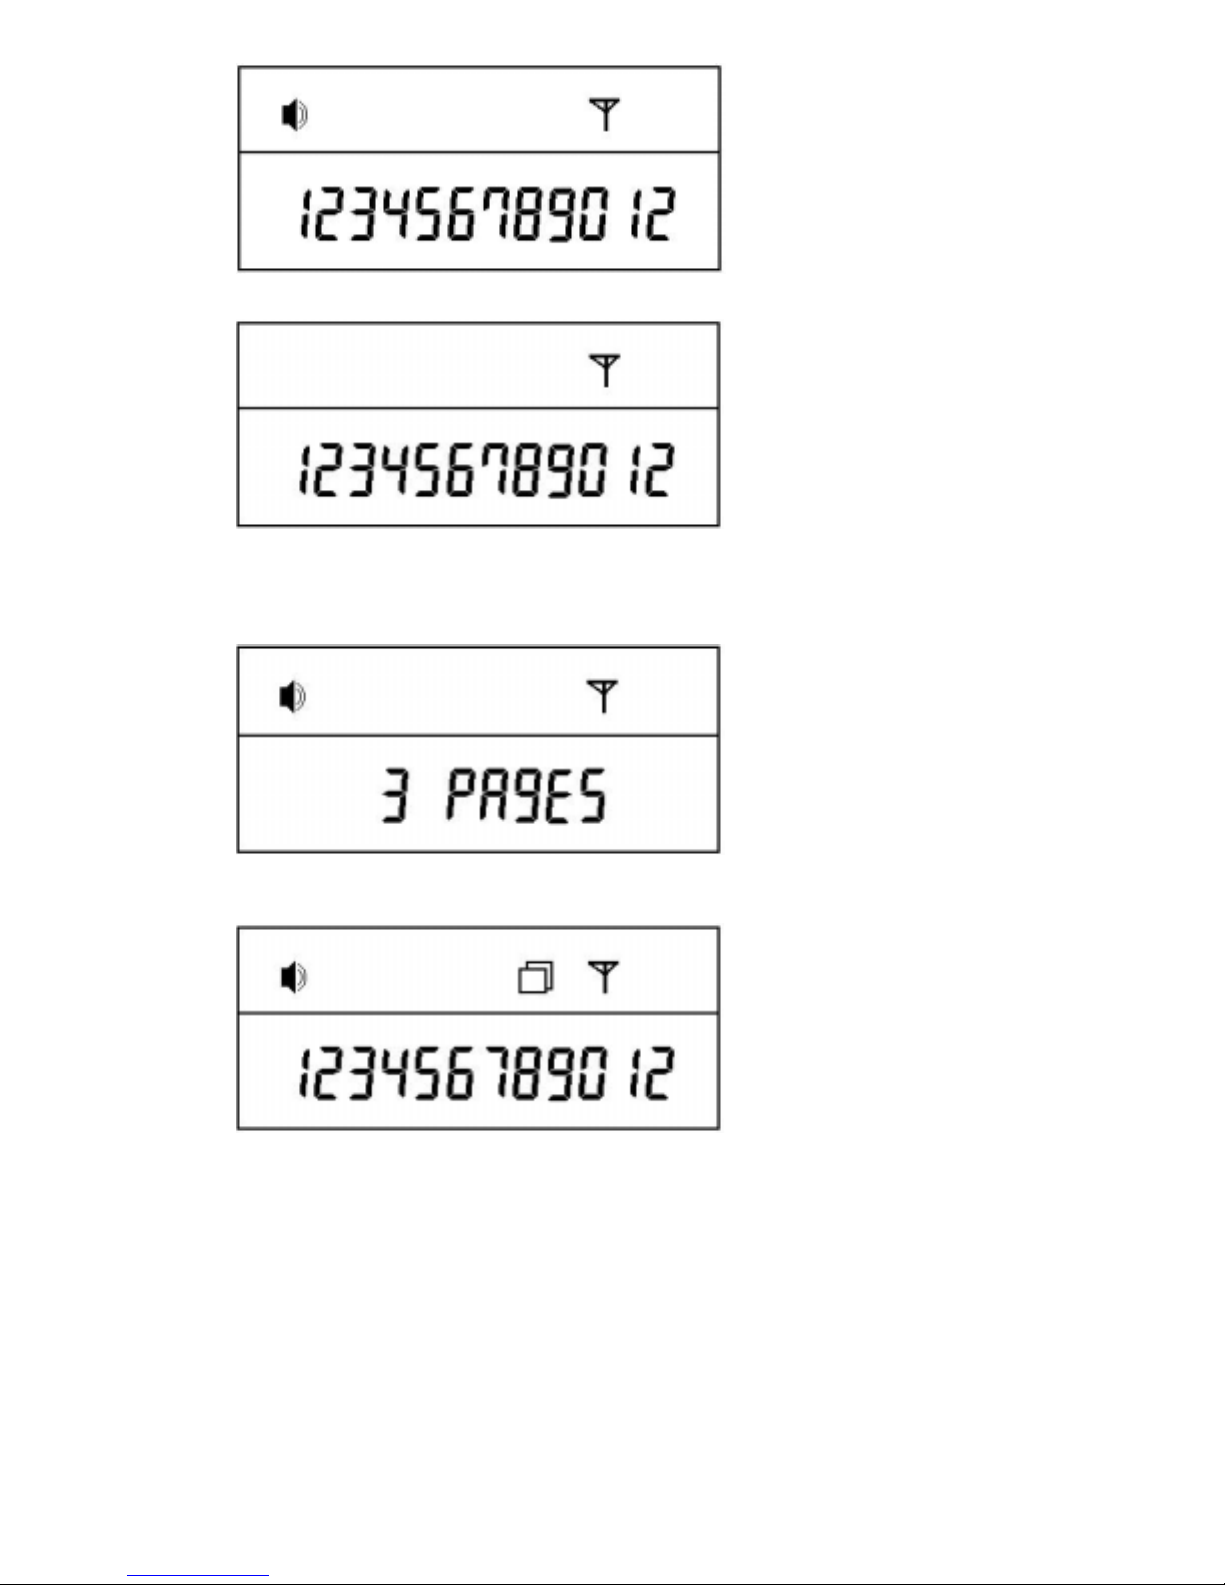
If all 10 messages have been locked and you try to lock another message, the following
message will be displayed onyour pager.

You must unlock at least one message before you can lock an additional message.
Important Note: You can still lose locked message if the battery drops too low.
Your pager will display, "BATT LOW". Try to replace the battery as soon as possible.
This will prevent you from losing an important message. See section 14 for more information.
11. Selecting Incoming Message Alert Tone or Vibration
In the Initial Setting, the Alert Tone is set. However, you may change fromAlert to Vibration Mode.
Initial Setting (Alert Mode)
press Menu button
press Select button
Vibration Mode

From Stand By mode, you can switch from Vibration to Alert Mode by pressing the Menu button, then
the Select button. Everytime you switch from Vibration to Alert Mode, the Tone numbers, 1-9, will blink
and you can choose the tone or melody you want by pressing the Select button.
Vibration Mode press Menu button
press Select button
press Select button

press Select button
.
.
.
.
press Select button
press Menu button
(You can select anyone of the 9 tones)
Alert Mode
12. Setting the Time
From Stand By Mode, press the Menu button 5 times.
Stand By Mode
press the Menu button 5 times

press the Select button
When you see the month indicator blinking, press the Select button to set desired month. Press the Menu
button to move the indicator in sequence of year, month, day, hour,minutes and when the time is set in
AM/PM
Then press Menu button to set the date and time you have selected.
13. Setting the Alarm
1) Setting Alarm Time
Stand By Mode
press the Menu button 2 times
press the Select button

The Alarmsymbol will blink.
You can change the hour by pressing Select button.
You can move from hour, minutes, and AM/PM by pressing Menu button.
If the desired time is set, you can press the Menu button once more to set the Alarm.
the Alarmis turned On
The alarmwill go off at designated time and when it does, you will see the flashing Alarm Indicator and
hear the alert tone for the duration of 30 seconds. You can turn off the Alert Tone and the Blinking by
pressing either the Select or Menu button.
2) Cancelling the Alarm
press the Menu button 2 Times
press the Select button

the Alarm is turned Off
14. Low Battery Indicator
When the battery become low, Regularly the pager will signal an alert sound for 8 seconds and the
LCD will display, "BATT LOW". Then, you will see blinking battery symbol. You can stop the alert
sound by pressing the Select or Menu button.
8 seconds later
Until the batteryis replaced, youwill continue to see the blinkingbattery symbol.
15. Lamp
When you press select button or menu buttonfor over 2 seconds lamp will light then go off with returning
to Initial display.

16. Care and Mantainance Instruction
The Exo Cyber pager is a durable and reliable product that can give years of dependable service;
however, it is an electronic product. Water moisture, excessive heat, and extreme shock may damage the
pager. Do not expose your pager to these conditions. Use only a 1.5VAAA battery.
If repair is required, contact the vendor from whom you have purchased the pager.
For questions pertaining to the functions and use of your Exo Cyber pagers, please call ISE USA, Inc. at
213-351-1592. For questions pertaining to your paging service, contact your paging service provider.
17. Regulatory Agency Compliance
The Exo Cyber pager complies with part 15 of the FCC Rules. Operation is subject to the following two
conditions: (1) this devise may not cause harmful interference, and (2) this device must accept any
interference received, including interference that may cause undesired operation.
This equipment has been tested and found to comply with the limits for a Class B digital device, pursuant
to part 15 of the FCC Rules. These limits are designed to provide reasonable protection against harmful
interference ina residential installation.
18. One Year Full Warranty Terms and Conditions
ISE USA, operating out of 3250 Wilshire Blvd. Suite# 702 Los Angeles, CA 90010, warrants Exo Cyber
pagers against defects in material and workmanship under normal use and service for the period one year
from the invoice date. In the unlikely event that a component should fail during its warranty period due
to a defect in material or workmanship, Caravan will replace the entire pager with equal or greater valued
item.
Warranty Exclusions:
This limited warranty does not cover the repair of cracked, scratched, broken or modified plastics, or any
other cosmetic damage. This warranty doe not apply to repairs or replacements necessitated by any cause
beyond the control of the seller. This includes, but is not limited to: malfunction defects or failures,
which in the opinion of the seller, are caused by or are results of unauthorized service or replacement
parts, and improper maintenance, operation accidents, modification or repair by the user, abuse, misuse,
neglect and accidents, fire and rain or other acts of God. Normal wear and tear including, without
limitation, is not covered under the warranty.
This device complies with part 15 of the FCC Rules. Operation is subject to the
condition that this device does not cause harmful interference.
Caution : Any changes or modifications in construction of this device which are
not expressly approved by the party responsible for compliance could
void the user's authority to operate the equipment.
