Itek ITAIOBB24IH51WBH User manual

User Manual
All In One PC
ITAIOBB24IH51WBH


Content
All In One PC Brief Introduction……………………………………………………ENG−2
All In One PC Parts Guide………………………………………………………………..ENG−5

General Guide
Safety instructions
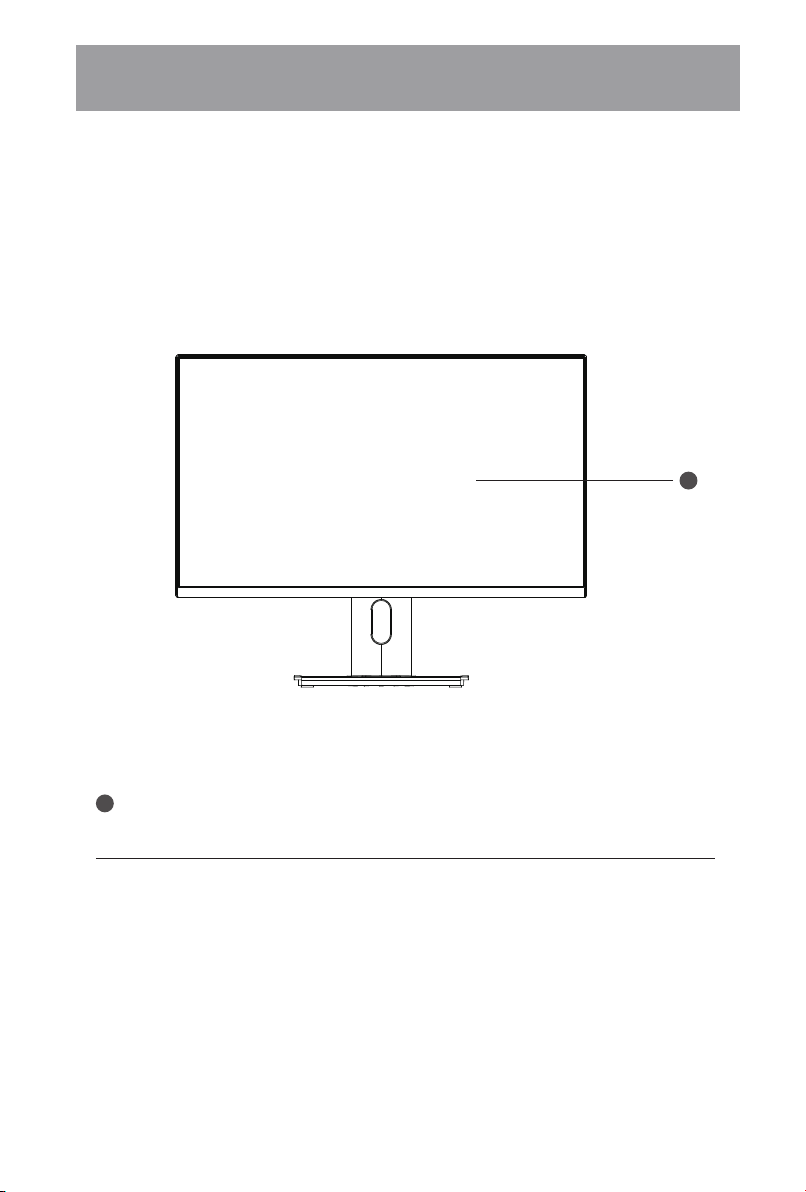
This article provides information about thevarious components in the All In One
computer and how to use it. The main chapters ofthis article are as follows:
The following safety instructions can prolong the service life of the All In One computer. Please follow all
precautions and instructions. Ifyou encounter any problems, other than those described in this article,
please contact qualified personnel. Do not use damaged power cords, accessories, orother peripheral
devices. Do not allow strong solvents (such as thinner, benzene, or otherchemical substances) to occupy
or approach the surface of the All In One computer.
Note for users
Please payattention to the precautions andwarnings in this article, they can ensure thatyou
complete certain operations smoothly and safely.The importance of these precautions varies, as
described below:
Note:Tips and information for special situations.
Tips: Tips and useful information for completing tasks.
Important! Important information that must be followed in order to prevent damage to data and
components orpersonal injury.
Warn! Important information that must be followed for safe operation.
The text contained in [ ] or < > represents the keys on the keyboard; do not actuallytype < > or [ ]
and the characters in parentheses.
1. Introduction to All In One computers
Introduce All In One computers and related documents.
2. Guided tourof each part of the computer
Provides information about thevarious components in the
All In One computer.
< >
[ ]
ENG-2
All In One PC Brief Introduction

Preparation before use
Connect the power adapter
The following is just a briefdescription of the preparations before using the All In One computer. For more
information on using the All In One computer, please refer to the subsequent pictures.
ENG-3
All In One PC Brief Introduction
2
1
3
Power Connector

Assembly
Open the packing box and take out the
All In One machine;
Take out the liing base;
Turn the All In One machine upside down, and the assembly is complete;
Put the machine upside down and
put it on the table;
Assemble the liing base to the machine;
The power switch is used to turn on and off the power of the All In One computer, or to put the All In One
computer into sleep or hibernation state. The actual function ofthe power switch can be customized in the
following position inWindows: Desktop>"Settings"> "Control Panel"> "System and Security"> "PowerOptions".
ENG-4
All In One PC Brief Introduction
1
3
5
2
4
push

Back component
Quick Release Base
Used for replacement of the base.
Please refer to the figure below to identify the components on the back of the All In One computer.
75mm*75mm VESA Mount Supported
Power Switch
The power switch is used to turn on and off the powerof the integrated computer, or put the All In
One computer into sleep or hibernation state. The actual function ofthe power switch can be
customized in the "Power Options" of theWindows Control Panel.
ENG-5
All In One PC Parts Guide
1
2
1
2
push
v

Front Side Components
Display Screen
Used to display the output content of the computer.
Please refer to the figure below to identify the components on the front of the All In One computer.
ENG-6
All In One PC Parts Guide
1
1

Le Component
Please refer to the figure below to identify the components on the le side of the All In One computer.
ENG-7
All In One PC Parts Guide

Right Component
Please refer to the figure below to identify the components on the right side of the All In One computer.
ENG-8
All In One PC Parts Guide

Top component
Please refer to the figure below to identify the components on the top of the All In One computer.
ENG-9
All In One PC Parts Guide

Bottom component
DC Power Input
The included power adapter can convert AC power to DC power, and then power the
computer through this jack. In orderto avoid damage to the All In One computer, please
always use the included poweradapter
LAN port
The RJ−45 LAN port supports standard Ethernet cables and can be connected to the local
network.
Warning:The adapter may become hot during use. Please make sure nothing is covering
the adapterand keep the adapter awayfrom your body
Please refer to the figure below to identify the components at the bottom of the All In One computer.
ENG-10
All In One PC Parts Guide
1
3
2
6
7
5
4
1
2

HDMI Port
HDMI (High Definition Multimedia Interface) is an uncompressed all-digital audio L video
interface that can connect any audio/video source such as set-top boxes, DVD players and
A/V receivers to audio and/orvideo displays such as digital televisions (DTV) . It can transmit
standard, enhanced or high-definitionvideo, as well as multi-channel digital audio through
a single cable.
USB2.0 Port
USB (Universal Serial Bus) allows multiple devices to be connected to a computerat the same
time, and some of the peripheral devices serve as additional docking stations or hubs. USB
supports hot-plugging of devices, so you can connect and disconnect most peripheral devices
without restarting the computer.
USB3.0 Port
USB (Universal Serial Bus) allows multiple devices to be connected to a computerat the
same time, and some of the peripheral devices serve as additional docking stations or hubs.
USB supports hot-plugging of devices, so you can connect and disconnect most peripheral
deviceswithout restarting the computer.
Headphone Jack
Used to connect audio output devices such as headphones
Microphone Interface
Used to connect a microphone and input audio signals to the computer.
ENG-11
All In One PC Parts Guide
3
4
5
6
7

Contenuto
All In One PC Breve introduzione……………………………………………………IT−2
Guida ai componenti del PC All In One…………………………………………..IT−5

Guida generale
Istruzioni di sicurezza
Questo manuale fornisce informazioni sui vari componenti del computer All In One e
su come utilizzarlo. I capitoli principali di questo articolo sono i seguenti:
Le seguenti istruzioni di sicurezza possono prolungare la durata del computer All In One. Si prega di
seguire tutte le istruzioni. In caso di problemi, diversi da quelli descritti in questo articolo, contattare
il personale qualificato. Non utilizzare cavi di alimentazione, accessori o altri dispositivi periferici
danneggiati. Non usare solventi aggressivi (come diluenti, benzene o altre sostanze chimiche) sulla
superficie del computer All In One.
Nota per gli utenti
Si prega di prestare attenzione alle avvertenze e alle precauzioni in questo manuale, al fine di
completare determinate operazioni in modo fluido e sicuro. L'importanza di queste precauzionivaria,
come descritto di seguito:
Nota: Suggerimenti e informazioni per le situazioni particolari.
Suggerimenti: Suggerimenti e informazioni utili per il completamento delle attività.
Importante! Informazioni importanti che devono essere seguite per evitare danni a dati e
componenti o lesioni personali.
Avviso! Informazioni importanti che devono essere seguite per un funzionamento sicuro.
Il testo contenuto tra [ ] o < > rappresenta i tasti della tastiera; non digitare effettivamente < >
o [ ] e i caratteri tra parentesi.
1. Introduzione ai computer All In One
Presentazione del computer All In One e dei documenti correlati.
2. Illustrazione guidata di ogni parte del computer
Fornisce informazioni suivari componenti del computerAll In One.
< >
[ ]
IT-2
All In One PC Breve introduzione

Preparazione prima dell'uso
Collegare l'adattatore di alimentazione
Quella che segue è solo una breve descrizione delle attività da svolgere prima di utilizzare il computer
All In One. Per ulteriori informazioni sull'utilizzo del computer All In One, fare riferimento alle immagini
successive.
IT-3
All In One PC Breve introduzione
2
1
3
Adattatore di alimentazione

Assemblaggio
Aprire la scatola dell'imballaggio ed
estrarre la macchina All In One;
Estrarre lo stand e la base;
Capovolgere la macchina All In One percompletare l'assemblaggio;
Capovolgere la macchina e
appoggiala sul tavolo;
Assemblare lo stand e la base alla macchina;
Il pulsante di accensione viene utilizzato per accendere e spegnere il computer All In One o per mettere il
computer All In One in stato di sospensione o ibernazione. In Windows la funzione del pulsante di
accensione può essere personalizzata selezionando: Desktop>"Impostazioni"> "Pannello di controllo">
"Sistema e sicurezza"> "Opzioni risparmio energia".
IT-4
All In One PC Breve introduzione
1
3
5
2
4
push

Componente posteriore
Base a sganciamento rapido
Utilizzata perla sostituzione della base.
Fare riferimento alla figura seguente per identificare i componenti sul retro del computer All In One.
Supporto VESA 75mm*75mm
Pulsante di accensione
Il pulsante di accensione viene utilizzato per accendere e spegnere il computer integrato o per
mettere il computerAll In One in stato di sospensione o ibernazione. La funzione di questo
pulsante può essere personalizzata nelle "Opzioni risparmio energia" del Pannello di controllo di
Windows.
IT-5
Guida ai componenti del PC All In One
1
2
1
2
push
v

Componenti parte anteriore
Schermo
Dispositivo di output utilizzato pervisualizzare il contenuto di testo / immagini del computer.
Fare riferimento alla figura seguente per identificare i componenti sulla parte anteriore del computer
All In One.
IT-6
Guida ai componenti del PC All In One
1
1

Componenti lato sinistro
Fare riferimento alla figura seguente per identificare i componenti sul lato sinistro del computer All In One.
IT-7
Guida ai componenti del PC All In One
Table of contents
Languages:
Other Itek Desktop manuals
Popular Desktop manuals by other brands

NCR
NCR PC4I Technical reference

Toshiba
Toshiba Satellite Pro R50-E Series user manual

Compaq
Compaq 127507-008 - Deskpro EP - 64 MB RAM Deployment guide

Ergotron
Ergotron WorkFit-P manual

Motorola solutions
Motorola solutions MW810 user guide

Rockwell Automation
Rockwell Automation Allen-Bradley 6181X-12A2SW71DC, Allen-Bradley 6181X-00N2SW71DC, Allen-Bradley 6181X-12A2SWX1DC, Allen-Bradley... user manual