Jameco Electronics Magic Color User manual

Magic Color
PART NO. 2193838
Magic color is a guessing game. With this game you can surprise your friends and leave them with amazement, how the game
guesses what they have in their minds. Only two selections require from the user to guess the game the color combination that is in
his mind. The game has the following parts:
1.Matrix rgb board with five rows and five columns of leds.
2.6 buttons. One button is to starting a new game and the other five is to playing the game. Its button (the group of five buttons) is
under a specific column of the matrix board. So under the first column of matrix board exists one button, under the second column of
matrix board exists one button e.t.c.
I will describe the operation of the game in the following steps:
1.The user presses the starting button and leds on the matrix board take different colors combinations between them. For example, a
led can be fixed in red or red color with green that toggle.
2.The user memorizes one led with the combination of color.
3.The user presses the button of a column in which exists the memorized led.
4. The firmware calculates and changes all the places of colors combinations with respect of specific algorithm.
5.Revision of step 3.
6. Finally the firmware guesses the memorized selected combination color of the
user by making all leds to light with this same color combination.
Time Required: 15-20 Hours depending on experience
Experience Level: Intermediate
Required tools and parts:
Soldering iron and solder
Wire stripper/cutter and basic hand tools
Digital multimeter
Lighter
Programmer for avr controllers
Drill
A hot glue gun loaded with a glue stick
Blue marker or black
Screwdriver
Ruler
Bill of Materials:
Qty Jameco SKU Component Name
12139111 MCU 8-Bit ATmega AVR RISC 8KB Flash 5 Volt 28-Pin PDIP
For longer life of the battery the newer controller from Atmel (ATMEGA8A-16PU)is recommended
(http://www.hqew.net/product/ATMEGA8A$2d16PU_15D43851132442DB86251B9A6A30D2D9.html)
or
(http://shop.tuxgraphics.org/electronic/detail_atmega8.html)
or
(http://www.ebay.com/itm/50PCS-ATMEGA8A-PU-DIP-28-Microcontroller-MCU-AVR-NEW-DATE-CODE-12-/300766358016)
25 2128500 LED,RGB,WATER CLEAR,T1-3/4,2.0,-3.5VF@20mA,COMMON ANODE,25DEG
11 25523 .1 uF 50 Volt Monolithic Capacitor
2 158289 Capacitor Radial 470 uF 25 Volt 20% 105c 10x16x5mm

1 77083 Diode 200 Volt 3A 2-Pin DO-201AD
10 911189 Shift Register Single 8 Bit Serial To Serial Parallel 16 Pin Plastic DIP Tube
10 34315 Transistor Darlington NPN 50 Volt 0.5 Amp 18-Pin PDIP
1 51262 Standard Regulator 5 Volt 1 Amp 3 Pin 3+ Tab TO-220
1211502 BIP T0218 PNP 15A 60V
25 690662 Resistor Carbon Film 150 Ohm 1/4 Watt 5% (In Bags of 10 and 100)
50 690620 Resistor Carbon Film 100 Ohm 1/4 Watt 5% (In Bags of 10 and 100)
1 660130 Resistor Wirewound 1 Ohm 5% 5 Watt ±400°C Axial Through Hole
1 659817 Resistor Carbon Film 10 Ohm 1/2 Watt 5% (In Bags of 10 and 100)
1 75969 Toggle Switch Subminiature Single Pole Double Throw ON-ON Solder 125VDC@3A 7-32 Inch Mounting
6149948 50 Volt Long Manual Sealed Tactile Switch
1 216259 Battery Holder 8-AA Snaps
10 65585 Socket IC 18 Pin Machine Tooled Low Profile Soldertail .3" Width
10 37402 Socket IC 16 Pin Machine Tooled Low Profile Soldertail .3" Width
1 114412 Socket IC 28 Pin Machine Tooled Slimline Low-profile Solder Tail 0.3" Width
25 23077 LED MOUNTING HARDWARE,T1-3/4,BLACK,(10)
1 616690 PERFORATED BARE PHENOLIC PROTOTYPE BOARDS
3 419127 HEAT SHRINK TUBING,FIT-221B-1/16-BLACK,4 FEET,BLACK POLYOLEFIN
2 198707 ENERGIZER INDUSTRIAL AA,ALKALINE BATTERY (4)
1 18869 ABS Heavy-Duty Instrument Case, 7.9"x6.3"x2.5"
2 643794 Cable Ribbon 10 Conductor Gray 28AWG 10 Feet Flat
Step 1 - Make sure you have everything you need
Make sure you have all the materials included in the package and all the required tools. The photo is indicative and not showing all
the necessary tools and materials.
Step 2 - Guide to construction
Use the schematic diagram to build your board. *** Please see kit schematics print-out ***
(http://www.jameco.com/Jameco/Products/ProdDS/2193838Schematic.pdf)
Step 3 - Making of the supply circuit
Place on the circuit board components that constitute the power circuit of the game. Follow the schematic diagram and solder the
parts together (D1,R73,R74,C2,C13,IC22,Q1 ).

Step 4 - Place I.C sockets
For your convenience place all the I.C sockets as in the picture.Make sure there is space required between the sockets.
Step 5 - Separate the resistors for driving RGB LEDs
An easy way to separate the resistors 100 Ohm, 150 Ohm is the number of pieces (50 pieces 100 Ohm, 25 pieces 150 Ohm).
Step 6 - Place RGB resistors
Place resistors having guide schematic diagram and photograph.
Step 7 - Place 0.1uf capacitors for shift registers
Place 0.1uf capacitors next to each 16pin socket as the picture.

Step 8 - Place 0.1uf capacitor for micro-controller
Follow the schematic diagram and place the 0.1uf capacitor next to the supply pins of micro-controller as in the picture.
Step 9 - Make necessary connections
Follow the schematic and make connections. Use flexible wires (cut the cable Ribbon 10 Conductor) for the difficult connections.
Step 10 - Separate 4 flexible wires for RGB leds
Use a cutter to separate four wires of cable Ribbon 10 Conductor. Make 25 pieces with length from step #11.

Step 11 - Calculate the length of four flexible wires
Use the ruler to build 25 pieces (each 4 wires). The length to become based on of photography (mm).
Step 12 - Separate each 4 flexible wire
Use a cutter to separate each 4 flexible wire. Make the same for 25 pieces that are made from step 11,10.
Step 13 - 100 pieces of heat shrink tubing (for 25 RGB leds)
Use cutter and ruler to create 100 pieces of heat shrink tubing. Use the length shown in the photo(mm).
Step 14 - Mark the wires
Mark one of the four wires with a marker to be recognized later (Corresponds to the first pin of each RGB led). Mark all 25 pieces.

Step 15 - Prepare the wires
Fit the heat shrink tubing in each wire and prepare the wires with little tin.
Step 16 - Solder the RGB led
Solder every wire from #step 15 with RGB led pins.
Step 17 - Insulate RGB led pins
Warm the heat shrink tubing with lighter. Once you have already placed over the pins.
Step 18 - Connect every led to board
Follow the schematic diagram in conjunction with the pins of led (1.BLUE,2.COMMON,3.RED,4.GREEN). Take a look at the data
sheet in address http://www.jameco.com/Jameco/Products/ProdDS/2128500.pdf and use the marked wire (#step14).

Step 19 - Make wires for buttons
Use the ruler and cutter to build 6 pieces (each 2 wires). The length to become based on of photography (mm).
Step 20 - Preparing 6 buttons
Fit the heat shrink tubing in each wire and prepare the wires with little tin. Solder the buttons with wires.
Step 21 - Insulate buttons
Warm with lighter the heat shrink tubing once you have already placed over the pins.
Step 22 - Connect 6 buttons to the board
Follow the schematic diagram.
Step 23 - Connect the switch and battery holder
Follow the schematic diagram.

Step 25 - Prepare the box
Step 24 - Check
Checking the basics of the board like: there is no short circuit, connections between the IC etc.
Use your ruler and marker to identify the points that will open holes (25 holes led, 6 button holes, 1 switch hole)
Step 26 - Open the holes
Try to keep your hand steady when drilling.

Step 27 - Put round clips
Insert the clips into the holes opened. If a clip does not fit, scratch the interior of the hole with a sharp object.
Step 28 - Glue the buttons
Use a hot glue gun to glue 6 buttons.
Step 29 - Finalize the construction
Place, all led to the clips, the main switch and optional labels
Step 30 - How to play the game
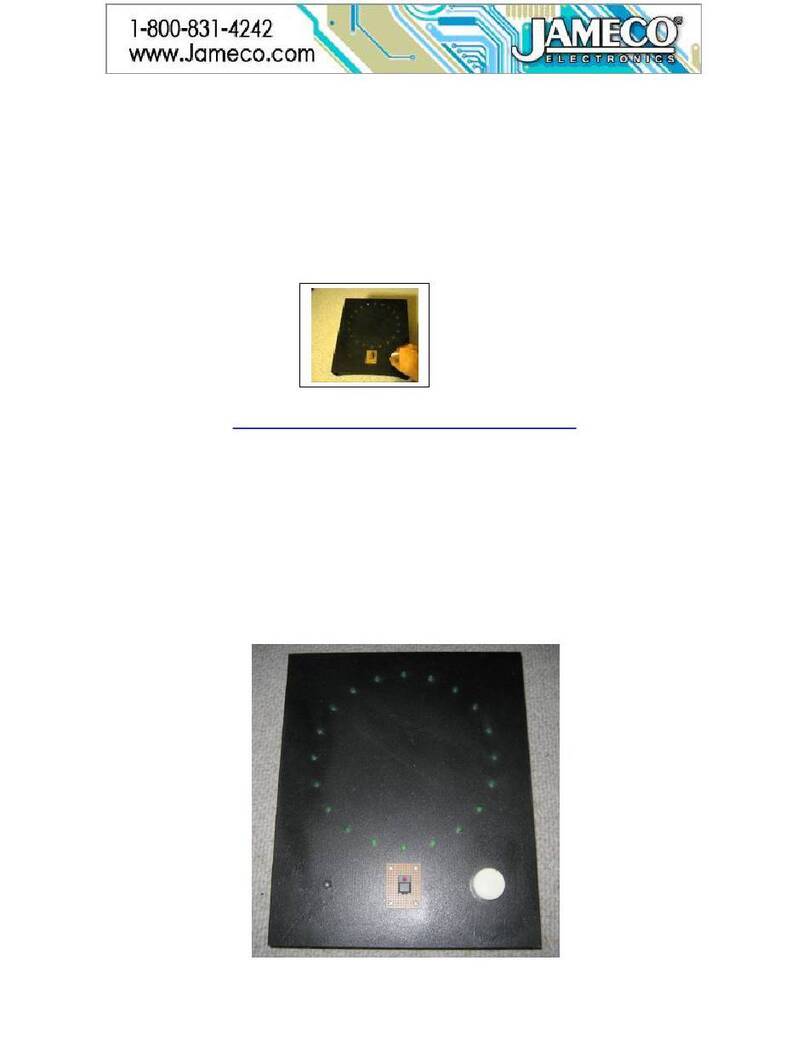
Follow the steps described on the photo to play the game.

Step 31 - General photo of Magic Color
General picture of the game in action.
This manual suits for next models
1
Other Jameco Electronics Game manuals
Popular Game manuals by other brands

Sharper Image
Sharper Image 204023 user guide

Victory Tailgate
Victory Tailgate Disc Duel instruction manual

Techno Source
Techno Source Sesame Street 1500 user manual

Disney
Disney Hannah Montana: Rock Out the Show owner's manual

Crivit
Crivit 75955 Playing and user instructions

Hasbro
Hasbro Deluxe Electronic Adventure Woody 09336 instruction manual