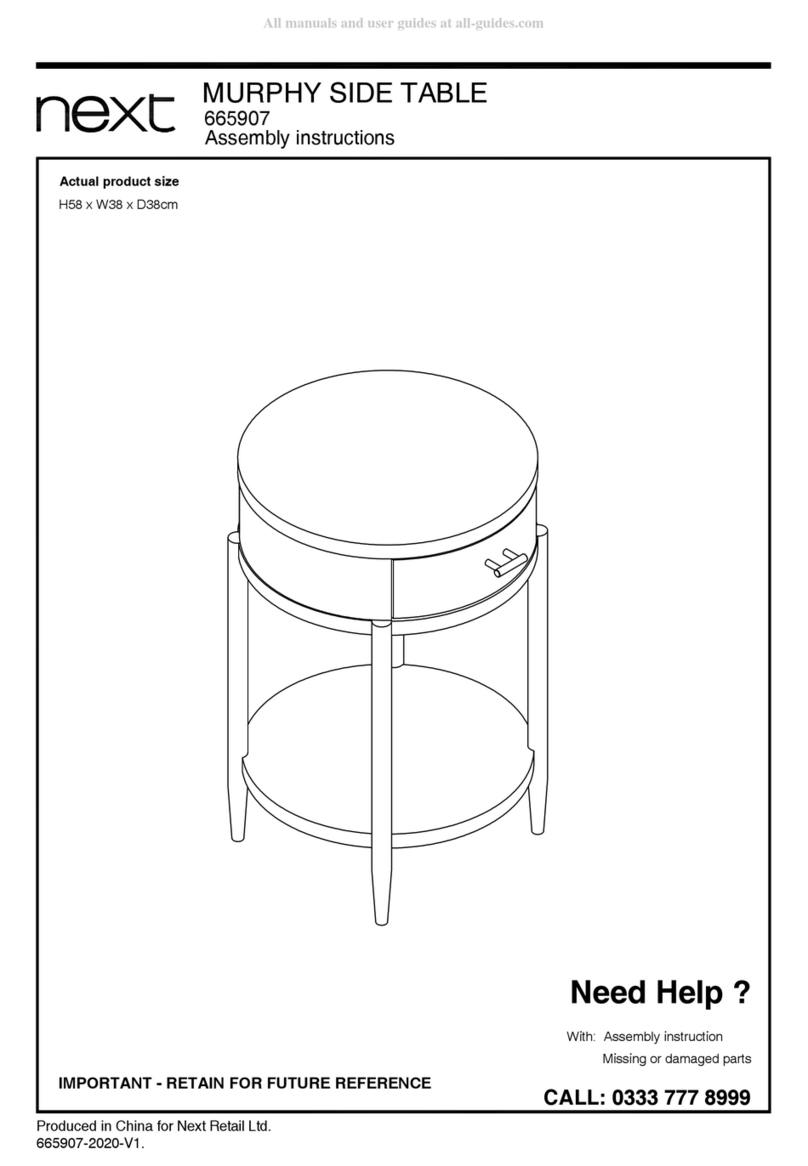
JDW At Home TRANQUIL JS374 User manual

Important - Please read these instructions fully before starting assembly
/ 20
1
Assembly Instructions
Please keep for future reference
Width:
Depth:
Heigth:
Dimensions No. people Assembly Time
If you need help damaged or missing parts, call the
JDW Customer Helpline: 0871 231 2000
CAT NO:
1 hr
495 mm
401 mm
502 mm
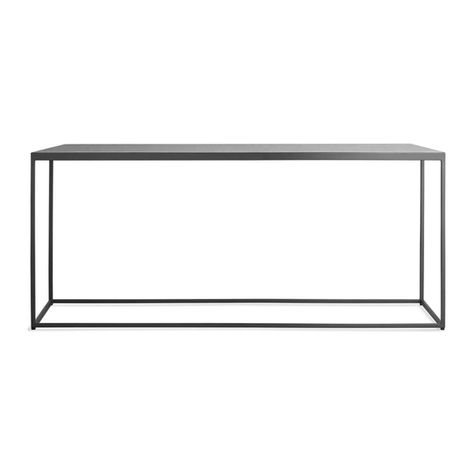
JS374TRANQUIL Side Table

/ 20
2/YEQSKHKFHTQNKSTQ
As a raw material for making furniture, wood has no equal - from its vibrancy
through its aesthetics to its many design possibilities.
But the wood from which this furniture is made has even more to offer:
The FSC label proves that the wood used comes from forests managed to
strict ecological, social and economic standards with lasting effect. This
means, for example, that forest biodiversity is maintained and
overexploitation does not take place.
Environmental organisations, forest owners, representatives of the wood
industry and unions, amongst others, have come together in the FSC to
support the responsible management of forests around the world.
Independent certification companies certify the origin of the wood and only
award the quality mark if the principles and criteria of the FSC have been
met. The tracking of the timber through processing chain from the forest to
the market ensures that the seal of the FSC certificate can be trusted.
This represents a step towards the future, because sustainable management
of our forests secures their long-term preservation, biodiversity and thus the
quality of life for the generations of today and of tomorrow.
Your product development team
Dear customer,
Thank you for your order!
No matter if you bought a piece of furniture made from natural wood, a high-gloss front or a plastic front - every
piece of furniture has unique characteristics.
This page provides some care tips for your piece of furniture so that you can enjoy it for a long time.
The following applies in general:
Don't place any hot objects on the furniture.
Don't place candles directly on the furniture.
Immediately wipe off any spilled liquids.
Regularly check if the screws and fittings are tight.
Keep these notes in a safe place.
Care notes for furniture made of panel materials
We recommend using a soft, lint-free cloth or a shammy for conditioning your piece of furniture made of panel
materials. Wipe off the surfaces with a slightly damp cloth or shammy.
The following applies in general:
Please don't use the following detergents or cleaning agents at all:
microfibre cloths or dirt erasers.
They often contain fine abrasive particles which can cause scratches
on the surfaces;
aggressive chemical substances as well as abrasive cleaning agents or solvents.
They may damage
the surfaces too;
scouring powder, steel wool or scouring pads.
They destroy the surface so badly that reconditioning is
impossible;
vacuum cleaners.
The nozzles and brushes can cause scratches on the surfaces;
steam cleaners.
The surfaces may be damaged or separated from the ground due to the high pressure
and heat of the water vapour.
Your product development team
2

/ 20
NO.
(1)
PARTS LIST QTY
TOP PANEL 1
(2) LEFT SIDE PANEL 1
(3) RIGHT SIDE PANEL 1
(4) BOTTOM PANEL 1
(5) SHELF 1
(6) DRAWER FRONT 1
(7) 1
1
PART LIST
1
1
DIMENSIONS
502x401x16
353x400x16
353x400x16
502x401x16
468x356x16
350x118x12
419x118x12
DRAWER BOTTOM
BACK PANEL 429x347x3
478x363x3 1
(10)
(11)
3
350x118x12
464x224x19
(9)
(8) DRAWER LEFT PANEL
DRAWER RIGHT PANEL
DRAWER BACK PANEL

/ 20
HARDWARE LIST
4
16x
A
CAM BOLT
12x
15x12mm
B
CAM LOCK
8x
8x35mm
D
DOWEL
4x
H
HOLDER
4x
3x20mm
I
SCREW
4x
3x13mm
E
SCREW
6x
3.5x13mm
F
SCREW
1x
80x14mm
G
1x Left / 1x Right
L=350
M
ROLLER RUNER
4x
C
CAM LOCK
15x10mm
2x
3.5x16mm
K
SCREW
1x
4.5x45mm
L
SCREW
1x
J
ANGLE BRACKET
BACK
FRONT BACK
FRONT
SLIDE
ATTACH TO
DRAWER BASE
B
SLIDE
ATTACH TO
CARCASS
A

/ 20
HARDWARE LIST
5
8x
D20mm
N
CAM LOCK COVER
1x
70x50mm
Q
FELT PAD
4x
7x50mm
O
CONFIRMAT
4x
P
SLEEVE
4x
T
PLASTIC SUPPORT
16x
4x16mm
U
SCREWADJUSTABLE FOOT M6
4x
RNUT M6
4x
S

/ 20
TOP TIPS BEFORE YOU START!
1. Please check that all parts are present before you start the assembly of your
furniture, as once assembled, the furniture is exempt from our home approval
policy.
2. For ease and speed of assembly, we recommend that before you commence
each step of the assembly, that you identify all the pats required for that step.
3. For larger items, please ensure that you have sufficient space and people (as
indicated on page 1) to assemble your product safely.
4. We recommend that, where possible, all items are assembled near to the area
in which they will be placed in use, to avoid moving the product unnecessarily
once assembled.
5. For the protection of your furniture, particularly items of high gloss finish, we
recommend that the product is placed on a protected surface during assembly to
prevent any damage.
6. During assembly please take care not to over-tighten any fittings, as this may
damage the product.
Care and Maintenance of your Furniture
Please periodically check all fittings and re-tighten as necessary.
Please do not sit or stand on this item.
Never allow any kind of liquid to remain on your furniture. Absorption can cause
wood to warp or finishes to de-laminate.
Please do not drag and pull your furniture.
6

/ 20
7
4x
15x12mm
B
CAM LOCK
4x
8x35mm
D
DOWEL
STEP 1
D4x
4x
Arrow to the
edge of the part
STEP 2
2x
A
CAM BOLT
D
D
D
D
B
B
B
B
2x
2X
P
INSERT
4x
Arrow to the
edge of the part
D4x
A
2x
2x
4x
15x12mm
B
CAM LOCK
4x
8x35mm
D
DOWEL
2x
A
CAM BOLT
2X
P
INSERT
D
D
D
D
B
B
B
B

/ 20
8
STEP 3
T
UU
U
U
S
R
Q
Q
4x
T
PLASTIC SUPPORT
16x
4x16mm
U
SCREWADJUSTABLE FOOT M6
4x
RNUT M6
4x
S
1X
70x50mm
Q
FELT PAD
Q, R, S, T, U
Q, R, S, T, U
Q, R, S, T, U
4x
A
CAM BOLT
Q, R, S, T, U

/ 20
9
STEP 4
4x
A
CAM BOLT
STEP 5
4x
15x12mm
B
CAM LOCK
2x
3.5x13mm
F
SCREW
1x
80x14mm
G

/ 20
10
STEP 6
STEP 7
A
4x
4x
A
CAM BOLT
C4x
CC
CC
4x
15x10mm
C
CAM LOCK
AA
AA

/ 20
11
STEP 8
STEP 9
2x
7x50mm
O
CONFIRMAT
O
2x
2x
7x50mm
O
CONFIRMAT
O
O
O
O
O
2x

/ 20
12
STEP 10
STEP 11
A
C
1/2 turn
4x

/ 20
13
STEP 12
STEP 13
4x
D20mm
N
CAM LOCK COVER
4x
3x13mm
E
SCREW
L=350
M
ROLLER RUNER
Left / Right
SLIDE
E
E
E
E
M
Left
M
Right
1x

/ 20
14
STEP 14
STEP 15
1/2 turn
A
2x
A
2x 1/2 turn

/ 20
15
STEP 16
A
D
4x
1/2 turn
STEP 17
2x
3.5x13mm
F
SCREW
1x Right
L=350
M
ROLLER RUNER

/ 20
16
STEP 18
2x
3.5x13mm
F
SCREW
1x Left
L=350
M
ROLLER RUNER
STEP 19

/ 20
17
STEP 20
STEP 21
1/2 turn
4x
D20mm
N
CAM LOCK COVER

/ 20
18
STEP 22
4x
H
HOLDER
4x
3x20mm
I
SCREW
H
I
4x 4x
H, I H, I
H, I
H, I

/ 20
19
STEP 23
Wall fixings are not supplied with this product as different wall materials require
different types of fixing devices ( such as Rawl plugs used on brick work).You
must use
fixing devices suitable for the type of wall you intend to mount this
product to.
Please ensure that the head of any screw used has a diameter greater than the
diameter of the mounting hole on the product and that the fixing is safe and
secure before use.
2x
3.5x16mm
K
SCREW
1x
4.5x45mm
L
SCREW
1x
J
ANGLE BRACKET

/ 20
20
STEP 24
kg
5
Table of contents
