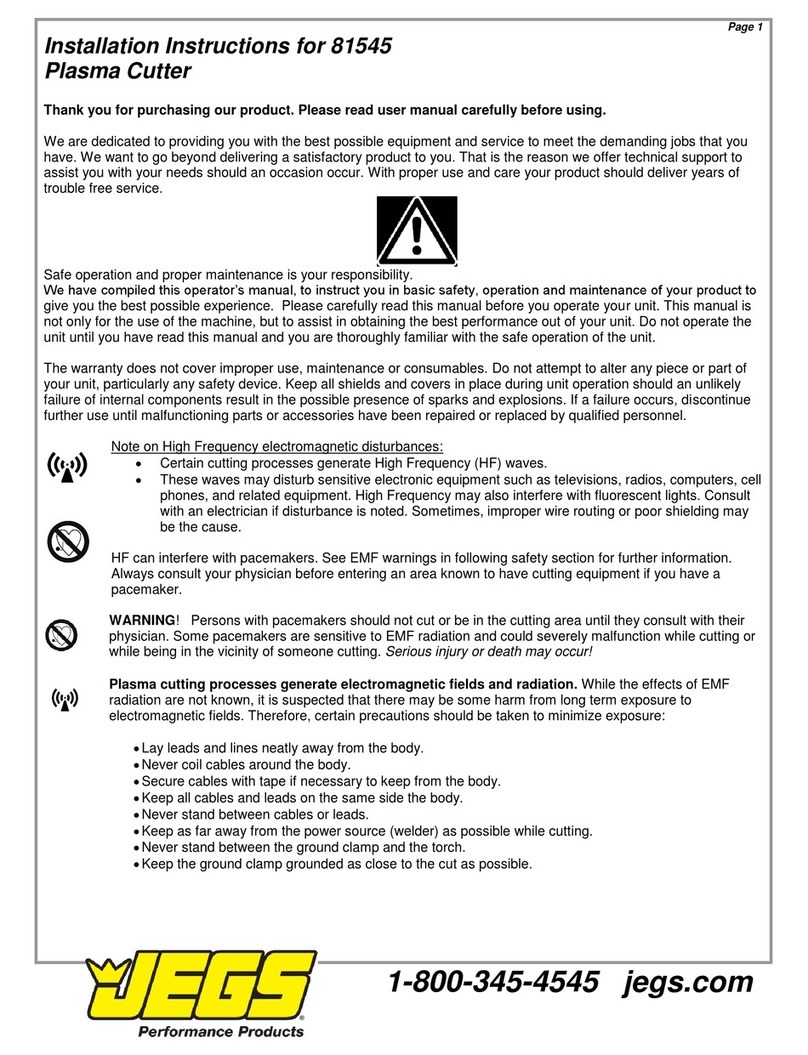
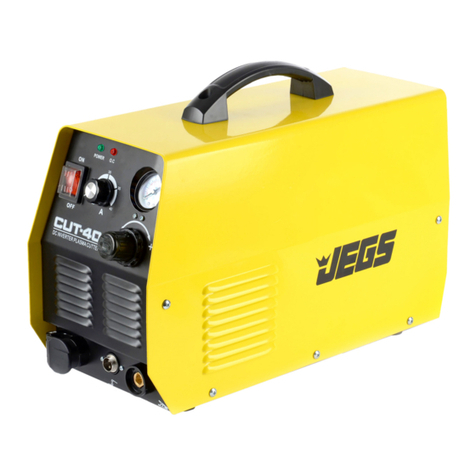
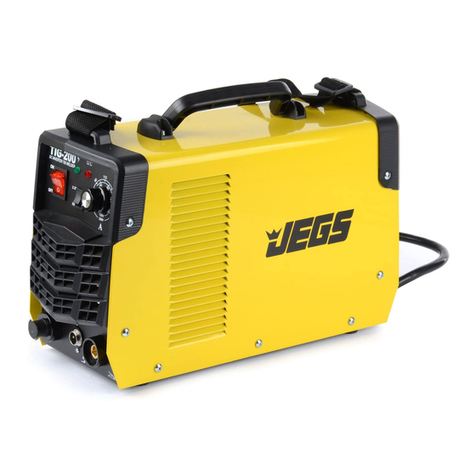
Jegs 81563 User manual

Installation Instructions for 81563
TIG & MMA Welder
200A AC/DC
Thank you for choosing JEGS welder!
For important safety Information, please read this manual and
understand the contents before operating this unit.
Safety Information- Proper operation & forethought is critical to safe
operation.
Electric shock can cause injury or death!
Improper use of an electric welder can cause electric shock, injury and death! Read all
precautions described in the Welder Manual to reduce the possibility of electric
shock.
Disconnect welder from power supply before assembly, disassembly, and maintenance of the torch,
contact tip or nozzles.
Always wear dry, protective clothing, leather welding gloves and insulated footwear. Use suitable
clothing made from durable flame-resistant material to protect your skin.
If other persons or pets are in the area of welding, use welding screens to protect bystanders from
sparks.
Always operate the welder in a clean, dry, well ventilated area. Do not operate the welder in humid,
wet, rainy or poorly ventilated areas.
The electrode and work (or ground) circuits are electrically “hot” when the welder is on. Do not allow
these “hot” parts to come in contact with your bare skin or wet clothing.
Separate yourself from the welding circuit by using insulating mats to prevent contact from the work
surface.
Be sure that the work piece is properly supported and grounded prior to beginning an electric welding
operation.
Always attach the ground clamp to the piece to be welded and as close to the weld area as possible.
This will give the least resistance and best weld.
FUMES & WELDING GASES CAN BE A HEALTH HAZARD!
Fumes and gasses released during welding can be hazardous. Do not breathe fumes
that are produced by the welding operation. Wear an OSHA-approved respirator
when welding.
Always work in a properly ventilated area. Do not weld in confined spaces.
Never weld coated materials including but not limited to: cadmium plated, galvanized, and lead based
paints.
Shut off shielding gas supply when not in use.
1-800-345-4545 jegs.com1

Arc radiation- Is Harmful to your eyes and your skin!
Arc rays produce intense ultraviolet radiation which can burn exposed skin and cause
eye damage. Use a shield with the proper filter (a minimum of #11 shade) to protect
your eyes during the welding process.
Use suitable clothing made from durable flame-resistant material to protect your skin.
If other persons or pets are in the area of welding, use welding screens to protect bystanders from
sparks and arc rays.
Fire Hazard!
Electric welding produces sparks which can be discharged considerable distances at
high velocity igniting flammable or exploding vapors and materials.
Do not operate electric arc welder in areas where flammable or explosive vapors are
present.
Do not use near combustible surfaces. Remove all flammable items within 35 feet of the welding
area.
Always keep a fire extinguisher nearby while welding.
Use welding blankets to protect painted and or flammable surfaces; rubber weather-stripping, dash
boards, engines, etc.
Ensure power supply has properly rated wiring to handle power usage.
CAUTION!
The machine is mainly used in industry.
It will produce radio waves, so the workers should use proper protection.
1-800-345-4545 jegs.com2

Welder Specifications
Model Specifications
81563 200A AC/DC
81563 200A AC/DC
Power Vol.(V)
1phaseAC/220±15%
10/220±15%222201phaseAC220±
15%
1phaseAC110/220±15%
Frequency(HZ)
50/60
50/60
Rated input current(A)
20.7
22/13
Output current (A)
10-180
10-160
No load Vol. (V)
60
60
Output Vol. (V)
18
16.4
Pre-flow(Seconds)
0-2
0-2
Pulse duty(%)
20-80
20-80
Descending
time(Seconds)
0-5
0-5
Post gas(Seconds)
2-10
2-10
Arc initiation way
High Frequency
High Frequency
Efficiency(%)
85
85
Duty cycle(%)
60
60
Power factor
0.93
0.93
Insulation grade
F
F
Housing shielding grade
IP21
IP21
1-800-345-4545 jegs.com3

FRONT PANEL FUNCTION AND INSTRUCTIONS
AC/DC transfer switch: Allows you to select either "AC" or "DC" depending on the type of material
you’re working with. "AC" is for Aluminum and "DC" is for Carbon Steel, Stainless Steel, Iron,
Copper and Other Materials.
Hand torch/ Foot pedal transfer switch: Selecting the "ON" position allows you to adjust current
with the pedal. Selecting "off" allows adjustments to be made with the knob on the front panel.
Current adjustment knob: This knob adjusts current when the hand torch/pedal transfer switch is in
the "off" position.
AC Balance Adjustment: If welding in AC this will need to be set. The more negative the value will
result in greater penetration and less cleaning and the more positive the value will result in less
penetration but greater cleaning. Typically higher current levels require less or negative AC balance.
Down-Slope adjustment knob: In order to achieve top quality welds current should be gradually
reduced at the end of the weld. This knob adjusts the amount of time required to reach zero after you
release the trigger or pedal.
Post-flow time adjustment knob: The post-flow adjustment knob controls how long the gas
continues to flow after the trigger is released. This machine allows up to 10 seconds of post-flow.
2T / 4T Switch: When you select 2T the torch will activate whenever you press and hold the trigger.
If you select 4T the first press of the trigger activates the torch and a second press of the trigger will
deactivate the torch. Select the method that best suits your welding style.
Malfunction Indicators
Overheat protection indicator: This indicator is lit when the machine is used continuously for long
time periods or high current levels are used to prevent overheating or damage. The indicator will stay
lit until the machine cools to an acceptable level and will resume normal function once safe to do so.
Abnormal indicator: The indicator is lit when there is anything abnormal inside the machine. When
it is lit, please turn off the power switch and restart the machine after the indicator is off. If indication
occurs again, please have it checked by professionals or manufacturer.
Machine Set-up
Make sure the intake of the machine is not blocked or covered for best cooling system performance.
Make good connections for the shielded gas source to prevent leaks and weld contamination.
Use supplied inducting cable to connect the housing to the ground. Connect the cable to the ground-
connecting screw on the back of the machine.
Put the eyelet on the end of the torch cable to the fastening socket at “+” polarity of the panel, turn
clockwise and fasten.
When using the pedal control, connect its two-pin plug and three-pin plug with the relevant socket on
the panel.
1-800-345-4545 jegs.com4

①
Power plug, AC220V
②
Regulator
③
Welding clamps
④
Argon welding torch
⑤
Grounding clamps
1-800-345-4545 jegs.com5

OPERATION
AC welding function instruction
Put the “AC/DC transfer switch to “AC” position.
Turn on power switch, fan begins to spin.
Open argon valve, and adjust gas flow to 15 - 21 CFM depending on material being welded.
Adjust AC balance to best suit your work material.
Set torch/pedal switch according to needs.
1) Put the switch to the “OFF” position, current is adjusted by knob on front panel.
2) Put the switch to the “ON” position, current is adjusted by pedal.
Adjust “Post-flow” and “Descending time”’.
Keep 2-4mm space between tungsten electrode and work piece, press the torch control switch. High
frequency electricity is initiated between the work piece and the electrode and an arc is formed.
DC arc welding function instruction
Put “AC/DC transfer switch” to “DC” position.
Turn on power switch, fan begins to spin.
Open argon valve, and adjust gas flow to 12 - 15 CFM depending on materials being welded.
Same as No. 5, 6, 7 & 8 of AC arc welding instruction above.
Foot switch
Connect the two-pin and three-pin plug from the foot switch to the relative two-pin and three-pin
outlet on the machines front panel.
Set the remote control switch on the front panel to “ON”.
Adjust the knob on the foot switch to the right position to set the output current.
Slowly depress the foot switch to start welding.
MAINTENANCE
CAUTION:
Before maintenance or opening the machine power must be turned off, and the power cable should
be unplugged from the wall.
Remove dust and debris with dry and clean compressed air regularly. If the machine is operating in
an environment where it is polluted with smoke and dirty air the machine will need dust removed
daily.
Pressure of compressed air must be inside a reasonable range in order to prevent damage to internal
components of the machine.
Check internal connections regularly and make sure the connectors are connected tightly. If scale
and loose connections are found, please clean them and then connect them again tightly.
Prevent water and steam from entering into the machine, if they enter into the machine the internals
need thoroughly dried before use.
If the welding machine will not be operated for long periods of time, it must be stored in a clean dry
area.
1-800-345-4545 jegs.com6

NOTES OR PREVENTIVE MEASURES
Environment
The machine can perform in environments with no more than 90% humidity.
Ambient temperature needs to be between 50 and 104 degrees Fahrenheit.
Do not use the machine in environments with conductive dust or corrosive gas in the air.
Avoid gas welding in areas of strong airflow.
Safety
The welding machine has protection circuitry for over voltage/current and heat. When voltage and output
current or the temperature of the machine exceeds the acceptable range the machine will shut down
automatically to prevent these conditions from causing damage.
The work area needs to be adequately ventilated!
Make sure the intake is not blocked or covered, for best performance and longevity of the
machine make sure there is adequate ventilation.
Do not exceed allowable range!
The automatic compensation circuit for voltage will insure that welding current is kept within the
allowable range. If voltage exceeds the allowable range, it could cause damaged to components
of the machine. The operator should understand the situation and take preventive measures.
If welding time has exceeded the duty cycle, the machine will shut down automatically to prevent
damage caused by overheating. If this happens leave the machine turned on, which allows the
cooling fan to run. Once the machine reaches a safe operating temperature the malfunction
indicator light will go out and the machine will work as normal again.
1-800-345-4545 jegs.com7

Questions about Welding
Black welding spot
Make sure the valve on the argon cylinder is opened and its pressure is set to the proper range for
the material you’re working with.
Check torch for blocked passages.
The gas circuit should be air-tight. Air leakage will result in weld contamination
If air is flowing too powerfully in the welding environment, that can also lower weld quality by blowing
away the shielding gas.
Arc-striking is difficult and hard to maintain
Make sure the type of tungsten electrode is correct for your material.
Grind end of the tungsten electrode to taper.
Output current not to rated value
When input current is less than the required amount it will make the output current not match with the
rated value. If there is an issue with the output current of the machine verify it is receiving the proper
input current.
Current is not stabilizing when machine is being operated
Input voltage is unstable or not of the correct value.
There is EMI or RF interference from electrical wiring or other equipment affecting the machine.
Stick is burnt out
Pulse duty is too high, which causes the torch to overheat.
When welding aluminum, cannot break oxidized film
Wrong welding value (Aluminum requires AC)
Pulse duty too low
1-800-345-4545 jegs.com8

Faults
Resolvable Methods
1. Power Indicator is not lit,
cooling fan doesn’t run,
machine has no output.
1. Power switch is faulty
2. Check if electrical wire nut, which is connected to input cable,
is clean and tight.
3. Check if input cable is damaged or power source is faulty.
2. Power indicator is lit, fan
doesn’t work, machine has no
output
1. Verify power source is 220V
2. 220V power is not stable. Input cable is too small in diameter or
input cable is not connected to electrical wire nut, causing the
machine to trigger the protection circuit. Add the section of
cable and tighten input connector firmly.
3. Cable is loose from switch to power panel, check and tighten
as needed.
4. Opening and closing the power switch constantly in a short
time causes the machine to trigger the protection circuit. Close
machine and wait 2-3 minutes before opening again.
3. Fan is working, indicator is
not lit and sound of HF arc-
striking cannot be heard,
unable to strike arc on welding
surface.
1. There is a green indicator for auxiliary power on the MOS
board, if it is not on auxiliary power it should be checked.
2. Check if connectors have poor contact.
3. Check controls and verify settings on control panel are correct.
4. Check if control cable for the torch is broken or damaged.
4. Abnormal indicator is not on,
sound of HF arc-striking can be
heard, but there is no welding
output.
1. Check if torch cable is broken or damaged.
2. Check if grounding cable is broken or not connected to welding
piece.
3. Output terminal of positive electrode or torch electrical eyelet is
loose from inter-machine.
5. Abnormal indicator is not lit,
sound of HF arc-striking cannot
be heard, cannot strike arc.
1. Primary cable of arc-striking transformer is not connected to
power panel firmly, tighten it again.
2. Arc-striking tip is oxidized or too far away, check electrode tip
and air gap.
3. Control Switch (Stick / Tig welding) is damaged, or in wrong
position.
6.When welding aluminum,
cannot break oxidized film
1. Wrong welding value
2. Pulse duty too low
7. Stick is burnt out
Pulse duty is too high, reduce it.
1-800-345-4545 jegs.com9
Table of contents
Other Jegs Welding System manuals
Popular Welding System manuals by other brands
ESAB
ESAB TXH Series instruction manual
Miller
Miller HYDRACOOL 1 V.115 50/60HZ owner's manual

ELETTROLASER
ELETTROLASER MS 3.5 End-User and Maintenance Manual
Demtech
Demtech Pro-Wedge 3XL Operator's manual

Miller Electric
Miller Electric Legend 302 owner's manual
Lincoln Electric
Lincoln Electric Ranger 260MPX Operator's manual
