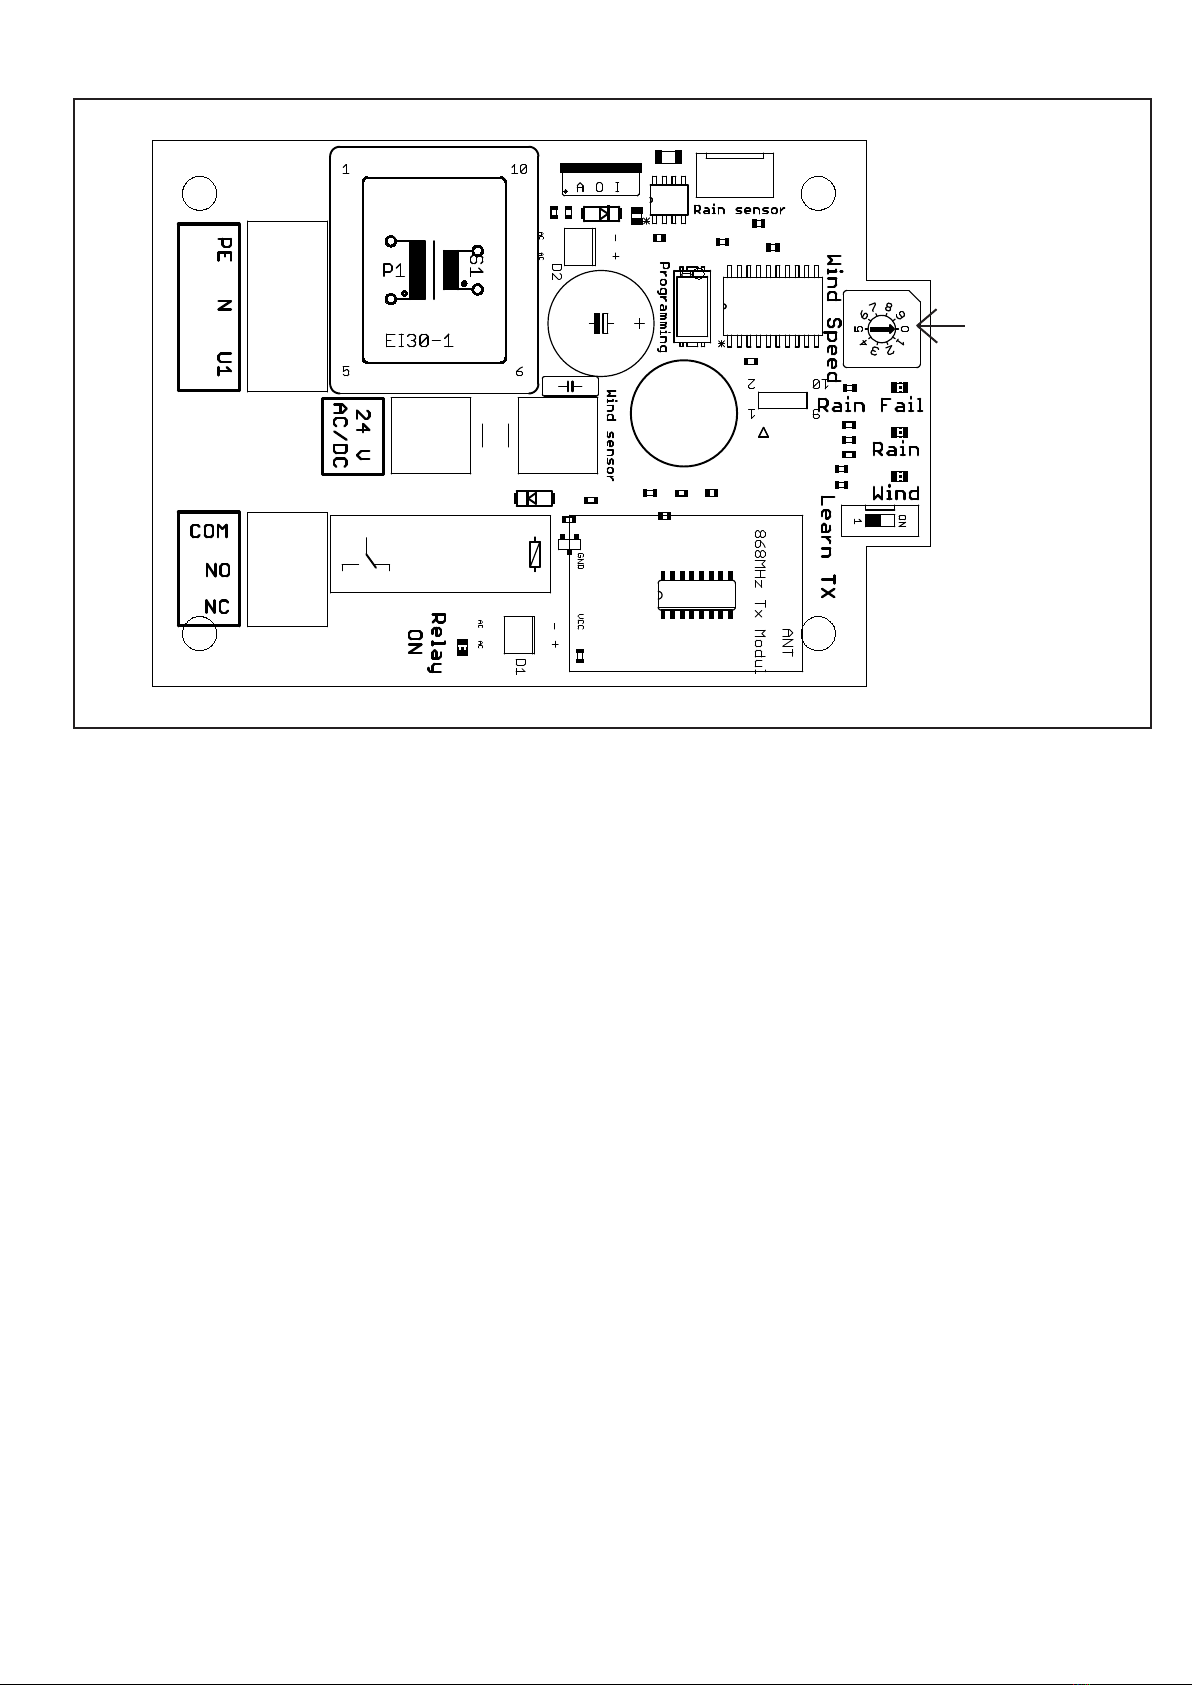
07-08-2015 08:01:39 f=1.90 H:\Teknisk afdeling\Projekt el\Wind og Rain\Actulux_Wind_Rain\Rainsensor PCB\122001 Motherboard Rev A\PCB\122001 Motherboard Rev A.brd
Einstellungen
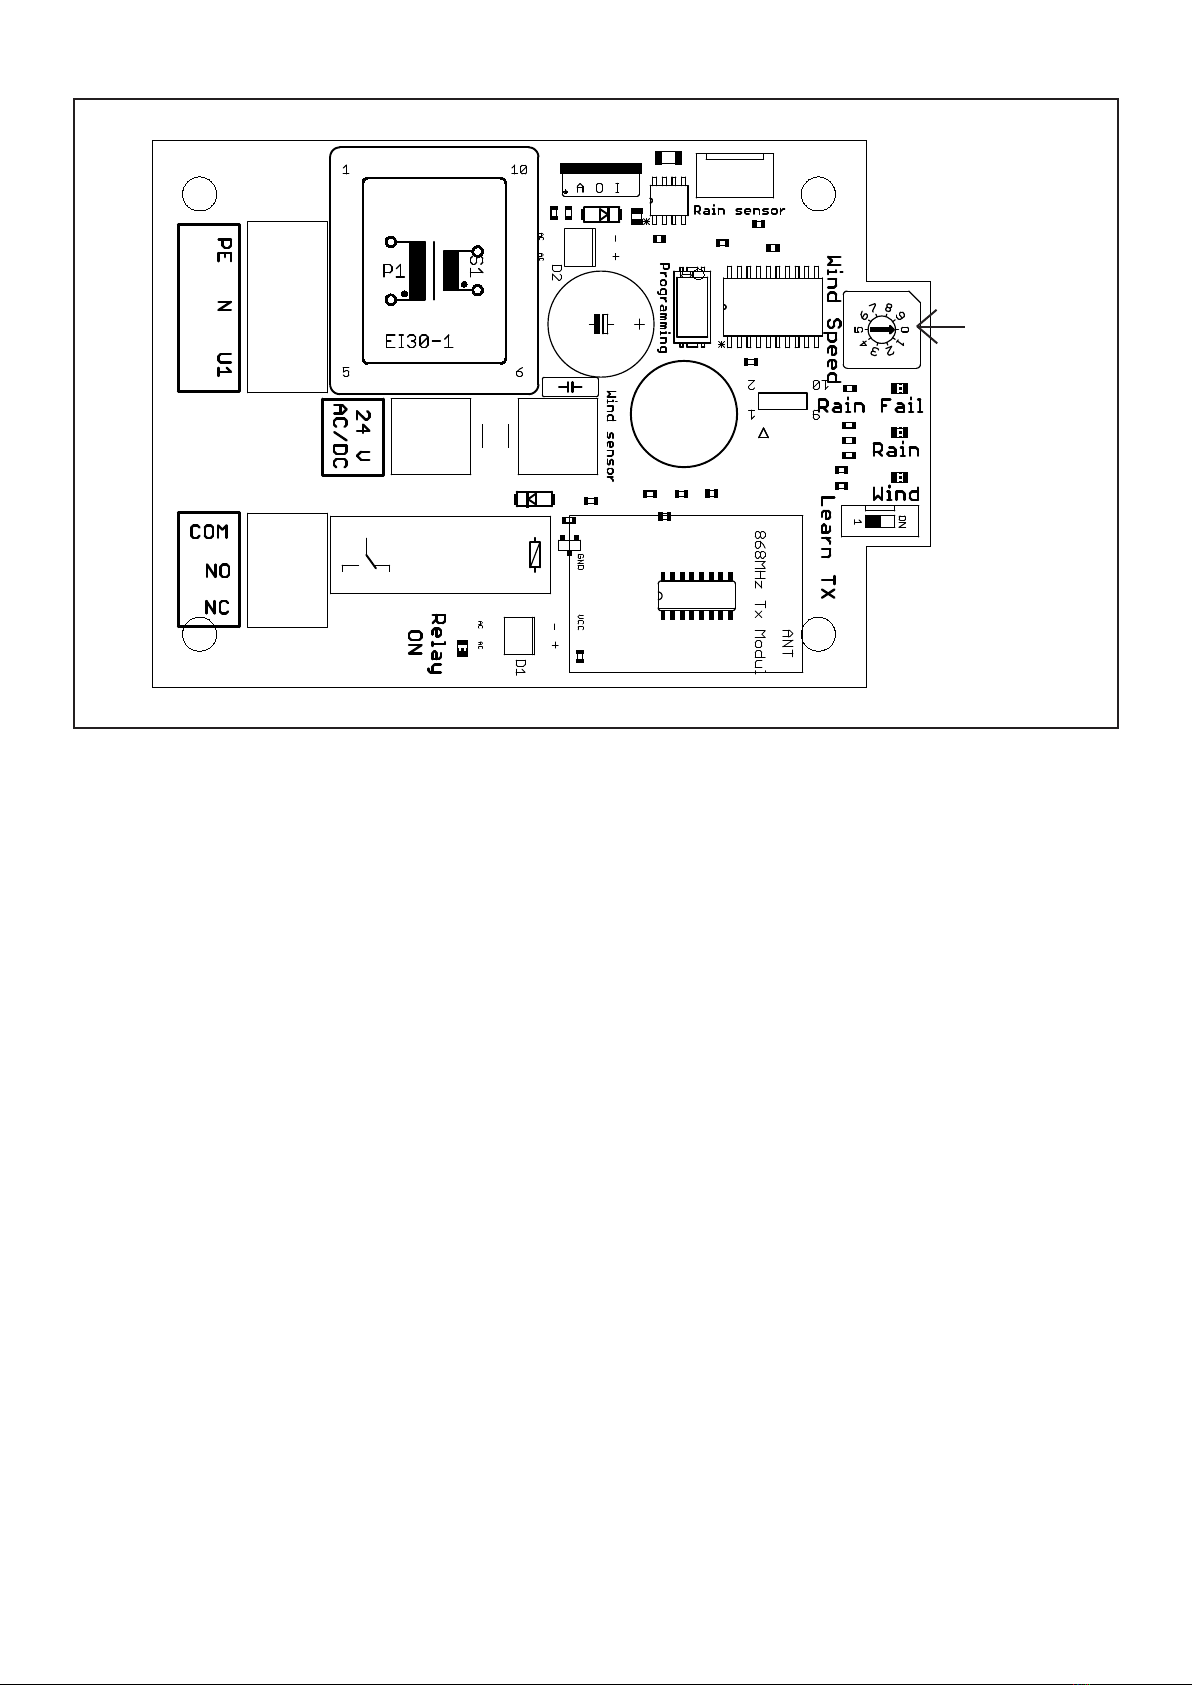
Windgeschwindigkeit
RF
option
Wichtige Informationen!
•Vor Montagebeginn bitte sorgfältig die gesamte Anleitung lesen; die Anleitung für spätere Verwendung aufbewahren.
•Der Anschluß der Steuerung ist durch Fachpersonal durchzuführen.
•
VDE 0100 für 230 Volt Netz-Anschluß beachten.
•VDE 0855 bzgl. mechanischer Festigkeit, elektrischer Sicherheit und Blitzschutz beachten (wie für Antennenanlagen)
•Vor Montage und Demontage des Sensors sowie bei Wartungs- und Servicearbeiten zuerst die Netzspannung
ausschalten und sicherstellen, dass diese nicht unabsichtlich wieder eingeschaltet werden kann.
•Wenn der Sensor aktiviert wird, schließt der Fenstermotor automatisch das Fenster. Wichtig: Nicht aus dem Fenster
lehnen, während der Strom eingeschaltet ist.
•Den Regensensor nicht anstreichen oder lackieren.
•Schmutz am Regensensor kann Funktionsstörungen zur Folge haben. Den Regensensor deshalb ein- bis zweimal
jährlich oder nach Bedarf mit einem feuchten, weichen Tuch reinigen.
Beschreibung
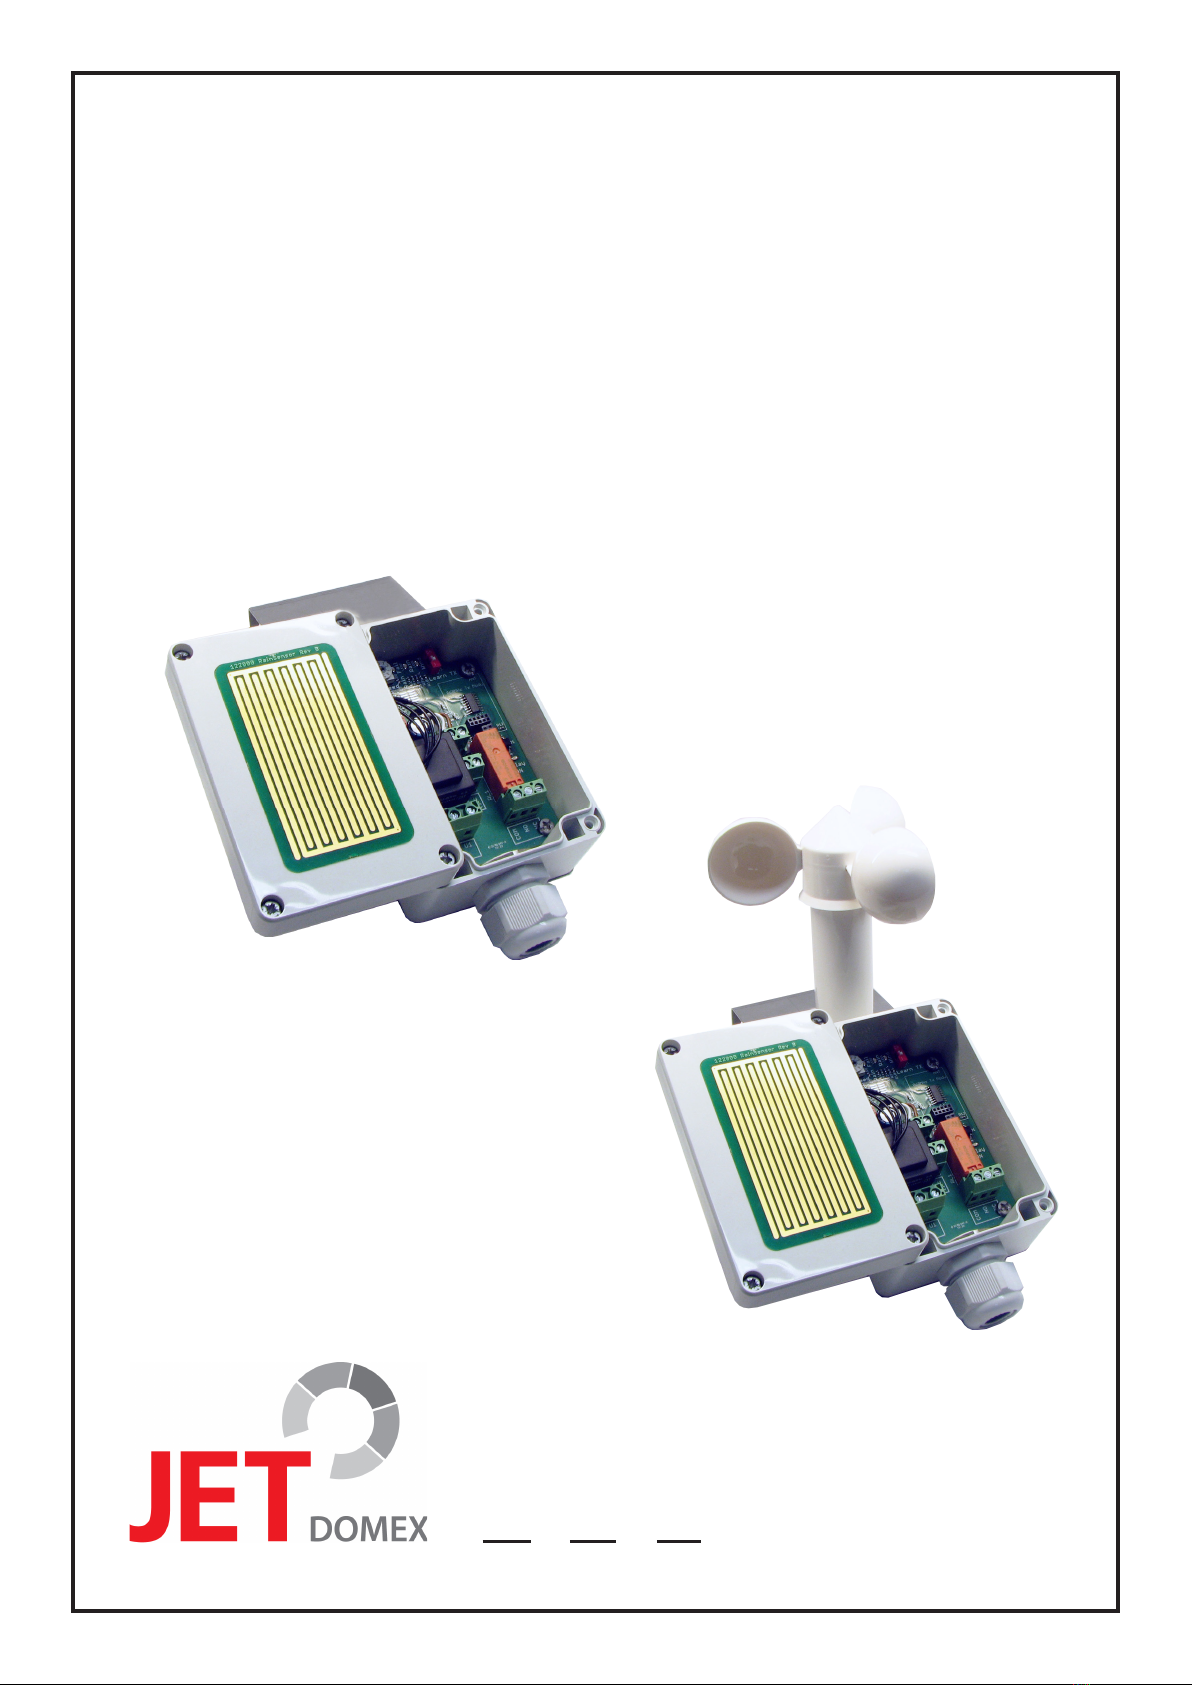
Der Wind-/ Regensensor (#5846) besteht aus einem Windrad und einer Regenfühleräche.
Er dient zur automatischen Steuerung von RWA- und Lüftungszentralen.
Der Wind-/ Regensensor ist mit einem potentialfreien Wechslerkontakt mit einer Kontaktbelastbarkeit von 250V/2A
oder 24V/2A.
Bei Wind und/oder Regen wird der Wechslerkontakt vom Ruhekontakt auf den Arbeitskontakt umgeschaltet.
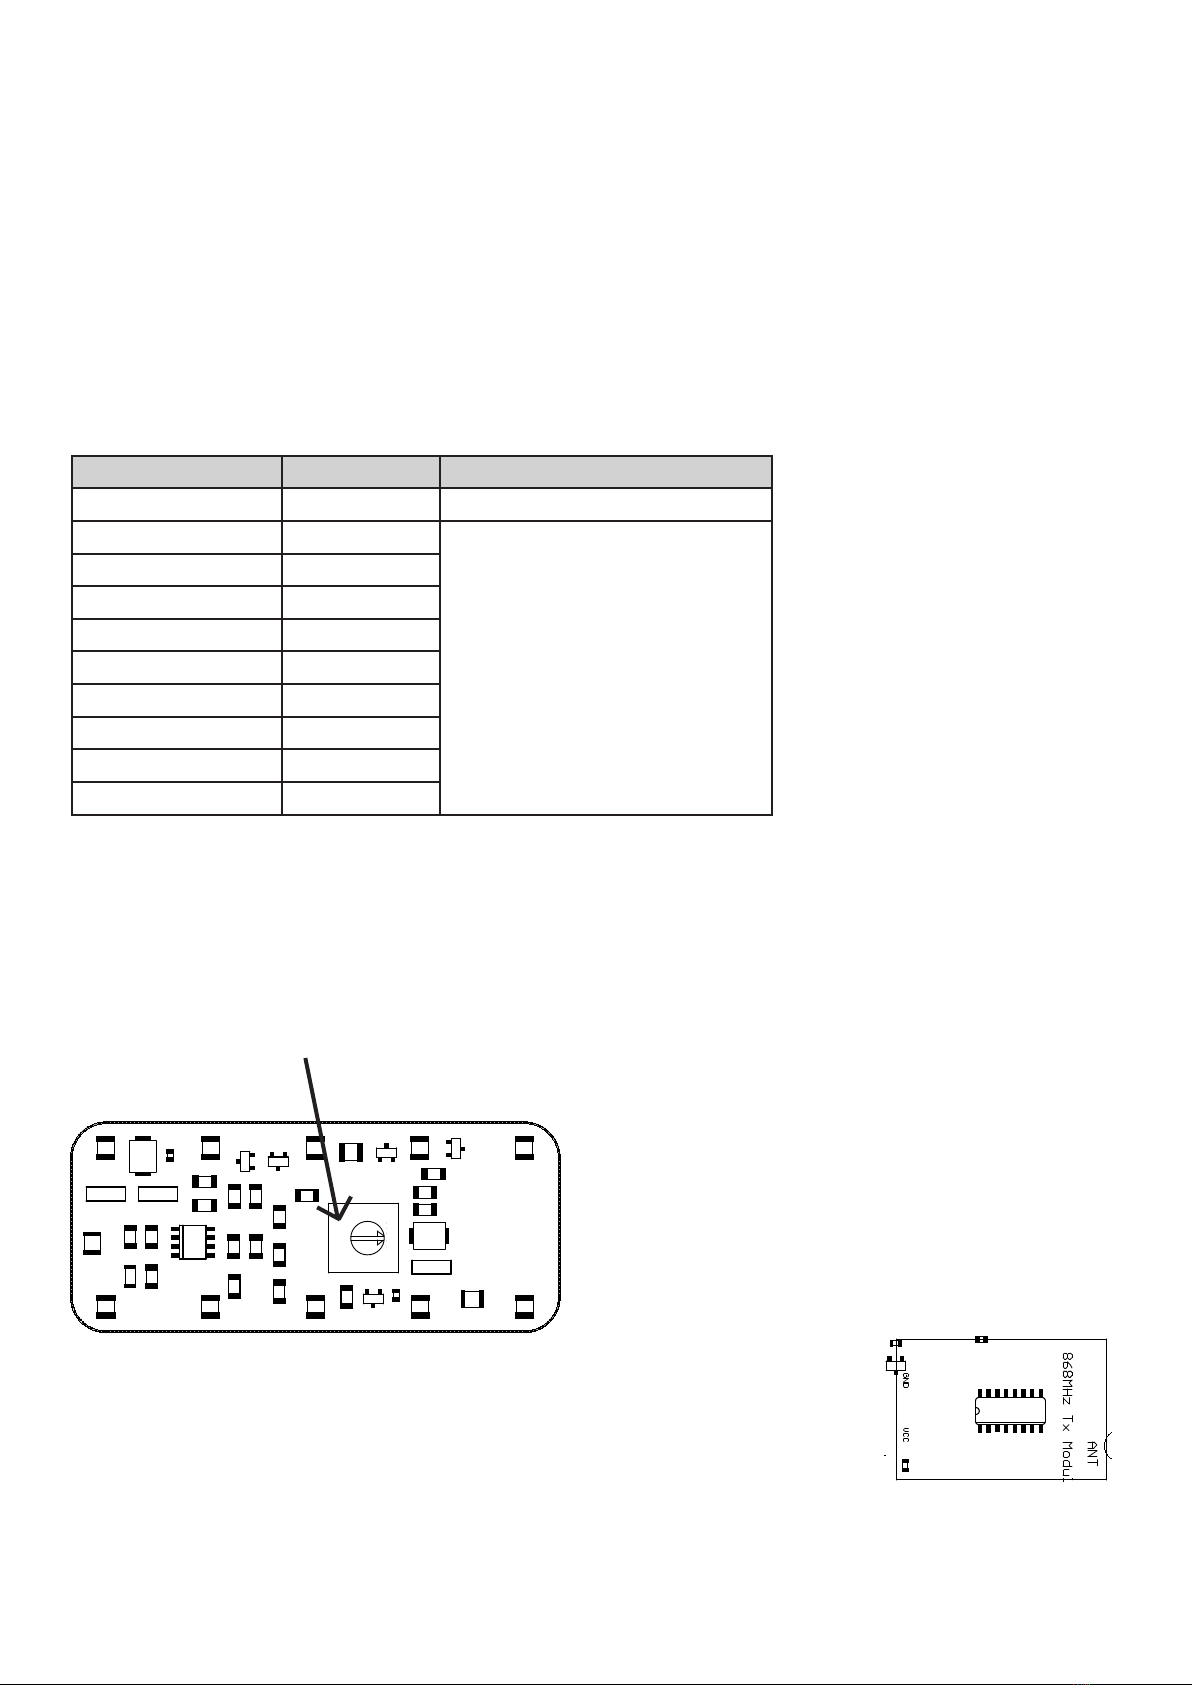
Die Einstellungen für die Windauslöseschwelle wird durch Einstellen des Drehschalters erfolgt.
Der Regensensor (#5845) besteht aus einer Regenfühleräche auf dem Sensordeckel.
Er dient zur automatischen Steuerung von RWA- und Lüftungszentralen.
Der Regensensor ist mit einem potentialfreien Wechslerkontakt mit einer Kontaktbelastbarkeit von 250V/2A
oder 24V/2A.
Bei Regen wird der Wechslerkontakt vom Ruhekontakt auf den Arbeitskontakt umgeschaltet.
Die Empndlichkeit der Regensensor kann eingestellt werden auf dem Potentiometer.