IMPORTANT: The Control Output is not a MIDI output, and should not be connected to any-
thing but the dedicated Foot Controller connector on the Johnson Amplification JM 150 and 250,
The Digitech 2112 SGS, GSP-2101, Valve FX or Legend II.
Section 2 - Basic Operation
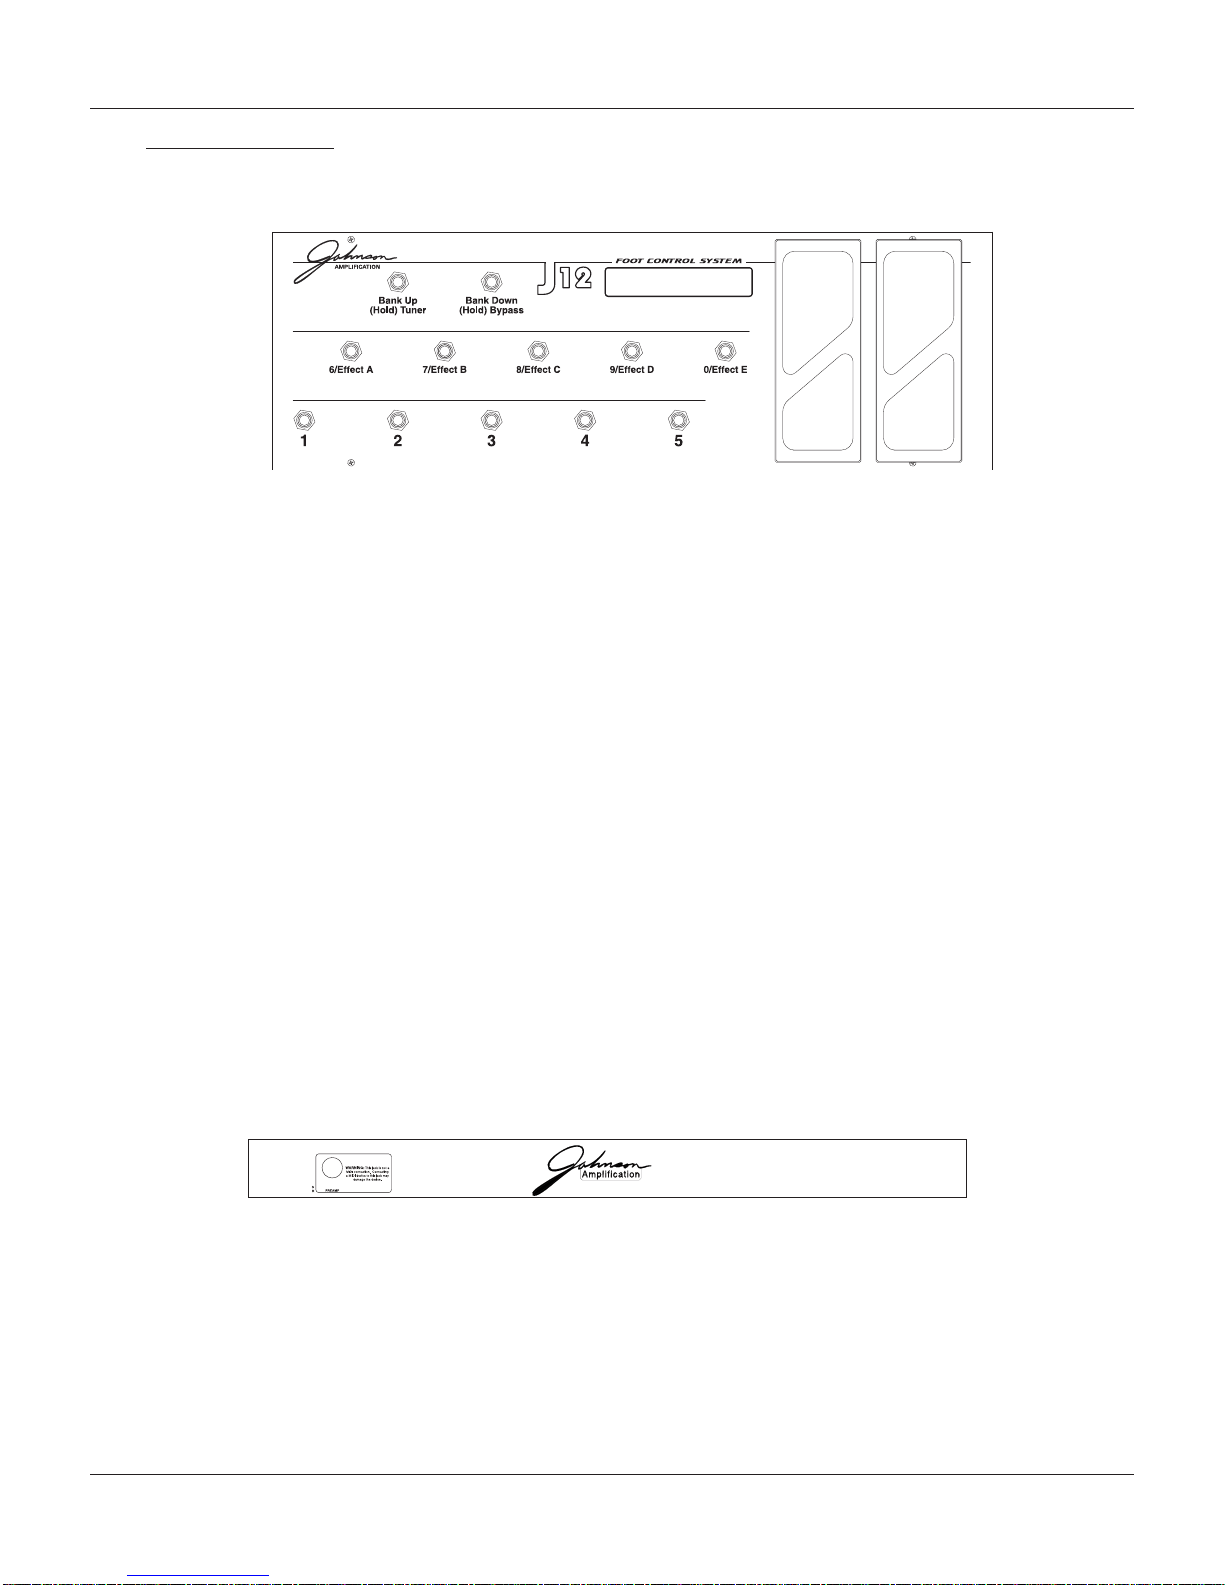
Using the J-12
Following is a basic step-by-step procedure on how to connect and use the J-12 with your 2112 SGS, GSP-2101,
Valve FX or Legend II.
• Make sure the power to your Johnson Amplification JM 150 JM 250, Digitech 2112 SGS, GSP-2101, Valve
FX or Legend II is off.
• Using a standard 5-pin DIN cable (MIDI-type), connect the Control Output to the Foot Controller input
on the rear panel of the Johnson Amplification JM 150, JM 250, Digitech 2112 SGS, GSP-2101, Valve FX
or Legend II.
WARNING: Do not connect devices other than the J-12 to the Foot Controller connector on the rear
panel of the Johnson Amplification JM 150, JM 250 Digitech 2112 SGS, GSP-2101, Valve FX or Legend
II. This is not a MIDI connection. Connecting devices other than the J-12 to the Foot Controller con-
nector may damage the device.
• When the J-12 is connected, turn the Johnson Amplification JM 150, JM 250, Digitech 2112 SGS, GSP-
2101, Valve FX or Legend II’s power switch on. Both the signal processor/preamp and the J-12 will begin
their power-up initialization sequences. When initialization is complete, the J-12’s display will show the
number and name of the currently selected Program on the Johnson Amplification JM 150, 250, Digitech
2112 SGS, GSP-2101, Valve FX or Legend II.
• To change Programs within the currently selected Bank, press one of the numbered Patch switches on the
pedalboard. The display will change to reflect the name and number of the newly selected Program.
•GSP 2101, Valve FX or Legend II only To recall any Program number, press the Program / Bank Selector
switch once and use the 0-9 pedals to enter the number of the Program you want. If the Program number you
want is lower than 100, you must press the Program / Bank Selector switch again after the number has been
entered. This tells the GSP-2101, Valve FX or Legend II that you are finished entering numbers and to initi-
ate the change.
• GSP 2101, Valve FX or Legend II only To change Banks (a Bank is a group of Programs accessed using
only the 0-9 pedals), press the Program / Bank Selector switch (the top right switch on the pedalboard)twice.
The display of the J-12 reads: BANK NUMBER X. X indicates the currently selected Bank number.
• To select a Program in the new Bank press a footswitch (0-9).
• The CC pedal is set from the factory to control at least one Parameter in almost every Program in the 2112
SGS, GSP-2101, Valve FX or Legend II. Try it in each new Program to find out what it does.
5
Section 2 - Basic Operation
J-12 Owner’s Manual