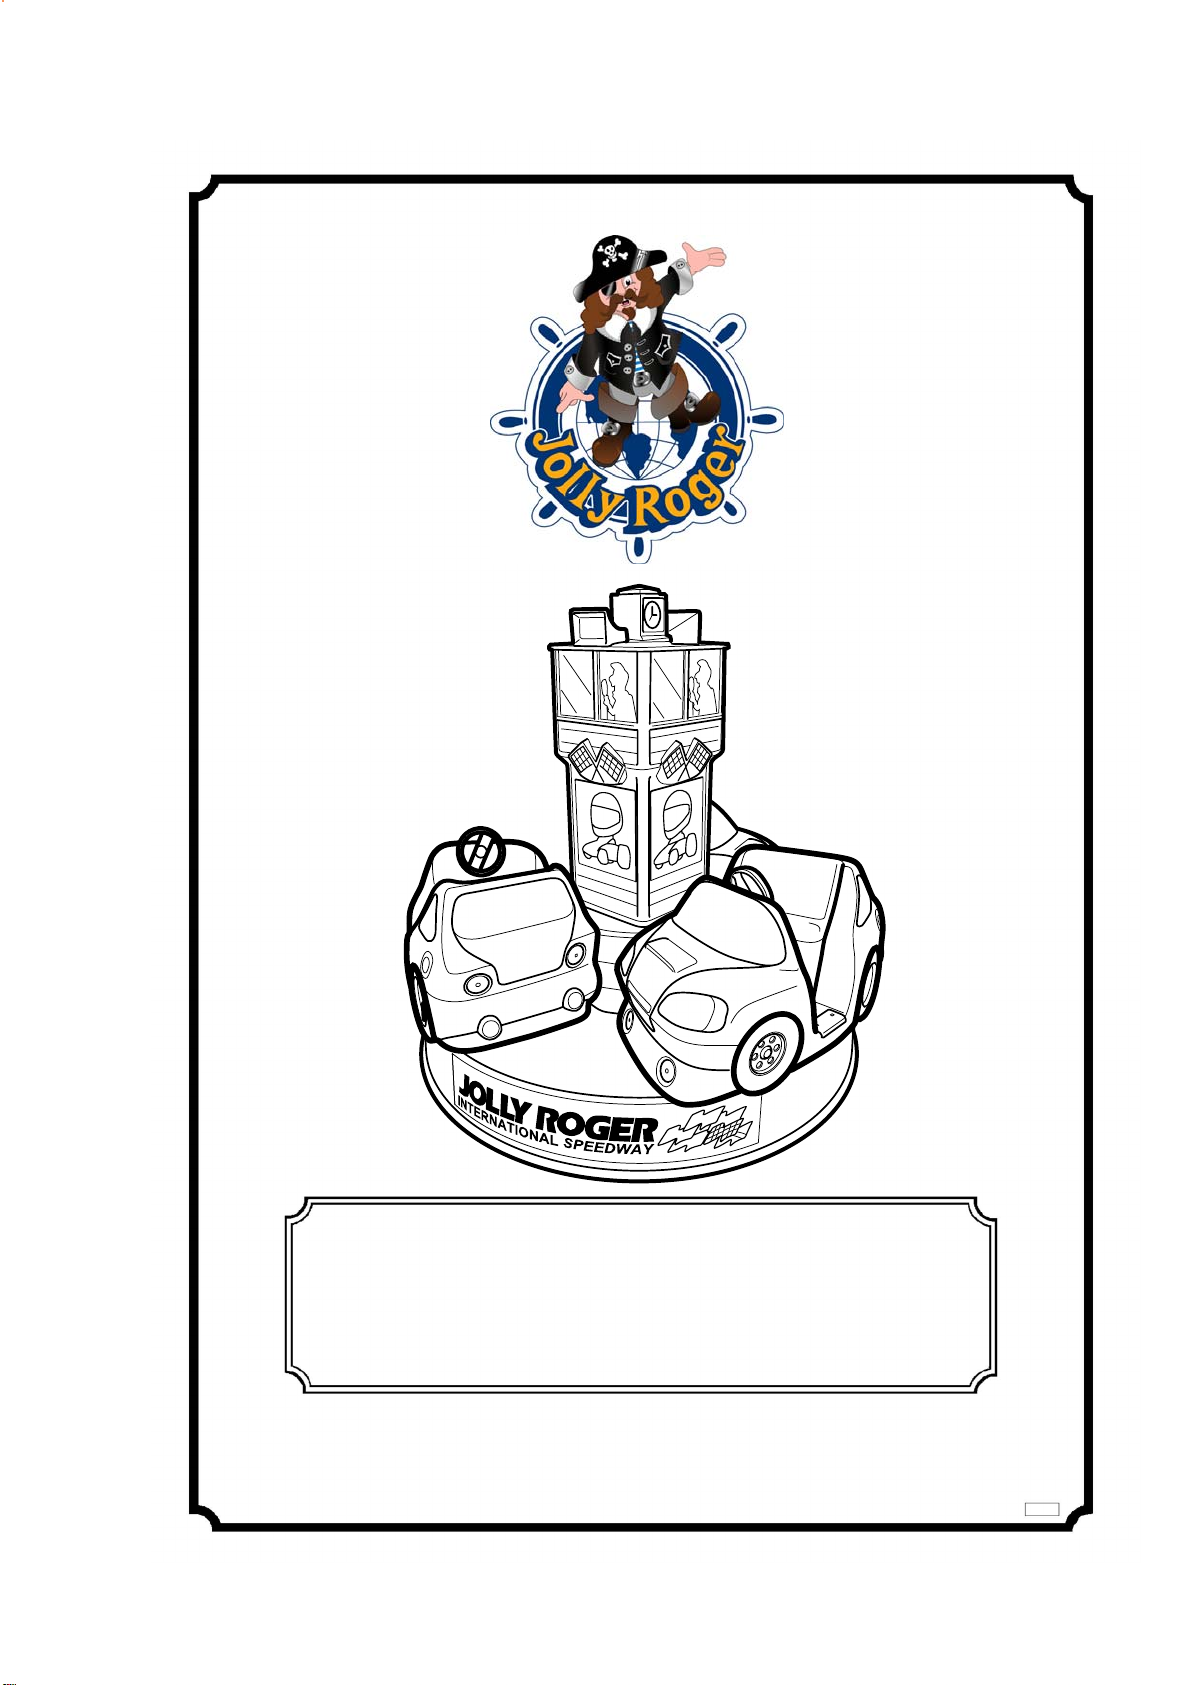
JOLLY ROGER AMUSEMENT RIDES
HEALTH AND SAFETY - CODE OF SAFE PRACTICE AT FAIRS - INDUSTRYSTANDARDS
(UNITED KINGDOM)
1.1 Ourequipmenthas beenmanufactured to thehighest standardof constructionandsafety inorder to
conformtothe H.S.E.FairgroundandAmusementParks,ACodeof Safe Practiceand the U.K.Health and
Safety at WorkAct 1974.
1.2 This machine must be earthed. (CONNECTED TO GROUND)
1.3 If a 13Amp BS1363 plug is fitted then a 5 amp fuse should be fitted. (UK only)
1.4 If the ride is to be situated outdoors, the socket outlet supplying the power should be connected by
apermanent weatherproofplugprotected bya residualcurrent circuitbreaker (RCCB)or anEarthLeakage
Circuit Breaker (ELCB) having a trip rating not exceeding 30 milliamps in 30 millisecs.
1.5 In addition to our manufacturer’s test and the daily checks every ride shall be subject to aThorough
Examination by an appointed person once every period of 14 months. (UK Health and Safety at WorkAct
- Code of Safe Practice at Fairs). The regulation applies in the UK only, however it is sound operating
practice wherever a ride is operated.
1.6 The appointed person need not be independent, but should be at least 21 years old, registered
under the Amusement Device Inspection Procedures Scheme (ADIPS) and be competent by such
qualifications, knowledge, experience and supporting services to be able to make an assessment of the
safety of the ride, including any associated equipment/parts e.g. electrical, hydraulic or pneumatic.
1.7 The appointed person should have the technical competence to recognise the significance of the
effects of stresses, loadings and fatigue and also be competent to determine the extent of permissible
wear.
1.8 TheThorough Examinationistobecarried outbyaregisteredbody inaccordancewiththeregulations
laid down in the Health and Safety at WorkAct 1974 (Fairgrounds and Amusements Parks-Guidance on
Safe Practice, HSG 175). A Report of Inspection is to be completed after the Thorough Examination.
(Applicable in UK only).
1.9 On completion of the Thorough Examination, a Declaration of Operational Compliance (DOC)
certificate is to be issued which must be retained for a period of ten years and be available for inspection
bythe HealthandSafetyInspectorateand/or theappropriateofficerof theEnvironmentalHealthDepartment
of a Local authority. (Applicable in UK only).
ALWAYS DISCONNECT THE MACHINE FROM THE POWER SUPPLY BEFORE
CARRYING OUT ANY SERVICE OR REPAIR.
1.10 Ifconsiderednecessary,furtherprotection tothe powersupplymay beaffordedbyconduit, trunking,
or rubber protector strip with tapered edges and non-slip ribbed bases. Care is needed to avoid a tripping
hazard.
1.11 The Kiddie Rides should be so sited that the length of cable between the ride and socket outlet is a
minimum.Forfloor mountedsocket outlets,the ride maybe positioned sothat thereisvirtually noexposed
cable.
1.12 Galvanised steel braided armoured cable and flexible copper braided cable cannot be satisfactorily
terminated in a 13 amp standard (BS 1363) plug. Such cables can be terminated in industrial type plugs
BS 196 or BS 4343 or equivalent, but these require the special suitable sockets. (Applicable in UK only).
Page 3