GUARANTEE
Register for 24 Month Warranty on-line at http://www.jpltele.com/product-registration.
Your JPL product has been carefully manufactured and 100% tested using high quality assured
components. It is guaranteed against faulty workmanship and materials for a period of 24 months
from the date of purchase. In the unlikely event that a failure should occur, please contact the JPL
dealer from which you purchased this product or visit www.jpltele.com and follow our product
returns procedure. You will be given a RMA number and instructions on how to return your headset.
Further help can be found on-line at www.jpltele.com on our FAQs page.
Note: Removing the factory-applied warranty label on the back of the control unit will void the
warranty. Specically exempt from warranty are limited-life consumable components subject to
normal wear and tear, such as microphone windscreens, ear cushions and other accessories. Your
statutory rights under common law are in no way aected by this guarantee. The warranty does
not cover cosmetic damage or damage due to misuse, abuse, negligence, acts of nature, accident,
disassembling or modication of, or to any part of, the product. The warranty does not cover damage
due to improper operation, maintenance or installation, or attempted repair by anyone other than
JPL Telecom. Any unauthorised repairs will void this warranty.
LIMITED WARRANTY
Consequential and incidental damages, including without limitation, loss of property and those
arising from breach of any express or implied warranty, are not the responsibility of JPL Telecom and
to the extent permitted by law, are excluded.
In accordance with its policy of progressive product design, JPL Telecom reserves the right to
change product specications without prior notice.
* Repair or replacement is at the discretion of the manufacturer.
REGISTERED ADDRESS
UK Oice: JPL Telecom Limited
Unit 1, Church Close Business Park, Church Close, Todber, Sturminster Newton,
Dorset, DT10 1JH England
USA Oice: JPL Telecom Holdings LLC
445 W Merritt Ave, Merritt Island, FL 32953, USA
Mexico Oice: JPL Telecom Mexico
Buon 46-604, Col. Nueva Anzures, Delg. Miguel Hidalgo C.P. 11590
Registered in England No. 5250754
(NB. For product returns, please follow instructions and returns department address provided on our website.
Returned products received at the registered addresses are likely to be returned to sender).
www.jpltele.com
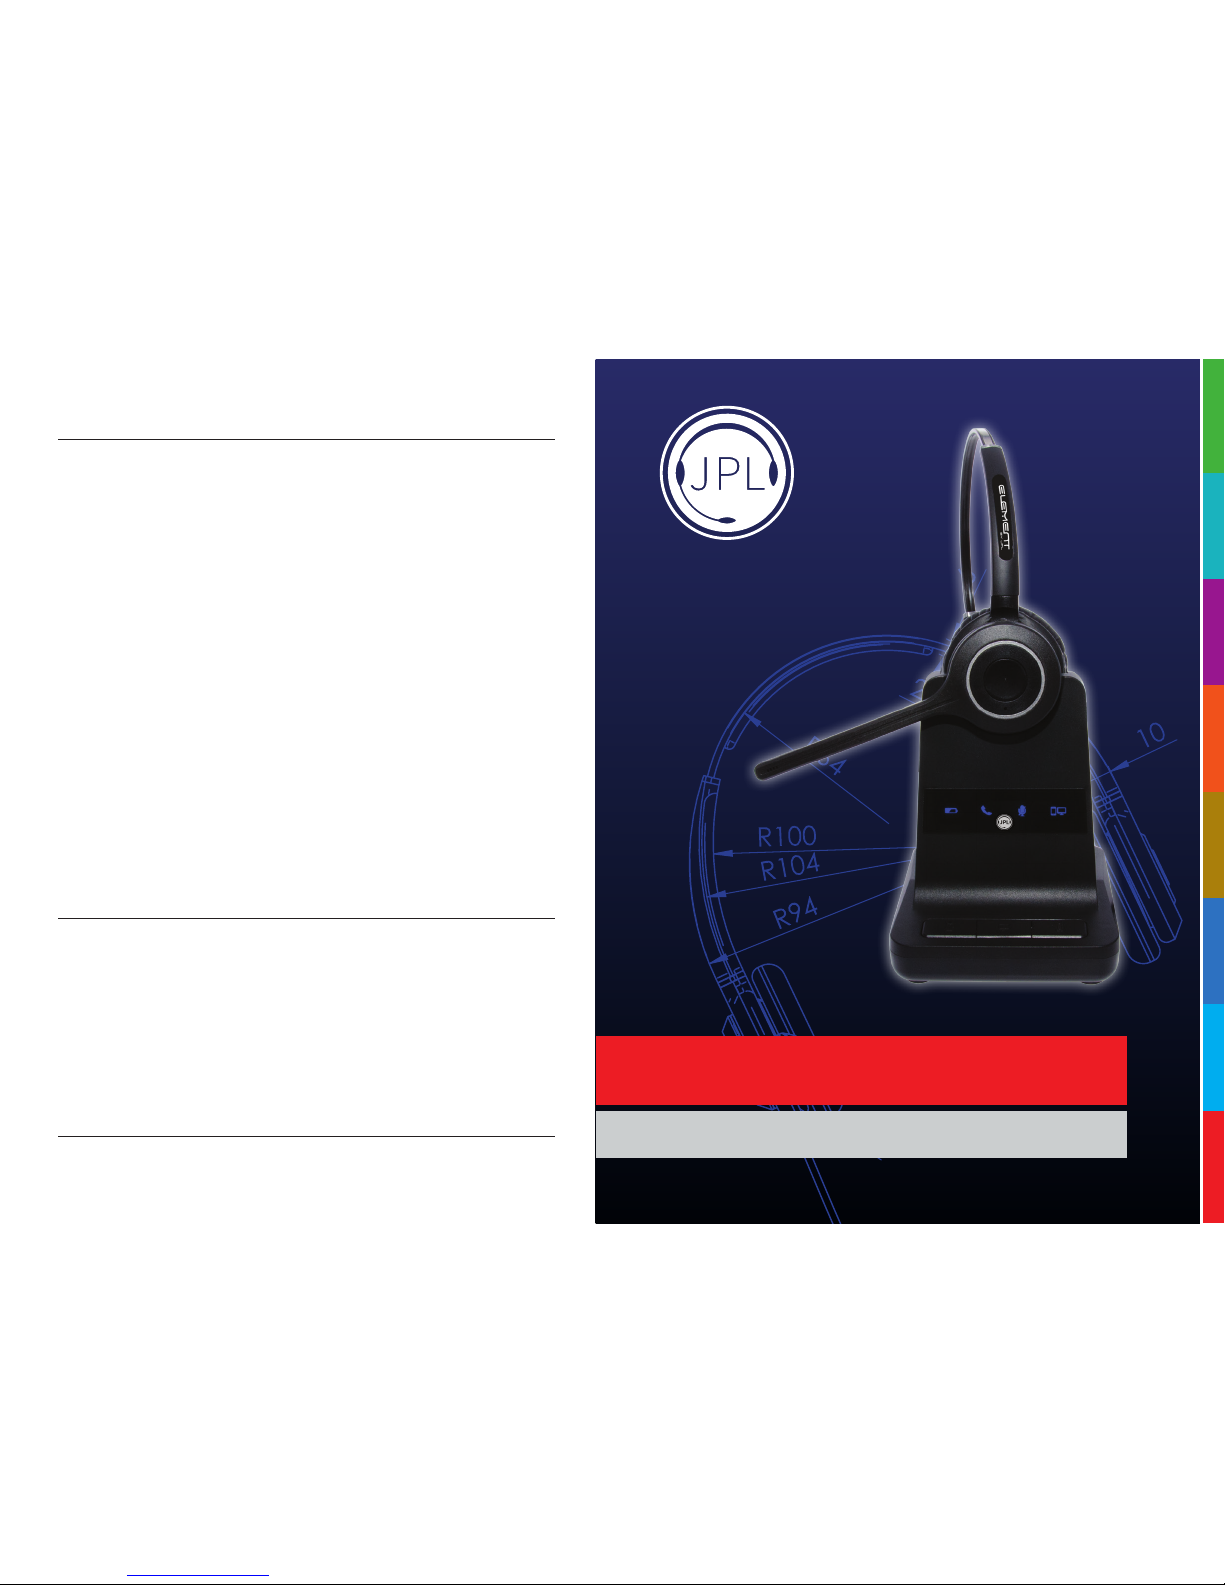
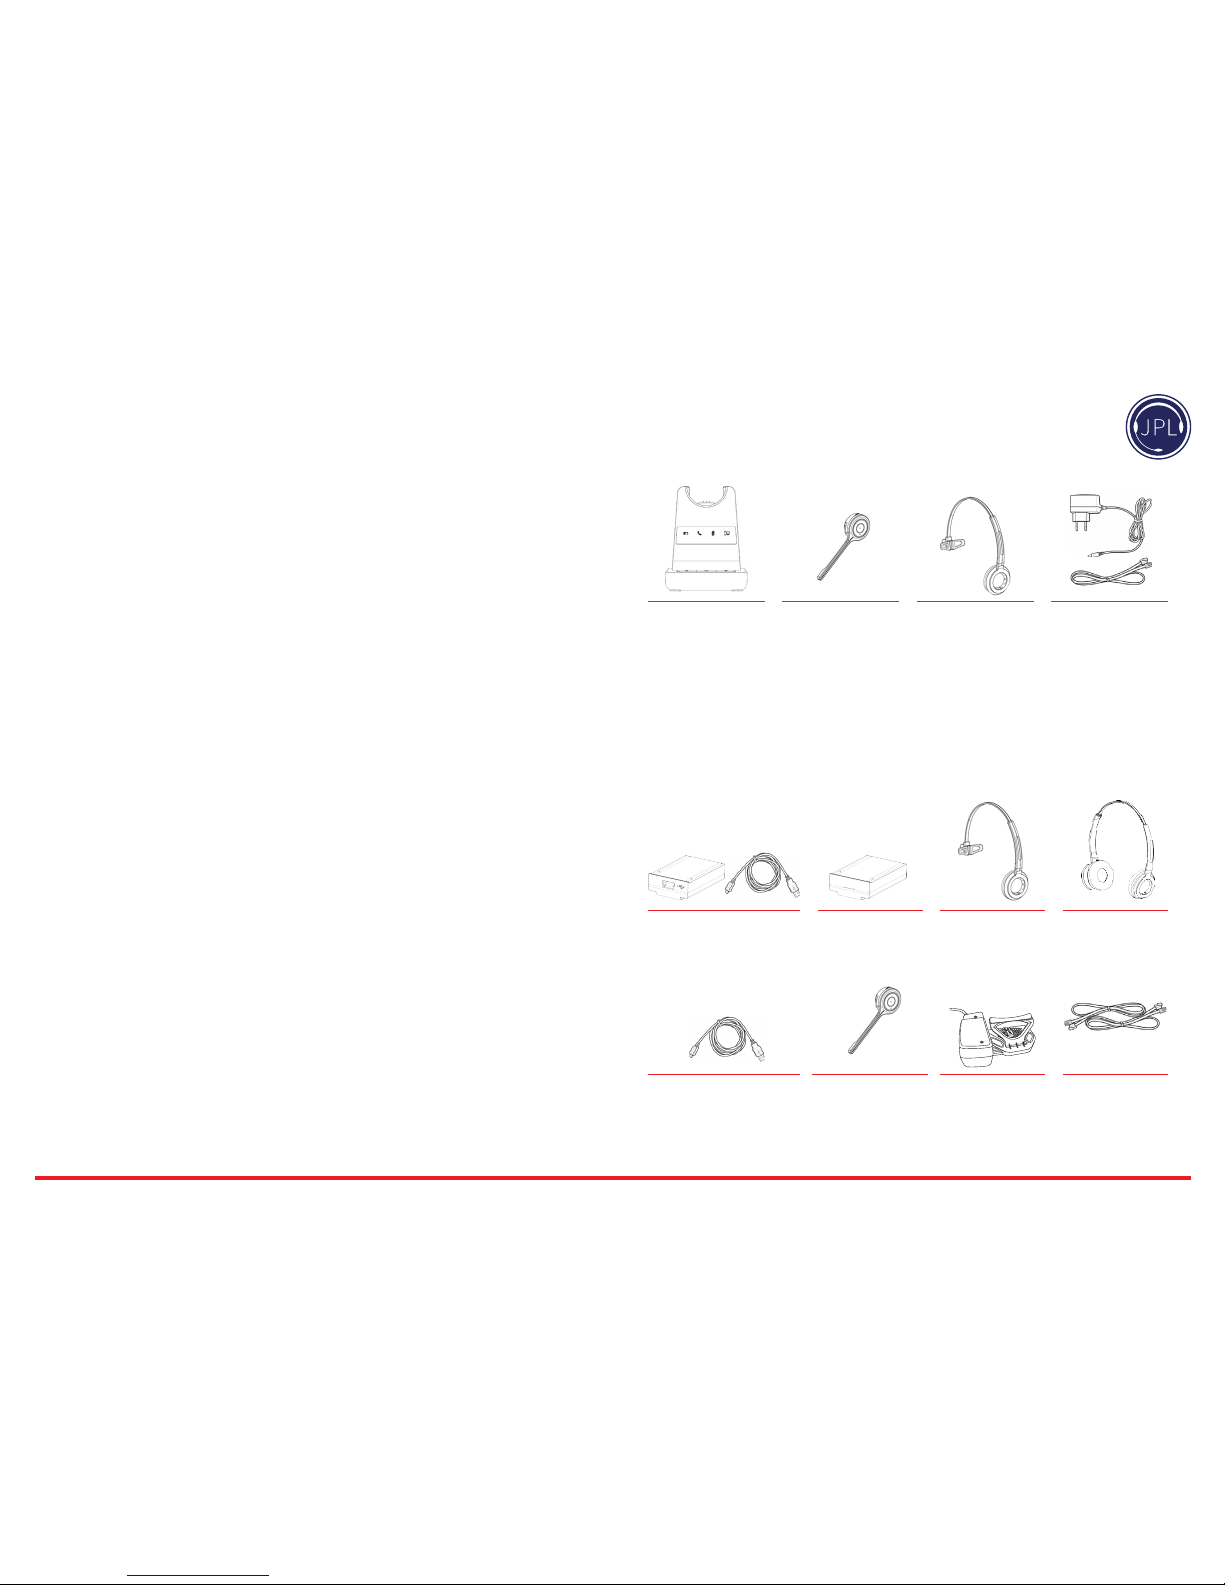
JPL-Element-X500
User Guide