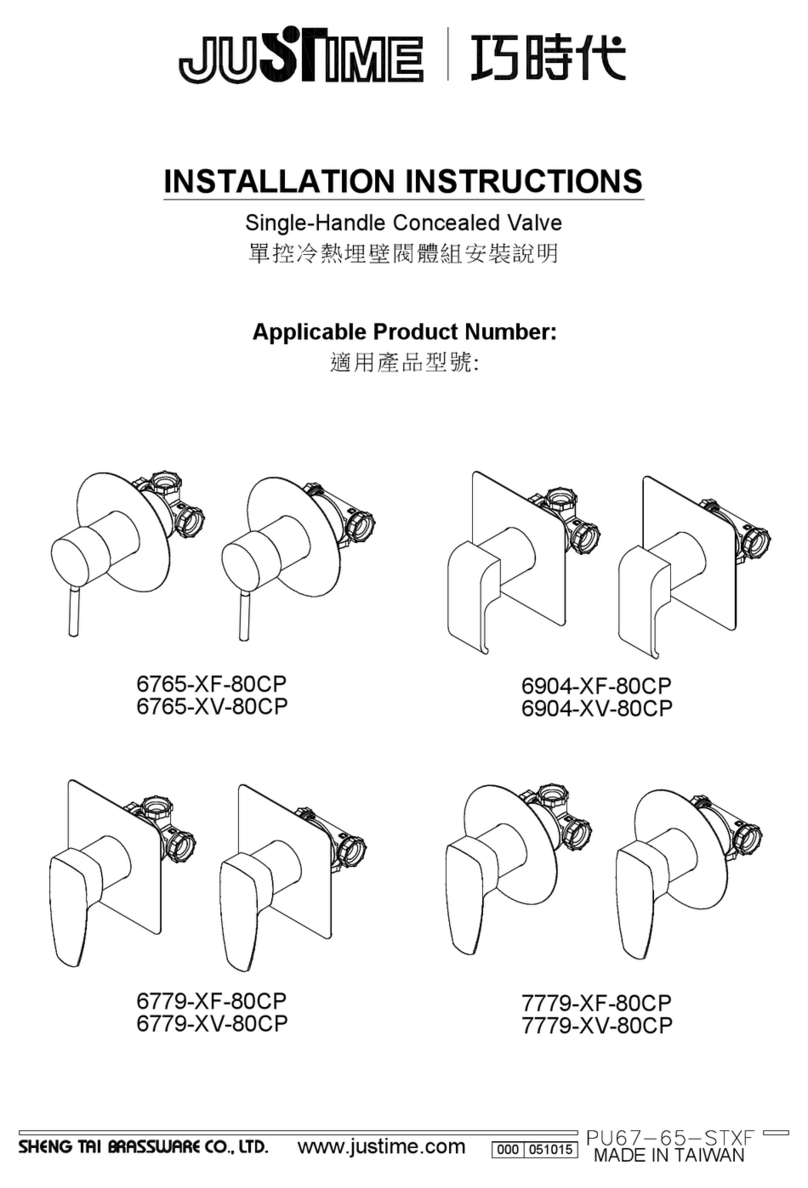
Justime 6777-92-81CP User manual

www.justime.com
MADE IN TAIWAN
040917000
INSTALLATION INSTRUCTIONS
Wall-Mounted Basin Mi er & Two-Handle Valve
壁式檯面龍頭&壁式雙把手閥體安裝說明
Applicable Product Number:
適用產品型號:
6777-92-81CP 6777-9H-81CP
6777-9H-82CP

1. Always follow the INSTALLATION INSTRUCTIONS provided and
use extre e care while installing.
2. Do not use acid cleaning solution or abrasive cleaner (Ex:
Hydrochloric acid or toothpaste); test your cleaning solution on an
inconspicuous area before applying to the entire surface.
3. Wipe surfaces clean and rinse co pletely with water i ediately
after applying cleaner. Do not soak with cleaners. Rinse and dry any
overspray that lands on nearby surfaces.
4. Use a da pened sponge or cloth to clean surface. (Do not use
abrasive aterial such as brush or scouring pad. )
1. 產品安裝時必須依照產品所附的安裝說明和操作方式安裝。
2. 不可使用含有酸 或具研磨效果的清潔劑清洗(例如:鹽酸、牙
膏),請先在產品較不顯眼的地方測試您的清潔方法,然後再應用
到整個表面。
3. 產品塗佈清潔劑後,應立即擦拭除污,用清水沖洗,並擦乾產品
和檯面。切勿讓清潔劑在產品表面浸濕潤漬過久。
4. 請使用濕海綿或乾淨棉布擦拭產品表面。(不可使用會刮傷或具
研磨材質的刷子及鋼刷)。
CAUTION : This product might be damaged by improper
installation, acid cleaning solution, misuse, improper care and
cleaning.
注意:此產品有可能因為不當安裝,誤用酸 清潔劑或清潔方式不
正確而造成產品受損。
CARE CLEANING
清潔與保養

A. Valve Body X 1
(with sleeve)
牆壁內本體(含保護套筒)
FIXING CONTENTS
組配件內容
B. Base of Handle × 2
(with Packing)
把手座(含墊片)
C. Handle × 1
(with ed Mark)
把手蓋(紅色標示)
D. Handle × 1
(with Blue Mark)
把手蓋(藍色標示)
O O

FIXING CONTENTS
組配件內容
E. Connector X 1
(with Gasket)
接頭組
H. Spout X 1
出水口
F. Nipple X 2
牙管
G. Flange X 1
(with O Ring)
法蘭蓋(含O-ring)
J. Key for Aerator X 1
起泡頭組裝器
I. Hex. Key (2.5mm) X 1
六角扳手(2. mm)
以下零件適用於6777-92-81CP
FIXING CONTENTS For
6777-92-81CP

INSTALLATION NOTE
安裝注意事項
! CAUTION : Please read the following point carefully efore
Installation.
1. Keep the
Valve Body
is horizontal and parallel to the wall that will
be finished.
2. Connect hot and cold supply pipes to the
Valve Body
, and keep
the distance between 2” (5c ) ini u and 3” (7.6c ) axi u fro
the Finished Wall to the center of
Valve Body
; or keep the distance
be 0.4 “ (1.1c ) to 1.5” (3.7c ) between top of cartridge and Finished
Wall for necessary conditions.
! CAUTION : Prevent the risk of product damage.
1. When finished installation, turn the valve on and run water for 1
inute to re ove any debris before using.
! 注意:安裝前,請詳閱下列注意事項。
1. 本產品安裝固定閥體於牆壁內側 ,閥體需與牆壁保持平行。
2. 進水管中心與最終完成牆面的距離須保持在最小2"(5cm)到最大
3"(7.6cm)之間,或陶瓷中心栓與最終完成牆面保持在最小
0.4"(1.1cm)到最大1.5"(3.7cm)。
! 注意:為增加產品使用壽命,請依說明清潔供水管路。
1. 完成安裝後,需在使用前先把供水開關全開排水持續一分鐘,去
除雜質,以保持管路清潔。

Finished Wall
最終完成牆面
2"(5cm)MIN
3"(7.6cm)MAX
Water Supplies
進水端

INSTALLATION INSTRUCTIONS
安裝說明
hot water supply
熱水供水管路
cold water supply
冷水供水管路
Sleeve
套筒
A. Valve Body
牆壁內本體
Cover
保護蓋
* Use
Sleeves
to protect the cartridge and thread before installation,
and
Sleeves
could be removed only after complete the finished wall.
使用套筒保護陶瓷中心栓及螺牙,必須在安 程序前先套上。完成
埋壁體安 程序後才可以取下套筒。
* Remove the Covers of cold and hot inlets before installation.
安 前請先移除冷熱水進水口保護蓋。
* Install hot and cold water supply pipes as figure shows.
依圖示,安 冷熱供水管路。

* Connect hot and cold supply pipes to the
Valve Body
, and keep the
distance between 2” (5cm) minimum and 3” (7.6cm) ma imum from the
Finished Wall to the center of
Valve Body
; or keep the distance be 0.4
“ (1.1cm) to 1.5” (3.7cm) between top of cartridge and Finished Wall for
necessary conditions.
安裝牆壁內本體時需預留的牆壁厚度,牆壁內本體與最終完成牆面
的距離須保持在最小2"( cm)到最大3"(7.6cm)之間,或陶瓷中心栓與
最終完成牆面保持在最小0.4"(1.1cm)到最大1. "(3.7cm),此為安裝必
要條件。
2"(5cm)MIN
3"(7.6cm)MAX
0.4"(1.1cm)MIN
1.5"(3.7cm)MAX
Finished Wall
最終完成牆面
Finished Wall
最終完成牆面
Water Supplies
進水端

根據保護蓋凸出牆面的距離,牙管(長)適用於
0.3"(0.8cm)~0.7"(1. cm)的凸出範圍;牙管(短)適用於
0.7"(1. cm)~1.3"(3.4cm)的凸出範圍。
0.7"(1.9cm)~1.3"(3.4cm)0.3"(0.8cm)~0.7"(1.9cm)
or
Available distance for different Nipple
牙管適用距離
* Available distance from Finis ed Wall for
Nipple (Long)
is
0.3"(0.8cm)~0.7"(1.9cm); for
Nipple (Short)
is
0.7"(1.9cm)~1.3"(3.4cm).
Nipple (Long)
牙管(長)
Nipple (Short)
牙管(短)
Finished Wall
最終完成牆面
Distance from
Finished Wall
凸出距離
Installation Steps For
:
以下步驟適用於產品編號:
6777 92 81CP

選擇適合的牙管後,纏上止洩帶鎖入牆內閥體。再將法蘭蓋接頭穿
過墊 後鎖入牙管。若不慎忘記選用的零件,可利用預埋孔的深度
再進行確認。
or
F. Nipple
牙管
E. Connector
with Gasket
法蘭蓋接頭
* Choose proper
Nipple
, apply the pipe compound or thread sealant
tape and then screw it to the
Valve Body
. Screw and tighten
Connector with Gasket
to the
Nipple
. In case of forgetting the
choosing parts, it could be checked again by the depth of Valve Body.
Choose the proper Nipple
by the depth of Valve
Body.
藉由預埋孔可再次確認
適用的牙管

根據牆內閥體的埋入距離,牙管(短)適用於0.8"(2.1cm)~1.4"(3. cm)的
埋入範圍;牙管(長)適用於1.4"(3. cm)~1.8"(4. cm)的埋入範圍。
0.8"(2.1cm)~1.4"(3.6cm) 1.4"(3.6cm)~1.8"(4.6cm)
or
Available distance for different Nipple
牙管適用距離
* Available distance from Finis ed Wall for
Nipple (Short)
is
0.8"(2.1cm)~1.4"(3.6cm); for
Nipple(Long)
is
1.4(3.6cm)~1.6"(4.6cm).
Nipple (Long)
牙管(長)
Nipple (Short)
牙管(短)
Finished Wall
最終完成牆面
Distance From
Finished Wall
埋入距離

將出水口插入牆內閥體,確定方向後鎖緊法蘭蓋底座的螺絲固定,
最後鎖入法蘭蓋即可。
G. Flange
法蘭蓋
H. Spout
出水口
I. Hex. Key (3.0mm)
六角扳手(3.0mm)
Set Screw X2
螺絲
* Insert the
Spout
into the
Valve ody
, confirm the direction of
Spout
, tighten the
set screws
of
Connector
to fix the
Spout
,
and then screw
Flange with O-Ring
to the
Connector
.
O-Ring

* Screw the
Base of Handle
to the shanks of
hot and cold valves
till against finished wall.
將冷熱水開關轉至關水位置,熱水開關順時鐘轉到底關閉,冷水開
關逆時鐘轉到底關閉。接著取把手座鎖入左右牙管 鎖緊。
close
hot valve
熱水開關
cold valve
冷水開關
關
close
關
B. Base of Handle
把手座

C. Handle × 1
(with Red Mark)
把手蓋(紅色標示)
D. Handle × 1
(with Blue Mark)
把手蓋(藍色標示)
* Confirm
Hot Valve
and
Cold Valve
have been turned to closed
position before install the
Handle
. Press both hot and cold
Handles
onto valve spindles until hear the click sound as the figure shows.
確認冷熱水開關已轉至關水位置。將把手桿保持在水平位置組入
心栓,壓到底之後會有喀噠聲,表示安裝完成。

cold water supply
冷水供水管路
hot water supply
熱水供水管路
outlet
出水管路
* Install hot and cold water supply pipes and outlet.
依圖示,安裝冷熱供水管路,與出水管路。
Installation Steps For
:
以下步驟適用於產品編號:
6777-9H-81CP

* Install hot and cold water supply pipes and outlet.
依圖示,安裝冷熱供水管路,與出水管路。
cold water supply
冷水供水管路
hot water supply
熱水供水管路
outlet
出水管路
Installation Steps For
:
以下步驟適用於產品編號:
6777-9H-82CP

* Screw the
Base of Handle
to the shanks of
hot and cold valves
till against finished wall.
將冷熱水開關轉至關水位置,熱水開關順時鐘轉到底關閉,冷水開
關逆時鐘轉到底關閉。接著取把手座鎖入左右牙管 鎖緊。
close
hot valve
熱水開關
cold valve
冷水開關
關
close
關
B. Base of Handle
把手座

C. Handle × 1
(with Red Mark)
把手蓋(紅色標示)
D. Handle × 1
(with Blue Mark)
把手蓋(藍色標示)
* Confirm
Hot Valve
and
Cold Valve
have been turned to closed
position before install the
Handle
. Press both hot and cold
Handles
onto valve spindles until hear the click sound as the figure shows.
確認冷熱水開關已轉至關水位置。將把手桿保持在水平位置組入
心栓,壓到底之後會有喀噠聲,表示安裝完成。

完成圖
Finish Installation
6777-92-81CP
6777-9H-81CP
6777-9H-82CP

Sheng Tai Brassware Co., Ltd. offer a three-year warranty on all of the Faucets & Bathroom
Accessories from date of purchasing. The warranty co ers any defect in material and workmanship
during normal residential use. The following conditions of defect are charged for maintaining.
●
Damage caused by accident, misuse, improper care and cleaning.
●
Improper using or installation.
●
Defects because of the external factors, such as erodent en ironment (ex. Seashore or mineral
spring.),animal bites or dead body remains in product etc.
●
Defect because of sand or impurity stuck in faucet water way.
●
Using water not adhered to the regulations of national standard.
●
Deficiency caused by freeze.
●
Not showing this warranty card.
●
Not filling out in the blank of name of customer, date of purchase, cost of purchase, company of
installation (retail store) and stamp on warranty card.
●
Sheng Tai Co., Ltd. is not responsible for labor charges, installation, or other incidental or
consequential costs.
No.99 Sec.3 Chang Tsao Rd. Ho Me, Chang Hua, Taiwan
508
台灣彰化縣和美鎮彰草路
3
段
99
號
TEL: +886-4-7629971~4
FAX: +886-4-7526980
E-mail: [email protected]
Facebook: www.facebook.com/JUSTIME
w w w . j u s t i m e . c o m
Customer
Product
Purchase place
Purchase Date
Purchase Price
Name
Address
Serial No.
Warranty
Store
Address
Tel
Name
Tel
勝泰衛材股份有限公司提供所有的水龍頭及浴室配件,從購買之日起 年保固。保固範圍包括在一
般住宅正常使用的期間,發現產品有任何材質和加工上的瑕疵。如瑕疵有下列情形,將收取維修費
用。
● 因意外事故、 不當操作使用,不當的保 養維護和清洗所造成的損害。
● 不當使用或安裝。
● 外在因素造成 產品的瑕疵,如易造成侵 蝕的環境(如濱海或溫泉地區 )、動物囓咬或屍體存在
於產品內造成的損壞。
● 因砂子或雜質卡住水龍頭水路造成的損壞。
● 沒有依循國家標準的規定使用水源造成的損壞。
● 因冰凍造成的水量不足。
● 未出示此保固卡。
● 未在空白處填 寫客戶名稱,購買日期, 購買成本,安裝公司(零售商 店),及保證卡上未蓋章 。
● 勝泰衛材股份 有限公司不負責工人費用 ,安裝,或其他附帶或間接產 生的費用。
Three year from date of purchase.
This manual suits for next models
2
Table of contents
Other Justime Plumbing Product manuals
Popular Plumbing Product manuals by other brands

KWC
KWC Z.535.019 Installation and service instructions

Spectrum Brands
Spectrum Brands Pfister Contempra F-048-N Quick installation guide

Luxart
Luxart Poydras PO511TOV Installation

Hans Grohe
Hans Grohe 14786000 Instructions for use

Sawo
Sawo Glass Front manual

Helvex
Helvex Clasica M-1005 installation guide

Delta
Delta 35716LF Series manual

Clou
Clou CL/06.04007.29 installation instructions

Honeywell
Honeywell V4710 Installation instruction

Elkay
Elkay The Mystic MYSTIC2818CB Specifications

Grohe
Grohe F-DIGITAL DELUXE 36 371 installation instructions

Hans Grohe
Hans Grohe Rainfinity Showerpipe 360 1jet 26842 7... Instructions for use/assembly instructions