manuals.online logo
Brands
  1. Home
  2. •
  3. Brands
  4. •
  5. JVC
  6. •
  7. Camcorder
  8. •
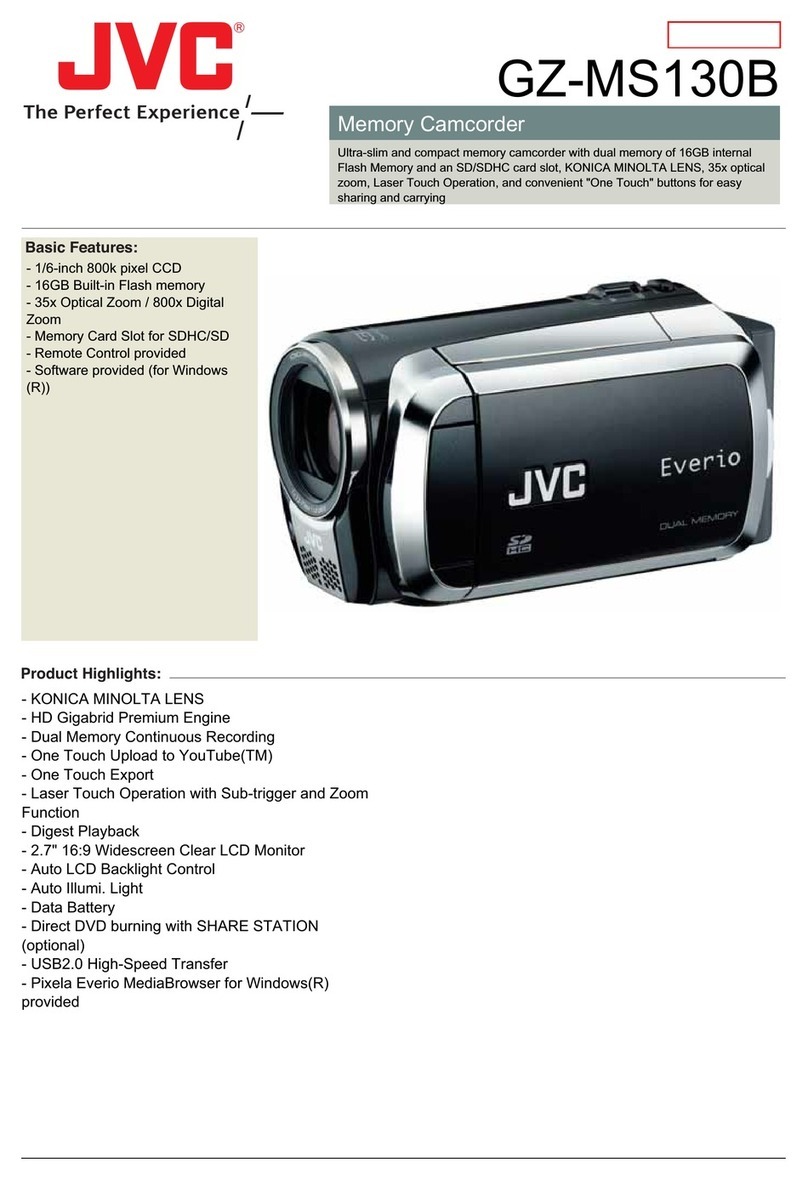
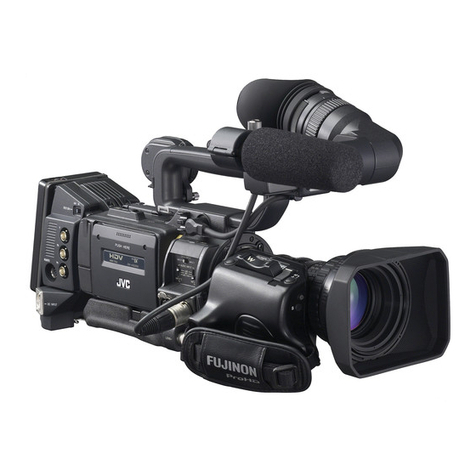
  9. JVC GY-HM180U User manual

JVC GY-HM180U User manual

JVC GY-HM180U
4K Compact Camcorder
Version 2.5 (2023-02-14)
1
Table of contents
Before using the device 2
Instructions 3
1. Powering and turning on the camera 3
2. Adjusting camera settings 4
3. Recording video 6
4. Playing/previewing videos 7
5. (Optional) Managing/deleting videos using the camera 8
6. Transferring videos to a computer 10
7a. Deleting videos by manual selection 11
7b. Deleting videos by card formatting 11
8. Restoring the camera to its original state 12
After using the device 13
Attributions 14
2
Before using the device
1. Keep the lens away from sunli ht and extreme temperatures.
2. Clean the lens with a dry cloth and avoid usin chemicals.
3. Notify staff if you want to move the camera and tripod or remove the
camera from the tripod.
4. Don’t use hi hly reflective objects, such as metals, in the scene that you
record. Doin so mi ht lead to improper white-balance adjustment.
3
Instructions
1. Powering and turning on the camera
1. Decide whether you want the camera to be xed at a recommended
position, xed at a different position, handheld:
1a. If you want the camera to be xed at any location, allow staff to
remove its battery pack and connect its DC power cable.
1b. If you want the camera to be handheld, allow staff to insert its battery
pack and disconnect its DC power cable.
2. Remove the lens cap from the lens:
2.1. Pinch and hold the cap’s two side-releases.
2.2. Pull the cap away from the lens.
3. Pull out/open the display panel on the left side of the camera.
4. Push down the On/Off switch, which is on the left side of the camera body.
5. While pushing down this switch, slide it toward On (Fig. 1a). The camera
will turn on and the Power/Charge indicator will light up. The display will
show imagery after about 10 seconds.
F
ig. 1a. Turning on power
4
2. Adjusting camera settings
1. Adjust the recording format and/or mode:
1.1. Press the Menu/Thumb button on the left side of the display panel.
The Main Menu will appear on the display (Fig. 2a).
Fig. 2a. Main/Thumb button
1.2. Use the four-way directional button (Fig. 2b) to highlight “System...”
1.3. Press the directional button inward to select “System...”.
Fig. 2b. Four-way directional button and “System” option
1.4. In the “System...” menu, select “Record Set…”
1.5. (Optional) In the “Record Set…” menu, select “Record Format...” to
change properties like le type, resolution, and frame rate.
5
1.6. (Optional) In the “Record Set…” menu, select “Rec Mode” to choose
amon types of recordin modes like “Normal” (recommended) and
“Pre Rec.”
1.7. Press the Menu/Thumb button to close the current menu. The main/
recordin screen will re-appear.
2. Use the T and W buttons on the ri ht side of the camera (or on its handle) to
zoom in and zoom out, respectively (Fi . 2c).
Fig. 2c. T and W buttons (on handle) control zoom direction/amount
3. Select auto-focus by pressin the AF/MF to le button on the left side of
the camera (between the lens and display panel, Fi . 2d).
Note: While usin manual-focus, the ri ht side of the display shows an
“MF” indicator. Auto-focus doesn’t have an indicator.
Fig. 2d. AF/MF button to to le between focus modes
6
3. Recording video
1. Select the SD card to which you want to record:
1.1. Locate the Slot Sel button in the controls area (left side of camera body
with display panel open/unfolded).
1.2. Press the Slot Sel button to toggle between inserted SD cards. The
corresponding light (below the card) will indicate which one is selected
(A or B).
2. Start recording by pressing the Rec button on either the right/back side of
the camera or on top of its handle (Fig. 3a). The display shows a red “Rec”
(Recording) indicator in the top-centre position.
3. Stop recording by pressing the Rec button. The display flashes a red
“Stby” (Standby) indicator for 2 seconds in the top-centre position. Then
“Stby” becomes a non-flashing white indicator.
Fig. 3a. Rec button on camera’s back/right side and on handle
7
4. Playing/previewing videos
1. Press and hold the Mode button (left side body, ig. 4a) for 2 seconds to
open the gallery.
Fig. 4a. Mode button
2. Move the directional button (display panel) to highlight a video.
3. Press the directional button inward to play/preview the video.
4. (Optional) While playing/previewing a video, use the directional button
for different actions:
4.i. Press it inward to pause/resume playing.
4.ii. Press it leftward to rewind while the video is playing.
4.iii. Press it rightward to fast-forward while the video is playing.
4.iv. Press it downward to see the next video.
5. Press the
Canc
e
l/St
o
p
button ( ig. 4b) to return to the gallery.
Fig. 4b.
Canc
e
l/St
o
p
button
6
.
H
old the Mode button to return to the
m
ain
/
recording screen.
8
5. (Optional) Managing/deleting videos using the camera
The gallery lets y u delete vide s and pr tect vide s fr m deleti n.
Fig. 5a. Lolux/3 and C.Review/4 butt ns in c ntr ls area
1. Mark videos for preservation or deletion using the Lolux/3 and
C.Review/4 buttons (Fig. 5a), respectively:
1.i. Press the Lolux/3 butt n t add/rem ve an “OK” indicat r t /fr m a
highlighted vide . Vide s with an “OK” indicat r can’t be deleted using
the gallery’s deleti n functi ns.
1.ii. Press the C.Review/4 butt n t add/rem ve a checkmark t /fr m a
highlighted vide . Vide s with a checkmark are c nsidered “selected.”
Fig. 5b. Gallery screen with butt n legend
N
ote:
I
n the gallery’s legend
(F
ig.
5
b
),
“
Us
e
r
3” and “
Us
e
r
4” c rresp nd
with the Lolux/3 butt n and C. Review
s
/4 butt n
,
respectively
9
Fig. 5c. Zebra/5 button in controls area
2. Press the Zebra/5 button (Fig. c) to open the sub-menu of actions.
3. Use the directional button highlight and select “Delete Clips...” . A sub-
menu appears with three options.
4. In the “Delete Clips...” sub-menu, select a le set to delete:
4.a. This Clip (the highlighted video),
4.b. Selected Clips (all checkmarked videos), or
4.c. All Clips (all clips not marked with “OK”).
5. Use the directional button to highlight and select “Delete” to conrm
deletion.
6. Hold the Mode button to return to the recording/home screen.
10
6. Transferring videos to a computer
1. Turn off the camera using the On/Off switch:
1.1. Push down the On/Off switch.
1.2. While pushing this switch, slide it toward Off. The display will show a
“P. Off” (power off) indicator for several seconds and then turn black.
Also, the Power/Charge indicator will turn off.
2. Remove the SD card (adapter) to which you recorded video:
2.1. Press the exposed edge of the SD card inward. The spring inside the
slot will extended the card further outward.
2.2. Grab the SD card and pull it from its slot.
3. Insert the SD card into the computer’s SD card slot (or and adapter
connected to the computer).
4. Open the virtual container (folder) that represents the SD card:
4.1. Open either a File Explorer window (Windows/PC) or a Finder window
(macOS/Mac).
4.2. Open (click) the SD card
’
s container in the window sidebar (e.g., “
ML
C
-
JV
C
A
” or “
ML
C
-
JV
C
B
”).
5
. Open the
“D
C
IM
” su
b-
folder.
6. Open the appropriate folder(s) inside the “
D
C
IM
” folder to locate your
video(s).
7
.
C
opy your video(s) to your physical storage device(s) and/or cloud storage
account(s).
11
7a. Deleting videos by manual selection
1. Delete any copies that you’ve saved to the MCL workstation computer.
2a. (PC/Windows) Delete the original video(s) from the camera’s SD card:
a1. In a File Explorer window, navigate to the applicable folder(s) inside
the SD card’s “DCIM” folder.
a2. Select your video(s).
a3. Right-click on the video(s) and select the “Delete” command.
a4. At the “Delete File” prompt, click “Yes.”
2b. (Mac/macOS) Delete the original video(s) from the camera’s SD card:
b1. In a Finder window, navigate to the applicable folder(s) inside the SD
card’s “DCIM” folder.
b2. Select your video(s).
b3. Right-click on the video(s) and select the “Move to Trash” command.
7b. Deleting videos by card formatting
Formatting
/
erasing the SD card can be more ef

cient if you have many
videos, especially if they’re in multiple folders.
1a. (PC/Windows)
U
se the For
m
at command to completely erase the SD
card:
a1. In a File Explorer window, right-click on the SD card container in the
sidebar. A command window opens.
a2. Select the “For
m
at...” command. A window appears with the title,
“For
m
at
[S
D
c
ar
d’
s
n
a
m
e
]
.”
a3. In the “File s
y
ste
m
” dropdown menu, select “e
x
F
A
T
(
De
f
a
u
lt
)
.”
T
his
format is compatible with
W
indows and mac
O
S computers.
a4.
C
lick the “
S
tart” button. A con

rmation prompt appears.
a
5
.
C
lick the “
OK
” button.
1b. (Mac/macOS)
U
se the Dis
k
U
tilit
y
app to completely erase the SD card:
b1.
C
lick the Spotlight search (icon of magnifying glass) in the top-right
corner of the menu bar.
b2.
T
ype
“
Disk
U
tility
”
in the text

eld. Search results will appear below it.
b3.
O
pen the
“
Dis
k
U
tilit
y
” app from the search results.
b4. In the app sidebar, select the SD card.
b
5
. In the app toolbar, select the “
E
rase” command. A window will appear.
b
6
. In the “For
m
at
”
dropdown menu, select “
E
x
F
A
T.”
T
his format is
compatible with
W
indows and mac
O
S computers.
b7.
C
lick the “
E
rase” button. A window will show the progress.
b
8
.
C
lose the
“
Dis
k
U
tilit
y
” app.
12
2a. (PC/Win ows) Safely remove the SD car from the computer:
a1. Open a File Explorer window and right-click on the SD card’s container
in the window sidebar. A command window pops opens.
a2. Select the “Eject” command. The SD card will disappear from the
window sidebar.
a3. Physically remove the SD card (or adapter) from the computer.
2b. (Mac/macOS) Safely remove the SD car from the computer:
b1. Open a Finder and right-click on the SD card’s container in the window
sidebar. A command window pops opens.
b2. Select the “Eject [SD card name]” command. The SD card will
disappear from the window sidebar.
b3. Physically remove the SD card (or adapter) from the computer.
8. Restoring the camera to its original state
1. Re-insert the SD car into the camera:
1.1. Insert the SD card into its slot in the camera’s controls area.
1.2. Press the exposed (top) edge of the SD card until that edge is flush
with the slot opening.
2. Push in/close the camera
’
s isplay panel.
3. Re-attach the lens cap onto the lens:
3.1. Pinch and hold the cap’s two side-releases.
3.2. Press the cap into
/
against the housing of the lens.
3.3.
R
elease the cap’s side-releases.
4
.
I
f the camera is etache from its tripo
,
place it on a es
k
an notify
staff.
13
After using the device
1. Return the c mer to its origin l position in the studio, if pplic ble. Ask
st ff for help, if needed.
14
Attributions
Contributors
Media Creation Lab York University Digital Scholarship Infrastructure
Maykel Faragalla, photographer
Tim Huynh, editor & contributing writer
Raa Naz, lead writer
Shawon Saha, production assistant
BonaFide Communications, York University Writing Department
Nicole Bednarski, consultant
Charlotte MacDowell, consultant
Sophie Morgan, consultant
Amanda Naoum, consultant
Lorena Urican, consultant
Patrons of the Media Creation Lab
This work is licensed under a Creative Commons
Attribution-NonCommercial 4.0 International License.

Other manuals for GY-HM180U

1

Other JVC Camcorder manuals

JVC GR-DV3 User manual

JVC

JVC GR-DV3 User manual

JVC GZ-MS105 Manual

JVC

JVC GZ-MS105 Manual

JVC GR-AXM768EG User manual

JVC

JVC GR-AXM768EG User manual

JVC GR-D775U User manual

JVC

JVC GR-D775U User manual

JVC Everio GZ-HD30 Manual

JVC

JVC Everio GZ-HD30 Manual

JVC GZ-HD40 - Everio Camcorder - 1080p User manual

JVC

JVC GZ-HD40 - Everio Camcorder - 1080p User manual

JVC GY-HM100 User manual

JVC

JVC GY-HM100 User manual

JVC GY-HM200U User manual

JVC

JVC GY-HM200U User manual

JVC GZ HD10 - Everio Camcorder - 1080p User manual

JVC

JVC GZ HD10 - Everio Camcorder - 1080p User manual

JVC GY-HM70U Operating and maintenance manual

JVC

JVC GY-HM70U Operating and maintenance manual

JVC GR-DA30U User manual

JVC

JVC GR-DA30U User manual

JVC GR-D270 User manual

JVC

JVC GR-D270 User manual

JVC GR GR-DV4000 User manual

JVC

JVC GR GR-DV4000 User manual

JVC GR-AXM1U User manual

JVC

JVC GR-AXM1U User manual
JVC GZ MG155 - Everio Camcorder - 1.07 MP User manual

JVC

JVC GZ MG155 - Everio Camcorder - 1.07 MP User manual

JVC Everio R GZ-R405BE Operating and maintenance manual

JVC

JVC Everio R GZ-R405BE Operating and maintenance manual

JVC GR-HD1 User manual

JVC

JVC GR-HD1 User manual

JVC GY-DV300U - 1/3" 3-ccd Dv Camcorder User manual

JVC

JVC GY-DV300U - 1/3" 3-ccd Dv Camcorder User manual

JVC GR-SXM250 User manual

JVC

JVC GR-SXM250 User manual

JVC GZ-MG365H User manual

JVC

JVC GZ-MG365H User manual

JVC D250US - Camcorder - 680 KP User manual

JVC

JVC D250US - Camcorder - 680 KP User manual

JVC GR-D230 User manual

JVC

JVC GR-D230 User manual
JVC GR-AXM23 User manual

JVC

JVC GR-AXM23 User manual

JVC GZ-R445 Operating and maintenance manual

JVC

JVC GZ-R445 Operating and maintenance manual

Popular Camcorder manuals by other brands

RCA CC6392 Specifications

RCA

RCA CC6392 Specifications

Sony CCD-TRV15 Service manual

Sony

Sony CCD-TRV15 Service manual

Samsung SC-L610 Owner's instruction book

Samsung

Samsung SC-L610 Owner's instruction book

Samsung SC-D363 Owner's instruction book

Samsung

Samsung SC-D363 Owner's instruction book

Insignia NS-DV720PBL2 user guide

Insignia

Insignia NS-DV720PBL2 user guide

Sony Handycam CCD-TR28 Operation manual

Sony

Sony Handycam CCD-TR28 Operation manual

Samsung VP-D6040i Owner's instruction book

Samsung

Samsung VP-D6040i Owner's instruction book

Canon DC DC 40 instruction manual

Canon

Canon DC DC 40 instruction manual

Panasonic AJ-HPX3000 Brochure & specs

Panasonic

Panasonic AJ-HPX3000 Brochure & specs

Premax PM-DCC7201 instructions

Premax

Premax PM-DCC7201 instructions

DXG DXG Sportster DXG-5B7V Specifications

DXG

DXG DXG Sportster DXG-5B7V Specifications

Canon XL 1 Brochure & specs

Canon

Canon XL 1 Brochure & specs

Panasonic NV-S99A operating instructions

Panasonic

Panasonic NV-S99A operating instructions

Sharper Image U-VIDEO instruction manual

Sharper Image

Sharper Image U-VIDEO instruction manual

Motorola SCOUT83 user guide

Motorola

Motorola SCOUT83 user guide

Panasonic NV-DS77EN operating instructions

Panasonic

Panasonic NV-DS77EN operating instructions

BenQ M33 user manual

BenQ

BenQ M33 user manual

Samsung VP-L700 Owner's instruction

Samsung

Samsung VP-L700 Owner's instruction

manuals.online logo
manuals.online logoBrands
  • About & Mission
  • Contact us
  • Privacy Policy
  • Terms and Conditions

Copyright 2025 Manuals.Online. All Rights Reserved.