PC
—
X110
B/E/G/GVEN
|
ols
DIGITAL
AUDIO
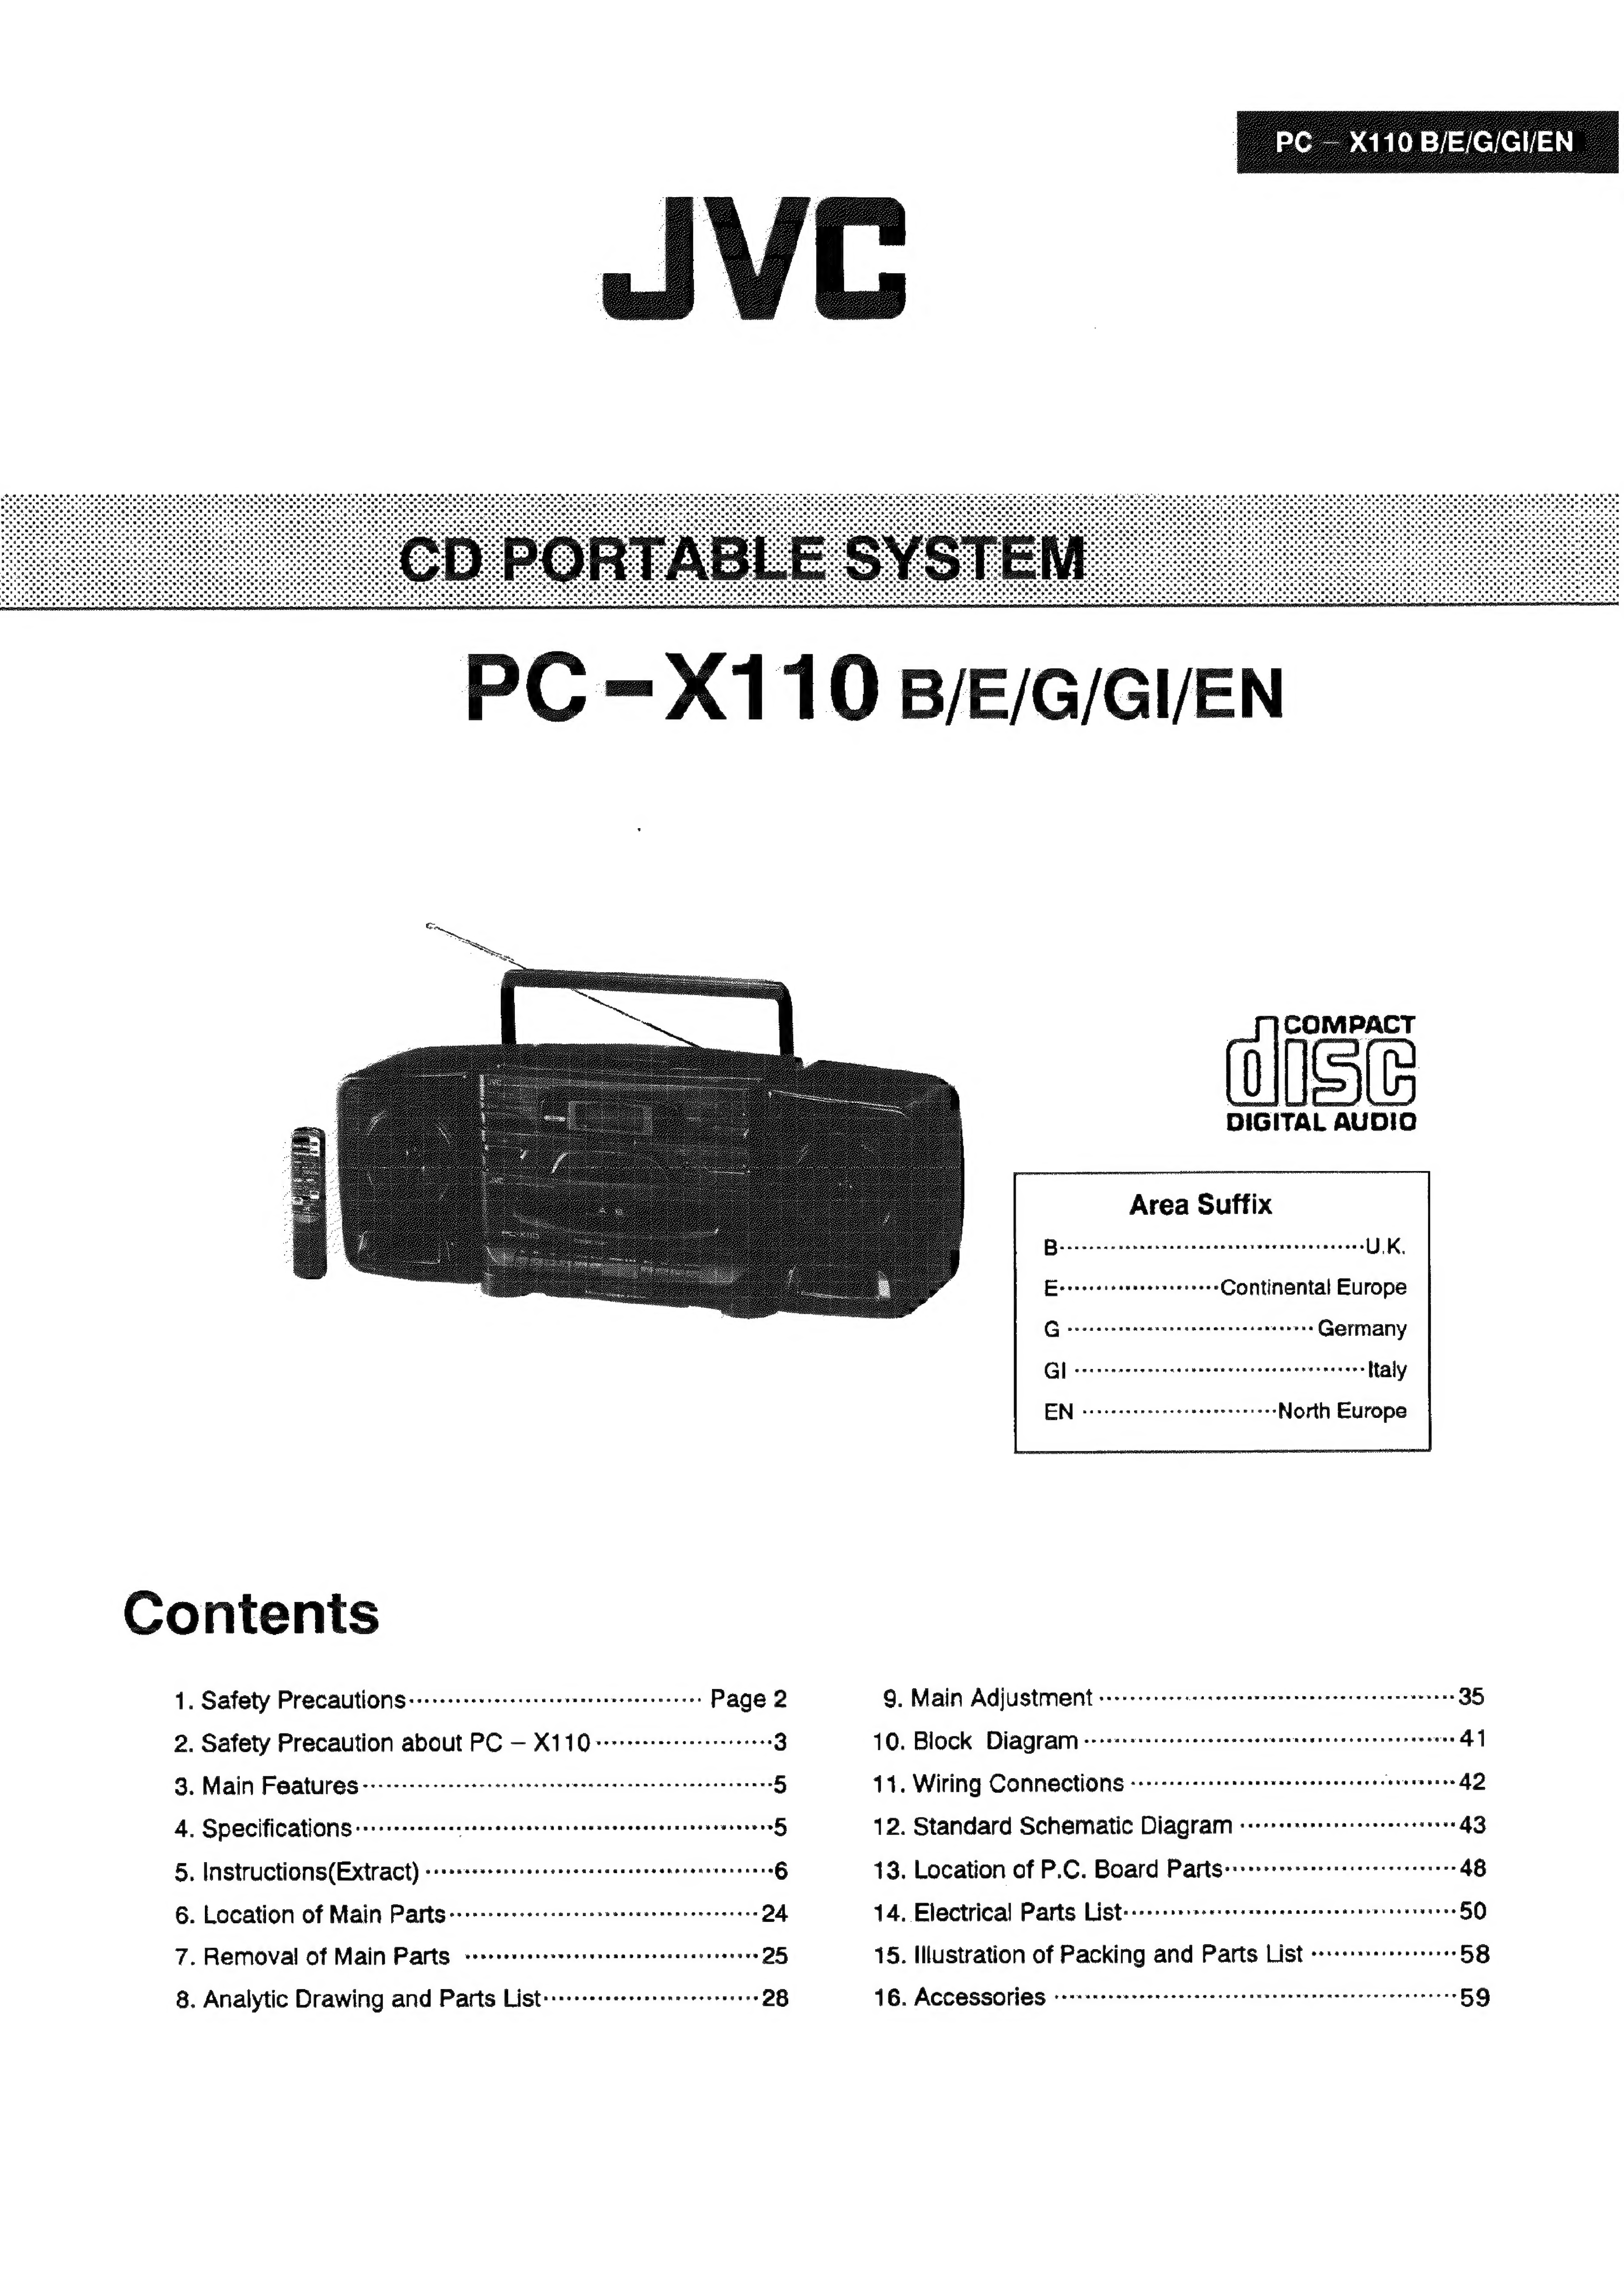
Area
Suffix
Contents
1.
Safety
PreCaUtionS<-crecss-vrecereceereeeeeerereeeeeees
Page
2
9.
Main
Adjustment
+--++--++eeereseeerer
eter
eee
eec eee
tece
seen
eens
35
2.
Safety
Precaution
aDOUt
PC
—
X11O
vrrrreereeeeeee
entrees
3
10.
Block
Diagrarm
--+ssssereeererereereneens
tte
eeeeeeneerer
eons
41
3.
Main
Features
-:-------eeeeeeeeer
etree
terre
cers
ecen
tees
een
en
naee
5
11.
Wiring
Connections
-++--:--:-:esrreeeeetetere
renee
dienes
42
4,
Specifications
:::-1-++-+-sssssesesererereseneneeeeees
eae
rnineueis
5
12.
Standard
Schematic
Diagram
«:+-+++++++++ee
eerste
43
5.
Instructions(Extract)
vorreesseesseeteeeeeeeeeeeeeeneneeneeseenes
6
13.
Location
of
P.C.
Board
Parts-::::+rerer
erste
ere
ee
cree
ees
48
6.
Location
of
Main
Parts
-------eeecee
ee
rereseseeeee
seen
ener
ereee
24
14.
Electrical
Parts
List--:--:-::se-scceeenneneeeeesenseenreserenese
50
7.
Removal
of
Main
Parts
-ccscersssssrereeeseseseeeererereaees
25
15.
Illustration
of
Packing
and
Parts
List
--+:++++++-
58
8.
Analytic
Drawing
and
Parts
List-+::--++-+-+sresreeerere
ees
28
16.
ACCESSOSIES
veer
eree
terre
eet
c
eee
terete
ne
teen
ecenereeeenee
eens
59