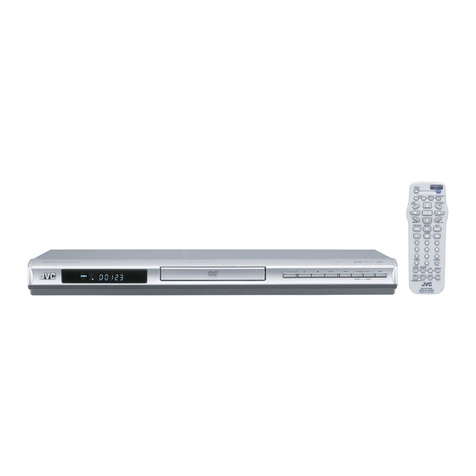
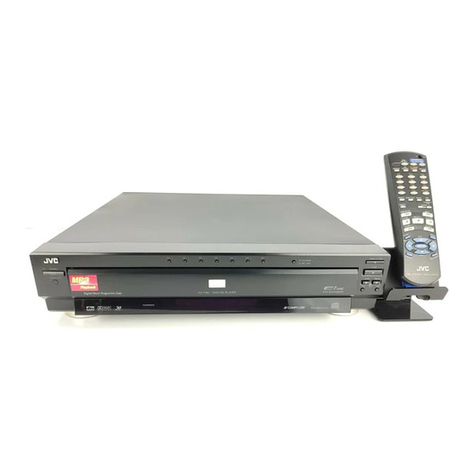
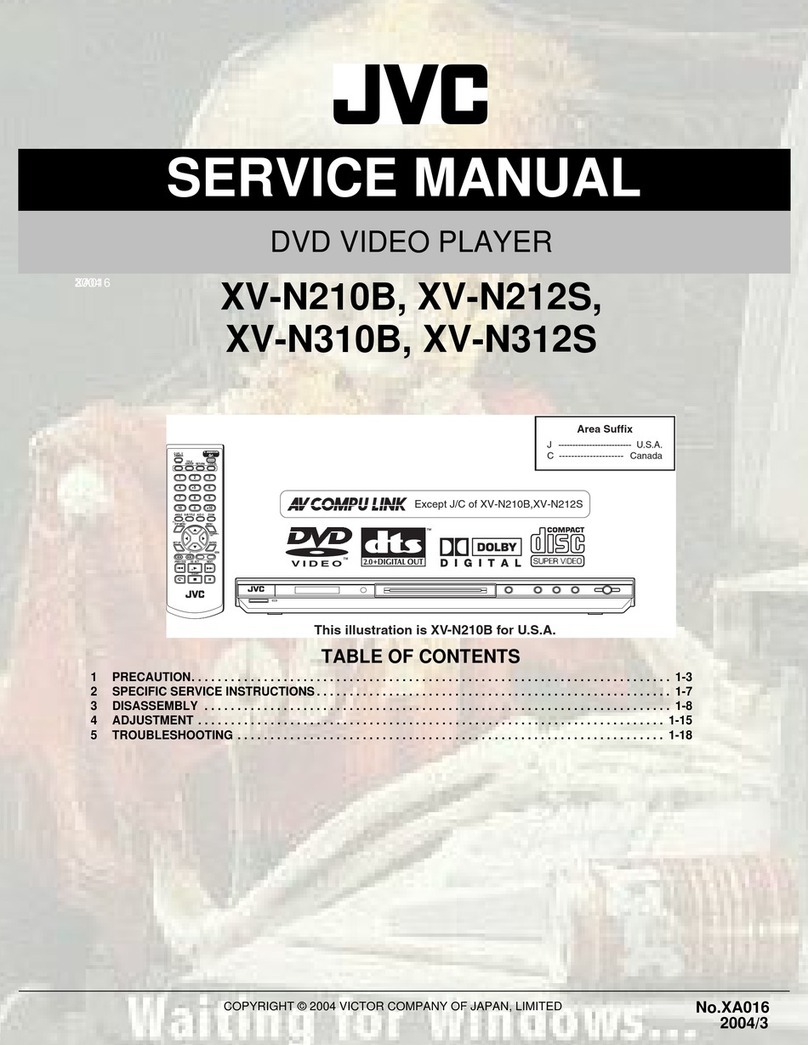
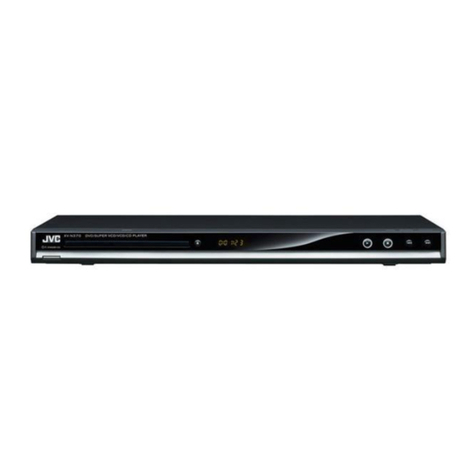
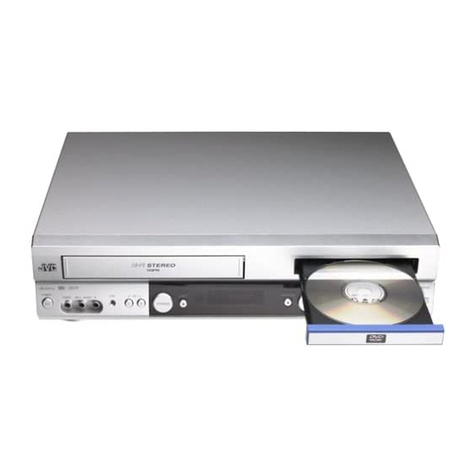
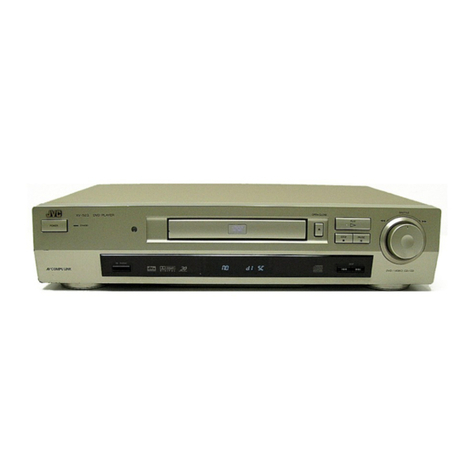
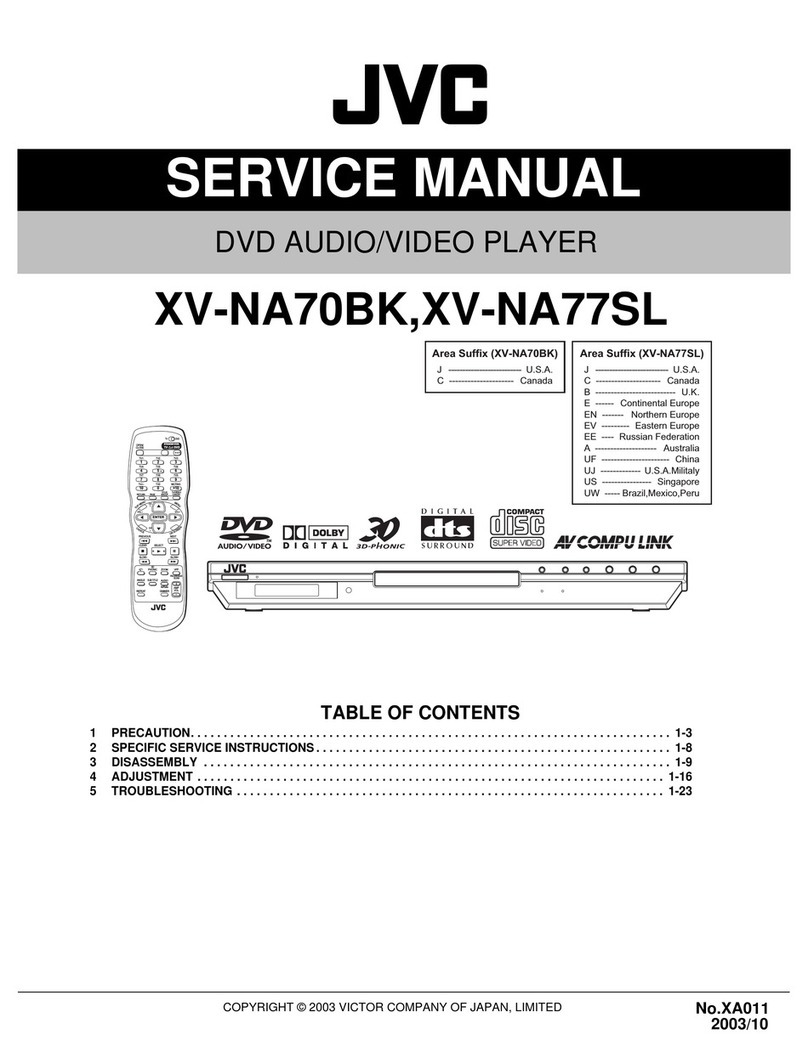
JVC XV-M52SL User manual

SERVICE MANUAL
DVD VIDEO PLAYER
No.A0015
July, 2001
COPYRIGHT 2001 VICTOR COMPANY OF JAPAN, LTD.
XV-M52SL
XV-M50BK
XV-M52SL
XV-M50BK
This service manual is printed on 100% recycled paper.
Contents
Safety precautions ------------------------ 1-2
Preventing static electricity ------------- 1-3
Precautions for Service ------------------ 1-4
Disassembly method -------------------- 1-5
Adjustment method ----------------------- 1-20
Description of major ICs ---------------- 1-24
DISC
SELECT
TV DVD
PLAY
MODE
123
56
89
0+1010
7
4
3D
PHONIC
TV/VIDEO
CANCEL
SUBTITLEANGLE
TV1 TV2 TV3
TV4 TV5 TV6
TV7 TV8 TV9
TV
-/-- TV0 MUTING
AUDIO
THEATER
POSITION
DIGEST
PREVIOUS
NEXT
CLEAR
STROBE
SLOW
+
SLOW–
TITLE
MENU
CHOICE
ENTER
RM-SXVM50J REMOTE CONTROL
CH
+
SELECT
CH
-
VOL
+
VOL
-
DISPLAY
ZOOM
RETURN
TV DVD
STANDBY/ON
DISC TITLE CHAP RESUME THEATER
DVD
EACH
STANDBY
STANDBY/ON
PAUSEPLAYSTOP
SKIP
DISC 3
DISC 2
DISC 1
DISC
3
DISC
2
DISC
1
3
2
1
DOLBY
D
I
G
I
T
A
L
PLAY & EXCHANGE
DVD / VIDEO CD / CD
10-bit/27MHz VIDEO D/A CONVERTER
XV-M50 DVD/CD PLAYER
Area Suffix
UJ ----------- U.S.military
[XV-M50BK]
Area Suffix
B ------------------------ U.K.
EN ----- Northern Europe
UN ------------------- Asean
US -------------- Singapore
UW -- Brazil,Mexico,Peru
[XV-M52SL]
In regard with component parts appearing on the silk-screen printed side (parts side) of
the PWB diagrams, the parts that are printed over with black such as the resistor ( ),
diode ( ) and ICP ( ) or identified by the " " mark nearby are critical for safety.
When replacing them, be sure to use the parts of the same type and rating as specified
by the manufacturer. (Except the JC version)
Model
XV-M50BK
XV-M52SL
Body color
Black
Silver
Each difference point

XV-M52SL/XV-M50BK
1-2
1. This design of this product contains special hardware and many circuits and components specially for safety
purposes. For continued protection, no changes should be made to the original design unless authorized in
writing by the manufacturer. Replacement parts must be identical to those used in the original circuits. Services
should be performed by qualified personnel only.
2. Alterations of the design or circuitry of the product should not be made. Any design alterations of the product
should not be made. Any design alterations or additions will void the manufacturer`s warranty and will further
relieve the manufacture of responsibility for personal injury or property damage resulting therefrom.
3. Many electrical and mechanical parts in the products have special safety-related characteristics. These
characteristics are often not evident from visual inspection nor can the protection afforded by them necessarily
be obtained by using replacement components rated for higher voltage, wattage, etc. Replacement parts which
have these special safety characteristics are identified in the Parts List of Service Manual. Electrical
components having such features are identified by shading on the schematics and by ( ) on the Parts List in
the Service Manual. The use of a substitute replacement which does not have the same safety characteristics
as the recommended replacement parts shown in the Parts List of Service Manual may create shock, fire, or
other hazards.
4. The leads in the products are routed and dressed with ties, clamps, tubings, barriers and the like to be
separated from live parts, high temperature parts, moving parts and/or sharp edges for the prevention of
electric shock and fire hazard. When service is required, the original lead routing and dress should be
observed, and it should be confirmed that they have been returned to normal, after re-assembling.
5. Leakage currnet check (Electrical shock hazard testing)
After re-assembling the product, always perform an isolation check on the exposed metal parts of the product
(antenna terminals, knobs, metal cabinet, screw heads, headphone jack, control shafts, etc.) to be sure the
product is safe to operate without danger of electrical shock.
Do not use a line isolation transformer during this check.
Plug the AC line cord directly into the AC outlet. Using a "Leakage Current Tester", measure the leakage
current from each exposed metal parts of the cabinet, particularly any exposed metal part having a return
path to the chassis, to a known good earth ground. Any leakage current must not exceed 0.5mA AC (r.m.s.).
Alternate check method
Plug the AC line cord directly into the AC outlet. Use an AC voltmeter having, 1,000 ohms per volt or more
sensitivity in the following manner. Connect a 1,500 10W resistor paralleled by a 0.15 F AC-type capacitor
between an exposed metal part and a known good earth ground.
Measure the AC voltage across the resistor with the AC
voltmeter.
Move the resistor connection to eachexposed metal part,
particularly any exposed metal part having a return path to
the chassis, and meausre the AC voltage across the resistor.
Now, reverse the plug in the AC outlet and repeat each
measurement. Voltage measured any must not exceed 0.75 V
AC (r.m.s.). This corresponds to 0.5 mA AC (r.m.s.).
1. This equipment has been designed and manufactured to meet international safety standards.
2. It is the legal responsibility of the repairer to ensure that these safety standards are maintained.
3. Repairs must be made in accordance with the relevant safety standards.
4. It is essential that safety critical components are replaced by approved parts.
5. If mains voltage selector is provided, check setting for local voltage.
Good earth ground
Place this
probe on
each exposed
metal part.
AC VOLTMETER
(Having 1000
ohms/volts,
or more sensitivity)
1500 10W
0.15 F AC TYPE
!
Burrs formed during molding may
be left over on some parts of the
chassis. Therefore, pay attention to
such burrs in the case of
preforming repair of this system.
In regard with component parts appearing on the silk-screen printed side (parts side) of the PWB diagrams, the
parts that are printed over with black such as the resistor ( ), diode ( ) and ICP ( ) or identified by the " "
mark nearby are critical for safety.
When replacing them, be sure to use the parts of the same type and rating as specified by the manufacturer.
(Except the J and C version)
XV-M52SL/XV-M50BK
1-3
Preventing static electricity
Electrostatic discharge (ESD), which occurs when static electricity stored in the body, fabric, etc. is discharged,
can destroy the laser diode in the traverse unit (optical pickup). Take care to prevent this when performing repairs.
1.1. Grounding to prevent damage by static electricity
Static electricity in the work area can destroy the optical pickup (laser diode) in devices such as DVD players.
Be careful to use proper grounding in the area where repairs are being performed.
1.1.1. Ground the workbench
1. Ground the workbench by laying conductive material (such as a conductive sheet) or an iron plate over
it before placing the traverse unit (optical pickup) on it.
1.1.2. Ground yourself
1. Use an anti-static wrist strap to release any static electricity built up in your body.
1.1.3. Handling the optical pickup
1. In order to maintain quality during transport and before installation, both sides of the laser diode on the
replacement optical pickup are shorted. After replacement, return the shorted parts to their original condition.
(Refer to the next page.)
2. Do not use a tester to check the condition of the laser diode in the optical pickup. The tester's internal power
source can easily destroy the laser diode.
1.2. Handling the traverse unit (optical pickup)
1. Do not subject the traverse unit (optical pickup) to strong shocks, as it is a sensitive, complex unit.
2. For specific details, refer to the replacement procedure in the text. Be careful not to take too long a time
when attaching it to the connector.
3. Handle the flexible cable carefully as it may break when subjected to strong force.
4. It is not possible to adjust the semi-fixed resistor that adjusts the laser power. Do not turn it
Conductive material
(conductive sheet) or iron plate
(caption)
Anti-static wrist strap

XV-M52SL/XV-M50BK
1-4
Precautions for Service
Handling of Traverse Unit and Laser Pickup
1. Do not touch any peripheral element of the pickup or the actuator.
2. The traverse unit and the pickup are precision devices and therefore must not be subjected to
strong shock.
3. Do not use a tester to examine the laser diode. (The diode can easily be destroyed by the
internal power supply of the tester.)
4. When replacing the pickup, after mounting a new pickup, remove the solder on the short land
which is provided at the center of the flexible wire to open the circuit.
5. Half-fixed resistors for laser power adjustment are adjusted in pairs at shipment to match the
characteristics of the optical block.
Do not change the setting of these half-fixed resistors for laser power adjustment.
Destruction of Traverse Unit and Laser Pickup by Static Electricity
Laser diodes are easily destroyed by static electricity charged on clothing
or the human body. Before repairing peripheral elements of the traverse
unit or pickup, be sure to take the following electrostatic protection:
1. Wear an antistatic wrist wrap.
2. With a conductive sheet or a steel plate on the workbench on which
the traverse unit or the pick up is to be repaired, ground the sheet
or the plate.
When you remove the traverse mechanism from the servo control substrate
The laser diode of pick-up might be destroyed by static electricity and set switch (S11) on the pick-up board
on "SHORT" side, please before removing the card wire from connector (CN10).
Moreover, please set switch (S11) on "OPEN" side after assembling and inserting the card wire in
connector (CN10) without fail at times.
When you remove the pick-up from the traverse mechanism
The laser diode of the pick-up might be destroyed by static electricity, and solder with part a, please before
extracting a flexible wire from connector (CN12).
Moreover, please remove solder in part a after inserting a flexible wire in connector (CN12).
CN12
CN10
OPEN
SHORT
SWITCH S11
Soldering part
Traverse
mechanism
Traverse
mechanism
Pick-up

XV-M52SL/XV-M50BK
1-5
Remove the two screws Aattaching the top cover
on the back of the body.
Remove the four screws Battaching the top cover
on both sides of the body.
Pull the lower parts of the top cover sides and
remove the top cover in the direction of the arrow.
1.
2.
3.
Disassembly method
Removing the top cover (See Fig.1)
<
Main body
>
Prior to performing the following procedure, remove
the top cover.
Disconnect the wire from connector CN971 on the
power supply board.
Disconnect the card wire from connector CN703 on
the system control board.
Remove the three screws Cattaching the front
panel assembly on the bottom of the body.
Release the joint aon the bottom and the two joints
bon both sides of the body. Remove the front panel
assembly toward the front.
1.
2.
3.
4.
Removing the front panel assembly
(See Fig.2 to 5)
Fig.1
Fig.2
Fig.3
Fig.5Fig.4
Top cover
B 2
B 2
A
Front panel assembly
CN971 CN703
Power supply board System control board
C
C
C
Joint a
Front panel assembly
Joint b
Front panel assembly
Joint b

XV-M52SL/XV-M50BK
1-6
Prior to performing the following procedure, remove
the top cover.
Remove the eleven screws Dattaching the rear
panel on the back of the body and detach the rear
panel.
1.
Removing the rear panel (See Fig.6)
Prior to performing the following procedure, remove
the top cover and front panel assembly.
Remove the one screw E.
Disconnect the 9 pin wire from connector CN961 on
the power supply board.
Disconnect the card wire from connector CN601 on
the video board.
Disconnect the card wires from connector CN701
and CN702 on the system control board.
Remove the four screws Fattaching the DVD
changer mechanism assembly.
It is easy for removing the front panel assembly to
remove the mechanism assembly though the
mechanism assembly can be removed even in the
state that the front panel assembly adheres.
1.
2.
3.
4.
5.
Removing the DVD changer mechanism assembly
(See Fig.7)
Fig.6
Fig.7
D
D
D
Rear panel
F
FF
F
DVD changer mechanism assembly
Power supply board
System control
board
CN701
Video board
CN601
CN961 CN702
E

XV-M52SL/XV-M50BK
1-7
Prior to performing the following procedure, remove
the top cover.
Disconnect the wire from connector CN971 on the
power supply board (The wire is extending from the
front panel assembly).
Disconnect the 9 pin wire from connector CN961 on
the power supply board (The wire is extending from
the DVD changer mechanism assembly).
Disconnect the wire from connector CN951 and
CN952 on the power supply board (The wire is
extending from the system control board).
Remove the screw Dattaching the AC jack on the
rear panel.
Remove the two screws Gattaching the power
supply board and detach the power supply board.
1.
2.
3.
4.
5.
Removing the power supply board
(See Fig.8 and 9)
G
Power supply board
Front panel assembly
Rear panel
CN961
CN951,CN952
CN971
Fig.8
Fig.9
D
Rear panel

XV-M52SL/XV-M50BK
1-8
Prior to performing the following procedure, remove
the top cover.
Disconnect the card wire from connector CN601 on
the video board (The card wire is extending from the
DVD changer mechanism assembly).
Disconnect the wire from connector CN704 on the
system control board (The wire is extending from the
video board).
Remove the three screws Dattaching the video
board on the rear panel. Pull out the video board
from the rear panel.
1.
2.
3.
Removing the video board
(See Fig.10 and 11)
Prior to performing the following procedure, remove
the top cover.
The system control board can be removed even if
the video board is attached.
Disconnect the card wire from connector CN703 on
the system control board (The card wire is extending
from the front panel assembly).
Disconnect the card wire from connector CN701 and
CN702 on the audio board (The card wires are
extending from the DVD changer mechanism
assembly).
Disconnect the wire from connector CN704 on the
system control board (The wire is extending from the
video board).
Disconnect the wire from connector CN951 and
CN952 on the power supply board (The wire is
extending from the system control board).
Remove the screw Hattaching the system control
board.
Remove the four screws Dattaching the system
control board on the rear panel. Pull out the system
control board toward the front.
1.
2.
3.
4.
5.
6.
Removing the system control board
(See Fig.12 and 13)
Front panel assembly
Rear panel Video board
System control
board
CN601
CN704
Fig.10
Fig.11
Fig.12
Fig.13
Rear panel
Rear panel
D
Front panel assembly
Rear panel
Video board
System control
board
CN704
CN701
CN703 CN702
H
Power supply board
CN951,CN952
D

XV-M52SL/XV-M50BK
1-9
Remove the two screws Ion the back of the front
panel assembly and remove the bracket from the
front panel assembly.
Remove the seven screws Jattaching the front
board.
If necessary, unsolder FW803 and disconnect the
wire.
1.
2.
Prior to performing the following procedure, remove
the top cover and the front panel assembly.
Removing the front board
(See Fig.14 and 15)
Remove the two screws Kon the back of the front
panel assembly.
If necessary, unsolder FW803 and disconnect the
wire.
1.
Removing the STANDBY switch board
(See Fig.16)
<
Front panel assembly
>
Fig.14
Fig.15
Fig.16
Front board
Front panel assembly
Bracket
J
J
I
STANDBY switch board
K
I
Front board
J
FW803
FW803

XV-M52SL/XV-M50BK
1-10
Disconnect the card wire from connector CN101 on
the traverse mechanism control board on the bottom
of the DVD changer mechanism assembly.
Remove the screw L attaching the traverse
mechanism control board. Release the three parts e,
f and g and remove the traverse mechanism control
board.
1.
2.
Prior to performing the following procedure, remove
the top cover and the DVD changer mechanism
assembly.
Removing the traverse mechanism
control board (See Fig.17)
The DVD tray can not be ejected when the traverse
mechanism is up.
When the DVD is set or the traverse
mechanism is up.
The motor pulley and the belt can be seen on the
front side of the changer. Turn the motor pulley
clockwise until the belt stops.
Pull the tray lock lever on the left side of the changer
and draw the DVD tray.
Draw the DVD tray 1 to 3 as above.
1.
2.
3.
Bringing down the traverse mechanism
as shown in the Fig.20
<
DVD changer mechanism assembly
>
Ejecting the DVD (See Fig.18 and 19)
DVD traverse
mechanism control board
CN101
L
Part
e
Part
f
Part
g
DVD changer mechanism assembly
Fig.17
Fig.18
Fig.19
Motor pulley
Belt
Draw the DVD tray.
Tray lock lever
Tray stopper
Traverse mechanism
As the motor pulley is
turned, the traverse
mechanism lowers.

XV-M52SL/XV-M50BK
1-11
Removing the DVD mechanism board
(See Fig.1)
1.
2.
3.
4.
Remove the DVD changer mechanism assembly.
From bottom side the DVD changer mechanism
assembly, remove the one screw Aretaining the DVD
servo control board.
Disconnect the card wire from the connector CN101 on
the DVD servo control board.
Disengage the one engagement aand two
engagements b, remove the DVD servo control board.
Removing the DVD tray assembly
(See Fig.2~4)
1.
2.
3.
4.
5.
6.
7.
Remove the screw Bretaining the Disc stopper
(See Fig.3).
Remove the three screws Cretaining the T.bracket
(See Fig.3).
From the clamper base section c, remove both of the
edges fixing the rod(See Fig.2 and 3).
Remove the screw Dretaining the clamper assembly
(See Fig.3).
From the left side face of the chassis assembly, remove
the one screw Eretaining both of the return spring and
lock lever(See Fig. 4).
By removing the pawl at the section dfixing the return
spring, dismount the return spring(See Fig.4).
Remove the three lock levers(See Fig.4).
Fig.1
Fig.2
<
DVD Changer Mechanism Section
>
Fig.3
Fig.4
The laser diode of pick-up might be destroyed by static
electricity and set switch (S11) on the pick-up board on
"SHORT" side, please before removing the card wire from
connector (CN101).
Moreover, please set switch (S11) on "OPEN" side after
assembling and inserting the card wire in connector (CN101)
without fail at times.
Please refer to page 1-4 for a detailed content.
ATTENTION !
A
DVD servo
control board
CN101
bb
a
c
Rod
T.Bracket
Clamper base
B
C
C
D
C
c
T.Bracket
Disc stopper
Lod stopper
(C/J version only)
Clamper assembly
d
Lock lever
Return spring
E

XV-M52SL/XV-M50BK
1-12
8.
9.
Check whether the lifter unit stopper has been caught
into the hole at the section eof DVD tray assembly as
shown in Fig.5.
Make sure that the driver unit elevator is positioned as
shown in Fig.6 from to the second or fifth hole on the
left side face of the DVD Traverse mechanism
assembly.
Fig.5
Fig.7Fig.6
[Caution] In case the driver unit elevator is not at above
position, set the elevator to the position as
shown in Fig.7 by manually turning the pulley
gear as shown in Fig.8.
10.
11.
12.
Manually turn the motor pulley in the clockwise
direction until the lifter unit stopper is lowered from the
section eof DVD tray assembly(See Fig.8).
Pull out all of the three stages of DVD tray assembly in
the arrow direction funtil these stages stop
(See Fig.6).
At the position where the DVD tray assembly has
stopped, pull out the DVD tray assembly while
pressing the two pawls gand g' on the back side of
DVD tray assembly(See Fig.9). In this case, it is easy
to pull out the assembly when it is pulled out first from
the stage DVD tray assembly.
Fig.8
Fig.9
DVD tray
assembly
e
Drive unit of elevator
DVD tray assembly
f
Refer to Fig.7 Pawl
Chassis assembly
Pulley gear
Motor pulley
Pawl ,
DVD tray assembly
Stopper
g
g g'

XV-M52SL/XV-M50BK
1-13
Removing the DVD mechanism
assembly(See Fig.10)
1.
2.
While turning the cams R1 and R2 assembly in the
arrow direction h, align the shaft iof the DVD
mechanism assembly to the position shown in Fig.10.
Remove the four screw Fretaining the DVD
mechanism assembly.
Removing the DVD traverse mechanism
assembly (See Fig.11 and 12 )
1.
2.
3.
For dismounting only the DVD mechanism without
removing the DVD mechanism assembly, align the shaft
jof the DVD mechanism assembly to the position
shown Fig.11 while turning the cam R1 and R2
assembly in the arrow direction k.
Remove the two screws Graising the DVD mechanism
assembly.
Remove the DVD traverse mechanism assembly in the
arrow direction Ifrom the lifter unit (See Fig. 12)
Fig.10
Fig.12
Fig.11
F
Cams R1, R2 assembly
i
DVD mechanism assembly
F
h
Arrow
F
F
Lifter unit
DVD traverse
mechanism
assembly
l
Arrow
Cam R1, R2 assembly
k
Arrow
j
G

XV-M52SL/XV-M50BK
1-14
Removing the mechanism control
board (See Fig.14, 15)
1.
2.
3.
Absorb the four soldered positions mof the right and
left motors with a soldering absorber(See Fig.14).
Remove the two screws Hretaining the mechanism
control board(See Fig.14).
Remove the two screws Iretaining the tray select
switch board(See Fig.15).
Removing the cam unit
(See Fig.15 18 )
1.
2.
3.
4.
5.
Remove the DVD mechanism assembly.
While turning the cam gear L, align the pawl nposition
of the drive unit to the notch position(Fig.15) on the cam
gear L.
Pull out the drive unit and cylinder gear(See Fig.17).
While turning the cam gear L, align the pawl oposition
of the select lever to the notch position(Fig.18) on the
cam gear L.
Remove the four screws Jretaining the cam unit(cam
gear Land cams R1/R2 assembly)(See Fig.18).
Fig.14
Fig.16
Fig.15
Fig.18
Fig.17
H
Motor L Motor R
m
m
H
Mechanism control board
Cam gear L
Drive unit
n
Chassis assembly
CD Tray
switch board
CN802
CN801
CN804
I
J
Select lever
Cams R1, R2 assembly
J
J
Cam unit
Cam gear L
Cylinder gear
Drive unit
o

XV-M52SL/XV-M50BK
1-15
Fig.19
Fig.21
Fig.20
Fig.22
[Note] When the chassis assembly is turned over under
the conditions wherein the gear bracket and belt
have been removed, then the pulley gear as well
as the gear, etc. constituting the gear unit can
possibly be separated to pieces. In such a case,
assemble these parts by referring to the assembly
and configuration diagram in Fig. 22.
Removing the actuator motor and belt
(See Fig.19 22)
1.
2.
3.
4.
5.
Remove the two screws Kretaining the gear bracket
(See Fig.19).
While pressing the pawl pfixing the gear bracket in the
arrow direction, remove the gear bracket
(See Fig.19).
From the notch qsection on the chassis assembly fixing
the edge of gear bracket, remove and take out the gear
bracket(See Fig. 20).
Remove the belts respectively from the right and left
actuator motor pulleys and pulley gears(See Fig. 19).
After turning over the chassis assembly, remove the
actuator motor while spreading the four pawls rfixing
the right and left actuator motors in the arrow
direction(See Fig. 21).
K
Pulley gear
K
Belt
Motor pulley
Belt
Pulley gear
Motor pulley
Gear bracket
p
Pawl
r
Actuator motor
r
Chassis assembly
q
Gear bracket
Pulley gear
Gear B
Cylinder gear
Gross gear U
Gear C
Gross gear L
Select gear
Gear B
Gear C
Pulley gear
Assembly and Configuration Diagram

XV-M52SL/XV-M50BK
1-16
Fig.23
[Caution] To reassemble the cylinder gear, etc.with the
cam unit (cam gear and cams
R1/R2
assembly),
gear unit and drive unit, align the position of the
pawl non the drive unit to that of the notch on
the cam gear L. Then, make sure that the gear
unit is engaged by turning the cam gear L
(See Fig. 24).
Removing the cams R1/R2 assembly
and cam gear L (See Fig.23)
1.
2.
3.
4.
Remove the slit washer fixing the cams R1 and R2
assembly.
By removing the two pawls sfixing the cam R1,
separate R2 from R1.
Remove the slit washer fixing the cam gear L.
Pull out the cam gear Lfrom the C.G. base assembly.
Removing the C.G. base assembly
(See Fig.23 and 24)
Remove the three screws Lretaining the C.G. base
assembly.
Fig.24
L
Slit washer
Pawl
Cam R2
Slit washer
Cam gear L
Cam switch board
C.G. base assembly
Cam R1
Pawl
Cam gear L
Notch
Cylinder
gear
Gear bracket
Cam R1, R2 assembly
Gear unit
Drive unit
n
Pawl
ss

XV-M52SL/XV-M50BK
1-17
Solder soldering aon the flexible board next to the
pickup unit.
From the bottom of the traverse mechanism unit,
disconnect the flexible wire from CN12 on the pickup
board.
1.
2.
Remove the screw Aattaching the shaft stopper (R)
on the upper side of the traverse mechanism unit.
Pull the side of the shaft stopper (R) outward to
release the joint band remove it upward. Remove
the skew spring at the same time.
Move the shaft in the direction of the arrow to release
it from the part c.
Release the joint dwith the shaft and remove the
pickup with the shaft.
Pull out the shaft.
Remove the screw Battaching the switch actuator.
3.
4.
5.
6.
7.
Removing the pickup (See Fig.1 to 5)
The laser diode of the pick-up might be destroyed by
static electricity, and solder with part a, please before
extracting a flexible wire from connector (CN12).
Moreover, please remove solder in part a after
inserting a flexible wire in connector (CN12).
Please refer to page 1-4 for a detailed content.
< DVD Traverse mechanism section>
ATTENTION
Fig.1
Fig.2
Fig.3
Fig.4Fig.5
Pickup unit
Flexible board
Flexible wire
Pickup unit
Shaft stopper (R)
Shaft stopper (R)
Shaft stopper (R)
Skew spring
Shaft
Shaft
Shaft
Pickup
Switch actuator
Shaft
Joint d
Joint b
Part c
Pickup board
CN12
a
A
A
B

XV-M52SL/XV-M50BK
1-18
Solder soldering aon the flexible board next to the
pickup unit.
From the bottom of the traverse mechanism unit,
disconnect the flexible wire from CN12 on the pickup
board.
1.
2.
Unsolder soldering e, fand gof each harness on the
pickup board.
Remove the screw Cattaching the pickup board and
release the two joints h.
3.
4.
Removing the pickup board
(See Fig.1 and 6)
Solder soldering aon the flexible board next to the
pickup unit.
From the bottom of the traverse mechanism unit,
disconnect the flexible wire from CN12 on the pickup
board.
1.
2.
Unsolder soldering eof the motor harness on the
pickup board.
Remove the two screws Dattaching the feed motor
assembly and remove the thrust spring. Move the
feed motor assembly in the direction of the arrow to
pull it out from the feed holder.
3.
4.
Removing the feed motor assembly
(See Fig.1, 6 and 7)
The laser diode of the pick-up might be destroyed by
static electricity, and solder with part a, please before
extracting a flexible wire from connector (CN12).
Moreover, please remove solder in part a after
inserting a flexible wire in connector (CN12).
Please refer to page 1-4 for a detailed content.
ATTENTION
Fig.6
Fig.7
Pickup board
Feed motor assembly
Feed motor assembly
Thrust spring
Feed holder assembly
CN12
f
g
e
Joint h
Joint h
C
D
Fig.1
Pickup unit
Flexible board
a
D

XV-M52SL/XV-M50BK
1-19
Solder soldering aon the flexible board next to the
pickup unit.
From the bottom of the traverse mechanism unit,
disconnect the flexible wire from CN12 on the pickup
board.
1.
2.
Unsolder soldering fand gof the harness extending
from the turn table assembly to the pickup board.
Remove the screw Eattaching the shaft stopper (F)
on the upper side of the traverse mechanism unit.
Pull the side of the shaft stopper (F) outward to
release the joint iand remove it upward. Remove the
spring at the same time.
Remove the screw Fattaching the turn table
assembly.
Move the turn table assembly outward and pull out
from the shaft. Then remove it from the base chassis.
3.
4.
5.
6.
Removing the turn table assembly
(See Fig.1, 6, 8 and 9)
The laser diode of the pick-up might be destroyed by
static electricity, and solder with part a, please before
extracting a flexible wire from connector (CN12).
Moreover, please remove solder in part a after
inserting a flexible wire in connector (CN12).
Please refer to page 1-4 for a detailed content.
ATTENTION
Fig.8
Fig.9
Fig.6
Pickup board
Feed motor assembly
Turn table assembly
Turn table assembly
Shaft stopper (F)
Shaft stopper (F)
Shaft
Shaft
Joint i
Shaft stopper (F)
CN12
f
g
e
Joint h
Joint h
C
E
F
F
E
E
Fig.1
Pickup unit
Flexible board
a

XV-M52SL/XV-M50BK
1-20
Adjustment method
(1) Initialization method
(2) Display of "Laser current value" and "Jitter value"
If microprocessor (IC401,IC402,IC403) or pick-up is replaces, initialize the
DVD player in the following matter
1)Take out the disc and close the tray.
2)Unplug the power plug.
3)Insert power plug into outlet while pressing both PLAY button and DISC 1 OPEN/CLOSE button.
4)FL Display indicate "tESt " . :Version, :Region code
5)Press 3D-PHONIC key button of remote controller. and EEPROM initialize start.
6)When indicate "V.REPLACE" on the display, initialize finishes.
7)The power is turned OFF, and Unplug the power plug.
1)Take out the disc and close the tray.
2)Unplug the power plug.
3)Insert power plug into outlet while pressing both PLAY button and DISC 1 OPEN/CLOSE button.
4)FL Display indicate "tESt " . :Version, :Region code
5)Press the "OPEN/CLOSE" button to move the tray outward.
Put the test disc (VT-501) on the tray and press "OPEN/CLOSE" button.
The tray should move inward (Note:Don't push to close the tray directly by hand etc.)
6)Press the "PLAY" button.
7)The laser current value and the jitter value is displayed on the FL indicator as follows.
"Laser current value" and "Jitter value" are displayed on the FL display by the undermentioned
method. Please refer to the failure diagnosis.
0 0 4 0 3 9 7 8
FL Display
Laser current value Jitter value
* The test mode is canceled when
the power is turned off.
The laser current value becomes 40mA for the above-mentioned.
Becomes a test mode by doing above-mentioned procedure 1) - 4). Afterwards, the laser current value can
be switched by pushing the key to remote control without turning on the disk.
If the laser current value is 64mA or less, it is roughly good. There is a possibility to which pick-up is
deteriorated, and exchange pick-up, please when there are 65mA or more laser current value.
For Laser current value
Remote control "4" key --- Laser of CD
Remote control "5" key --- Laser of DVD
*Returns to a usual test mode by the
thing to push the stop button of
remote control.
Other manuals for XV-M52SL
1
This manual suits for next models
1
Table of contents
Other JVC DVD Player manuals

JVC
JVC XV-N30BK User manual

JVC
JVC XV-N380BB User manual

JVC
JVC XV-NK58SL User manual

JVC
JVC HR-XV28SEF User manual

JVC
JVC XV-NA7SL User manual

JVC
JVC XV-NA70BK User manual

JVC
JVC LET0239-001A User manual

JVC
JVC XV-S300BKJ User manual

JVC
JVC XV-N350B User manual

JVC
JVC XVN412S - Progressive-Scan DVD Player User manual