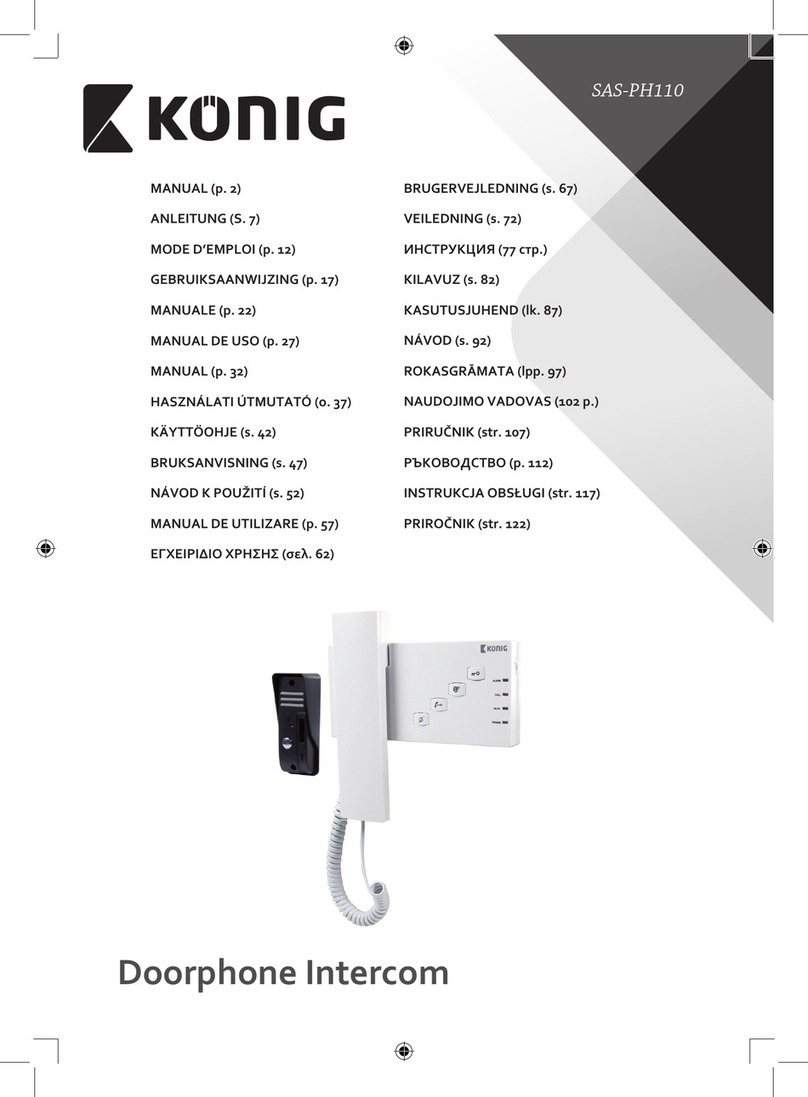
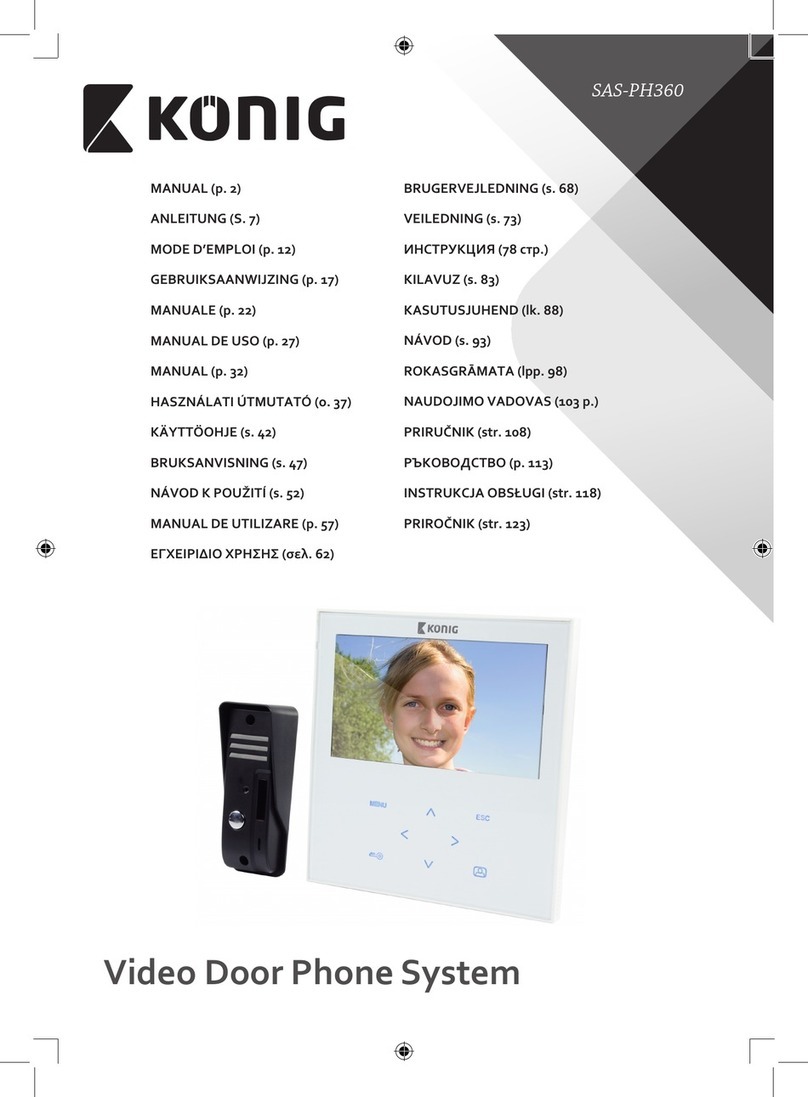
König SAS-PH310 User manual

SAS-PH310
MANUAL (p. 2)
ANLEITUNG (S. 8)
MODE D’EMPLOI (p. 14)
GEBRUIKSAANWIJZING (p. 20)
MANUALE (p. 26)
MANUAL DE USO (p. 32)
MANUAL (p. 38)
HASZNÁLATI ÚTMUTATÓ (o. 44)
KÄYTTÖOHJE (s. 50)
BRUKSANVISNING (s. 56)
NÁVOD K POUŽITÍ (s. 62)
MANUAL DE UTILIZARE (p. 68)
ΕΓΧΕΙΡΙΔΙΟ XPHΣHΣ (σελ. 74)
BRUGERVEJLEDNING (s. 80)
VEILEDNING (s. 86)
ИНСТРУКЦИЯ (92 стр.)
KILAVUZ (s. 98)
KASUTUSJUHEND (lk. 104)
NÁVOD (s. 110)
ROKASGRĀMATA (lpp. 116)
NAUDOJIMO VADOVAS (122 p.)
PRIRUČNIK (str. 128)
РЪКОВОДСТВО (p. 134)
INSTRUKCJA OBSŁUGI (str. 140)
PRIROČNIK (str. 146)
Video Doorphone System

2
ENGLISH
Introduction
With this hands-free video doorphone system you can immediately see who is at your door.
The outdoor unit is equipped with a doorbell, a camera with night view function, a speaker
and a microphone. The 3.5" LCD colour display ensures a clear view and the communication
system provides a crystal-clear sound. The system is able to connect to an electronic lock (not
included) that you can open automatically by simply pushing one button on the answering
unit.
• We recommend that you read this manual before installing/using this product.
• Keep this manual in a safe place for future reference.
Safety precautions
This product should ONLY be opened by an authorised technician when service is required.
Disconnect the product from the mains and other equipment if a problem should occur. Do
not expose the answering unit to water or moisture.
Packaging content
• 1x Answering unit
• 1x Doorbell with rain cover
• 1x 12 V AC/DC adapter
• 1x Connection cable
• 1x Mounting material
• 1x Manual
Technical specications
Doorbell
• Operating voltage: By answering unit
• Communication system: Semi-duplex
• Picture sensor: 1/4" CMOS colour 640 x 480
• IR LEDs: 4x IR LED, 1x EDS
Table of contents
• Introduction 2
• Safety precautions 2
• Packaging content 2
• Technical specications 2
• Product description 3
• Installation instructions 4
• User instructions 6
• Maintenance 7
• Warranty 7
• Disclaimer 7
• Disposal 7

3
ENGLISH
• Lens: F4.5 mm (H: 40°, V: 45°)
• Protection: IP24
• Operation temperature: -20 °C ~ +50 °C
• Weight: 100 g
• Dimensions: 127 x 38 x 48 mm (incl. rain cover)
Answering unit
• Operating voltage: 15 V DC with door open function
• Communication system: Semi-duplex
• Screen: 3.5" TFT/LCD colour
• Resolution: 320 x 240
• Weight: 310 g
• Dimensions: 220 x 120 x 25 mm
The connection between the answering unit and the outdoor unit is made via a 4-wire cable
and can be extended to 50 m with copper/0.75 mm cable.
Product description
Doorbell
Loudspeaker
Camera
Infrared LED
Doorbell
Microphone

4
ENGLISH
Answering unit
3.5” LCD/TFT screen
Alarm button
Monitor button
Microphone
Unlock button
Operation indicator
Menu button
+ button
− button
Doorbell melody
button
Volume button
Speaker
Installation instructions
System
12 V DC adapter
White (audio)
Red (VDD)
Black (GND)
Yellow (video)
Electronic lock (lock and
cable not incl.)
4-Pin
connector
Doorbell
Drill a hole of 2 cm to install the doorbell

5
ENGLISH
65 cm
110 cm
180 cm
145 cm
50 cm
80 cm
50 cm
38°-50° Recommended installation
height & angle of the camera
Using an electronic lock
Use one of the methods below to use the
electronic lock.
Model SAS-PH310
Unlock way
12 V
0 V ON OFF
Unlock
Lock
OFF 0 s 4~7 s
12 V
0 V ON OFF Unlock
Lock
ON 0 s 4~7 s
Lock
Unlock
OFF
ON 0 s 4~7 s
Lock without adapter, power supplied via outdoor unit. When the
door is closed, the circuit voltage is 0 V. By unlocking the door the
circuit voltage is 12 V. Delay is 4~7 seconds.
12 V
0 V
ON OFF
Unlock
Lock
OFF
Lock without adapter, power supplied via outdoor unit. When the
door is closed, the circuit voltage is 12 V. By unlocking the door the
circuit voltage is 0 V. Delay is 4~7 seconds.
12 V
0 V OFF ON Lock
Unlock
ON
Lock with adapter, power supplied by external adapter. Lock
Unlock
OFF
ON

6
ENGLISH
Answering unit
Install the
answering
unit to your
preferred
height.
User instructions
Operation
Operation indicator
When the system is installed and the 12 V adapter is connected to the
answering unit and a wall socket, the red operation indicator will light up.
Doorbell
When a visitor presses the doorbell, the answer unit will play the doorbell
tune and the monitor will turn on automatically. The monitor stays on for
about 20 seconds and then shuts down automatically.
Monitor button
Switches the monitor on for a quick environment check. The monitor will
show the recording of the camera.
Alarm button
In case of an emergency, push the alarm button. The alarm sound will be
given by the doorbell loudspeaker.
Unlock button
Press the unlock button to unlock the door for the visitor. (only when an
electronic lock is installed)
Volume switch
Set the switch to the desired volume.
Menu setting
Press the monitor button to switch on the monitor in order toadjust the brightness, contrast,
hue (colour) and sharpness.

7
ENGLISH
Press the menu button to open the menu.
Brightness:
Adjust the brightness of the image by pushing the + or – button. Press the
menu button again to go to the following adjustment.
Contrast:
Adjust the contrast of the image by pushing the + or – button. Press the
menu button again to go to the following adjustment.
Hue:
Adjust the hue of the image by pushing the + or – button. Press the menu
button again to go to the following adjustment.
Sharpness:
Adjust the sharpness of the image
Exit:
Exit the menu with the + or – button before the monitor is switched o,
otherwise the adjustments will not be saved.
Select the melody of the doorbell by pushing the melody button. There are
9 dierent ringtones available.
Maintenance
Clean the product only with a dry cloth.
Do not use cleaning solvents or abrasives.
Warranty
Any changes and/or modications to the product will void the warranty. We cannot accept any liability for damage caused by
incorrect use of this product.
Disclaimer
Designs and specications are subject to change without prior notice. All logos, brands and product names are trademarks or
registered trademarks of their respective holders and are hereby recognised as such.
Disposal
• This product is designated for separate collection at an appropriate collection point. Do not dispose of this product
with household waste.
• For more information, contact the retailer or the local authority responsible for waste management.
This product has been manufactured and supplied in compliance with all relevant regulations and directives, valid for all member
states of the European Union. It also complies to all applicable specications and regulations in the country of sales.
Formal documentation is available upon request. This includes, but is not limited to: Declaration of Conformity (and product
identity), Material Safety Data Sheet, product test report.
Please contact our customer service desk for support:
via website: http://www.nedis.com/en-us/contact/contact-form.htm
via telephone: +31 (0)73-5993965 (during oce hours)
NEDIS B.V., De Tweeling 28, 5215 MC ’s-Hertogenbosch, THE NETHERLANDS

8
DEUTSCH
Einleitung
Mit diesem Video-Türsprechsystem können Sie sicherstellen sein, dass Sie nicht überrascht
werden, wenn jemand an der Tür steht. Das Aussengerät besteht aus einer Türklingel mit
Kamera, Nachtsicht, Lautsprecher und Mikrofon. Mit dem 3,5" LCD-Display können Sie
sehen, wer an der Tür wartet und mit dem Besucher sprechen. Das System kann an ein
elektronisches Türschloss (nicht im Lieferumfang enthalten) angeschlossen werden und
dieses steuern, um die Tür automatisch zu önen.
• Bitte lesen Sie diese Anleitung vor der Installation/dem Gebrauch des Geräts.
• Bewahren Sie diese Bedienungsanleitung für späteres Nachschlagen auf.
Sicherheitsvorkehrungen
Dieses Produkt darf AUSSCHLIESSLICH von einem autorisierten Techniker geönet werden.
Bei Problemen trennen Sie das Gerät bitte von der Spannungsversorgung und von anderen
Geräten. Setzten Sie die Hörer weder Wasser noch Feuchtigkeit aus.
Verpackungsinhalt
• 1x Gegensprechbasis
• 1x Türklingel mit Regenabdeckung
• 1x 12 V Netzteil
• 1x Anschlusskabel
• 1x Installationsmaterial
• 1x Handbuch
Technische Spezikationen
Türklingel
• Betriebsspannung: von der Gegensprechbasis
• Kommunikationsystem: Semi-duplex
• Bildsensor: 1/4" CMOS Farbe 640 x 480
• IR LEDs: 4x IR LED, 1x EDS
• Linse: F4,5 mm (H: 40°, V: 45°)
Inhalt
• Einleitung 8
• Sicherheitsvorkehrungen 8
• Verpackungsinhalt 8
• Technische Spezikationen 8
• Beschreibung des Produkts 9
• Installationsanleitungen 10
• Gebrauchsanweisung 12
• Wartung 13
• Garantie 13
• Haftungsausschluss 13
• Entsorgung 13

9
DEUTSCH
• Schutzklasse: IP24
• Betriebstemperatur: -20 °C ~ +50 °C
• Gewicht: 100 g
• Abmessungen: 127 x 38 x 48 mm (inklusive Regenabdeckung)
Gegensprechbasis
• Betriebsspannung: 15 V DC mit Türönungsfunktion
• Kommunikationsystem: Semi-duplex
• Bildschirm: 3,5" TFT/LCD Farbe
• Auösung: 320 x 240
• Gewicht: 310 g
• Abmessungen: 220 x 120 x 25 mm
Der Anschluss zwischen der Gegensprechbasis und der Türklingel erfolgt über ein vieradriges
Kabel und kann mit einem 0,75mm Kupferkabel bis 50m verlängert werden.
Beschreibung des Produkts
Türklingel
Lautsprecher
Kamera
Infrarot LED
Türklingel
Mikrofon
Gegensprechbasis
3,5" LCD/TFT Bildschirm
Alarmtaste
Bildschirmtaste
Mikrofon
Türönertaste
Betriebsanzeige
Menütaste
+ Taste
− Taste
Klingeltontaste
Lautstärkeregler
Lautsprecher

10
DEUTSCH
Installationsanleitungen
System
12 V Netzteil
Weiss (Audio)
Rot (VDD)
Schwarz (GND)
Gelb (Video)
Elektronsiche Verriegelung
(Verriegelung und Kabel
nicht im Lieferumfang
enthalten)
4-poliger
Stecker
Türklingel
Zur Montage der Türklingel wird ein Loch von
2cm für das Kabel benötigt
65 cm
110 cm
180 cm
145 cm
50 cm
80 cm
50 cm
38°-50° Empfohlene Montagehöhe &
Sichtbereich der Kamera

11
DEUTSCH
Verwendung eines elektronischen Türschlosses
Die Art des elektronischen Türschlosses
sollte einem der folgenden Optionen
entsprechen.
Modell SAS-PH310
Entriegelungsfunktion
12 V
0 V EIN AUS
Entriegeln
Sperren
AUS 0
Sekunden
4~7
Sekunden
12 V
0 V EIN AUS Entriegeln
Sperren
EIN 0
Sekunden
4~7
Sekunden
Sperren
Entriegeln
AUS
EIN 0
Sekunden
4~7
Sekunden
Türschloss ohne Netzteil, Stromversorgung über die Außeneinheit.
Wenn die Tür geschlossen ist, liegt die Spannung bei 0V. Beim
Önen der Tür beträgt die Spannung 12V. Die Dauer liegt bei
4-7Sekunden.
12 V
0 V
EIN AUS
Entriegeln
Sperren
AUS
Türschloss ohne Netzteil, Stromversorgung über die Außeneinheit.
Wenn die Tür geschlossen ist, liegt die Spannung bei 12V. Beim
Önen der Tür beträgt die Spannung 0V. Die Dauer liegt bei
4-7Sekunden.
12 V
0 V AUS EIN
Sperren
Entriegeln
EIN
Türschloss mit Netzteil, Stromversorgung über externen Adapter. Sperren
Entriegeln
AUS
EIN
Gegensprechbasis
Die
Montagehöhe
hängt vom
Wunsch des
Benutzers ab.

12
DEUTSCH
Gebrauchsanweisung
Betrieb
Betriebsanzeige
Wenn das System montiert und das 12V Netzteil an die Gegensprechbasis
und einer Wandsteckdose angeschlossen wird, leuchtet die rote
Betriebsanzeige.
Türklingel
Wenn ein Besucher den Klingelknopf drückt, ertönt der Klingelton und
der Bildschirm schaltet sich automatisch ein. Der Bildschirm bleibt ca.
20Sekunden lang eingeschaltet und schaltet sich dann automatisch aus.
Bildschirmtaste
Schalten Sie den Bildschirm für ein mögliches Beobachten der
Außenanlage ein. Der Bildschirm zeigt das Kamerabild an.
Alarmtaste
Im Falle eines Notfalls halten Sie die Alarmtaste gedrückt. Der Alarmton
wird vom Lautsprecher der Türklingel wiedergegeben.
Türönertaste
Drücken Sie die Entriegelungstaste, um die Tür für Besucher zu önen. (nur
wenn ein elektronisches Türschloss eingebaut ist)
Lautstärkeregler
Stellen Sie den Regler auf die gewünschte Lautstärke ein.
Menü Einstellung
Zum Einstellen der Helligkeit, des Kontrastes, des Farbtons (Farbe) und der Bildschärfe
drücken Sie zuerst die Bildschirm-Taste, um den Bildschirm einzuschalten.
Drücken Sie die Menütaste Taste, um das Menü zu önen.
HELLIGKEIT:
Stellen Sie die Helligkeit des Bildes ein, indem Sie die Taste + oder –
drücken. Drücken Sie erneut die Menütaste, um zu den folgenden
Einstellungen zu gelangen.
Kontrast:
Stellen Sie den Kontrast des Bildes ein, indem Sie die Taste + oder –
drücken. Drücken Sie erneut die Menütaste, um zu den folgenden
Einstellungen zu gelangen.
Farbton:
Stellen Sie den Farbton des Bildes ein, indem Sie die Taste + oder – drücken.
Drücken Sie erneut die Menütaste, um zu den folgenden Einstellungen zu
gelangen.

13
DEUTSCH
Bildschärfe:
Stellt die Bildschärfe ein.
Menü verlassen:
Verlassen Sie das Menü durch Drücken der Taste + oder – bevor der
Bildschirm ausgeschaltet wird, sonst wird die Einstellung nicht gespeichert.
Wählen Sie den Klingelton aus, indem Sie immer wieder die Klingelton
Taste drücken. Es stehen 9 verschiedene Klingeltöne zur Verfügung.
Wartung
Reinigen Sie das Gerät nur mit einem trockenen Tuch.
Keine Reinigungs- oder Scheuermittel verwenden.
Garantie
Alle Änderungen und/oder Modizierungen an dem Produkt haben ein Erlöschen der Garantie zur Folge. Wir übernehmen keine
Haftung für Schäden durch unsachgemäße Verwendung dieses Produkts.
Haftungsausschluss
Design und technische Daten können ohne vorherige Ankündigung geändert werden. Alle Logos, Marken und Produktnamen sind
Marken oder eingetragene Marken ihrer jeweiligen Eigentümer und werden hiermit als solche anerkannt.
Entsorgung
• Dieses Produkt muss an einem entsprechenden Sammelpunkt zur Entsorgung abgegeben werden. Entsorgen Sie
dieses Produkt nicht zusammen mit dem Hausmüll.
• Weitere Informationen erhalten Sie beim Verkäufer oder der für die Abfallwirtschaft verantwortlichen örtlichen
Behörde.
Dieses Produkt wurde hergestellt und geliefert in Übereinstimmung mit allen geltenden Vorschriften und Richtlinien, die für alle
Mitgliedsstaaten der Europäischen Union gültig sind. Es entspricht allen geltenden Vorschriften und Bestimmungen im Land des
Vertriebs.
Eine formale Dokumentation ist auf Anfrage erhältlich. Diese beinhaltet unter anderem, jedoch nicht ausschließlich:
Konformitätserklärung (und Produktidentität), Sicherheitsdatenblatt, Testreport des Produkts.
Wenden Sie sich bei Fragen bitte an unseren Kundendienst:
per Internet: http://www.nedis.de/de-de/kontakt/kontaktformular.htm
per Telefon: Niederlande +31 (0)73-5993965 (während der Geschäftszeiten)
NEDIS B.V., De Tweeling 28, 5215 MC ’s-Hertogenbosch, NIEDERLANDE

14
FRANÇAIS
Introduction
Avec ce système de vidéophonie mains-libres, vous pouvez être sûr de ne pas être pris par
surprise si quelqu'un est derrière votre porte. L'unité extérieure comprend un carillon de
porte muni d'une caméra, à vision nocturne, un haut-parleur et un microphone. Grâce à
l'écran LCD de 3,5" (9 cm), vous pouvez voir qui est derrière la porte et parlez avec votre
visiteur. Le système est en mesure de se connecter et de commander un verrou électronique
(non inclus) pour ouvrir automatiquement la porte.
• Nous vous conseillons de lire ce manuel avant d'installer/utiliser ce produit.
• Conservez ce manuel dans un endroit sûr, pour pouvoir le consulter ultérieurement.
Précautions d'emploi
Ce produit devrait être démonté UNIQUEMENT par un technicien autorisé quand l'entretien
est nécessaire. Débranchez l'appareil et les autres équipements du secteur s'il y a un
problème. N'exposez pas l'unité de communication à de l'eau ou à de l'humidité.
Contenu de l'emballage
• 1x Unité de communication
• 1x Carillon de porte avec cache anti-pluie
• 1x Adaptateur d'alimentation 12 V AC/DC
• 1x Câble de connexion
• 1x Support de xation
• 1x Manuel
Spécications techniques
Carillon de porte
• Tension de fonctionnement : Par unité de communication
• Système de communication : Semi-Duplex (Voix duplex, Vidéo simplex)
• Caméra : Capteur CMOS 1/4" (6,3 mm) couleur de
640x480pixels
• Diodes IR : 4x diodes IR, 1x diode EDS
Table des matières
• Introduction 14
• Précautions d'emploi 14
• Contenu de l'emballage 14
• Spécications techniques 14
• Description du produit 15
• Instructions d'installation 16
• Mode d'emploi 18
• Entretien 19
• Garantie 19
• Avertissement 19
• Élimination des déchets 19

15
FRANÇAIS
• Objectif : Focale de 4,5 mm (H : 40°, V : 45°)
• Protection: IP24
• Température de fonctionnement : -20 °C ~ +50 °C
• Poids: 100 g
• Dimensions: 127 x 38 x 48 mm (y compris le cache anti-pluie)
Unité de communication
• Tension de fonctionnement : 15 V DC avec fonction d'ouverture de porte
• Système de communication : Semi-Duplex (Voix duplex, Vidéo simplex)
• Écran : Plat à matrice active (TFT)/LCD de 3,5" (9 cm) couleur
• Résolution : 320 x 240
• Poids: 310 g
• Dimensions: 220 x 120 x 25 mm
La connexion entre l'unité de communication et l'unité extérieure s'eectue par un câble à 4
ls qui peut être prolongé à 50m avec un câble en cuivre de diamètre 0,75mm.
Description du produit
Carillon de porte
Haut-parleur
Caméra
à diodes infrarouges
Carillon de porte
Microphone

16
FRANÇAIS
Unité de communication
Écran plat à matrice
active (TFT)/LCD de 3,5"
(9 cm)
Bouton d'alarme
Bouton de moniteur
Microphone
Bouton de
déverrouillage
Indicateur de
fonctionnement
Bouton de menu
Bouton +
Bouton −
Bouton de sonnerie
Bouton de volume
Haut-parleur
Instructions d'installation
Système
Adaptateur
12VDC
Blanc (audio)
Rouge (VDD)
Noir (GND)
Jaune (vidéo)
Verrou électronique
(verrou et câble non
inclus)
Connecteur
à 4 broches
Carillon de porte
Percez un trou de 2 cm pour installer le
carillon de porte

17
FRANÇAIS
65 cm
110 cm
180 cm
145 cm
50 cm
80 cm
50 cm
38°-50° Préférez une installation en
hauteur Et Adaptée à l'angle
de la caméra
Utilisation d'un verrou électronique
La méthode d'utilisation du verrou
électronique doit correspondre à l'une des
options ci-dessous.
Modèle SAS-PH310
Méthode de
déverrouillage
12 V
0 V
ACTIVÉ
DÉSACTIVÉ Déverrouiller
Verrouiller
DÉSACTIVÉ 0 s. 4~7 s.
12 V
0 V ACTIVÉ
DÉSACTIVÉ Déverrouiller
Verrouiller
ACTIVÉ 0 s. 4~7 s.
Verrouiller
Déverrouiller
DÉSACTIVÉ
ACTIVÉ 0 s. 4~7 s.
Verrou sans adaptateur : l'alimentation est fournie par l'unité
extérieure. Quand la porte est fermée, la tension de circuit est de
0V. En déverrouillant la porte, la tension de circuit est de 12V avec
un retard de 4 à 7secondes.
12 V
0 V
ACTIVÉ DÉSACTIVÉ
Déverrouiller
Verrouiller
DÉSACTIVÉ
Verrou sans adaptateur : l'alimentation est fournie par l'unité
extérieure. Quand la porte est fermée, la tension de circuit est de
12V. En déverrouillant la porte, la tension de circuit est de 0V avec
un retard de 4 à 7secondes.
12 V
0 V DÉSACTIVÉ
ACTIVÉ Verrouiller
Déverrouiller
ACTIVÉ
Verrou avec adaptateur : l'alimentation est fournie par l'adaptateur
externe.
Verrouiller
Déverrouiller
DÉSACTIVÉ
ACTIVÉ

18
FRANÇAIS
Unité de communication
La hauteur
d'installation
est au choix de
l'utilisateur.
Mode d'emploi
Fonctionnement
Indicateur de fonctionnement
Quand le système est installé et l'adaptateur de 12 V est relié à l'unité
de communication et à prise électrique murale, l'indicateur de
fonctionnement rouge s'allume.
Carillon de porte
Quand un visiteur appuie sur le bouton de carillon, la sonnerie sera
produite et le moniteur s'allume automatiquement. Le moniteur reste
allumé pendant environ 20secondes et ensuite s'éteint automatiquement.
Bouton de moniteur
Allume le moniteur pour contrôler éventuellement l'extérieur. Le moniteur
ache l'image de la caméra.
Bouton d'alarme
En cas d'urgence, gardez enfoncé le bouton d'alarme. La sirène d'alarme se
déclenchera à travers le haut-parleur du carillon.
Bouton de déverrouillage
Appuyez sur le bouton de déverrouillage pour ouvrir la porte. (uniquement
quand le verrou électronique est installé)
Bouton de volume
Réglez le volume au niveau souhaité.
Menu de réglage
Pour régler la luminosité, le contraste, la teinte (couleur) et la netteté, appuyez d'abord sur le
bouton de moniteur pour allumer le moniteur.

19
FRANÇAIS
Appuyez sur le bouton menu pour ouvrir le menu principal.
Luminosité :
Réglez la luminosité de l'image en appuyant sur les boutons + ou -.
Appuyez à nouveau sur le bouton menu pour accéder aux réglages
suivants.
Contraste :
Réglez le contraste de l'image en appuyant sur les boutons + ou -. Appuyez
à nouveau sur le bouton menu pour accéder aux réglages suivants.
Teinte :
Réglez la teinte de l'image en appuyant sur les boutons + ou -. Appuyez à
nouveau sur le bouton menu pour accéder aux réglages suivants.
Netteté :
Réglez la netteté de l'image
Quitter :
Quittez le menu avec les boutons + ou - avant que le moniteur ne s'éteigne,
autrement les réglages ne seront pas mémorisés.
Sélectionnez la mélodie de sonnerie en appuyant sur le bouton de
sonnerie plusieurs fois. 9 mélodies diérentes sont disponibles.
Entretien
Nettoyez uniquement le produit avec un chion sec.
N'utilisez pas de solvants ni des produits abrasifs.
Garantie
Toutes altérations et/ou modications du produit annuleront la garantie. Nous ne serons tenus responsables d'aucune responsabilité
pour les dommages dus à une utilisation incorrecte du produit.
Avertissement
Le design et les caractéristiques techniques sont sujets à modication sans notication préalable. Tous les logos de marques et
noms de produits sont des marques déposées ou immatriculées dont leurs détenteurs sont les propriétaires et sont donc reconnues
comme telles dans ce documents.
Élimination des déchets
• Ce produit doit être jeté séparément des ordures ménagères dans un point de collecte approprié. Ne jetez pas ce
produit avec les ordures ménagères ordinaires.
• Pour plus d’informations, contactez le distributeur ou l’autorité locale responsable de la gestion des déchets.
Ce produit est fabriqué et délivré en conformité avec toutes les directives et règlements applicables et en vigueur dans tous les états
membre de l'Union Européenne. Il est également conforme aux spécications et à la réglementation en vigueur dans le pays de
vente.
La documentation ocielle est disponible sur demande. Cela inclut mais ne se limite pas à: La déclaration de conformité (et à
l'identication du produit), la che technique concernant la sécurité des matériaux, les rapports de test du produit.
Veuillez contacter notre centre de service à la clientèle pour plus d'assistance:
via le site Web: http://www.nedis.fr/fr-fr/contact/formulaire-de-contact.htm
via téléphone: +31 (0)73-5993965 (aux heures de bureau)
NEDIS B.V., De Tweeling 28, 5215 MC ’s-Hertogenbosch, PAYS-BAS

20
NEDERLANDS
Inleiding
Dit handsfree deurtelefoonsysteem met videofunctie laat u meteen zien wie er aan de
deur staat. De buitenunit heeft een deurbel, een camera met nachtzichtfunctie, een
speaker en een microfoon. Het 3,5" LCD-kleurenscherm zorgt voor een helder beeld en
het communicatiesysteem zorgt voor een kristalhelder geluid. Het systeem kan worden
verbonden met een elektronisch slot (niet inbegrepen) dat u automatisch kunt openen door
op het antwoordpaneel een knop in te drukken.
• We adviseren u deze handleiding te lezen voordat u dit product installeert/gebruikt.
• Bewaar deze handleiding op een veilige plek voor toekomstig gebruik.
Veiligheidsvoorschriften
Dit product mag UITSLUITEND door een erkend monteur worden geopend als onderhoud is
vereist. Koppel het product los van de elektrische voeding en van andere apparatuur als er
zich problemen voordoen. Stel de antwoordunit niet bloot aan water of vocht.
Verpakkingsinhoud
• 1x Antwoordunit
• 1x Deurbel met regenkap
• 1x 12 V AC/DC adapter
• 1x Voedingskabel
• 1x Installatiemateriaal
• 1x Handleiding
Technische specicaties
Deurbel
• Bedrijfsspanning: Door antwoordpaneel
• Communicatiesysteem: Half-duplex
• Beeldsensor: 1/4" CMOS kleuren 640 x 480
• IR-LED’s: 4x IR-LED, 1x EDS
Inhoudsopgave
• Inleiding 20
• Veiligheidsvoorschriften 20
• Verpakkingsinhoud 20
• Technische specicaties 20
• Productbeschrijving 21
• Installatie-instructies 22
• Gebruiksaanwijzing 24
• Onderhoud 25
• Garantie 25
• Disclaimer 25
• Afvoer 25
Table of contents
Languages:
Other König Intercom System manuals
Popular Intercom System manuals by other brands

LAON TECHNOLOGY
LAON TECHNOLOGY LT250 quick reference

Nortek Security & Control
Nortek Security & Control MIGHTY MULE MM136 Instructions for wired and wireless installations

Zenitel
Zenitel IPDM-V2_P Getting started guide

Marmitek
Marmitek M228 owner's manual

CyberData
CyberData 11272 Operation guide

KIVOS
KIVOS KDB300 user manual