Kanematsu Corporaion BS HH16 User manual

BS HH16
Users Manual

INTRODUCTION
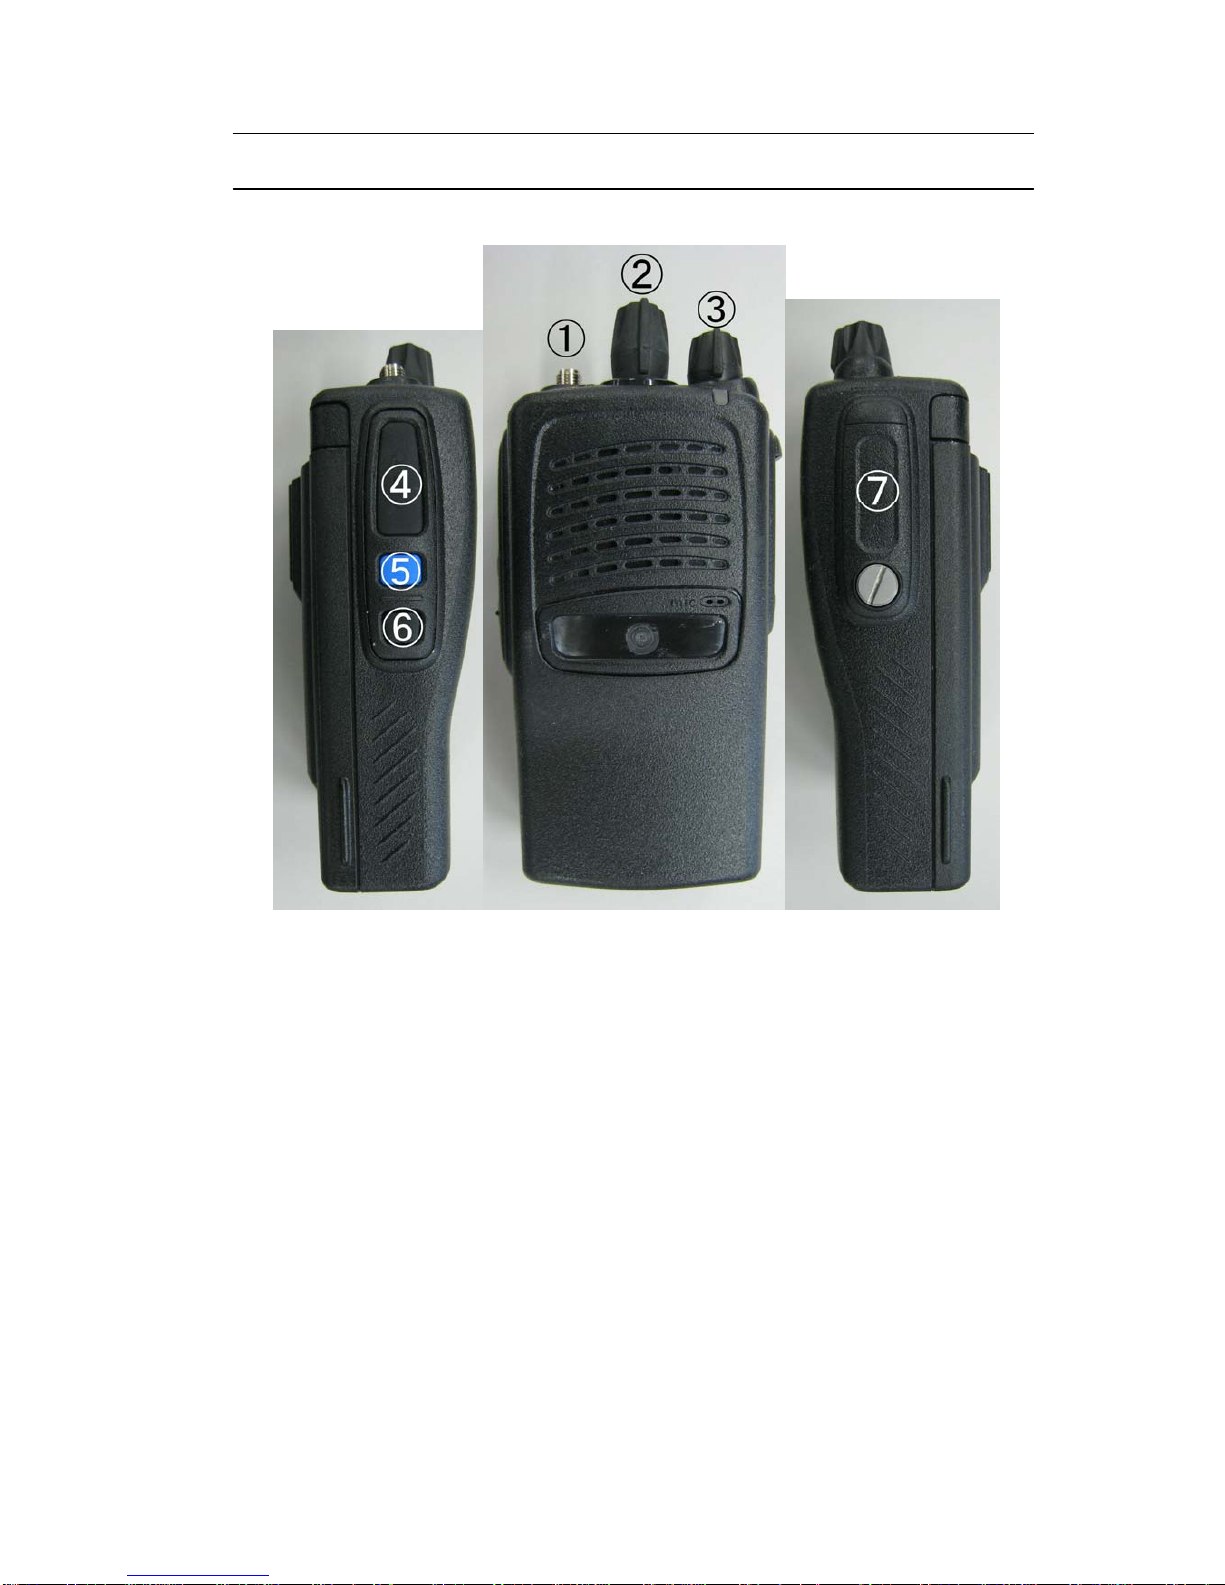
This Manual describes the operation for the Kanematsu Handheld radio
This Handheld is full-featured FM transceiver designed for flexible mobile business
communications in the VHF or UHF Land mobile bands.
This Land mobile radio can be programmed with 16 channels.
Important channel frequency data is stored in EEPROM and flash memory on the CPU,
and easily programmable by dealers using personal computer and PC EDITER software.
FCC Requirements
Your radio must be properly licensed Federal Communications Commission prior to use.
Your Wireless dealer can assist you in meeting these requirements. Your dealer will
program each radio with your authorized frequencies, signaling codes, etc., and will be
there to meet your communications needs as your system expands.
SAFETY WARNING INFORMATION
READ THIS IMPORTANT INFORMATION ON SAFE AND EFFICIENT OPERATION
BEFORE USING YOUR LAND MOBILE RADIO
・ Only qualified technicians are allowed to repair this product.
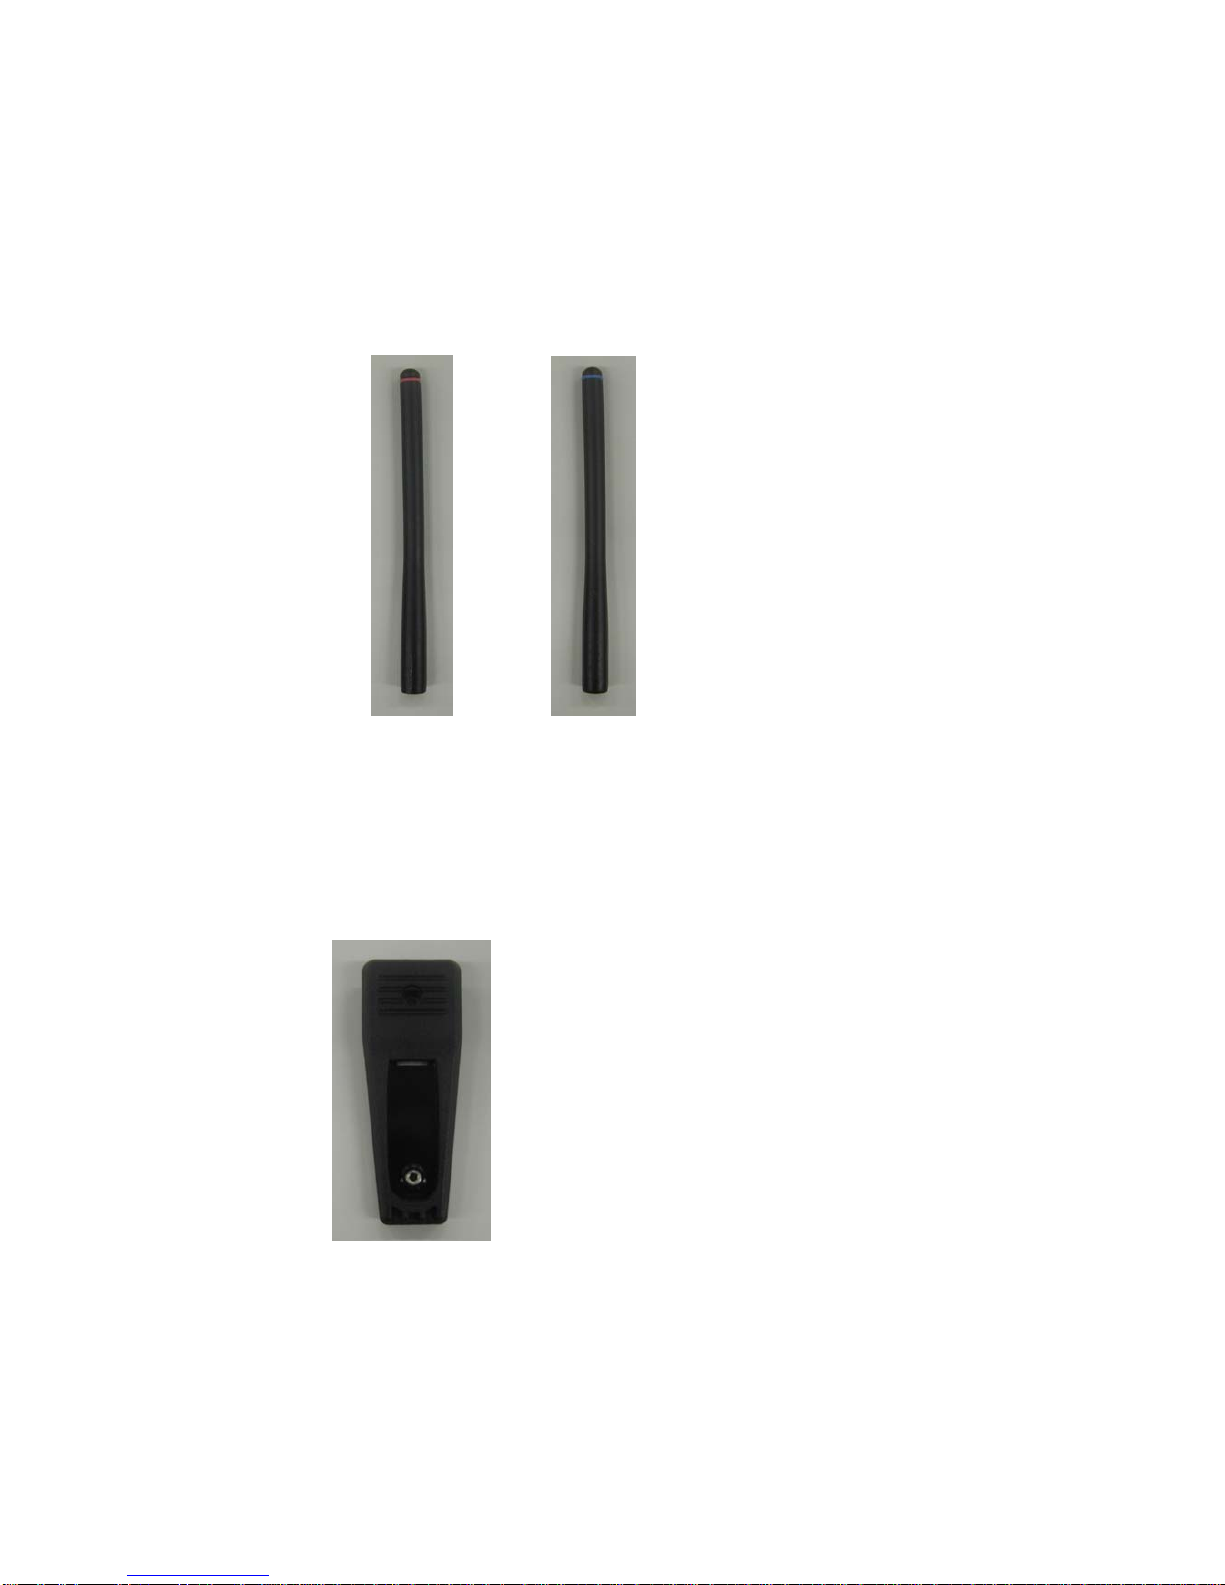
・ Do not operate the radio without a proper antenna attached. As this may damage
the radio and may also cause to exceed FCC RF exposure limits.
・ Typical electronic systems that may malfunction due to the lack of protection from
radio frequency energy present when transmitting. If the vehicle contains such
equipment, consult the dealer.
・ Just as it is dangerous to fuel a vehicle with motor running, similar hazard exist
when operation a mobile radio. Be sure to turn the radio off while fueling a vehicle.
・ Do not operate the radio without a proper antenna attached, as this may damage
the radio and may also cause you to exceed FCC RF exposure limits.
・ Do not transmit for more than 50% of total radio use time. Transmitting more than
50% of the time can cause FCC RF exposure compliance requirements to be
exceeded.
・ Always Keep at least 1.5cm between the antenna and operator while transmitting.
・ Always use authorized accessories.
・ Dynamite blasting caps may be caused to explode by operating a radio within 500
feet of the blasting caps.Always obey the “Turn Off Two –Way radios” signs posted
where dynamite is being used.
・ Do not install the radio in the closed compartment that contains an LP gas container
or its fitting.
・ No changes or adjustments shall be made to the equipment except by an authorized
or certified electronic technician.
・ Using your radio to send personal messages is a violation of FCC rules.
・ Body Worn Operation
- When worn on the body, always place the radio in Kanematsu-approved belt

clip shown in the picture (9 Belt Clip). Using approved belt clip that maintain a
“separation distance” between the User and the radio complies with the 1.5 cm
separation distance.
Use of non-approved belt clip may result in exposure levels, which exceed the
FCC occupational/controlled environment RF exposure limits.
- If User are not using a body-worn belt clip and are not using the radio in the
intended-use position in front of the face, ensure the antenna and the radio are
kept at least 1.5 cm from the body when transmitting. Keeping the separation
distance is important because RF exposures decrease with increasing
distance from the antenna.

Control and Connectors
FRONT PANEL
1 VOL/PWR Knob (3)
Turn this control clockwise to turn the radio on and increase the volume. Turn it
counterclockwise into the click-stop to the radio off.
2 BUSY/TX Indicator
Indicate transceiver Transmit/Receive Status
Steady Red: Transmitting(High) in progress
Steady Orange: Transmitting(Low) in progress
Steady Green: Busy Channel
3 Channel Selectable Knob (2)
Selectable channel Knob.
4 UDC Terminal (7)
Connect the microphone or speaker.
An external loudspeaker may be connected to this 2-contact.
Caution: Do not connect either wire of this line to ground, and be certain that the speaker
has adequate capability to handle the audio output (0.5W) from the radio.

5 Monitor Buttons (6)
All channel activity can be monitored by pressing the button.
6 SCAN Button (5)
Switches the Scan Mode on and off.
7 Antenna Connector ( 1)
The 50-ohm to the antenna must be connected here, using a SMA plug.
8 7.5V DC Input
The supplied Battery must be connected to this 2-contact.
9 Belt Clip
136-160MHz
P/N: PA020AA10
150-174MHz
P/N: PA021AA10
P/N: PA0500A100

BASIC OPERATION
Important! – Before turning on the radio the first time, confirm that the power connections
have been made correctly and that a proper antenna is connected to the antenna jack.
Overview - Your authorized Dealer can program your radio for Conventional format.
RECEIVE
Switching Power ON
Turn power on by the VOL/PWR knob. The radio will beep.
Setting the volume
Turn the VOL/PWR knob clockwise to increase the volume, and counterclockwise to
decrease it.
Select a Channel
Use the rotary switch (channel knob) to select the operating channel.
Transmitting
Press the Monitor button to listen for channel activity
When receiving a call, transmit only after the incoming call ends. The radio cannot receive
a call and transmit simultaneously.
Press PTT switch.
If the channel is clear, the BUSY/TX indicator will grow red or orange. The radio is now
transmitting. While holding in the PTT switch, speak across the face of the microphone in
a clear and normal voice. For best transmission, hold the microphone about 1-1/2 to 2
inches away from your month. Release the PTT switch to receive.
If the Busy Channel Lockout feature has been programmed on a channel, the radio will
not transmit when a carrier is present. Instead, the radio will generate a continuous
low-pitched tone wile PTT switch is pressed. Release the PTT switch and wait for the
channel to be clear of activity.
If CTCSS or Digital Code Squelch (DCS) Lockout has been programmed on a channel,
the radio can transmit only when there is no carrier being received or when the carrier
being received includes the correct CTCSS tone or DCS code.

Time-Out Timer
If the selected channel has been programmed for Time-Out timer, you must limit the
length of each transmission, Wile transmitting, a beep will sound 10 seconds before
time-out.
Another beep will sound just before the deadline; The TX indicator will disappear the
transmission will cease soon thereafter. To resume transmitting, you must release the PTT
switch and wait for the “penalty timer “ to expire (if you press the PTT switch before this
timer expires, the timer restarts, and you will have to wait another “penalty” period)
ADVANCED OPERATION
MONITOR
Press the monitor button hears background noise (unmute the audio); the BUSY/TX
indicator will grow green.
SCAN
The Scanning feature is used to monitor multiple channels programmed into the
transceiver. While scanning, transceiver will check each channel for the presence of a
signal, and will stop on a channel if a signal is present.
Press the SCAN button to active scanning.
The scanner will search the each channels, looking for active ones; it will pause each
time if finds a channel on which someone is speaking.
Press the SCAN button again to disable scanning. Operation will revert to the before
scan start channel.
Table of contents