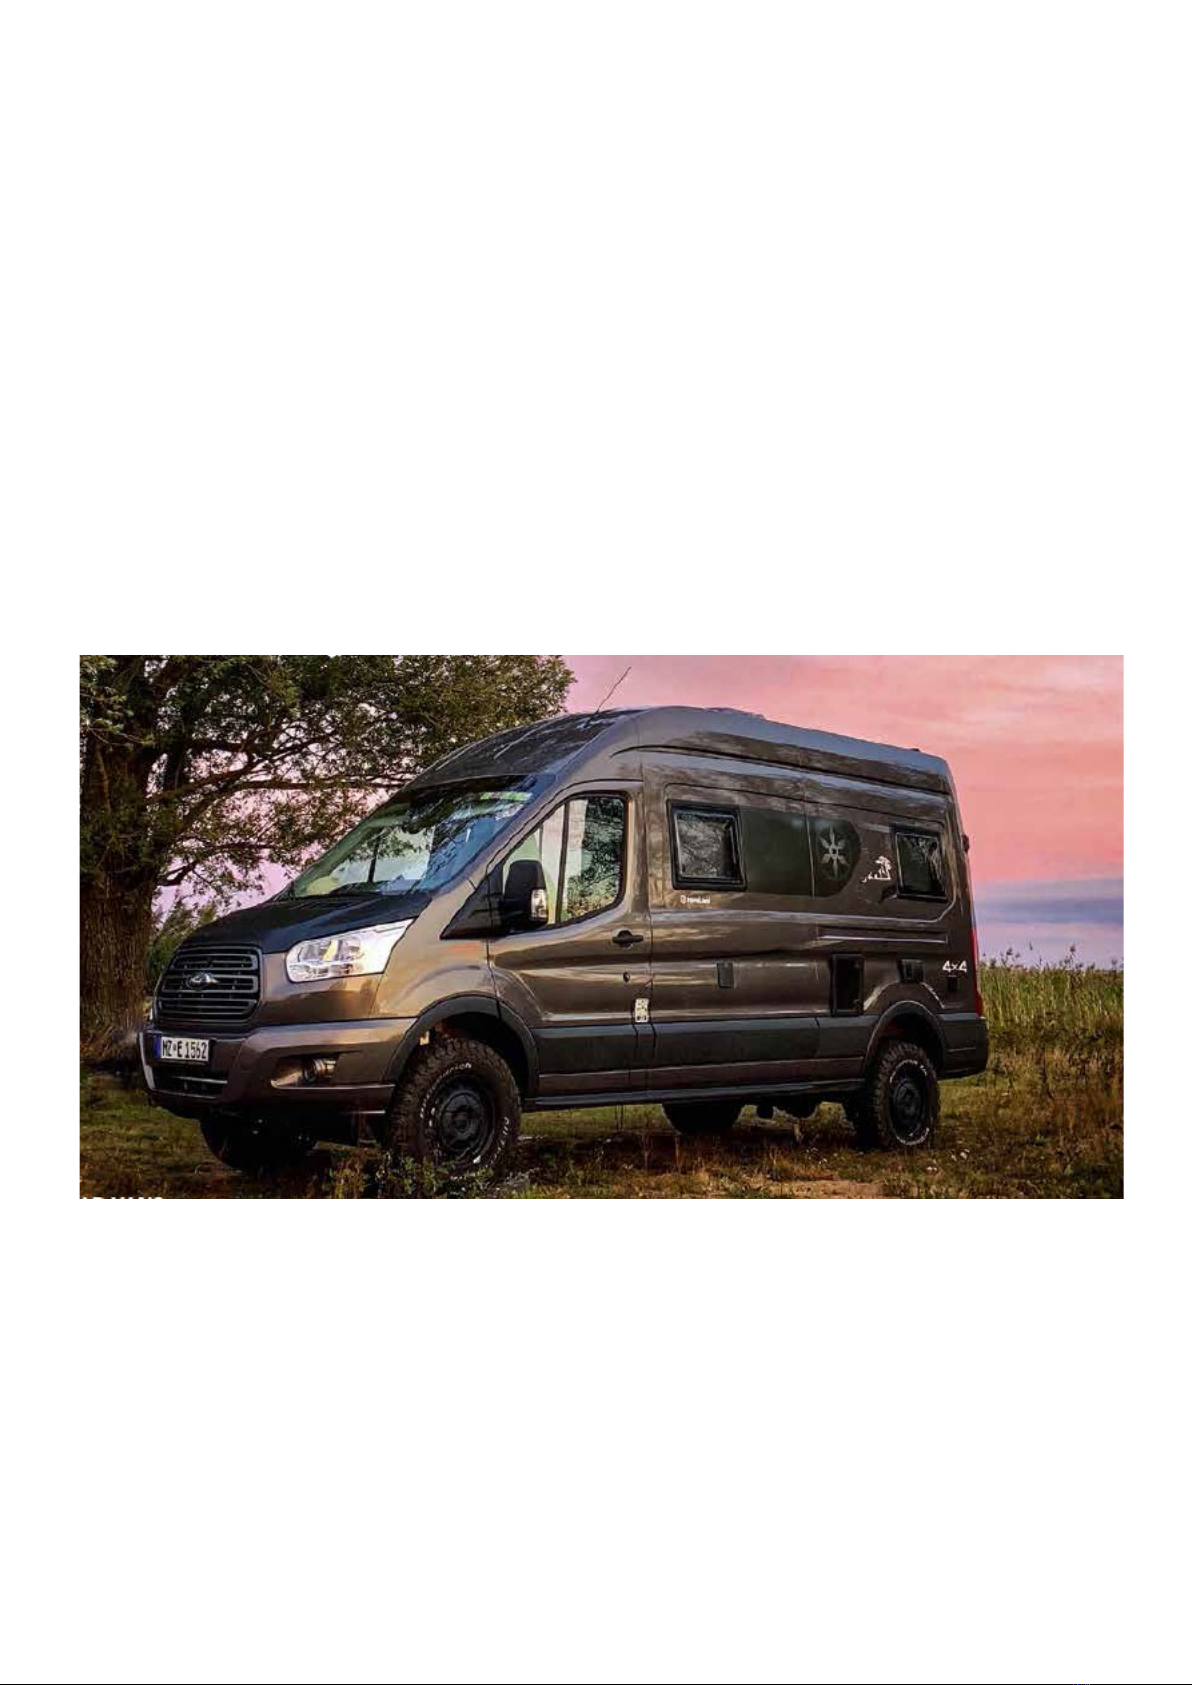
Karmann-Mobil Dexter 570 4x4 User manual

Dexter 570 4x4
Operating Manual

2

3
Contents
Introduction _____________________________________Page 5
Rights and duties _______________________________ Page 9
Water system __________________________________Page 13
Gas system _____________________________________Page 21
Electrical system ______________________________ Page 25
Heating ________________________________________Page 33
Toilet __________________________________________Page 37
Electrical appliances ____________________________Page 43
Openings ______________________________________Page 49
Shut-down for winter ___________________________Page 55
Care ___________________________________________Page 61
Miscellaneous and accessories ___________________Page 65
Troubleshooting ________________________________Page 69
Appendix: Wiring diagram
Provisional illustrations

4

5
Introduction

6

7
Dear customer,
We would like to thank you for your trust in the Karmann-Mobil brand, which you have
demonstrated by buying your leisure vehicle.
Many years of experience and know-how form the basis of this unique concept of a vehicle,
which is positioned between an everyday vehicle and a motorhome.
Your smart and compact vehicle from Karmann-Mobil offers an especially ingenious interior
and will serve you very well on short and long journeys alike.
In this operating manual you will find tips and information from Karmann-Mobil concerning
the everyday care and maintenance of your vehicle so that you can enjoy all its advantages.
Karmann-Mobil wishes you safe and pleasant travels at all times.
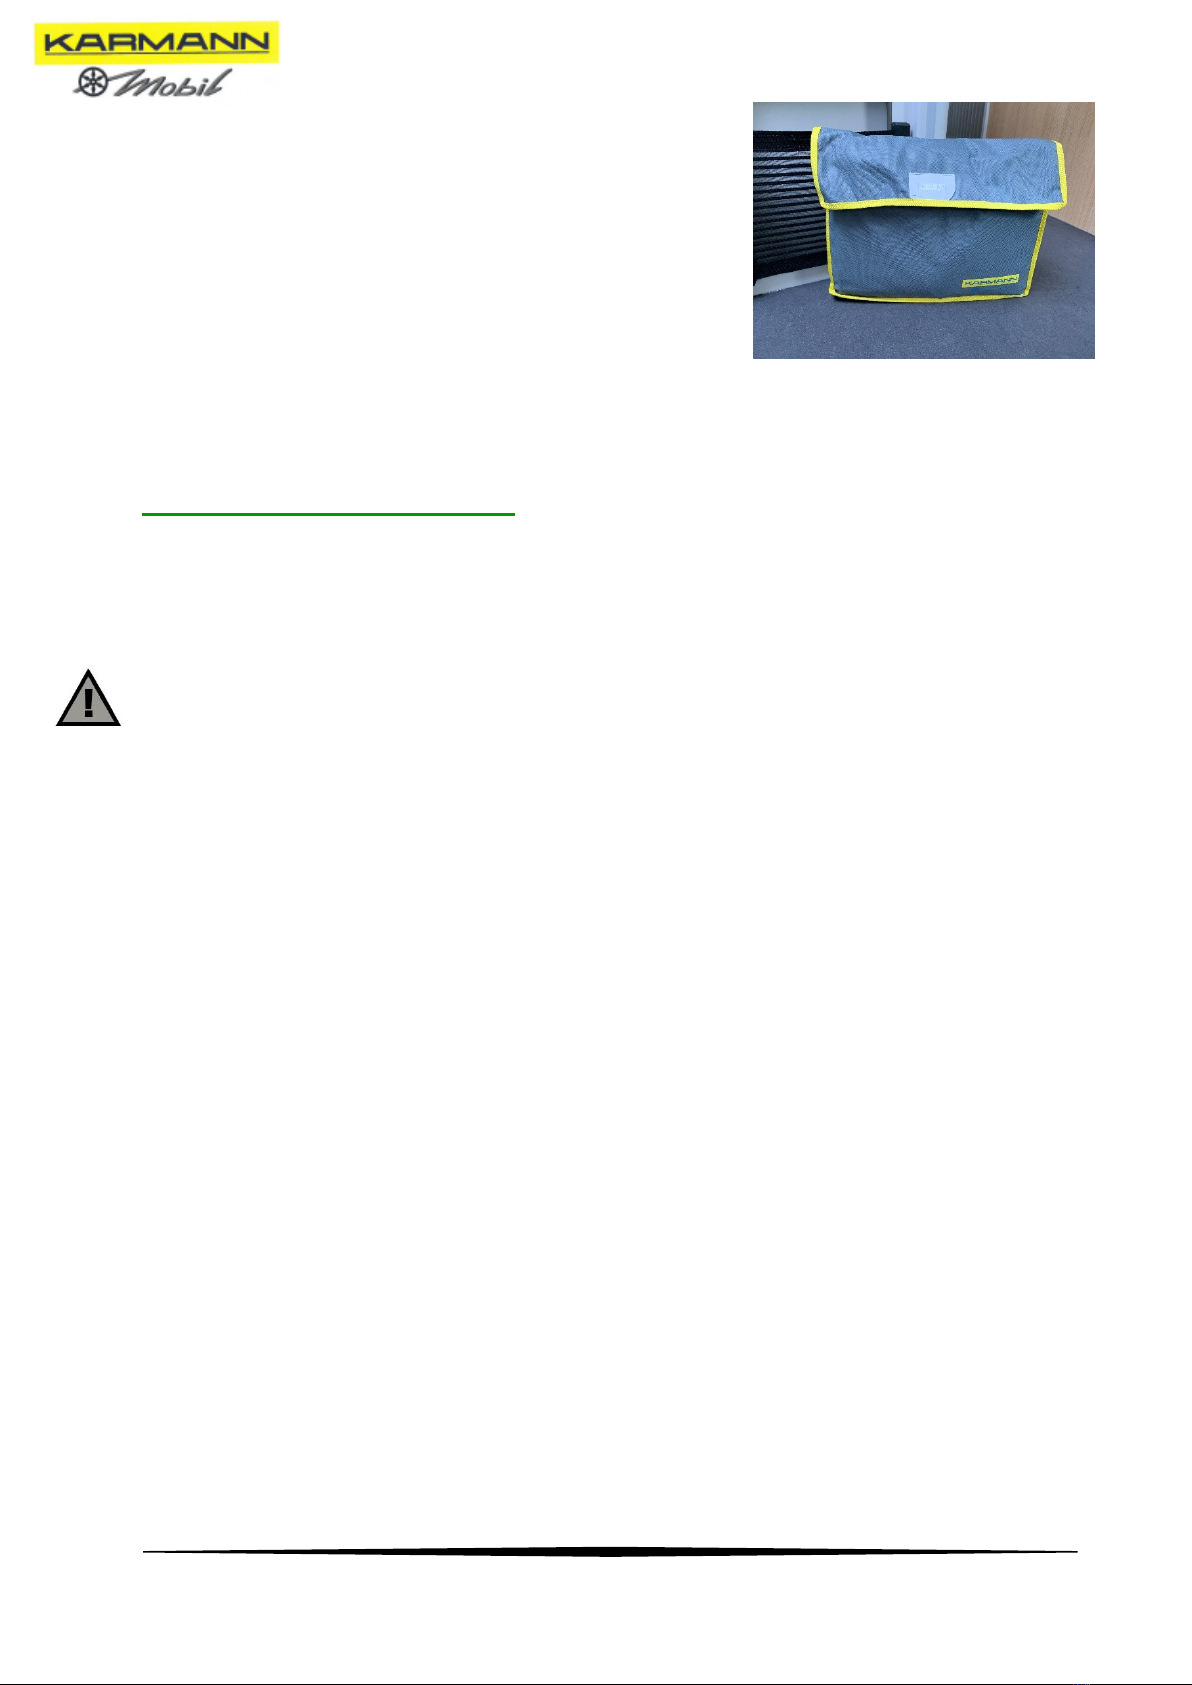
1 –Instructions on use
These instructions will help you to become more familiar with your vehicle. Please read them
thoroughly before using the vehicle for the first time.
These instructions give you answers to almost all questions concerning the operation of a
system or an appliance. It is therefore important to always keep these instructions on hand in
your vehicle.
The pictograms used in these instructions will help you to easily identify the location of each
individual element. Some pictograms indicate the importance of the corresponding information:
“Attention”pictogram: Highlights an important point that must be observed.
“Injury”pictogram: Warns of a risk of injury resulting from ignoring the corresponding
information.
“Customer service”pictogram: If you cannot find a solution for the problem in these
instructions or in the instructions of the corresponding appliance manufacturer, please consult
the customer service of your authorised dealer.
Icon “dirt/contamination”: Warns of a risk of pollution to the environment resulting from
ignoring the corresponding information.

8
With the delivery of your vehicle from Karmann-Mobil you
also received a folder.
In this folder you will find instructions for each electric
appliance from the respective manufacturer.
Before using the vehicle the first time, ensure to read these
instructions. The information contained in these instructions
take precedence over the information provided in this
operating manual.
2 –Warranty leaflet
To activate the warranty, the warranty certificate must be registered by the delivering dealer on the
Eura Mobil Portal.
A copy of the initial registration must be uploaded in the system in this context. The basic vehicle is
hereby registered with the chassis manufacturer for warranty coverage.
In the course of the Data Protection Act, a data protection declaration must be filled out and signed by
the customer.

9
Rights and duties

10

11
1 –Rights and duties of owners of motorhomes
Waste water can only be drained at dedicated locations like roadside service areas,
waste disposal stations or public and private sanitary facilities.
Attention: Public storm sewers may not be used for drainage as they do not have facilities for
waste water treatment.
All water drain valves must be kept closed while driving.
Household waste must be collected in bags and disposed of at the facilities provided for this
purpose.
The application of all these principles strengthens mutual respect, respect for the environment and hospitality in
the regions visited.
Charta des S.I.C.V.E.R.L (Syndicat des Véhicules de loisirs –Verband der Hersteller von Freizeitfahrzeugen –Association of
manufacturers of leisure vehicles) and the C.L.C. (Comité de Liaison du Camping-car –Beratungsgremium Wohnmobile –
Advisory Body Motorhomes).

12

13
Water system

14

15
1 –Water circuit
Waste water must only be drained at locations which are fully equipped for this purpose
(campsites/caravan parks , waste disposal stations, etc.).
2 –Fresh water supply
Your mobile home is equipped with a fixed fresh
water tank with a capacity of 80 l. It is located in the
box on the rear right-hand side.
Draining
fresh water
Cassette waste
holding tank
Draining the
boiler
Draining waste
water
Wash basin
Shower
cubicle
Hot water
heater
Pump
Toilet
Kitchen sink
Fresh water
Fresh water
Hot water
Waste water

16
In winter, this tank remains free of ice as long as the motorhome is heated. It can be drained via a
manual drain valve.
The water level sensor measures the amount of water remaining in the tank.
The control panel shows the filling level in percent.
The fresh water tank is filled by a hose without adapter piece via the plug on the front left hand side of the
vehicle. The tank is full when water runs through the overflow and drips down to the ground.
To make sure that the tank is not filled completely, check the filling level on the control panel in test mode.
The fresh water tank must only be filled with potable water.
Before you open a tap and thus start the electric pump, you should check whether the tank holds any
water. Running without water may damage the pump.
Regardless of the source, depending on the filling system and the residual water in the tank, it cannot be
guaranteed that the water is potable.
The water in the tank loses its hygienic properties after a few days, even if additives are added. Drinking
the water or using it for cooking is not recommended. The water should be changed frequently. This can
be done at the lower right side. First, the tank must be cleaned with a disinfectant: the water in the fresh
water tank is not to be considered potable.
3 –Pump and filter
The electric power supply for the pump is switched on from
the control panel (see diagram). Power is supplied to all
water and sanitary connections of the vehicle. The power
starts when a tap is opened.
It is located in the box on the rear right-hand side.
The pump filter should be cleaned regularly. Contamination
may cause damage to the pump.
If the pump does not shut off automatically, make absolutely
sure to switch it off on the panel and have the water system
checked!
Control button to switch on
the electric power supply
for the pump
Control light for fresh water tank
filling level
Control button to switch on the
control panel
Filter
Pump

17
4 –Draining the fresh water
Turn off the power at the control panel.
Open the fresh water drain valve located in the box on the
rear right-hand side.
Open all taps to ensure complete drainage.
To finish the draining process, start the pump and let it run
for a short period; keep the taps open throughout this time.
5 –Hot water
Your vehicle is equipped with a TRUMA D6 heater with integrated boiler,
which is located in the rear left-hand box.
It is supplied directly from the diesel tank and delivers hot water to the
various water service points (shower, wash basin, kitchen sink).
▪Control panel
-Press the rotary/pressure switch to activate the control panel.
-Scroll through the menu and select the hot water symbol .
-Scroll through the available setting options and select the desired
operating mode.
Boiler –the hot water supply is operating
Eco –the hot water temperature is 40 °C
Hot –the hot water temperature is 60 °C
Boost –not available with Combi Diesel
-Press the rotary/pressure switch to confirm your selection.
-Press the return button to exit the menu.
Fresh water drain valve

18
▪Filling the boiler
Before its first use, the entire water supply must be rinsed with clean water.
Check whether the rotary switch of the drain valve (Frost Control), which
is located in the rear left-hand box, is in the “Operation”position,
i.e. parallel to the water connection, and whether it is engaged. In order to
close the drain valve, activate the pressure switch until it locks into place.
Turn on the pump at the control panel.
Open the hot water taps in the kitchen and
bathroom. Leave the taps open until the air has
escaped from the system and the water runs as a
continuous stream from the taps.
To reactivate the Frost Control function at temperatures below 7 °C and to fill the appliance
completely, the heater must first be switched on to warm up the space in the heater box. When the
temperature is above 7 °C, the drain valve (Frost Control) can be closed.
▪Draining the boiler
If the boiler is not used for an extended period of time, it must be emptied completely in order to avoid
frost damage.
Turn off the pump on the control panel and open all hot water taps.
Turn the rotary knob of the drain valve (Frost
Control) by 90° until it clicks into place. The
pressure switch is released from the engaged
position and the drain valve opens.
The water from the boiler is now drained to the outside via the drain valve. Place a container under the
outlet to ensure that the boiler has been completely emptied (about 10 litres).
If the temperatures drop below 3 °C, the Frost Control safety/drain valve opens automatically and
empties the boiler.
Waste water can only be drained at dedicated locations like roadside service areas, waste disposal
stations or public and private sanitary facilities.
Control button to switch on the electric power supply for the pump
Switch in “Off”-Position
Pressure switch pops out
Frost Control
Switch in position “ON”
Pressure switch in
position “CLOSED”

19
6 –Kitchen sink and washbasin
The kitchen sink and wash basin are made of plastic and must be cleaned with suitable household
products. Do not use abrasive cleaning agents.
7 –Shower cubicle
The shower cubicle is equipped with a mixer tap. The sink
must be cleaned regularly with a suitable household
product. Before starting your journey, do not forget to
secure the shower head firmly in its holder.
While taking a shower, the duckboard must be placed on the
floor of the shower cubicle and the shower curtain must be
closed properly in order to prevent water from escaping.
A shower unit included in the scope of delivery of your
vehicle can be attached to the connection at the side of the
rear left-hand box and used as outside shower.
8 - Draining
All waste water (from wash basin, kitchen sink and
shower) is collected in a solid tank, which is located under
the vehicle.
A sensor checks whether the tank is full; this is displayed
by this light on the control panel:
The tank should be drained as soon as possible when the
control light lights up and 100 % is indicated on the control
panel.
Control light for waste water tank

20
The tank is emptied only by means of a red manual drain
valve located in the rear area under the vehicle.
The waste water tank is equipped with a thermal
sensor which switches on at an outside temperature of
approx. 3° C and switches off again at a water
temperature of approx. 9° C. Requirement: at least 10
litres. Water in tank and main panel and interior light
must be switched on.
Waste water can only be drained at dedicated locations like roadside service areas, waste disposal stations
or public and private sanitary facilities.
For safety reasons and to maintain the warranty, changes to the water system must only be made
by authorised dealers with the written consent of Karmann-Mobil.
Handle to drain the waste water
tank
Table of contents
Other Karmann-Mobil Motorhome manuals

Karmann-Mobil
Karmann-Mobil DEXTER 580 2021-2022 User manual

Karmann-Mobil
Karmann-Mobil Dexter 580 2020 User manual

Karmann-Mobil
Karmann-Mobil Dexter Dex 595 2017 User manual

Karmann-Mobil
Karmann-Mobil DEXTER 600 User manual

Karmann-Mobil
Karmann-Mobil DEXTER 540 User manual

Karmann-Mobil
Karmann-Mobil DEXTER 560 User manual