Page
3
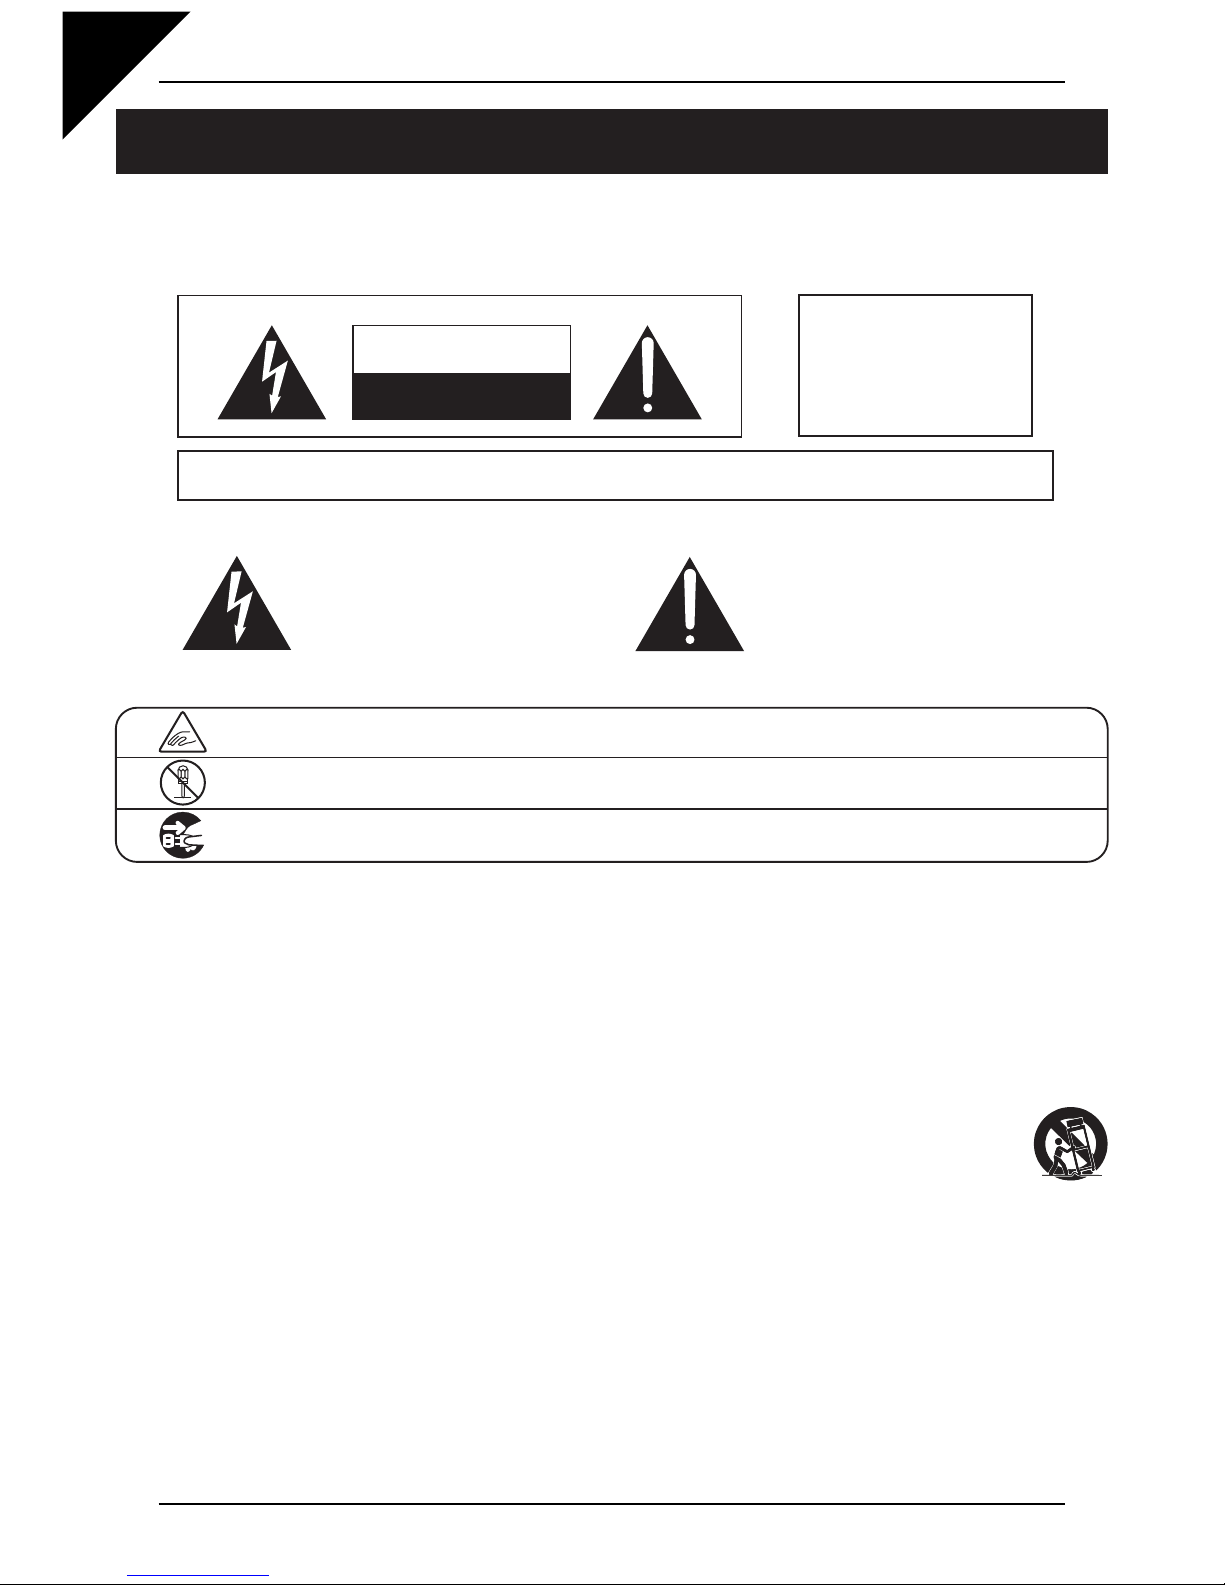
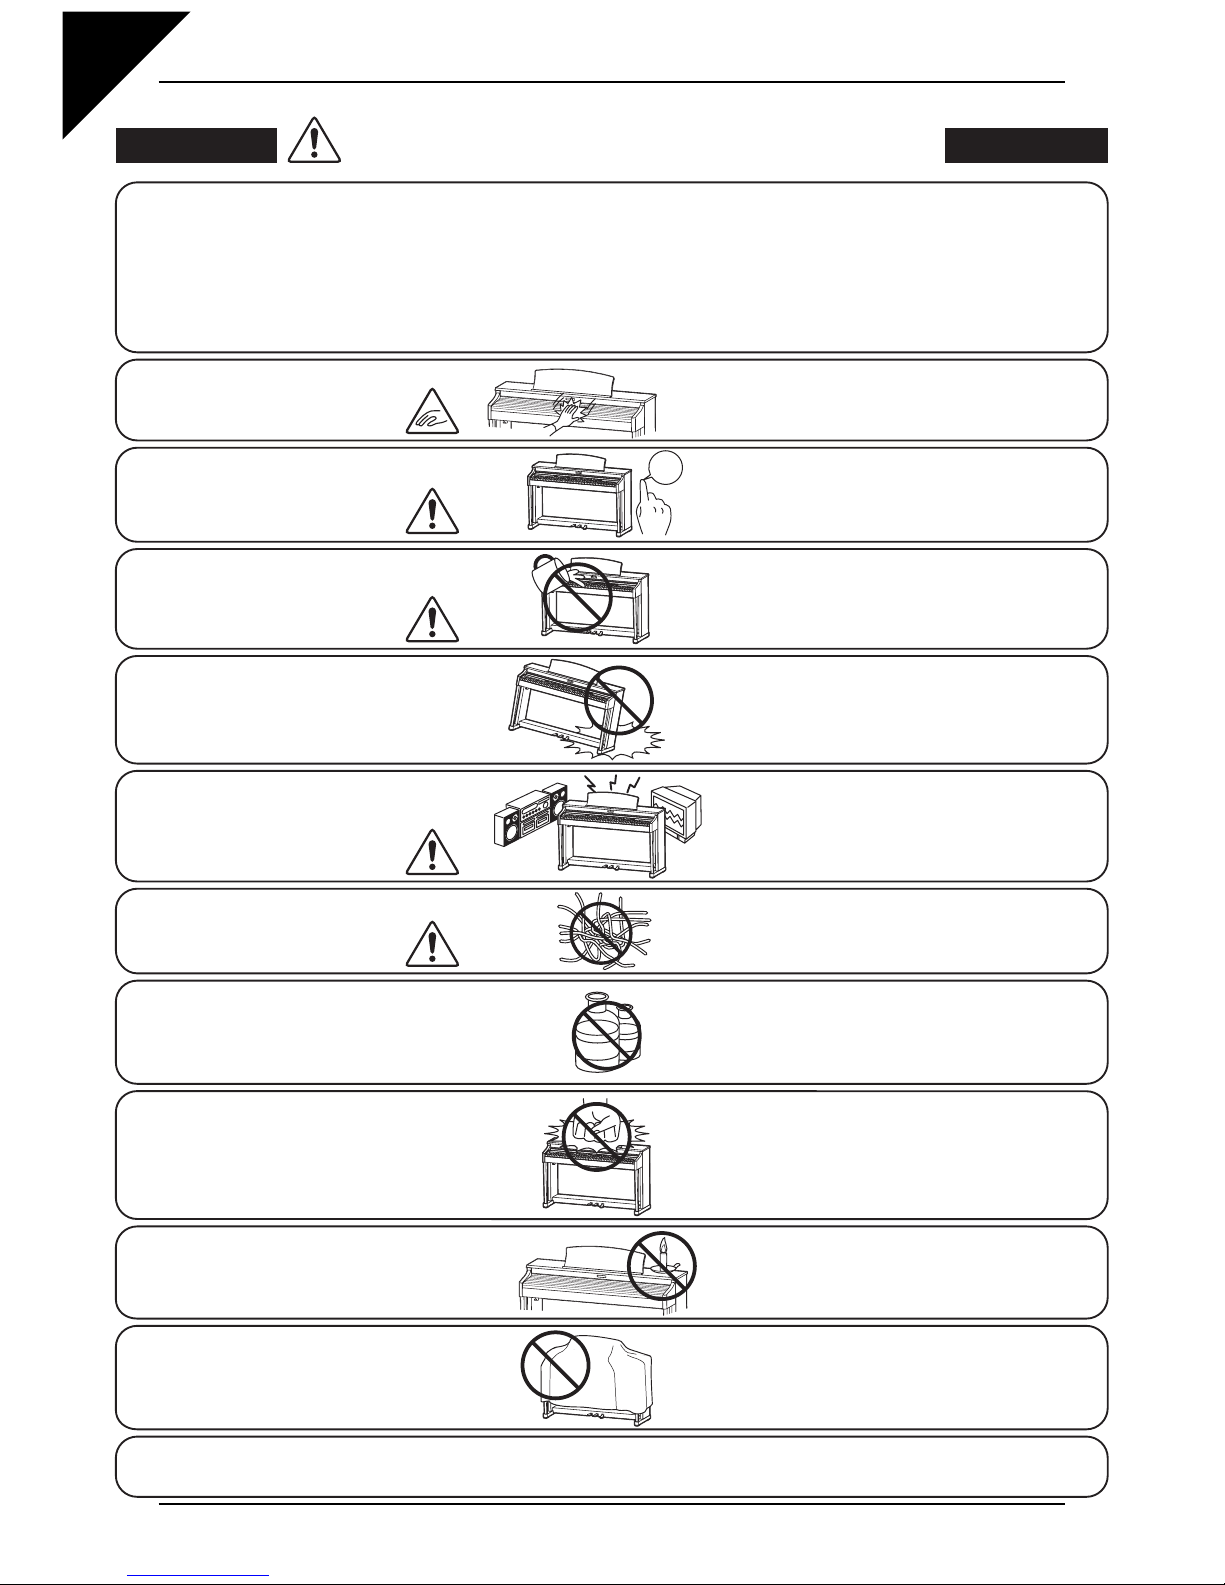
¡Important Safety Instructions ...........................4
1. PART NAMES AND FUNCTIONS .................... 8
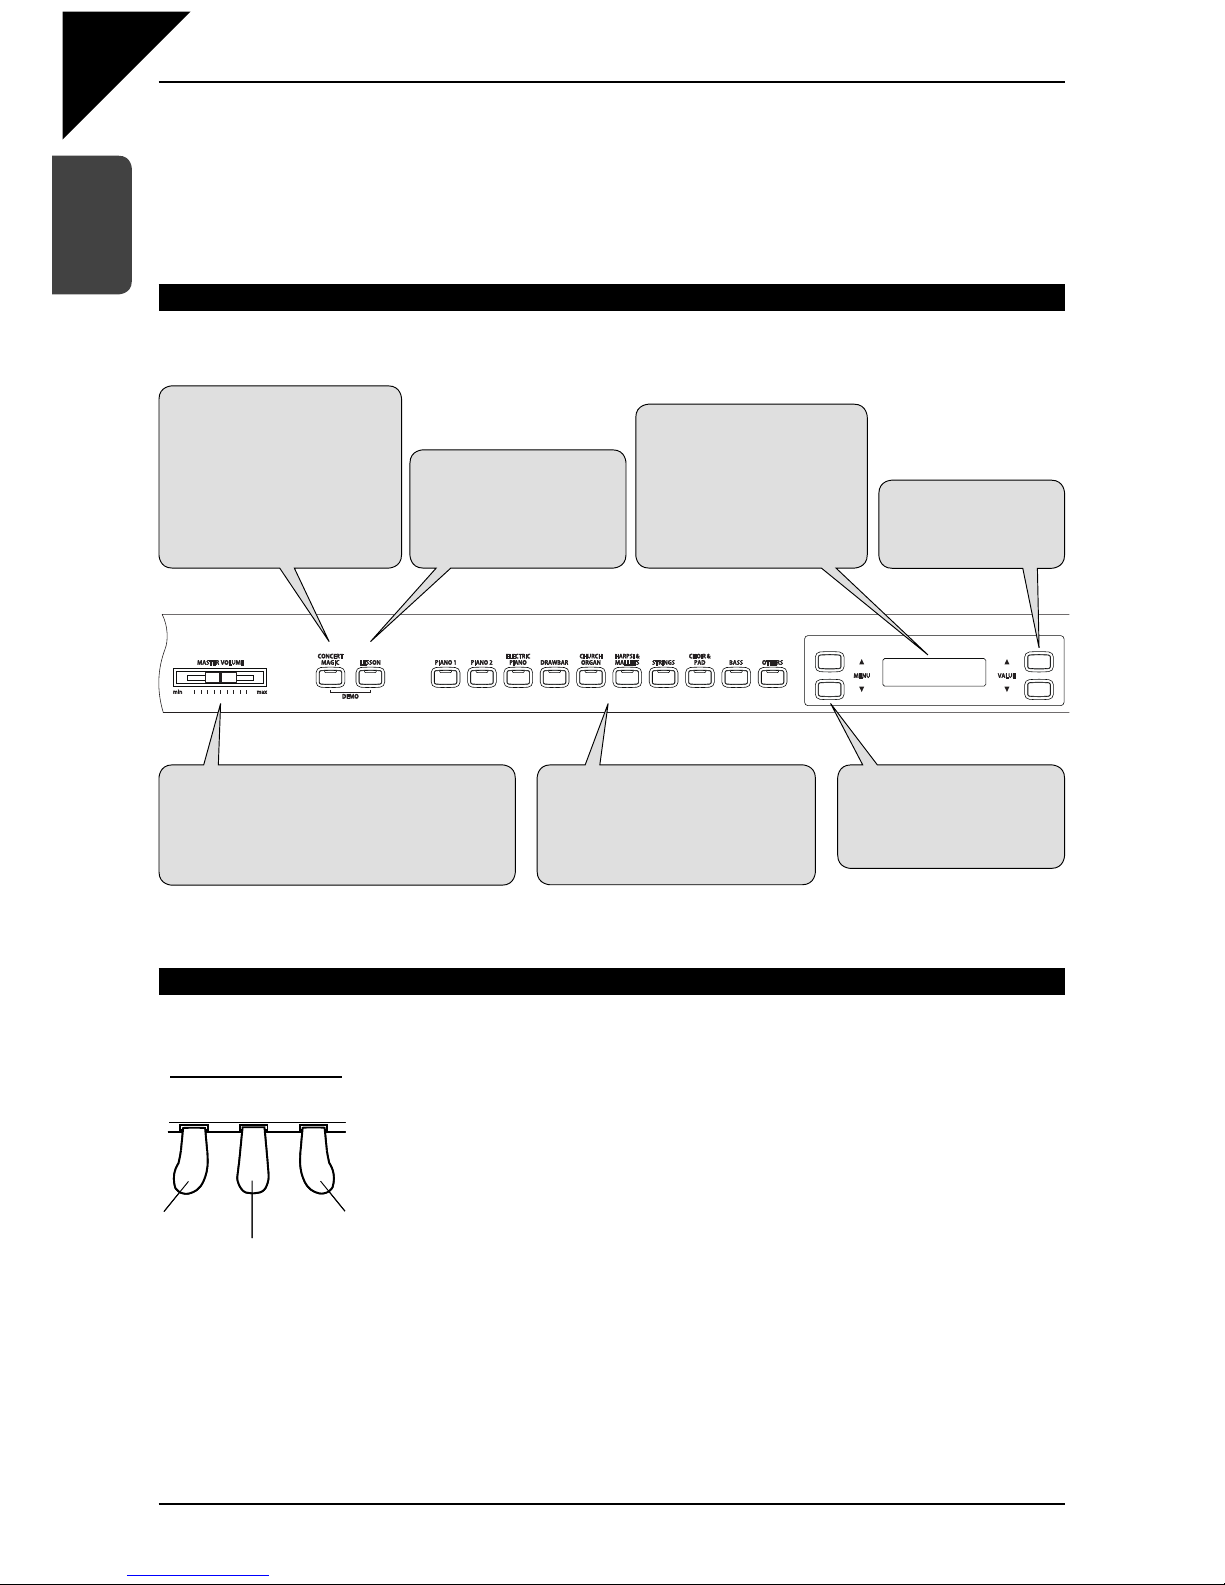
FRONT PANEL................................................................... 8
PEDALS .............................................................................8
HEADPHONES ..................................................................9
USB PORT .........................................................................9
2. PLAYING THE PIANO ................................... 10
1) BASIC OPERATIONS..................................................... 10
SETTING UP THE PIANO ...............................................10
DEMO SONGS ................................................................ 11
SELECTING A PRESET SOUND ...................................12
2) DUAL .............................................................................. 13
3) SPLIT.............................................................................. 14
4) FOUR HANDS MODE.................................................... 16
ENTERING FOUR HANDS MODE ..................................16
EXITING FOUR HANDS MODE.......................................16
5) EFFECTS/REVERB ...................................................... 17
ADDING REVERB ...........................................................17
ADDING OTHER EFFECTS ............................................18
6) TRANSPOSING THE PIANO ......................................... 19
7) PLAYING WITH CONCERT MAGIC............................... 20
SELECTING A SONG .....................................................20
LISTENING TO THE SONG ............................................ 20
PERFORMING A SONG .................................................21
CONCERT MAGIC PART VOLUME BALANCE ...............22
CONCERT MAGIC SONG ARRANGEMENT TYPES
.........22
STEADY BEAT ...............................................................23
CONCERT MAGIC DEMO MODES .................................24
CONCERT MAGIC PLAYBACK SPEED ..........................24
8) METRONOME................................................................ 25
STARTING THE METRONOME ......................................25
CHANGING THE TIME SIGNATURE ............................... 25
ADJUSTING THE METRONOME VOLUME ....................26
9) PANEL LOCK ................................................................. 27
3. LESSON FUNCTION...................................... 28
1) SELECTING A BOOK/SONG ........................................ 28
2) LISTENING TO AND PLAYING A SONG ....................... 29
EXITING THE LESSON FUNCTION................................29
PRACTICING THE LEFT AND RIGHT-HAND PARTS
..........29
ADJUSTING THE TEMPO OF A SONG...........................29
3) RECORDING A SONG PRACTICE ............................... 30
PLAYING BACK THE RECORDING.................................30
ERASING THE RECORDING ..........................................30
4. INTERNAL RECORDER ................................ 31
1) RECORDING (REC BUTTON) ...................................... 31
2) PLAYING BACK A SONG............................................... 33
3) TRANSPOSING A SONG............................................... 34
4) ERASING A SONG ........................................................ 35
5. USB RECORDER........................................... 36
1) RECORDING AN AUDIO FILE ...................................... 36
2) PLAYING AN AUDIO FILE ............................................. 38
3) RECORDING AN SMF SONG ....................................... 40
4) PLAYING AN SMF SONG .............................................. 42
5) RECORDING TO AN EXISTING SMF SONG................ 44
6) CONVERTING A SONG TO AN AUDIO FILE ................ 46
6. USB OPERATIONS ........................................ 48
1) INTERNAL SONG SAVE................................................ 49
2) RENAME FILE................................................................ 49
3) DELETE FILE................................................................. 50
4) MAKE DIR ...................................................................... 50
5) FORMAT USB ................................................................ 51
7. RHYTHM SECTION ....................................... 52
RHYTHM SECTION OVERVIEW ..................................... 52
1) ACTIVATING THE RHYTHM SECTION ......................... 53
2) PLAYING WITH THE RHYTHM SECTION..................... 54
3) RHYTHM SECTION STYLES ........................................ 55
SELECTING THE RHYTHM SECTION STYLE ...............55
SELECTING THE RHYTHM SECTION GENRE.............. 56
4) RHYTHM SECTION PARTS........................................... 57
5) ADJUSTING THE RHYTHM SECTION TEMPO ............ 58
6) ADJUSTING THE RHYTHM SECTION VOLUME.......... 59
7) ADJUSTING THE RHYTHM SECTION SPLIT POINT... 60
8) PRESET CHORD PROGRESSION ............................... 61
ACTIVATING PRESET CHORD PROGRESSION MODE
......... 61
SELECTING THE PRESET CHORD PROGRESSION STYLE
.........61
DEACTIVATING PRESET CHORD PROGRESSION MODE
.........61
9) RECORDING THE RHYTHM SECTION ........................ 62
10) RECORDING THE RHYTHM SECTION TO AN AUDIO FILE....
64
8. MENU FUNCTIONS ....................................... 65
1) BRILLIANCE................................................................... 65
2) LOWER OCTAVE SHIFT................................................ 66
3) LOWER PEDAL ON / OFF ............................................. 66
4) LAYER OCTAVE SHIFT.................................................. 67
5) LAYER DYNAMICS ........................................................ 68
6) DAMPER HOLD ON / OFF............................................. 69
7) DAMPER EFFECT ......................................................... 70
8) STRING RESONANCE .................................................. 71
9) FOUR HANDS ON/OFF ................................................. 72
10) TUNING........................................................................ 73
11) TEMPERAMENT .......................................................... 74
12) KEY OF TEMPERAMENT............................................ 76
13) TOUCH ......................................................................... 77
14) AUTO FILL-IN............................................................... 78
15) ONE FINGER AD-LIB™ ON/OFF ................................ 79
MIDI OVERVIEW..............................................................80
CN43 MIDI FUNCTIONS..................................................80
16) MIDI CHANNEL............................................................ 81
17) TRANSMIT PROGRAM CHANGE ON / OFF............... 82
18) LOCAL CONTROL ON / OFF....................................... 83
19) MULTI-TIMBRAL MODE............................................... 84
20) CHANNEL MUTE ......................................................... 85
21) SENDING PROGRAM CHANGE NUMBERS .............. 86
22) MIDI CLOCK................................................................. 87
23) USER MEMORY........................................................... 87
24) FACTORY RESET........................................................ 88
9. APPENDICES................................................. 89
CONNECTING TO OTHER DEVICES .............................89
USB MIDI..........................................................................90
ASSEMBLY INSTRUCTIONS........................................... 91
PROGRAM CHANGE NUMBER MAPPING ....................93
DRUM SOUND MAPPING .............................................101
RHYTHM SECTION STYLE LIST ..................................104
RHYTHM SECTION CHORD TYPES ............................105
PRESET CHORD PROGRESSION STYLES ................109
SPECIFICATIONS.......................................................... 111
MIDI EXCLUSIVE DATA FORMAT .................................112
MIDI IMPLEMENTATION CHART ..................................113
Table of Contents


 User manual")