8
Data Size: B6L (182 mm x 128 mm)
Book Size: B6L (182 mm x 128 mm)
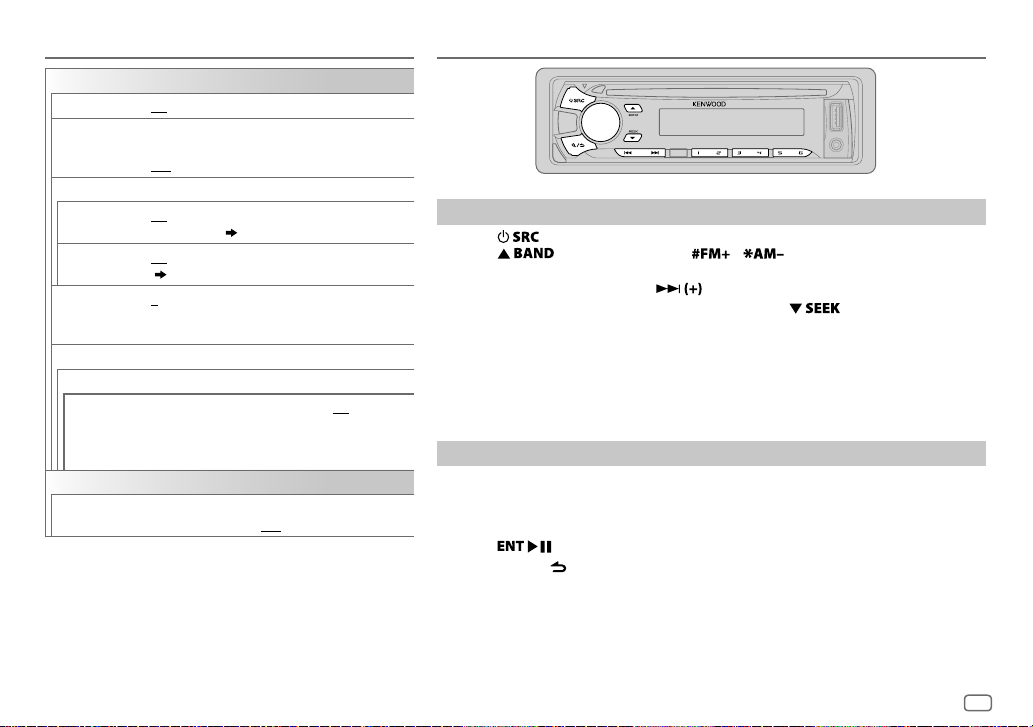
CD / USB / iPod / ANDROID
*3
When connecting an Android device, “Press [VIEW] to install KENWOOD MUSIC PLAY APP” is
shown. Follow the instructions to install the application. You can also install the latest version
of KENWOOD MUSIC PLAY application on your Android device before connecting. (
18
)
*4
For ANDROID: Applicable only when [
BROWSE MODE
] is selected. ( [
ANDROID SETUP
])
*5
For CD: Only for MP3/WMA/AAC files. This does not work for iPod/ ANDROID.
*6
For iPod/ ANDROID: Applicable only when [
MODE OFF
]/ [
BROWSE MODE
] is selected.
*7
KME Light : KENWOOD Music Editor Light, KMC : KENWOOD Music Control (
18
)
*8
For CD: Only for MP3/WMA/AAC files.
*9
You can still play/pause, file skip, fast-forward or reverse files from the unit.
Select a file from a folder/list
1 Press .
2 Turn the volume knob to select a folder/list, then press the knob.
3 Turn the volume knob to select a file, then press the knob.
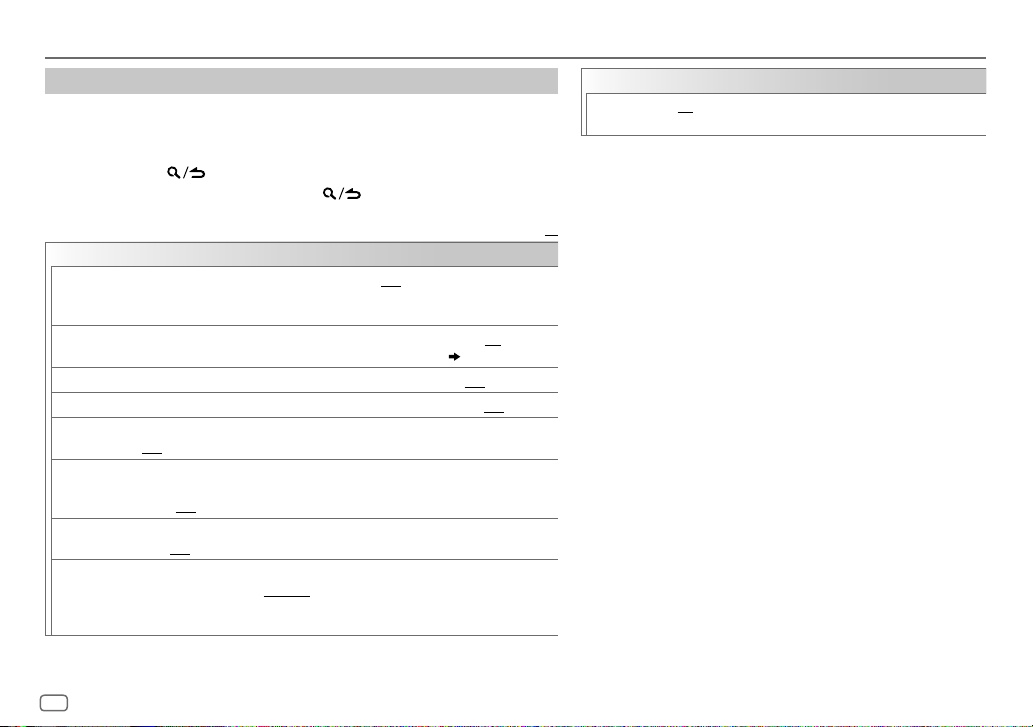
Quick Search
If you have many files, you can search through them quickly.
For USB (for KME Light/ KMC files):
Press S/Tto search at a preset skip search ratio. ( [
SKIP SEARCH
])
Press and hold S/Tto search at a 10
%
ratio.
• Not applicable for CD and MP3/WMA/AAC/WAV files.
For iPod:
You can search for a file according to the first character.
Turn the volume knob quickly to enter character search.
Turn the volume knob to select the character.
To search for a character other than A to Z and 0to9, enter only
“
*”.
Press S/Tto move to the entry position.
• You can enter up to 3characters.
Press the volume knob to start searching.
• To return to the root folder/ first file/ top menu, press .
• To return to the previous setting item, press .
• To cancel, press and hold .
• For iPod, applicable only when [
MODE OFF
] is selected. (
7
)
• For ANDROID, applicable only when [
BROWSE MODE
] is selected.
([
ANDROID SETUP
])
Direct Music Search (using RC-406)
1 Press DIRECT.
2 Press the number buttons to enter a track/file number.
3 Press to search for music.
• To cancel, press or DIRECT.
• Not available if Random Play is selected.
• Not applicable for iPod, ANDROID, KME Light/ KMC file.
Listen to TuneIn Radio/ TuneIn Radio Pro/ Aupeo
While listening to TuneIn Radio, TuneIn Radio Pro or Aupeo, connect
the iPod/iPhone to the USB input terminal of the unit.
• The unit will output the sound from these applications.
Other settings
1 Press the volume knob to enter [
FUNCTION
].
2 Turn the volume knob to make a selection (see the following
table), then press the knob.
3 Repeat step 2until the desired item is selected or activated.
4 Press and hold to exit.
To return to the previous setting item, press .
Default:
XX
ANDROID SETUP
BROWSE MODE
: Control from the unit (using KENWOOD MUSIC PLAY application).;
HAND MODE
:Control other media player applications from the Android device (without
using KENWOOD MUSIC PLAY application). However, you can still play/pause and file skip
from the unit.
USB
MUSIC DRIVE DRIVE CHANGE
:The next drive ([
DRIVE 1
] to [
DRIVE 5
]) is selected
automatically and playback starts.
Repeat steps
1
to
3
to select the following drives.
SKIP SEARCH 0.5%
/
1%
/
5%
/
10%
: While listening to iPod, ANDROID or KME Light/
KMC file, selects the skip search ratio over the total files.
JS_KWD_KDC_U563BT_MN_EN_02.indd 8JS_KWD_KDC_U563BT_MN_EN_02.indd 8 14/7/2014 3:26:59 PM14/7/2014 3:26:59 PM