manuals.online logo
Brands
  1. Home
  2. •
  3. Brands
  4. •
  5. Kenwood
  6. •
  7. Stereo System
  8. •
  9. Kenwood SRC-502 User manual

Kenwood SRC-502 User manual

This manual suits for next models

1

Other Kenwood Stereo System manuals

Kenwood MDX-F1 User manual

Kenwood

Kenwood MDX-F1 User manual

Kenwood RD-K511USB User manual

Kenwood

Kenwood RD-K511USB User manual

Kenwood RD-C707-S User manual

Kenwood

Kenwood RD-C707-S User manual

Kenwood K-525-S User manual

Kenwood

Kenwood K-525-S User manual

Kenwood XD-855 User manual

Kenwood

Kenwood XD-855 User manual

Kenwood K-575BT User manual

Kenwood

Kenwood K-575BT User manual

Kenwood UD-502 User manual

Kenwood

Kenwood UD-502 User manual

Kenwood C-707i-S User manual

Kenwood

Kenwood C-707i-S User manual

Kenwood CR-ST700SCD User manual

Kenwood

Kenwood CR-ST700SCD User manual

Kenwood RXD-M33 User manual

Kenwood

Kenwood RXD-M33 User manual

Kenwood HM-DV5 User manual

Kenwood

Kenwood HM-DV5 User manual

Kenwood RXD-652 User manual

Kenwood

Kenwood RXD-652 User manual

Kenwood HM-DV77 User manual

Kenwood

Kenwood HM-DV77 User manual

Kenwood XD-751 User manual

Kenwood

Kenwood XD-751 User manual

Kenwood HM-636 User manual

Kenwood

Kenwood HM-636 User manual

Kenwood XD-951 User manual

Kenwood

Kenwood XD-951 User manual

Kenwood RXD-655 User manual

Kenwood

Kenwood RXD-655 User manual

Kenwood XD-951 User manual

Kenwood

Kenwood XD-951 User manual

Kenwood AX-7 User manual

Kenwood

Kenwood AX-7 User manual

Kenwood M-819DAB User manual

Kenwood

Kenwood M-819DAB User manual

Kenwood UD-952 User manual

Kenwood

Kenwood UD-952 User manual

Kenwood XD-852 User manual

Kenwood

Kenwood XD-852 User manual

Kenwood RXD-V323 User manual

Kenwood

Kenwood RXD-V323 User manual
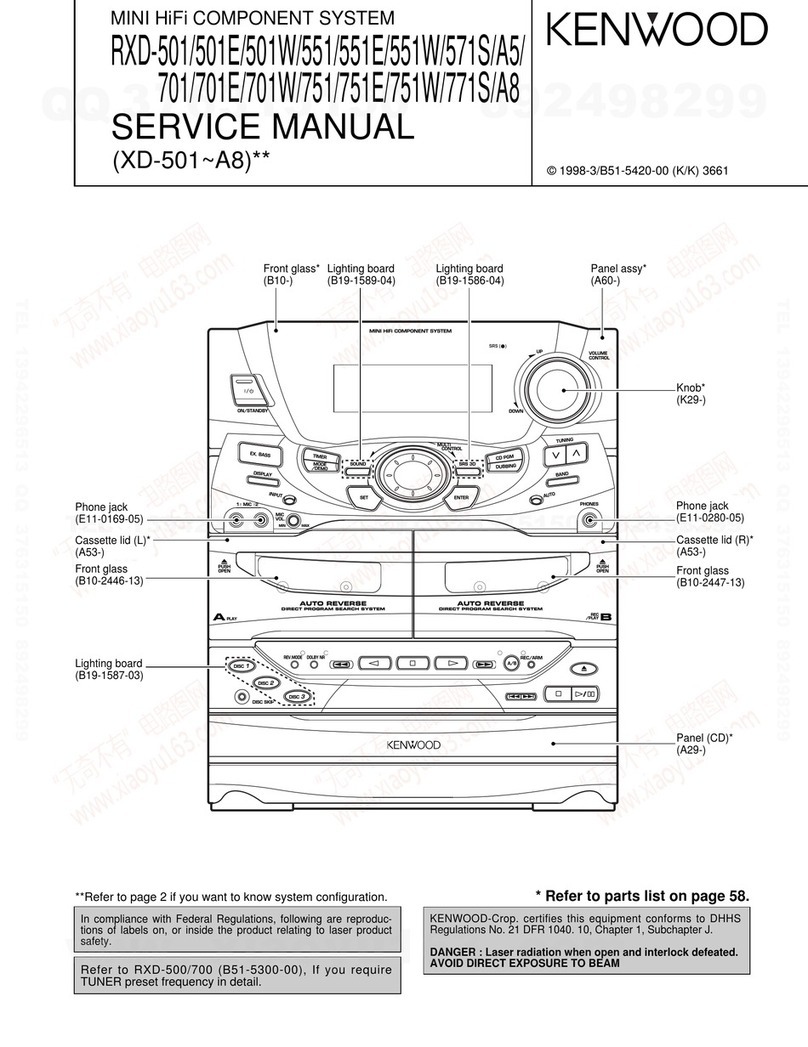
Kenwood HM-383MD User manual

Kenwood

Kenwood HM-383MD User manual

Popular Stereo System manuals by other brands

Sony HCD-VX88 Service manual

Sony

Sony HCD-VX88 Service manual

Philips MCM398D/12 user manual

Philips

Philips MCM398D/12 user manual

Sony CMT-SPZ90DB operating instructions

Sony

Sony CMT-SPZ90DB operating instructions

LG OM4560 owner's manual

LG

LG OM4560 owner's manual

JVC UX-G3 instructions

JVC

JVC UX-G3 instructions

Odys ODYS - LOOP instruction manual

Odys

Odys ODYS - LOOP instruction manual

Aiwa NSX-AJ700 Service manual

Aiwa

Aiwa NSX-AJ700 Service manual

Panasonic SC-AK100 operating instructions

Panasonic

Panasonic SC-AK100 operating instructions

Sharp CD-G10000V Operation manual

Sharp

Sharp CD-G10000V Operation manual

Bogen NEARSCAPES 4.1 manual

Bogen

Bogen NEARSCAPES 4.1 manual

Panasonic SCPM29 - MINI HES W/CD PLAYER operating instructions

Panasonic

Panasonic SCPM29 - MINI HES W/CD PLAYER operating instructions

Meyer LD-3 operating instructions

Meyer

Meyer LD-3 operating instructions

THOMSON MIC302U manual

THOMSON

THOMSON MIC302U manual

Philips MCM530 Service manual

Philips

Philips MCM530 Service manual

Sony SS-CEP50 Service manual

Sony

Sony SS-CEP50 Service manual

Cetacea Sound CVS-II user guide

Cetacea Sound

Cetacea Sound CVS-II user guide

Sony MHC-V21D Service manual

Sony

Sony MHC-V21D Service manual

Denon UCD-250 Service manual

Denon

Denon UCD-250 Service manual

manuals.online logo
manuals.online logoBrands
  • About & Mission
  • Contact us
  • Privacy Policy
  • Terms and Conditions

Copyright 2025 Manuals.Online. All Rights Reserved.

STEREO
SYSTEM
RACK
ORC-5020/5520©
ASSEMBLY
INSTRUCTIONS
_
KENWOOD
KENWOOD
CORPORATION
©@PRINTED
IN
U.S.A.
B61-0519-00(K)(TCA)
R258
IMPORTANT:
PO
Notes
on
Assembling
¢
Before
operating
your
new
KENWOOD
product,
read
through
this
assem-
¢
During
assembling,
be
sure
to
verify
the
numbers
stamped
on
the
boards.
bly
manual
carefully
to
get
the
most
out
of
it.
e
Mount
the
rear
panel
after
assembling
the
side
panel
on
the
bottom
shelf
*
Save
this
assembly
instructions.
at
a
right
angle.
;
F
_
@
When
mounting
the
top
shelf
and
kick
plate
on
the
side
panel,
use
glue
Before
Assembling
for
adhesive.
Be
sure
to
remove
any
excess
glue
before
it
dries.
¢
If
the
amplifier
wobbles
when
its
key
switches
are
pressed,
insert
a
wooden
°B
h
tI
ted
for
before
disposing
of
the
Sere
ee
Secs
Mie
Bil
Dante
nt
ag
cOUMegiOCRe
ae
dowel
into
the
hole
on
the
side
panel
and
fix
the
rear
of
the
amplifier.
packing
case.
¢
A
Phillips
screwdriver
and
a
mallet
are
required
for
assembling.
Handling
Precautions
*
Be
carefull
not
to
damage
the
floor
and
rack.
g
«
Tempered
glass
is
used
for
the
glass
doors
for
providing
sufficient
strength.
However,
pay
attention
not
to
apply
excessive
force
or
to
scratch
the
doors.
Cracking
or
breaking
of
the
glass
may
occur.
®
When
moving
the
cabinet,
remove
all
the
components
from
the
rack
be-
fore
carrying
the
cabinet.
Also
do
not
grasp
the
top
shelf
when
carrying.
©
To
allow
head
radiation
from
the
components,
leave
a
space
of
4
inches
between
the
cabinet
and
wall.
*
Do
not
place
the
cabinet
in
a
location
subject
to
direct
sunlight
or
near
a
heater,
an
air-conditioner,
or
a
place
with
high
humidity.
IMPORTANT
SAFEGUARDS
.
A
eee
:
Read
this
page
carefully
to
keep
your
safety.
~~"
>
Please
read
all
of
the
safety
and
operating
instructions
before
operating
this
unit.
4.
Impact
—
Avoid
placing
the
unit
on
an
unstable
surface.
Install
iton
a
horizontal
For
ies
(Its,
follow
all
warnings
placed
on
the
unit
and
adhere
to
the
operating,
surface
not
subject
to
excessive
dirt
or
vibrations.
and
use
.__
Uetions.
These
safety
and
operating
instructions
should
be
retained
for.
__
:
future
reverence.
1.
Suffocation
—
After
taking
the
unit
out
of
the
polyethylene
bag,
be
sure
to
di-
spose
of
the
polyethylene
bag
out
of
the
reach
of
children.
Otherwise,
they
may
play
with
the
bag,
which
could
cause
hazard
of
suffocation.
5.
Modification
—
Do
not
attempt
to
open
or
modify
the
unit,
for
this
could
cause
fire
hazard
or
malfunction.
2.
Water
and
moisture
—
Do
not
place
a
liquid
container,
such
as
a
vase
and
water
basin,
on
the
unit.
Also
avoid
installing
the
unit
in
a
place
subject
to
dampness.
6.
Cleaning
—
Do
not
use
thinner,
benzine
or
alcohol.
When
cleaning
the
unit,
wipe
with
a
soft,
dry
cloth.
3.
Heat
—
Do
not
install
the
unit
near
a
source
of
heat,
such
as
a
heater,
or
under
direct
sunlight.
7.
Abnormal
smell
—
In
the
event
the
unit
generates
smoke
or
abnormal
smell,
im-
mediately
switch
the
power
OFF
and
unplug
the
power
cord.
After
this,
please
contact
your
dealer
or
nearest
service
station
as
soon
as
possible.
POWER
OFF!
PARTS
LIST
MODEL
SRC-502
©
/552
©
ASSEMBLY
INSTRUCTIONS
Description
.T.Y.
ASSEMBLED
RACK
Net
weight:
54
Ibs.
aoe
=
a
©)
(24.5
kg)
(6)
tee
®
36-7/8”"
(936)
Dimensions
Unit
:
inch
(mm)
19-5/16"
(490)
12-15/16"
8-9/16"
(329)
(217)
ID
>
OID
(
9
a.
Oe
e
®
=
q<(]
WOODGRAIN
UP
STEP
2
8@/6@'
®
|e/e)/e6;e|e/e)]e/\e
OVAMVE
WOODGRAIN
SURFACES
DOWN
AND
FORWARD
Glass
Door
BLACK
SIDE
FACING
INWARD
WOODGRAIN
STEP
4
SURFACES
UP
AND
FORWARD
CONTINUED
NEXT
PAGE
STEP
6
ASSEMBLY
INSTRUCTIONS
Naw
BLACK
SURFACES
UP
AND
FO
MODEL:
SRC-502
©
/552
©
ITEM
DESCRIPTON
QTY
LEFT
SIDE
PANEL
BOTTOM
BOARD
RIGHT
SIDE
PANEL
KICK
PLATE
TOP
BOARD
BACK
BOARD
SHELF
A
SHELF
B
CONFIRMAT
SCREW
SCREW
ALLEN
WRENCH
HINGE
INSERT
SSS
Ss
Se
eS
a
THXeTTOTMIONDyY
_
NV-gmhroe
terest
as
es
PART
NO.
SRC-502©
|
SRC-552©
XW0496
XW0311
XW0495
XW0497
xw0494
XW0492
XwW0431
XW0310
$0033
$0034
M0018
P0054
XW0510
XW0311
XW0509
XW0511
XW0508
XW0492
Xw0431
XW0310
$0035
$0034
M0018
P0054
xS<CcHHDOVOZ
DESCRIPTION
MAGNET
CATCH
SHELF
PIN
RUBBER
SPACER
WOOD
DOWEL
WOOD
DOWEL
GLUE
SHELF
PIN
UPPER
HINGE
LOWER
HINGE
CATCH
PLATE
CATCH
PLATE
PAD
GLASS
DOOR
QTY
a
toto
AsO
PP
a
PART
NO.
If
any
parts
are
MISS-
ING
or
DAMAGED
in
this
package,
circle
the
item(s)
needed
on
the
parts
list.
Print
your
name,
address,
and
phone
number
in
the
area
to
the
left
and
mail
to:
TOCABIAMERICA,
9375
Custom
House
Plaza
Road,
Suite
|
San
Ysidro,
CA
92173,
orcall
(619)-661-6136.