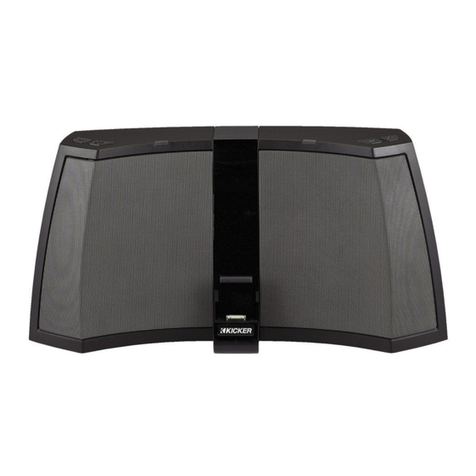
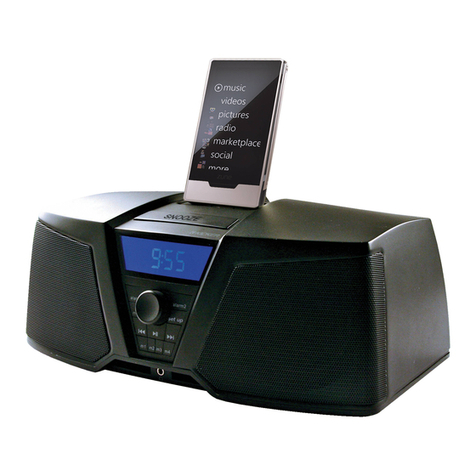
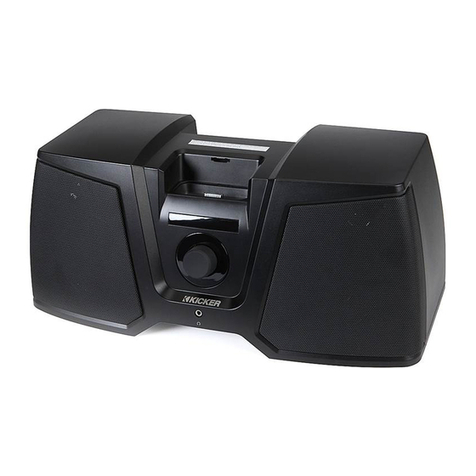
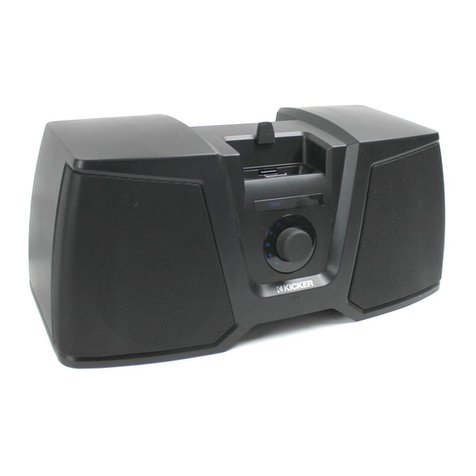
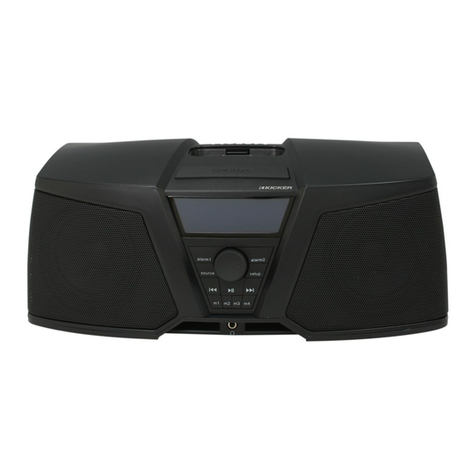
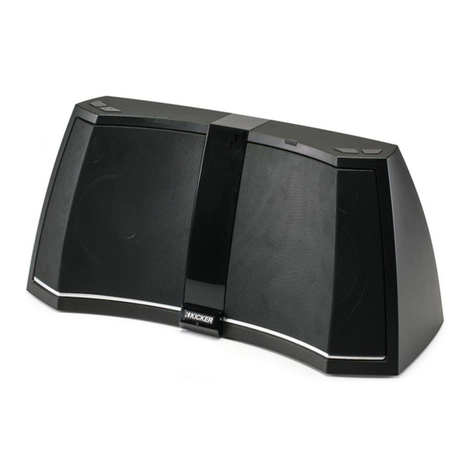
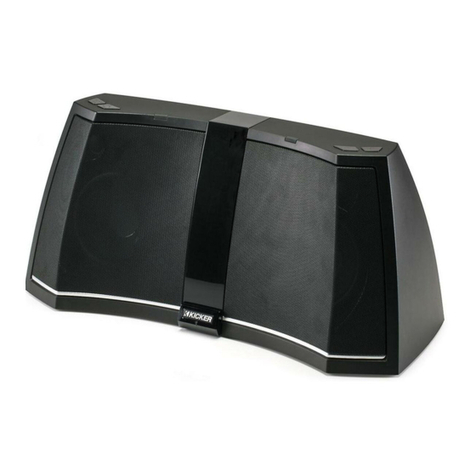
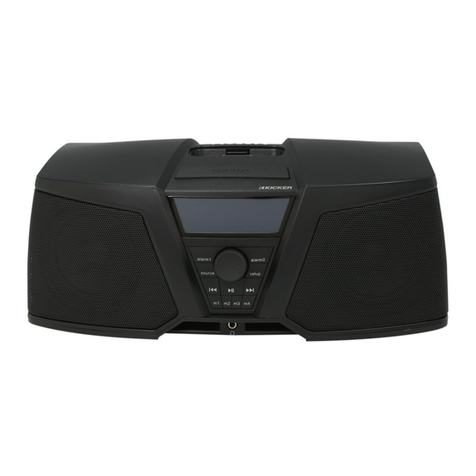
Kicker KICKER zKICK ZK500 User manual

STEREOSYSTEMFORZUNETM ZK
©2007 Stillwater Designs
zKICKDIGITAL
ZK500

DockingYourZuneDevice
1. Choose thedock adapter that best fits yourZune
device. See thetable below.
2. Attach theadapter to theZK500’sdocking bay.
3. ConnectyourZune deviceto theZK500’sdock
connector.
4. Plugthepower cable into theDC inputonthe
back of theZK500.
5. Plugthe2-prong electrical pluginto asurge
protected electrical outlet.
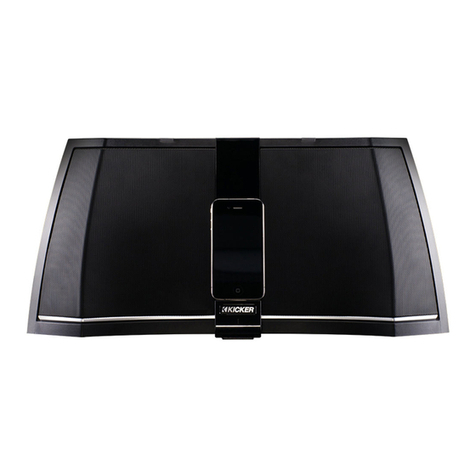
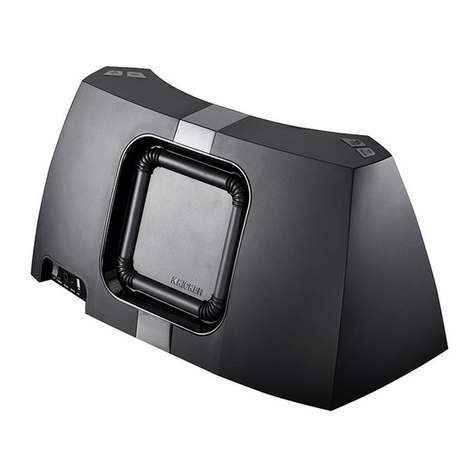
TheKicker zKICK ZK500 Stereo System forZune is designed forlivin’ loud with yourZune devicein
thehomeenvironment. TheZK500 is fully featured with dual full-range 5” (`127mm) Kicker drivers and
3/4” (20mm) silk dometweeters driven by apowerfulamplifier with digital signal processing. The6”
(152mm) square passiveradiator(subwoofer) ontheback of theZK500 balances thesonic output,
adding thepunchy low-frequency response that putKicker subwoofers onthemap. Therotary control
and infrared remote allowsimple, streamlined controlof yourZK500 Stereo System. TheZK500 can be
used with any existing Zune device. Inaddition, theZK500 boasts awiderange of connectivity options
including acomposite video output, stereo RCA outputs, and an 1/8” stereo auxiliary inputfor
incorporating additional audio/video devices with yourZK500 Stereo System.
INSTALLATION
Congratulations on your
KICKER purchase
Please record yourpurchase
informationand keep yoursales
receiptforvalidationof warranty.
Authorized Kicker Dealer:
Purchase Date:
Model Number:
_________________________
_________________________
_________________________
2
INSTALLATION
DigitalStereoSystem
forZuneTM
Owner’sManual
Model:
ZK500STEREOSYSTEM 3
ZK500
ZK500
Figure 2 Rotary
Control
LCD
Display 5” (127mm)
Full-Range
Drivers
3/4” (20mm)
Silk Dome
Tweeters
IR Remote
Receiver
Docking
Bay
Transport
Handle
Square
Passive
Radiator
Composite
Video Out
1/8” Stereo
Auxiliary Input
Stereo RCA
Output
L R DC Power
22 Volts
Figure 3
ImportantSafetyInstructions
Read and followall theinstructions listed in this manual. Followall safety and procedural recommendations to prevent
damage to yourself, yourKicker product, oryourportable entertainment device.
TheZK500 should notbeused near water orin an environment where exposure to liquidsis possible. This includes but
is notexclusiveto areas where splashing, dripping, leaks, spills, and exposure to rain can occur. Liquid containers should
notbeplaced onornear theZK500 Stereo System. TheZK500 Stereo System should notbecleaned with liquid
cleaners. Use only adry cloth to clean theZK500. Only use theZK500 in areas with adequate open ventilationallowing
at least 4” of spaceonall sides of theZK500. Do notset theZK500 onany surfaceorcover theZK500 with any object
that could impedetheairflowto and from theZK500 Stereo System. TheZK500 should notbeplaced near any source
of heat. This includes butis notlimited to stoves, radiators, heating elements, electronic heat sources, and areas where
excessivesolar heat can begenerated. Do notinstall theZK500 near any flameorplaceany flammable objects near the
device. Thepower outlet used to providepower to theZK500 should beaccessible at all times. Thepolarized 2-prong
electrical plughas awidebladeand narrowbladethat should fit into thecorresponding wideand narrowreceiving
connections of yourelectrical outlet. Do notforcethepluginto theoutlet. If theplugprovided with theunit does notfit,
consult with an electrician to upgradetheelectrical outlet accordingly. Thepower cord should besituated in away that
protects it from being pinched, walked on, tripped over, oraccidentally pulled from theelectrical outlet ortheelectrical
inputontheZK500. Do notrunthecable through doorwaysorunderneath objects that could damage thewire ortear
theinsulating material surrounding thewire. Only use themanufacturer supplied power supply with theZK500. We
recommend using asurge protector/power conditioner and unplugging theZK500 during any electrical stormsor
situations that could cause voltage fluctuations in theelectrical system.
Figure 1
The Zune Device should be mounted on the docking bay before
connecting any power cables to the Kicker Stereo System.
ZK500DockAdapter ZuneDeviceModel
1. AZune 30 Gb Digital Media Player
2.B Zune 80 Gb Digital Media Player
3. CZune 4, 8 Gb Digital Media Player
Visit www.soundgate.com to learn more about
Soundgate products designed forenjoying yourZune
devicein themobile environment. Soundgate
products offer awiderange of options forconnecting
yourZune deviceto yourfactory car stereo system.
Skid Resistant/Non-Marking Feet
Serial Number:_________________________
Note: TheZK500 is compatible with Zune Firmware Version1.4 and beyond. Before docking yourZune deviceto theZK500 Stereo
System, update to thelatest Zune firmware by syncing yourZune deviceto yourZune software and checking forthemost recent updates.
Note: To prevent vibration during playback, use the
enclosed vibration isotation pad as shown in Fig. 2.
Vibration
Isolation
Pad

UsingtheRemoteControl
TheInfrared Remote Controlenables you to controlyourZune deviceand access theZK500 System
Menu from aconvenient location. With thefully featured remote controlit is easy to access all of your
Zune device’smusic and/orvideo content.
4 5
PERFORMANCE
UsingtheSystemMenuRotaryControl
TheZK500 Stereo System’srotary controlprovides an intuitiveuser interface. TheSystem Menu
options listed ontheLCDdisplay beloware available foradjustment by therotary control. Therotary
controlknob is used as apush-buttonto power ontheZK500 and to scroll through themenus
available ontheLCDscreen. Turning therotary controlknob allows you to adjust theparameters of the
selected menu.
After plugging thepower supply into theDC inputontheback of theZK500, theunit will bein
“Standby” mode, as displayed by theLCDscreen ontheSystem Menu. Turn thepower onby pushing
therotary controlbuttononce. When thepower is on, both the“Kicker” logo and “Vol” will bedisplayed
ontheSystem Menu.
Volume: By default, theZK500 will bein volumecontrolmodeand “Vol” will bedisplayed ontheLCD
screen. Turn therotary knob to adjust thevolumeup ordown. Therotary controlwill automatically
revert to volumecontrolmodeafter ashort timeperiod if any other menushavebeen selected.
To scroll through theother menus, simply use therotary controlas apush-button. Each single button
push will takeyou from one menu to thenext, rotating through Treb>Bass>Aux-In>Voland back to the
“Treb” treble control.
Treble: To adjust thetreble ontheZK500, use therotary controlas apush-buttonto scroll through the
menusuntil the“Treb” menu is displayed ontheLCDscreen. Turn therotary controlknob clockwise to
increase treble and counter-clockwise to reducetreble.
Bass: To adjust thebass level ontheZK500, use therotary controlas apush-buttonto scroll through
themenusuntil the“Bass” menu is displayed ontheLCDscreen. Turn therotary controlknob
clockwise to increase bass and counterclockwise to reducebass.
Auxiliary Input: To enable theauxiliary inputontheZK500, an external devicemust beplugged into the
1/8” stereo auxiliary inputontheback of theunit. Use therotary controlas apush-buttonand scroll
through themenusuntil “Aux-In” is displayed. Turn therotary controlclockwise to enable theauxiliary
input. When theauxiliary is enabled, thesystem menu will display “ON”. Turn therotary controlcounter-
clockwise to disable theauxiliary inputand return to Zune devicemode. When theauxiliary inputis
disabled, thesystem menu will display “--”.
Standby: In“Standby” mode, theZK500 will bepowered down, butyourdocked Zune devicewill
continueto charge as long as apower sourceis plugged into theDC inputontheback of theZK500.
To enter standby modesimply press and hold therotary controlbuttonuntil theunit turns off and
“Standby” is displayed.
OPERATION
Model:
Speaker Design
Woofer Size, in (mm)
Tweeter Size, in (mm)
Tweeter Design
PassiveRadiatorSize, in (mm)
RMSPower, Watts @ 1% Total Harmonic Distortion
EffectiveFrequency Range, Hz
Power Supply, Volts (Ampere)
Height, in (mm)
Width, in (mm)
Depth, in (mm)
Weight, lb (kg)
Performance
ZK500
2- Way
5 (127)
3/4 (20)
Silk Dome
6 X 6 (152X 152)
2X 20
50- 20k
22 (2.7)
8.5 (216)
19.2(488)
8.4 (214)
9.2(4.2)
ZK500STEREOSYSTEM
Treb
Bass Vol Aux-In
Standby
ConnectingExternalDevices
To co nnectan external video display to theZK500, makesure thevideo outputis enabled onyourZune
device. Enabling thevideo outonyourZune devicemay require afirmware upgrade. Check forsoftware
updates from thehelp menu of yourZune software with yourdeviceconnected to yourcomputer’sUSB
port. To enable thevideo output, ontheZune device’smain menu, selectsettings>display>tv out. Turn
thetv outsetting to on. Connectastandard RCA composite video cable from thecomposite video
outputontheback of theZK500 to theRCA video inputonyourexternal video display. See Figure 3.
This is apass-through connection. If there are any problemswith yourexternal video display, refer to
theZune devicemanual ortheinstructions packaged with yourexternal video display. The4 and 8 GB
Zune digital media players will notoutputvideo through theZK500.
To co nnectan external audio deviceto theZK500, enable Aux-Inmodewith therotary controlas
previously described. Connectyourline level deviceto the1/8” stereo inputontheback of theZK500
with theincluded auxiliary cable. See Figure 2. If thesound is distorted, you may beoverdriving the
auxiliary input. Try turning down theexternal deviceuntil thesound is no longer distorted.
Use the push-button selector
to turn on the ZK500 and
make menu selections.
Turn the rotary control to
adjust system menu
parameters.
ZK500
System Menu
Skip Forward
Hold down to Fast Forward
Skip Backward
Hold down to Rewind
Volume Up
Mute ZK500 Output.
Play/Pause
Figure 4
Navigate to next Zune
Device menu directory
Navigate to previous Zune
device menu directory
Navigate within ZK500 System
Menu. Treble>Bass>Aux-in
Make selections and enter sub-
directories within Zune device
Navigate toward Zune
device root directory
Hold down to enter
ZK500 System Menu
Increase values within
ZK500 System Menu
Navigate upward through
Zune device menu directory
Press up arrow while in Aux-In
Menu to enable Aux-Input
Figure 5
Volume Down
Reduce values within
ZK500 System Menu
Navigate downward through
Zune device menu directory
Press down arrow while in Aux-In
Menu to disable Aux-Input
Hold down to turn the
ZK500 on/off
Use enter button to exit the
ZK500 System Menu.

6 7
GARANTIE
WARRANTY
11282007-j+07ZK
P.O. Box 459 • Stillwater, Oklahoma74076 • U.S.A. • (405) 624-8510
ZK500STEREOSYSTEM
HomeLimitedWarranty
KICKER warrants this productto befree from defects in material and workmanship under normal use foraperiod of
ONE (1) YEAR from date of original purchase with theorginal receiptfrom an Authorized KICKER Dealer. Should
servicebenecessary under this warranty forany reasondueto manufacturing defectormalfunctionduring the
warranty period, KICKER will repair orreplace(at its discretion) thedefectivemerchandise with equivalent merchandise
at no charge. Warranty replacements may havecosmetic scratches and blemishes. Discontinued products may be
replaced with more current equivalent products.
This warranty is valid only fortheoriginal purchaser and is notextended to owners of theproductsubsequent to the
original purchaser. Any applicable implied warranties are limited in durationto aperiod of theexpress warranty as
provided herein beginning with thedate of theoriginal purchase at retail, and no warranties, whether express or
implied, shall apply to this productthereafter. Somestates do notallowlimitations onimplied warranties; therefore
these exclusions may notapply to you. This warranty gives you specific legal rights; however you may haveother
rights that vary from state to state.
WHAT TO DO IF YOU NEED WARRANTY OR SERVICE
Defectivemerchandise should bereturned to yourlocal Authorized KICKER Dealer forwarranty service. Assistancein
locating an Authorized Dealer can befound at www.kicker.com orby contacting KICKER directly.
If it becomes necessary foryou to return defectivemerchandise directly to Stillwater Designs (KICKER), call the
KICKER Customer ServiceDepartment at (405) 624-8510foraReturn Merchandise Authorization(RMA) number.
Package all defectiveitemsin theoriginal container orin apackage that will prevent shipping damage, and return to:
Stillwater Designs, 5021 North Perkins Road, Stillwater, OK 74075
TheRMA number must beclearly marked ontheoutsideof thepackage. Includeacopy of theoriginal receiptwith the
purchase date clearly visible, and a"proof-of-purchase" statement listing yournameand return shipping address, the
Dealer'snameand invoicenumber, and productpurchased. Warranty expirationonitemswithoutproof-of-purchase
will bedetermined from thetypeof sale and manufacturing date code. Freightmust beprepaid; itemssent freight-
collect, orCOD, will berefused.
WHAT IS NOT COVERED?
This warranty is valid only if theproductis used forthepurpose forwhich it was designed.
Itdoes notcover:
o Damage dueto improper use.
o Damage dueto improper installationof components oraudio/video devices.
o Subsequent damage to other components oraudio/video devices.
o Damage caused by exposure to moisture, excessiveheat, chemical cleaners, and/orUV radiation.
o Damage through negligence, misuse, flood, fire, earthquake, accident, orabuse. Repeated returns forthesame
damage may beconsidered abuse.
o Itemspreviously repaired ormodified by any unauthorized repair facility orperson.
o Return shipping onnon-defectiveitems.
o Products with tampered ormissing barcodelabels.
o Products returned withoutaReturn Merchandise Authorization(RMA) number.
o FreightDamage.
o Thecost of shipping productto KICKER.
o Serviceperformed by anyone other than KICKER.
HOW LONG WILL IT TAKE?
KICKER strives to maintain agoal of 72-hourserviceforall homeand portable electronic returns. Delaysmay be
incurred if lack of replacement inventory orparts is encountered.
Failure to followthese stepsmay void yourwarranty. Any questions can bedirected to theKICKER Customer Service
Department at (405) 624-8510.
InternationalWarranty
ContactyourInternational KICKER dealer ordistributorconcerning specific procedures foryourcountry'swarranty
policies.
WARNING: KICKER products are capable of producing sound levels that can permanently damage yourhearing!
Turning up asystem to alevel that has audible distortionis more damaging to yourears than listening to an
undistorted system at thesamevolumelevel. Thethreshold of pain is alwaysan indicatorthat thesound level is too
loud and may permanently damage yourhearing. Please use commonsense when controlling volume.
GARANTÍA INTERNACIONAL VersiónEspañol
Comuníquese consu concesionario o distribuidorKICKER internacional para obtener inforaciónsobre procedimientos
específicosrelacionadosconlas normas degarantíadesu país.
ADVERTENCIA: Losexcitadores KICKER soncapaces deproducir niveles desonido quepueden dañar
permanentemente el oído. Subir el volumen del sistemahasta unnivel queproduzcadistorsiónes másdañino para el
oído queescuchar unsistemasin distorsiónal mismo volumen. Eldolores siempre una indicacióndequeel sonido es
muy fuerte y quepuededañar permanentemente el oído. Sea precavido cuando controle el volumen.
Lafrase "combustible para vivir la vidaLivin' Loud™ atodo volumen" se refiere al entusiasmo porla vidaquela marca
KICKER deestéreosdeautomóvil representa y ala recomendaciónanuestrosclientes dequevivan lo mejorposible
("atodo volumen") en todo sentido. Lalínea dealtavoces y amplificadores KICKER es la mejordel mercado deaudio
deautomóviles y porlo tanto representa el "combustible" para vivir atodo volumen en el área de"estéreosde
automóvil" dela vidadenuestrosclientes. Recomendamosatodosnuestrosclientes queobedezcan todas las reglas
y reglamentoslocales sobre ruido en cuanto alosniveles legales y apropiadosdeaudiciónfuera del vehículo.
INTERNATIONALE GARANTIE DeutscheVersion
Nehmen Sie mit Ihren internationalen KICKER-Fachhändler oder Vertrieb Kontaktauf, um Details über die
Garantieleistungen in Ihrem Land zu erfahren.
WARNUNG: KICKER-Treiber können einen Schallpegel erzeugen, der zu permanenten Gehörschäden führen kann!
Wenn Sie ein System auf einen Pegel stellen, der hörbare Verzerrungen erzeugt, schadet das Ihren Ohren mehr, als ein
nichtverzerrtes System auf dem gleichen Lautstärkepegel. Die Schmerzschwelle ist immer eine Anzeige dafür, dass
der Schallpegel zu lautist und zu permanenten Gehörschäden führen kann. Seien Sie bei der Lautstärkeeinstellung
bitte vernünftig!
Der Slogan "Treibstoff fürLivin' Loud" beziehtsich auf die mit den KICKER-Autostereosystemen assoziierte
Lebensfreudeund die Tatsache, dass wir unsere Kunden ermutigen, in allen Aspekten ihres Lebens nach dem Besten
("Livin' Loud") zu streben. Die Lautsprecher und Verstärker vonKICKER sind auf dem MarktfürAuto-Soundsysteme
führend und stellen somit den "Treibstoff" fürdas Autostereoerlebnis unserer Kunden dar. Wir empfehlen allen unseren
Kunden, sich bezüglich der zugelassenen und passenden Lautstärkepegel außerhalb des Autosan die örtlichen
Lärmvorschriften zu halten.
GARANTIE INTERNATIONALE VersionFrançaise
Pourconnaître les procédures propres à la politiquedegarantie devotre pays, contactez votre revendeurou
distributeurInternational KICKER.
AVERTISSEMENT: Les haut-parleurs KICKER ont la capacité deproduire des niveaux sonores pouvant endommager
l'ouïedefaçonirréversible ! L'augmentationdu volumed'unsystèmejusqu'à unniveau présentant une distorsion
audible endommage davantage l'ouïequel'écoute d'unsystèmesans distorsionau mêmevolume. Leseuil dela
douleurest toujours le signe quele niveau sonore est trop élevé et risqued'endommager l'ouïedefaçonirréversible.
Réglez le volumeen faisant prevuedebonsens !
L'expression" carburant pourvivre plein pot" fait référenceau dynamismedela marqueKICKER d'équipements
audio pourvéhicules et apourbutd'encourager nosclients à faire le maximum (" vivre plein pot") dans tousles
aspects deleurvie. Les haut-parleurs et amplificateurs KICKER sont les meilleurs dans le domaine des équipements
audio et représentent donc pournosclient le " carburant pourvivre plein pot" dans l'aspect" installationaudio de
véhicule " deleurvie. Nousencourageons tousnosclients à respecter toutes les lois et réglementations locales
relatives aux niveaux sonores acceptables à l'extérieurdes véhicules.
Other Kicker Stereo System manuals

Kicker
Kicker SS65.2 User manual

Kicker
Kicker iKick iK150 User manual

Kicker
Kicker KSMT25 User manual

Kicker
Kicker 40iK5BT User manual

Kicker
Kicker 40iK5 User manual

Kicker
Kicker ZK350 User manual

Kicker
Kicker BF400 User manual

Kicker
Kicker KM6500 User manual

Kicker
Kicker RS65.2 User manual

Kicker
Kicker BF100 User manual

Kicker
Kicker Bullfrog BF100G User manual

Kicker
Kicker ZK150 User manual

Kicker
Kicker Amphitheater K3 User manual

Kicker
Kicker Amphitheater 40iK5BT2 User manual

Kicker
Kicker Amphitheater 40iK5BT2 User manual

Kicker
Kicker ZK150 User manual

Kicker
Kicker AMPHITHEATER 41iK5BT2V2 User manual

Kicker
Kicker AMPHITHEATER 41iK5BT2V2 User manual

Kicker
Kicker iKick iK150 User manual

Kicker
Kicker KMTC65 User manual