Kidzpace Interactive Entertainment Center – Assembly Instructions
Kidzpace Interactive Inc. P.O. Box 550, Collingwood, Ontario, Canada L9Y 4B2 Tel
(705) 444-2300 – Fax (705) 444-0007 – Toll Free 1- 800- 668- 0206
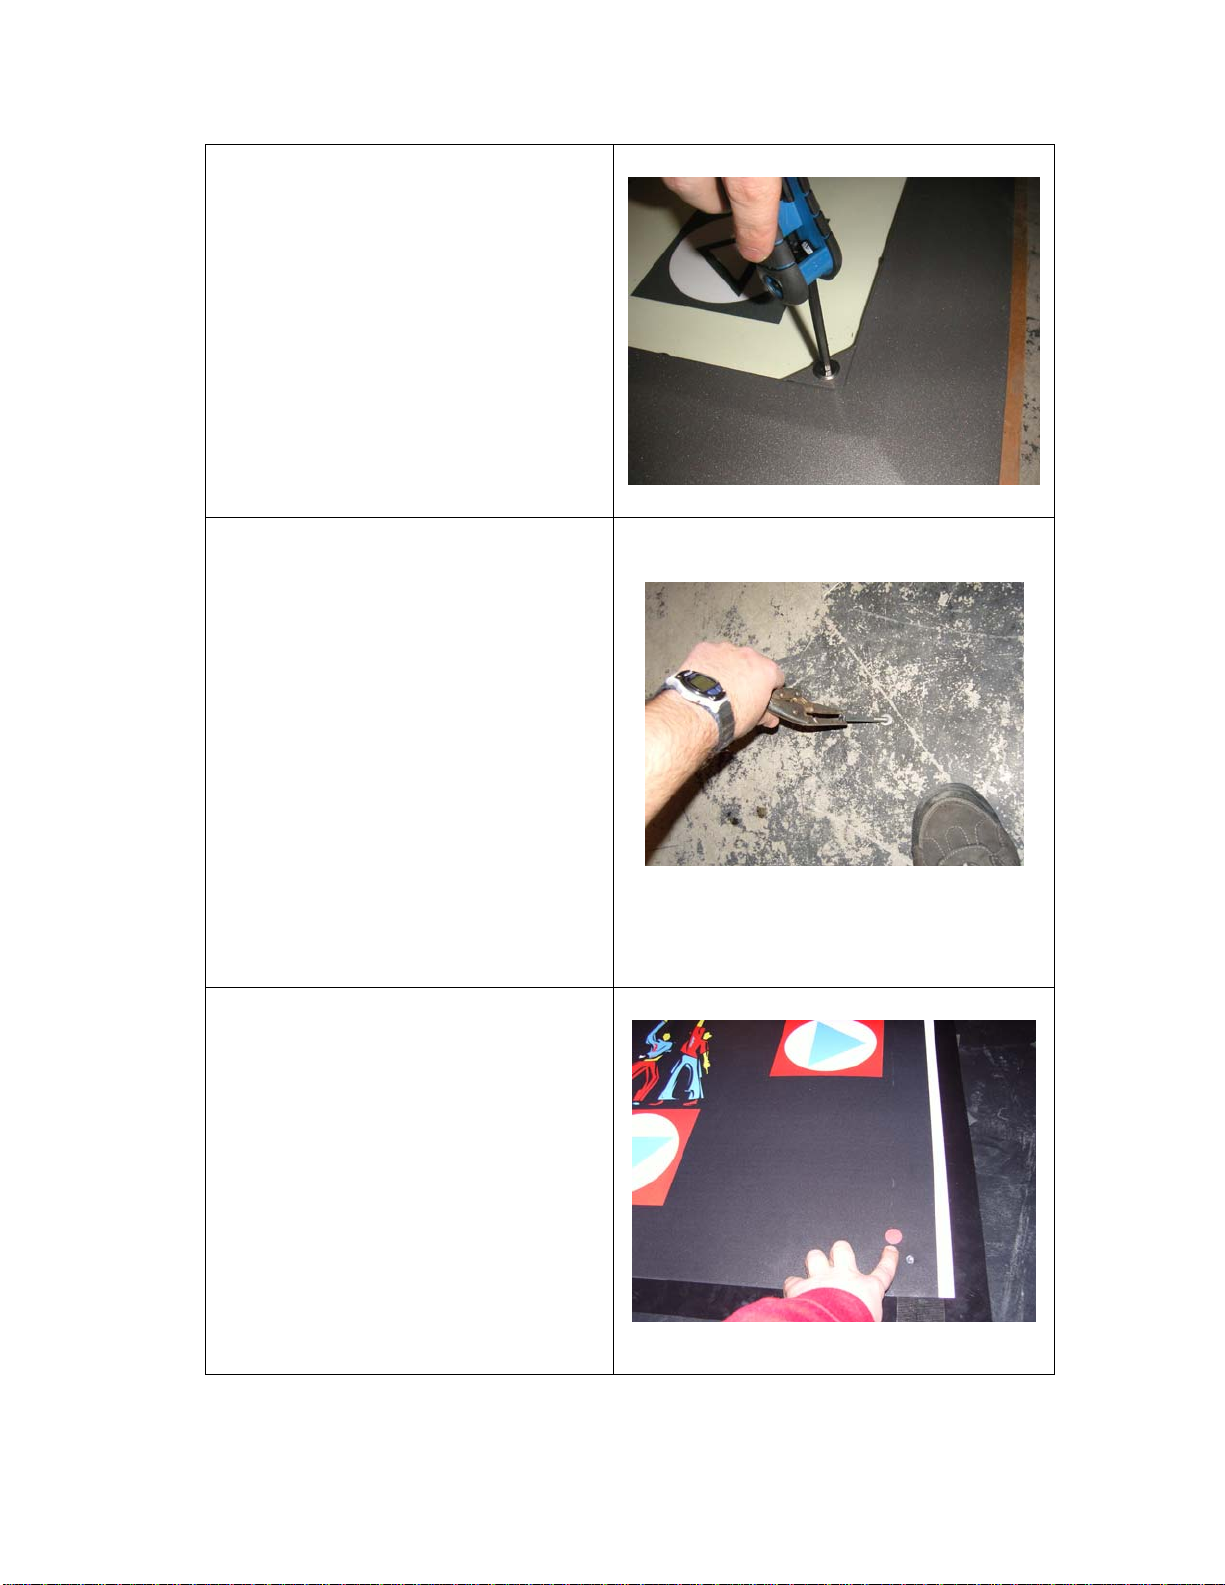
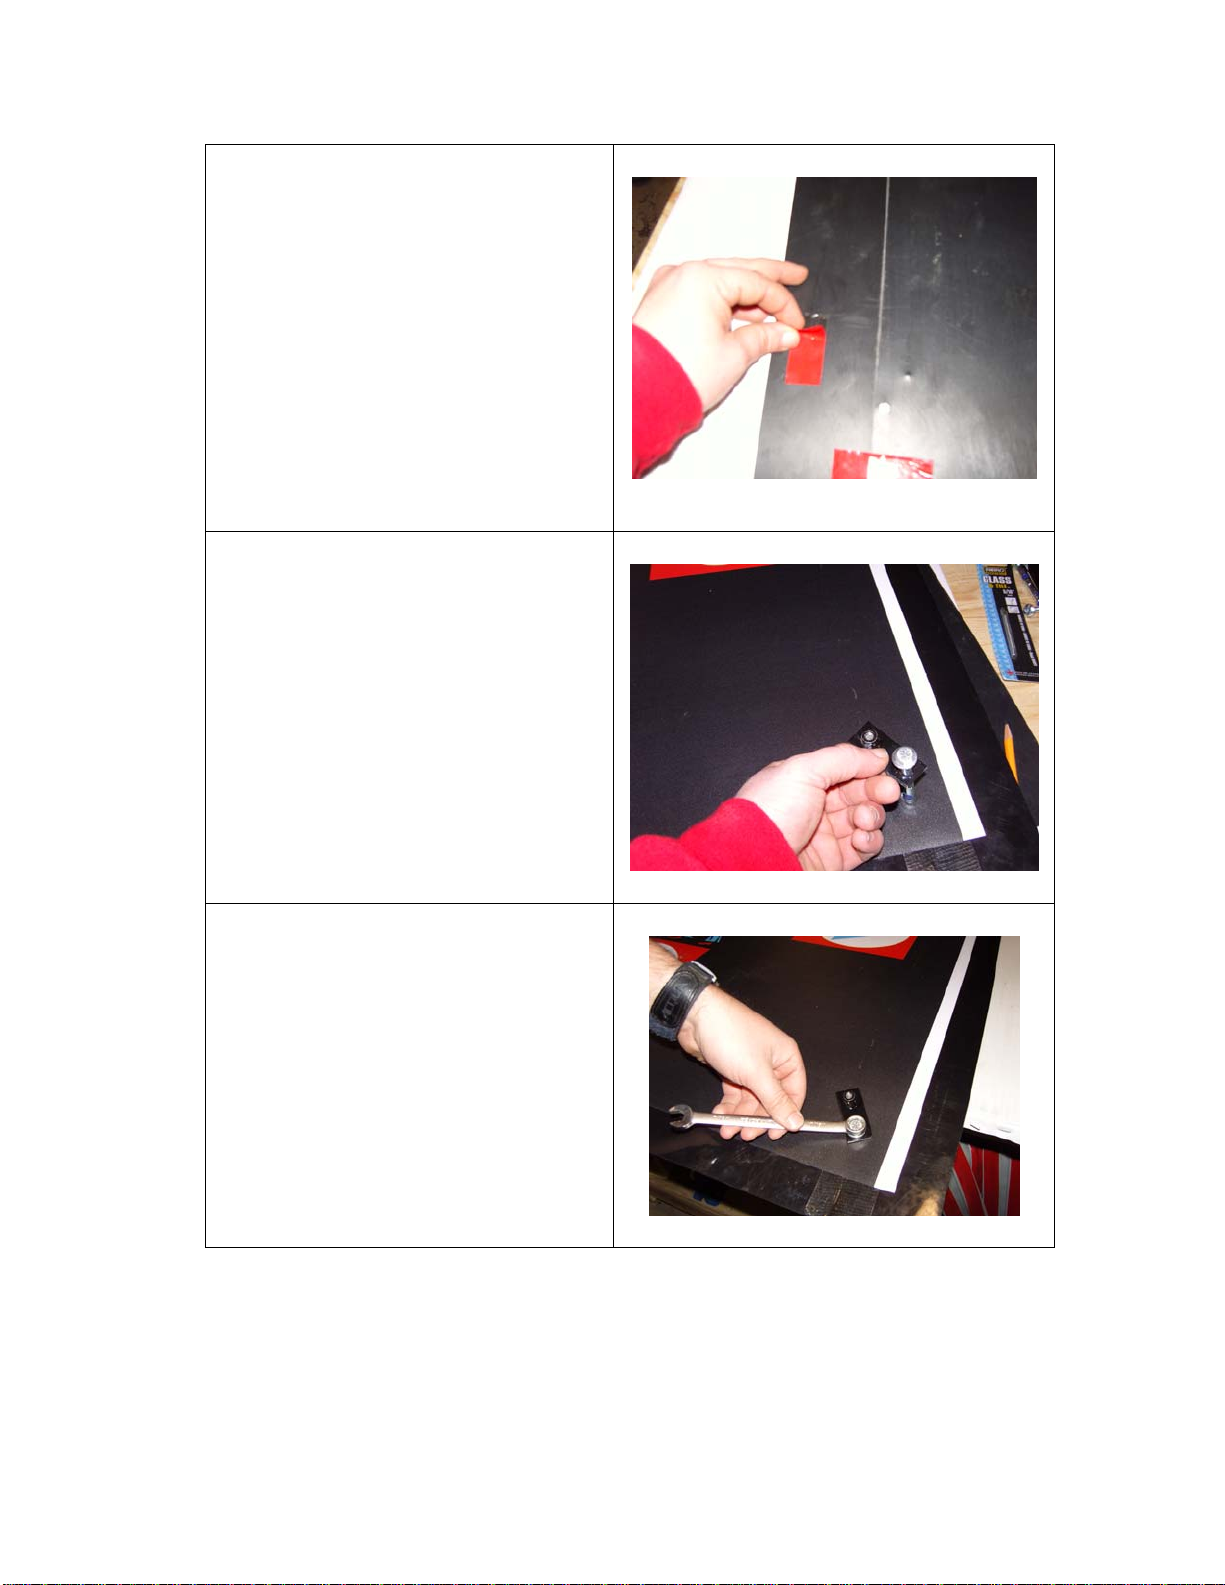
Step 10:
Using a 5mm Allen wrench remove
the two JCB receiver nuts (per pad)
that secure the rear of the dance
pad frames to the floor.
Step 11:
NOTE: 2 People required for this
step.
One person will need to lift and hold
the dance pad frame while the other
person removes the original floor
anchors or grind the floor anchors
down. To remove the floor anchors
it is recommended that you use a
pair of vice grips and work the floor
anchor out. You can also use a
grinder and cut the top of the floor
anchor off and grind it down to the
floor level.
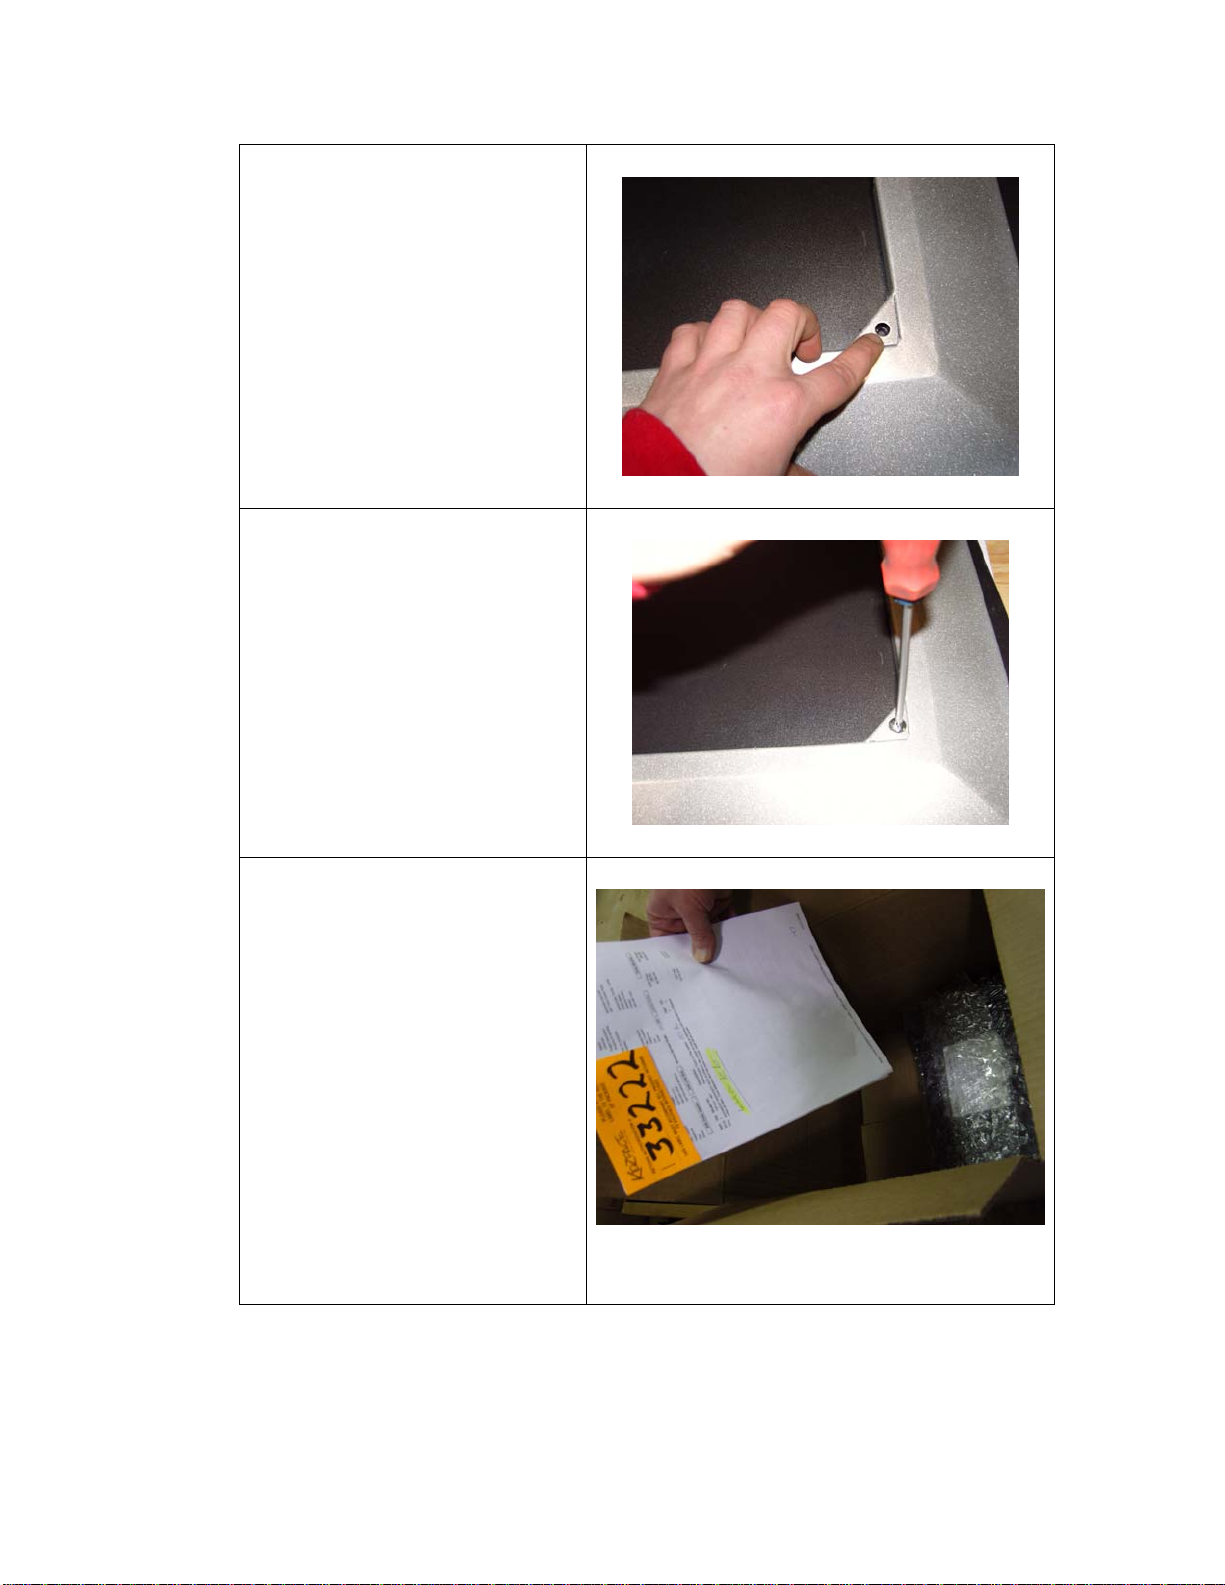
Step 12:
The new decal is also a mounting
template for the new rear mounting
hardware. Locate the red circle
stickers and the holes in the decals.
Due to comments of the original
mounting hardware coming loose
we have supplied new mounting
hardware. Before proceeding
ensure you have removed the
original floor anchors or have
grinded them down to the floor
level.