7
MGS1815-Li / TTI936GDO
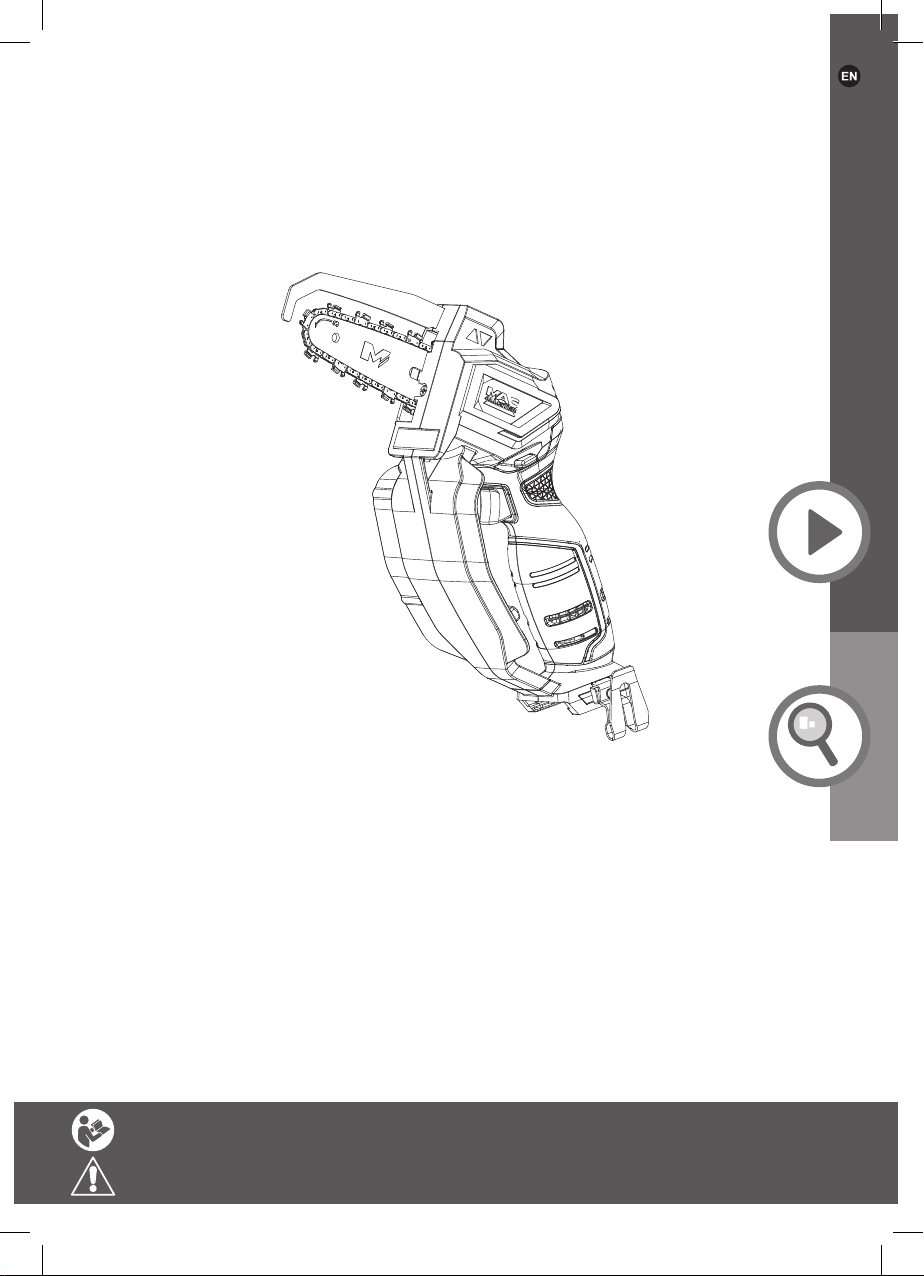
Getting Started . . .
16. When sawing converted timber and thin branches always use a strong support,
such as a sawing trestle. Do not stack timber pieces.
17. Before cutting logs, secure the logs in position.
18. When working on sloping ground, make sure to work facing upwards.
19. Be particularly careful when cutting splintered wood. Splinters of wood can be
torn along by the saw chain and increase the risk of injury!
20. Foreign objects such as nails, screws, metal parts, sand, etc. lead to increased
wear on the guide bar and saw chain.
21. A blunt saw chain can cause overheating and damage to the motor.
22. Always pull out the battery when checking the chain tension, to re-tighten it, to
mount the saw chain and to eliminate faults! Also remove the battery if you do
not use the product temporarily.
23. For better performance, the ambient temperature for tool and battery use should
be at a room temperature (5°C to 35°C).
24. Always remove the battery pack and store the tool at a room temperature (19°C
to 25°C).
Safety instructions for garden saw
General garden saw safety warnings:
1. Keep all parts of the body away from the saw chain when the garden saw is
operating. Before you start the garden saw, make sure the saw chain is not
contacting anything.
A moment of inattention while operating garden saw may
cause entanglement of your clothing or body with the saw chain.
2. Hold the garden saw by insulated gripping surfaces only, because the saw
chain may contact hidden wiring.
Saw chains contacting a “live” wire may
make exposed metal parts of the power tool “live” and could give the operator an
electric shock.
3.
Wear eye protection. Further protective equipment for hearing, head, hands,
legs and feet is recommended.
Adequate protective equipment will reduce
personal injury from ying debris or accidental contact with the saw chain.
4.
Do not operate a garden saw in a tree, on a ladder, from a rooftop, or any
unstable support.
Operation of a garden saw in this manner could result in
serious personal injury.
5.
Always keep proper footing and operate the garden saw only when standing
on xed, secure and level surface.
Slippery or unstable surfaces may cause a
loss of balance or control of the garden saw.
6.
When cutting a limb that is under tension be alert for spring back.
When
the tension in the wood bres is released, the spring loaded limb may strike the
operator and/or throw the garden saw out of control.
7.
Use extreme caution when cutting brush and saplings.
The slenfer material
may catch the saw chain and be whipped toward you or pull you off balance.
Safety information
5059340487861_MNL_GB_V02.indd 75059340487861_MNL_GB_V02.indd 7 13/3/2023 9:21 PM13/3/2023 9:21 PM