Kirstein PA system User manual


12
8. TECHNICAL SPECIFICATIONS
Model
Max. Output power
Speaker system
SPL
Frequency response
THD
Built-in sound source
Input sensitivity
Controls
Line output
UHF
wireless microphone
system
Specification PAsystem
100W
Low: 10 100W/8ohm
Hi: 1 20W/8ohm
115dB
85Hz - 18kHz 3dB
< 0.5%
Mic input: -45dB balanced/unbalanced
Line input: -10dB unbalanced
Bass tone control: 10dB at 100Hz
Treble tone control: 10dB at 10kHz
MIC volume control: 0 ~ +10dB
AUX volume control: 0 ~ +10dB
MP3/USB/CD volume control: 0 ~ +10dB
ECHO control: OFF ~ MAX
300mV unbalanced
Band: 760 ~ 900MHz
Wireless microphone model: handhold transmitter or bodypack transmitter
Max. receiving space: 80m
Battery for microphone: 9V
Audio Link IN: -10dB balanced
SLAVE control: 0 ~ +10dB
350mV balanced
Audio Link OUT
Power supply
Built-in
rechargeable battery
Indicators
Dimension
Net weight
AC: 110~120V or 220~240V 50/60Hz
DC: 12V
Operating time: 4 - 5 hours
Charging time: 10 - 15 hours
Power LED
Bat low LED
Charging LED
23kg
350mm 350mm 700mm
Wireless receiver: SG LED
Note: The features subject to change without prior notice.
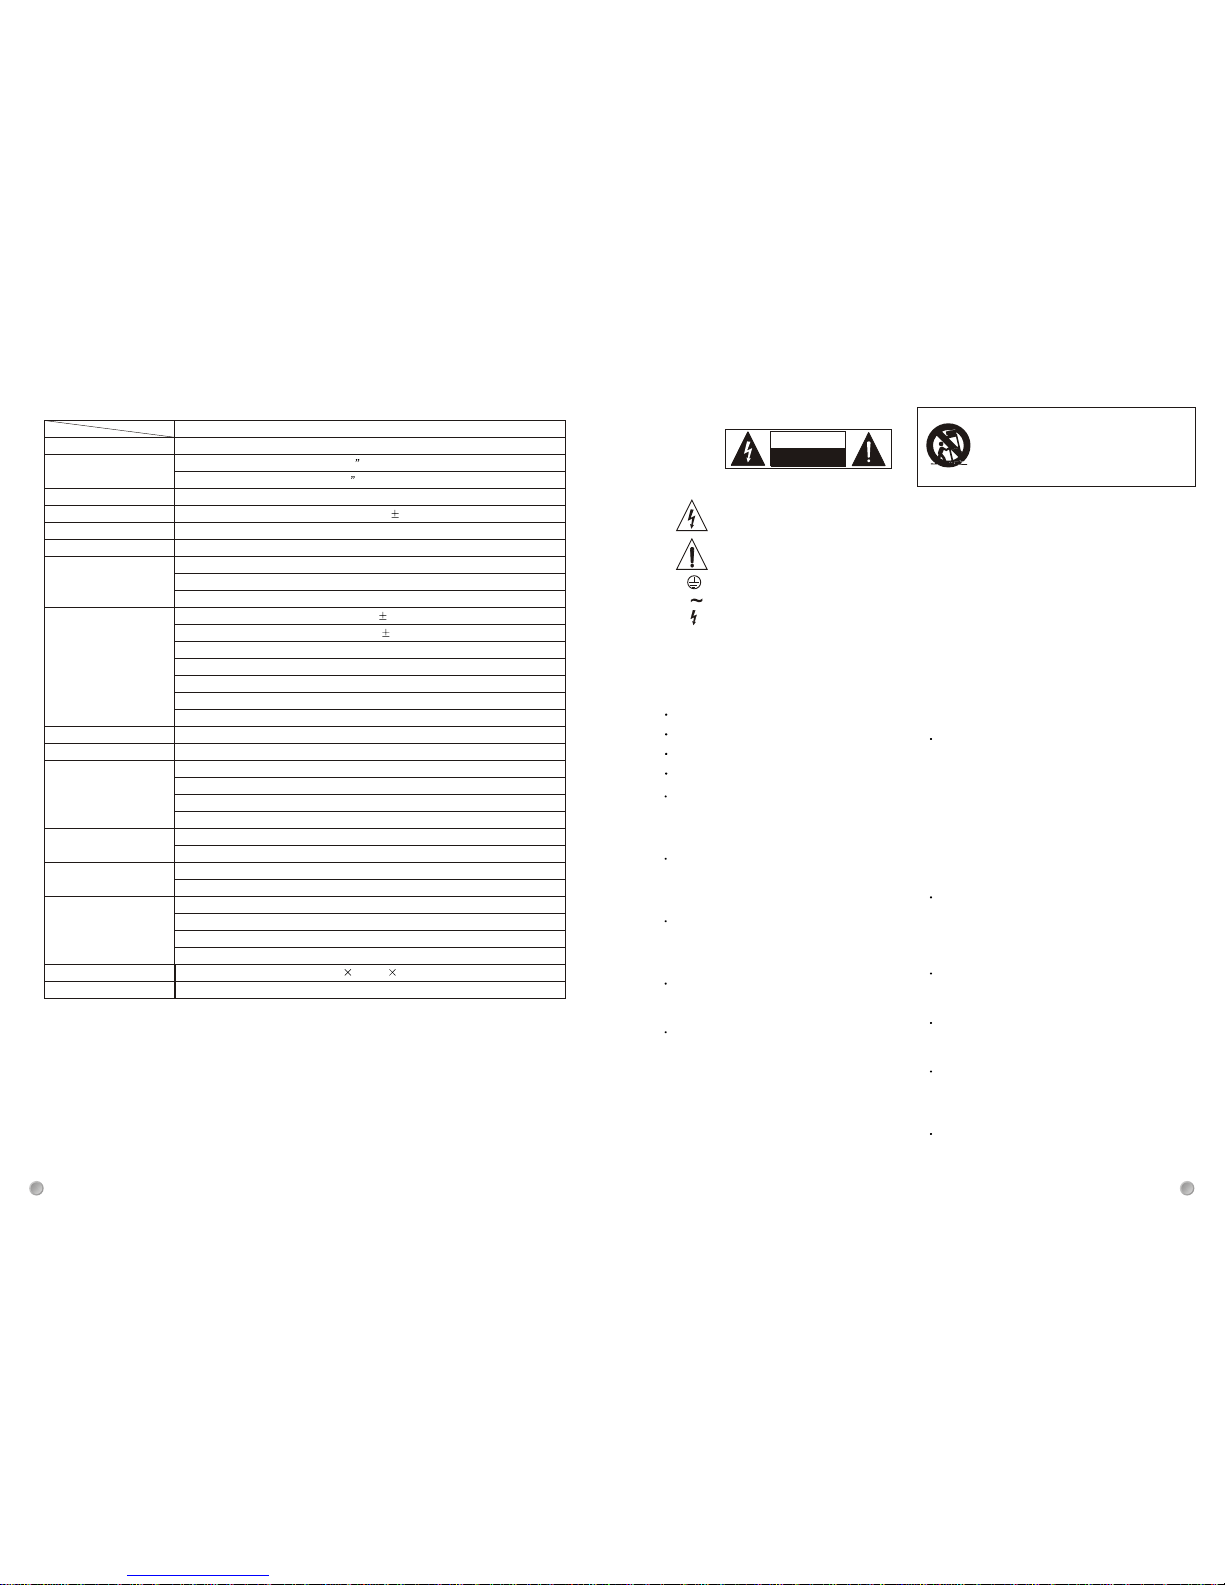
The symbol is used to indicate that some hazardous live terminals are involved within this apparatus, even
under the normal operating conditions, which may be sufficient to constitute the risk of electric shock or
death.
The symbol is used in the service documentation to indicate that specific component shall be replaced
only by the component specified in that documentation for safety reasons.
Protective grounding terminal
Alternating current/voltage
Hazardous live terminal
ON: Denotes the apparatus is turned on
OFF: Denotes the apparatus is turned off.
WARNING: Describes precautions that should be observed to prevent the danger of injury or death to the operator.
CAUTION: Describes precautions that should be observed to prevent danger of the apparatus.
1. IMPORTANT SAFETYINSTRUCTIONS
Read these instructions.
Keep these instructions.
Heed all warning.
Follow all instructions.
Water & Moisture
The apparatus should be protected from moisture and
rain, can not used near water, for example: near bath-
tub, kitchen sink or a swimming pool, etc.
Heat
The apparatus should be located away from the heat
source such as radiators, stoves or other appliances
that produce heat.
Ventilation
Do not block areas of ventilation opening. Failure to
do could result in fire. Always install accordance with
the manufacturer's instructions.
Object and Liquid Entry
Objects do not fall into and liquids are not spilled into
the inside of the apparatus for safety.
Power Cord and Plug
Protect the power cord from being walked on or pinched
particularly at plugs, convenience receptacles, and the
point where they exit from the apparatus.
Do not defeat the safety purpose of the polarized or
grounding-type plug. A polarized plug has two blades
with one wider than the other. A grounding type plug
has two blades and a third grounding prong. The wide
blade or the third prong is provided for your safety.
If the provided plug does not fit into your outlet, refer
to electrician for replacement.
CAUTION
RISK OF ELECTRIC SHOCK
DO NOT OPEN
IMPORTANT SAFETY SYMBOLS
¡ã¡ã
Power Supply
The apparatus should be connected to the power supply
only of the type as marked on the apparatus or described
in the manual. Failure to do could result in damage to the
product and possibly the user.
Unplug this apparatus during lightning storms or when
unused for long periods of time.
Where the MAINS plug or an appliance coupler is used as
the disconnect device, the disconnect device shall remain
readily operable.
Fuse
To prevent the risk of fire and damaging the unit, please
use only of the recommended fuse type as described in
the manual. Before replacing the fuse, make sure the unit
turned off and disconnected from the AC outlet.
Electrical Connection
Improper electrical wiring may invalidate the product war-
ranty.
Cleaning
Clean only with a dry cloth. Do not use any solvents such
as benzol or alcohol.
Servicing
Do not implement any servicing other than those means
described in the manual. Refer all servicing to qualified
service personnel only.
Only use accessories/attachments or parts recommended
by the manufacturer.
1
Use only with the cart, stand, tripod, bracket,
or table specified by the manufacturer, or
sold with the apparatus. When a cart is used,
use caution when moving the cart/apparatus
combination to avoid injury from tip-over.
12
CD/MP3 player

1
2
3
1
2
3
1
2
3
1
2
3
STOP REPEAT PROG. VOL-UP POWER
PLAY/PAUSE FF FR VOL-DOWNEJECT
ProfessionalCD+MP3Player
-. USB interface connected with PC, built-in high quality CD/MP3/U disk/SD card player
-. Built-in dual channel wireless receiver
-. Built-in two-way speaker system (HF: 1" Titanium driver 20W/8ohm - LF: 8" 80W/4ohm)
-. Built-in lighting system for operation in dark environment
-. Advanced amplifier technology
-. Voice priority
-. 2 MIC IN, 2 AUX IN and 2 LINE OUT
-. Audio link output, master/slave control
-. Over load/heat protection
-. AC/DC (battery) power supply, external DC power supply
-. Transport system with two rubber wheels
1. INTRODUCTION
Thank you very much for purchasing this portable PA system. Please read this manual carefully for installation and
operation. Please keep this manual well after reading for reference in future. This product is the combination of two-way
speaker, amplifier, wireless system and CD(Mp3) /U disk/SD card player. It is ideal for a variety of applications such as
public speaking in churches/schools, karaoke, mini- live-show, etc. Its features are as follows:
7. APPLICATION
From here, you can connect
another portable PAsystem
or active speaker or amplifier...
The signal from wireless microphone
can be received by the built-in
wireless receiver
Wired microphone
This portable PAsystem in various applications:
Meetings, seminars or conferences or live music
Live club entertainment
and so on......
Health centers
For connecting line device such as:
CD/DVD, guitar, keyboard etc.
This is an ideal PA system for a variety of live show in church and school, club, large meeting to live reinforce-ment.
We designed this PA system to provide two-way high/low speaker for brilliant, natural sound reproduction. Besides,
it also provides additional speaker output sockets and AUX input/LINE output sockets to expand your PA system as
actual requirement.
Following points help to reach the best effects of the PAsystem.
211
2. GENERAL FEATURES
2.1 Transport system with folded
handle and 50mm diameter
rubber wheels;
2.2 Protective metal
grille;
2.3 Compartment for wireless microphone (handhold or bodypack), signal cable, power cord, 9V battery, USB
cable, and other accessories;
1
2
3
1
2
3
1
2
3
1
2
3
STOP REPEAT PROG. VOL-UP POWER
PLAY/PAUSE FF FR VOL-DOWN EJECT
ProfessionalCD+ MP3 Player
1
2
3
1
2
3
1
2
3
1
2
3
STOP REPEAT PROG. VOL-UP POWER
PLAY/PAUSE FF FR VOL-DOWN EJECT
ProfessionalCD+MP3Player
1
2
3
1
2
3
1
2
3
1
2
3
STOPREPEAT PROG. VOL-UP POWER
PLAY/PAUSEFF FR VOL-DOWN EJECT
ProfessionalCD+MP3Player
1
2
3
1
2
3
1
2
3
1
2
3
STOPREPEAT PROG. VOL-UP POWER
PLAY/PAUSEFF FRVOL-DOWN EJECT
ProfessionalCD+MP3Player

6. INSTALLATION AND CONNECTION
6.1 Mains connection
6.2 Audio connection
Only use high quality low-capacitance shielded cable to connect this PA system with other audio device to keep good perfor-
mance. The portable PA system has balanced XLR connector, unbalanced 6.3 , and they can bejack and RCA socket
connected in several ways to support various applications without any signal loss.
6.3 Installation
Depends on live application, this portable PA system can bemounted on flat
surface or on stand. Please do not place the unit on high temperature devices
such as power amplifiers etc. to avoid overheating.
AC input socket
DC input socket
Sleeve
Tip
+
For 1/4" phone (6.3 ) jack
1/4" TS jack
unbalanced input/output
Tip
Ring
Sleeve
+
-
1/4" TRS jack
balanced input/output
For XLR
Balanced XLR (1: GND; 2: Hot; 3: Cold) Unbalanced XLR (1: GND; 2: Hot; 3: Cold/GND)
Caution:
-. Put the stand on a flat, nonskid surface.
-. To make the standmore stable open
the feet as wide as possible.
1
2
3123
For ensuring safety,please pay attention to that AC should be the same type as that marked on the rear panel of appa-
ratus, and fuse should be the same type as that marked on the fuse holder. Failure to do so could result in damage to
the product and possibly the user. Connect this system with AC through attached power cord, if the provided plug does
not fit into your outlet, ask for a qualified technician for replacement. Please unplug this unit during lightning storms or
when the unit is unused for long period of times.Furthermore, the unit also provides a DC input socket for connecting
external DC power source. If AC power supply fails, 12V DC power will be available to keep the unit working. When AC
is switched to DC, it is normal that the unit restart.
For RCA
+
Hot
Ground
10
2.4 High quality
CD + MP3 player and
wireless receiver;
2.6 Precise gain control and
bass/treble adjustment;
2.5 Lighting system is
convenient for operation
in dark environment;
2.7 Groove for stand mounting
3
3. CONTROL ELEMENT DESCRIPTION
3.1 Integrated player section
This card supports SD/MMC card U disk, and also supports FAT16/FAT32 document format and MP3
/WMA/WAV/MID music format and external recording.
(1). Description of the panel function
SD
MENU
a) SD port
b) LCD screen
c) USB interface
d) Key: stop/upwards
back/left
next/right
pause/downwards
menu/ok/exit
MENU
a
b
c
d
1
2
3
1
2
3
1
2
3
1
2
3
STOP REPEAT PROG. VOL-UP POWER
PLAY/PAUSE FF FR VOL-DOWN EJECT
ProfessionalCD+MP3Player
1
2
3
1
2
3
1
2
3
1
2
3
STOP REPEAT PROG. VOL-UP POWER
PLAY/PAUSE FF FR VOL-DOWN EJECT
ProfessionalCD+ MP3 Player

5. ACCESSORIES AND OPTIONAL OBJECTS
5.1 Accessories list
The portable PAsystem provides a multi-function compartment for
storing some accessories as follow.
For opening this compartment, you need to depress the case first (1),
then pull the box (2), for further details, please refer the sketch map.
Wireless microphone 2
The system product provides three combination choices of wireless microphone:
2 handheld transmitter or;
2 bodypack transmitter or;
1 handheld transmitter + 1 bodypack transmitter
Sleeve for wireless microphone
9V battery 2
User's manual 1
Power cord 1
5.2 Optional objects
Furthermore, we also produces some useful auxiliary facilities to matching your system.
Waterproof bag for apparatus
Stand: SDBO21B
Note: please position the stand on a flat surface, and unfold the feet as widely as possible to keep the stand more
stable and avoid any apparatus damage.
Stand bag
Signal cable: 10m or 15m or the length determined by customer
Stand: SDBO21B
Signal cable
Waterproof bag
Tote bag
1
2
4 9
USB cable 1
Cable(for DC power supply) 1
(3). User's guide
a) Configuration:
- System configuration is achieved in the menu, and press "MENU" to enter.
- Up&down key for the regulation of the parameters.
- Adjust with the left&right key.
b) Instruction for play:
- Plug SD card/U disk (NOTE: First turn off the power).
- select SD card /U disk in the menu, and press "MENU" to enter.
- Select the catalog with the up&down key and the leftwards key for opening.
- Select the song with the L&R key and the up&down key for play and stop.
- Press MENU to return to the catalog selection mode in the stop mode.
- Press MENU to return to the main menu for the system configuration in the play mode.
c) Instruction for record:
- Plug SD card/U disk (NOTE: First turn off the power).
- Select the SD card /U disk in the REC out menu in the system configuration.
- Select the REC in the main menu and press "MENU" to enter.
- Press "pause" for recording and the "stop" for stop recording.
3.2 USB interface
(a). Play MP3 from computer and record the sound from portable PAsystem
(b). Built-in driving program
(c). After this interface is pluged-in, it can be used immediately.
(d). 16 bit AD-DAconversion
(e). Before operation, connect all the hardware well, and then open the other relevant software. e.g. If you want
to use the software WINAMP to play music and use this module to transmit signal, you have to connect
all the hardware well and then open the software WINAMP.
(2). Description of the menu
a) Function:
adjust the volumeVolume:
balance adjustment of the L&R channelBalance:
adjust the bassBass:
adjust the trembleTreble:
select the cycle modeRepeat:
storage selection for the REC outREC_out:
b) SD card play
c) U disk play
d) Record
e) Information on the unit
ab c
d e

Frequency Response
4. WIRELESS MICROPHONE SYSTEM
5dB
10dB
15dB
20dB
0
330
300
270
240
210
180
150
120
90
60
30
Unidirectional
WIRELESS RECEIVER
CHA CH B
CH.A CH.B
4.1 Handhold microphone (Dynamic)
4.2 Bodypack microphone (condenser)
4.3 Non-diversity receiver
Carrier Frequency range
Receiving mode
Frequency Stability
Dynamic range
Frequency modulation
Frequency response
RF Sensitivity
T.H.D
S/N
UHF 760-900MHz
Quatz locked
0.005% / 25
>100dB at 15KHz
32.768KHz
50Hz-15KHz 3dB
3uV ( 20dB SINAD)
<0.6% at -70dB
>90dB
Receiver specification:
+20
+10
0
-10
-20
-3020 50 100 200 500 1000 2000 5000 10000 20000
Frequency Hz
0
180
Polarity pattern: Unidirectional
Sensitivity: -50dB 4dB
Impedance: <680ohm
Note: In order to make sure the good
operation of unit , the equipment
should be placed in wide space.
1m
1m
40-60m
RECEIVER
1m
ON
ON
dBV/Pa
-50dB
-60dB
-70dB
-80dB 20 50 100 200 500 1k 2k 5k 10k 20k0.100
0.316
1.000
3.160
mV/Pa
Frequency Hz
Frequency Response
85
3.4 Wireless receiver section
(15). LIGHT switch
This switch turns the light on or off.
(16). LIGHT
To illuminate the light, pull it out and turn on the light
switch. And the lighting is movable and can be turned.
(13). Volume control
This wireless receiver provides two channels: CHA and CHB.
And each channel is equipped with volume control for adjusting
the level.
For further details, please refer to the following chapter of WIRELESS MICROPHONE.
(14). SG LED dispaly
The SG LED lights up when corresponding channel received the signal.
(13)
(14)
3.5 Control section
(15)
(16)
010
CH A
010
SGSG
CH B
WIRELESS RECEIVER
PULL
LIGHT
ON
(9). STOP button
To stop program, press this button.
(10). PLAY/PAUSE button
To play and pause of track alternately, press this button.
(11). Disc tray
(12). LCD
Displays important operation messages, for example: No disc: no disc inserted, or disc unreadable.1~ xx: indi-
cates the track number, and track number that is playing will flash on the LCD.
(4). VOL-DOWN button
Decrease the volume.
(5). PROG. button
Program track number.
(6). FF button ( )
Go to the next track of audio CD/search forward.
(7). FR button ( )
Previous track of audio CD/ search back.
(8). REPEAT button
Repeat track. It provides two modes: repeat all and repeat one track.
(1). POWER button
Turns power on/off the CD/MP3 player.
(3). VOL-UP button
Increase the volume.
(2). EJECT button
To eject the audio CD, press this button.
3.3 CD(MP3) player section
STOP REPEAT PROG. VOL-UP POWER
PLAY/PAUSE FF VOL-DOWN EJECT
Professional CD + MP3 Player
(1)
(2)
(3)
(4)
(5)
(6)(7)
(8)(9)
(10)
(11)
(12)
FR

(36)
(34)
(32)
(33)
(29)
(28)
67
(27). SLAVE control
When the MASTER/SLAVE (36) switch is depressed, the SLAVE control is used to adjust the volume of signal
supplied on link output socket, if release the MASTER/SLAVE switch, the control will be invalid, the signal came
from LINK IN will be directly sent to LINK OUT.
(25). LINE OUT
Electronically unbalanced 6.3 jacks, designed for sending the signal came from tape, MIC, AUX IN or wireless
receiver to other P series product or amplifier or active speaker. Furthermore, bass/treble and echo controls
have no influence on the LINE OUT socket.
(22). BASS control
Tone control for bass, which is used to boost or attenuate the low frequency by 10dB. When the knob is in the
center position (0 scale), the frequency response is flat.
(23). TREBLE control
Tone control for treble, which is used to boost or attenuate the high frequency by 10dB. When the knob is in the
center position (0 scale), the frequency response is flat.
(24). ECHO control
Rotating this control to adjust the echo level, clockwise for enhancing and counterclockwise for attenuating.
It is valid only for MIC input (included wireless MIC input).
(19). AUX IN
Electronically unbalanced 6.3 jack, designed for the
connection of high level (line) source such as guitar,
CD/DVD etc.
(20). AUX control
Adjusts the volume of signal supplied on AUX input
connector, the adjustable range is from 0 to +10dB.
(21). CD control
Rotating this control to adjust the amount of tape/CD output volume, the adjustable range is from 0 to +10dB.
(19)(20)(21)(22)
(23)(24)
(25)
(26)
(26). VOICE PRIORITY switch
Press this switch to activate the voice priority function, the signal from microphone will be outputted prior to other
signal source. Release the switch to invalidate the function.
(27)
AUX
IN
LINE
OUT
OFF MAX
ECHO 0
-10 +10
TREBLE 0
-10 +10
BASS 5
0+10
CD 5
0+10
AUX
ON
OFF
VOICE
PRIORITY
AUDIO LINK ACTIVE BUS
MASTER
SLAVE 5
0+10
SLAVE IN OUT
1
2
3
1
2
3
(28). LINK IN socket
Electronically balanced XLR input connector, serve to connect the external signal source such as DVD/VCD, CD,
or another PAsystem, etc.
(29). LINK OUT socket
Electronically balanced XLR output connector, output the signal came from LINK IN to another PA system or amplifier
system or active speaker.
(34). POWER LED
This LED lights up when the power switch is turned on.
(35). BAT LOW LED
This LED illumines when the battery power is low, this means the battery need to be recharged up.
(36). RECHARGING LED
This LED twinkles when the battery is being recharged. After the battery is recharged, this LED keeps lighting up.
(33). DC IN socket
The unit provides the DC IN socket, which is used to connect external +12Vbattery or other DC source.
3.6 Power supply and speaker output section
(30). POWER switch
Turns this apparatus on or off.
(31). Fuse holder
The fuse holder is for containing the fuse, which is a safety device that protects the AC supplies circuits of this
apparatus.
Caution: If the fuse blew out, it should be replaced with the same type and specification; if the fuse continues
to blow out, please stop using and refer servicing to qualified personnel.
(32). AC power socket
This socket is used to connect the power supply to the unit via enclosed power cord.
Caution: Ensure the source voltage matches for the voltage of product before turning on the unit.
(30) (31)
(35)
1
2
3
1
2
3
1
2
3
1
2
3
(17). MIC input
Electronically balanced XLR and unbalanced 6.3 connectors, which are designed for the connection of low
level signal sources such as low impedance microphones.
(18). MIC control
Adjusts the volume of signal supplied on MIC input connectors, the adjustable range is from 0 to +10dB.
(17) (18)
BAL UNBAL
MIC 1 BALUNBAL
MIC 2
5
0+10
5
0+10
1
2
3
1
2
3
Table of contents
Other Kirstein Speakers manuals