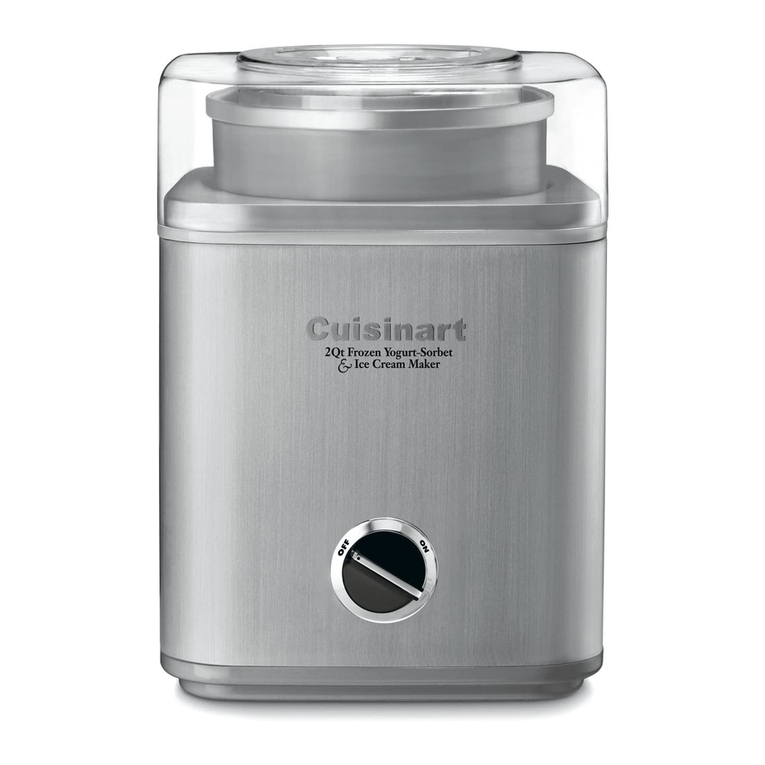
Kismile ICE1532Y User manual

INSTRUCTION MANUAL
ICE CREAM MAKER
Thank you for purchasing this product! If you have any questions about the
product, such as missing parts, damaged products, product assembling, or
operation, please contact us via Amazon Message or customer service number:
213-4467172 or 661-4358826.
Item No: IC3915SY
Model No: ICE1532Y


- 2 -
IMPORTANT NOTICES
When using an electrical appliance, basic safety precautions should
always be followed to reduce the risk of fire, electric shock, and/or
injury, including the following:
1. Read all instructions before using.
2. Ensure the voltage is compliant with the voltage range stated on
the rating label, andensure the earthing of the socket isin good
condition.
3. If the supply cord is damaged, itmust be replaced by the
manufacturer or its service agent or a similarly qualified person
in order to avoid a hazard.
4. This appliance is not intended for use by persons (including
children) with reduced physical, sensory or mental capabilities,
or lack ofexperience and knowledge, unless they have been
given supervision or instruction concerning use of the appliance
by a person responsible for their safety.Children should be
supervised to ensure that they do not play with the appliance.
This appliance can be used by children over the age of 8 and
persons with reduced physical, sensory or mental capabilities
or lack ofexperience and knowledge if they have been given
supervision or instruction concerning use of the appliance
in a safe way and understand the hazards involved. Children
shall notplay with the appliance. Cleaning and user
maintenance shall not be made by children without supervision.
5. This appliance is intended to be used in householdsand
similar applications such as
–staff kitchen areas in shops, offices and other working
environments;
–farm houses and byclients in hotels, motels and other
residential type environments;
–bed and breakfast type environments;
–catering and similar non-retail applications.
6. –Warning: Donotuse electrical appliances inside the food

- 3 -
storage compartments of the appliance, unless they are of the
type recommended by the manufacturer.
–WARNING: When positioning the appliance, ensure the supply
cord is not trapped or damaged.
–WARNING: Do not locate multiple portable socket-outlets or
portable power supplies at the rear of the appliance.
7. The plug must be removed before cleaning, maintaining or filling
the appliance.
8. Do not upend this product or incline it over a 45℃angle.
9. To protect against risk of electric shock, do not pour water on
cord, plug and ventilation, immerse the appliance in water or any
other liquid.
10. Unplug the appliance after using or before cleaning.
11. Keep the appliance 8cmfrom other objects to ensure the good
heat releasing.
12. Do not use the accessories which are not recommended by
Manufacturer.
13. Do not usethe appliance close to flames, hot plates or stoves.
14. Do not switch on the power button frequently (ensure 5min.
interval at least) to avoid the damage of compressor.
15. Metal sheetsor other electric objects are not allowed to
be inserted into the appliance to avoid fire and short circuit.
16. When taking out the ice cream, do not knock the barrel or edge
of barrel to protect the barrel from damage.
17. Do not switch on the power before install well the barrel or
blender blade.
18. The initial temperature ofthe ingredients is20±3℃.Donot put
the ingredients into freezer for pre-freeze, asit will easily make
the blender blade blocked before the ice cream isin good
condition.
19. Do not remove the blender blade when the appliance is on
working.
20. When you turn the ice cream maker on without adding ice cream
ingredients, you will slightly hear the mixing paddle scratching

- 4 -
the loading bowl, which is a normal phenomenon.
21. There are two round copper sheets at the motor assembly of the
transparent cover installed on the upper cover. When using,
please wipe the water stains on the transparent cover and on the
copper plates. If the machine is in use, the two copper plates will
be connected by water, which will lead to power failure of the
motor. Pull out the power line, wipe the water stains, and restart
it.
22. Do not use outdoors.
23. Never clean with scouring powders or hard implements.
24. Please keep the instruction manual.
SPECIFICATIONS
Item no: IC3915SY
Model no:ICE1532Y
Capacity:1.5L
Voltage: 110-120VAC/60Hz
Anti-shock protection class: I
Climate type:N/SN
Electric current: 2A
Max overall dimensions:380(L)X 270(W)X 242(H)mm
Max packing dimensions:460(L)X 350(W)X 318(H)mm
N.W: 9.1kg
G.W:10.2kg

- 5 -
PRODUCT FEATURE
1. Key and knob control, and LED display, simple and reliable
operation and won’t cost you much trouble.
2. Metal cover and housing, elegant, fashionable and lighter.
3. Upper mixing and low noise.
4. With a variety of quick freezing ice cream production methods.
5 .The parts are detachable, easy to clean, sanitary and safe.

- 6 -
.PRODUCT INSTRUCTION…… ……………….... .. ..
1) Structure
Transparent lid
Mixing blade
Loading bowl
Top lid
Housing
Motor
Base

- 7 -
2) Control panel
The product is subject to the actual object, and the picture is
for reference only.
Power button
Single mixing mode
Single cooling mode
Ice cream mode
Working time display
Yogurt mode
Increase working time
START/PAUSE
Reduce working time
(Counterclockwise rotation)
Function Selection

- 8 -
HOW TO MAKE ICE CREAM
NOTE: Please thoroughly clean all parts that will contact with ice
cream before use, including: cooling bowl, loading bowl, mixing fan
blade, transparent lid, etc.
Before cleaning, you must ensure that the power cord plug is
disconnected from the outlet. When making ice cream, keep the
machine flat on a level surface to ensure that the compressor of the
machine is working properly.
Here are the steps to make an ice cream:
Step 1.
Pour the well prepared recipe ingredients and water into the
loading bowl, then mix it uniformly.
Step 2.
Then put the loading bowl into the ice cream machine, both ends of
the loading bowl handle shall be aligned with the groove of the upper
cover.

- 9 -
Step 3.
Install the transparent lid and motor components.
Step 4.
Install the mixing blade, transparent lid and motor components
Installation
position of
loading bowl
handle

-10 -
Step 5.
Put the components installed in step 4 into the ice cream machine,
make sure that the center of the convex hull of the loading bowl and
the motor components of the mixing fan blade are in the same
straight line, lock the components clockwise, and make sure that the
triangle mark on the components rotates to the "LOCK" mark.
Lock

-11 -
Step 6.
Plug in power, select the ice cream mode and working time, and
press the START/PAUSE button finally.
Step 7.
When the ice cream making isfinished, there will be 10 short
beeps.
Step 8.
Turn the transparent lid and motor components anticlockwise. In
the process of spinning out, there will be a slight friction sound,
which is normal. When the triangle mark is aligned with the
unlocking mark, take out the components and then take out the
loading bowl.

-12 -
OPERATION
1. Connect the power supply and plug the power cord into a suitable
socket. The shape andvoltage ofthe socket shall be the same as
those indicated.
2. Operation process
1). Function description of buttons and display icons
POWER: Power button
: Single cooling function
:Ice cream making function
+: Increase working time
MENU:Function select
START/PAUSE:Start/Pause button

-13 -
: Single mixing function
:Yogurt-making function
— :Reduce working time
3) Operation process of making ice cream
a. Press the POWER button to start the machine.
b. Press the MENU button, select the icon and enter the
ice-cream making mode.
c. [Ice cream] the default production time is60 minutes. Ifyou
need to adjust the working time, turn the knob, turn 1 grid to
change for 1 minute, with the minimum of 5min and
maximum of 60min.
d. After setting the time, press the START/PAUSE button to
count down the time and start making ice cream atthe same
time. In this process, ifyou press the START/PAUSE button,
the machine will stop working, and the screen will display the
time when itstops. Ifyou press the START/PAUSE button
again, it will continue to work according to the currently set
mode and the remaining time. When the time or hardness
reaches the set value, 10 beeps will prompt completion.
e. After theproduction process iscompleted, ifthere is no other
operation, itwill automatically enter the insulation program.
Please enjoy this delicious ice cream intime or keep itinthe
refrigerator to avoid melting.
3) Operation process of single cooling function
a. Press the POWER button to start the machine.
b. Press the MENU button, select the icon and enter the
single cooling mode.
c. [Single cooling] the default production time is 30 minutes. If

-14 -
you need to adjust the working time, turn the knob, turn
1 grid to change for 1 minute, with the minimum of 5min
and maximum of 60min.
d. After setting the time, press the START/PAUSE button to
start refrigeration, and select the time to start countdown. In
this process, if you press the START/PAUSE button, the
machine will stop working, and the screen will display the
time when it stops. If you press the START/PAUSE button
again, you will continue to work according to the currently set
mode and the remaining time. When the time reaches the
set value, 10 beeps will prompt completion.
4) Operation process of single mixing
a. Press the POWER button to start the machine.
b. Press the MENU button, select the icon and enter the
single mixing mode.
c. [Single mixing] the default production time is 10 minutes. If
you need to adjust the working time, turn the knob, turn 1
grid to change for 1 minute, with the minimum of 5min and
maximum of 60min.
d. After setting the time, press the START/PAUSE button to
start single mixing, and select the time tostart the
countdown. In this process, ifyou press the START/PAUSE
button,the machine will stop working, and the screen will
display the time when it stops. If you press the
START/PAUSE button again, you will continue to work
according to the currently set mode and the remaining time.
When the time or hardness reaches the set value, 10 beeps
will prompt the completion of mixing.
5) Operation process of yogurt function
a. Press the POWER button to start the machine.

-15 -
b. Press the button, select the icon and enter the
yogurt-making mode.
c. [Yogurt]mode the default production time is 8 hours. If
you need to adjust the working time, turn the knob, turn 1
grid to change for 1 hour,with the minimum of 4hours and
maximum of 24hours.
d. After setting the time, press the START/PAUSE button to
start mixing,and select the time to start countdown. In this
process, ifyou press the START/PAUSEbutton,the
machine will stop working, and the screen will display the
time when it stops. Ifyou press the START/PAUSE button
again, you will continue to work according tothe currently set
mode and the remaining time. When the time reaches the
set value, 10 beeps will prompt completion.
e. After the production process iscompleted, itwill
automatically enter the cooling insulation state (COOL is
displayed). Ifthere isno other operation, itwill always be in
the insulation state (it will not automaticallyshut down).
3. KEEP COOL FUNCTION
Ice cream insulation function: In order to prevent you from leaving
during the ice-cream making process, and the ice-cream cannot
be eaten or stored in time after the completion of the production,
which causes the ice-cream to melt, we have added the following
humanized design: when the ice-cream making is completed but
no one operates, it will automatically enter the insulation program
(COOL is displayed). The insulation time is 1 hour. After 1 hour,
the machine will enter the standby state.
4. MOTOR SELF-PROTECTION FUNCTION
In the single mixing and ice cream modes, as the production time
becomes longer, the ice cream becomes harder and harder, and the
mixing motor will be locked in advance. At this time, the PCB will
monitor the motor and automatically stop the motor to ensure the

-16 -
service life of the mixing motor.
5. CONTROLLING THE VOLUME OF THE INGREDIENTS
To avoid overflow and waste, please make sure that the ingredients
do not exceed 60% of capacity of the removable bowl (Ice cream
expands when formed).
6. COMPRESSOR SELF-PROTECTION FUNCTION
After the compressor stops during ice cream mode or cooling
only mode, ifthe ice cream mode or cooling only mode is selected
again, the compressor will have a protection time for about 3
minutes. However,after the power cord is plugged in, the machine
restart by default. At this time, there is no delay in selecting ice cream
mode or cooling onlymode.
To prevent frequent startup of the compressor, press the pause
button under the ice cream and single cooling working modes, and
the compressor and condensing fan will shut down after a delay of 1
minute.

-17 -
ELECTRICAL DIAGRAM
MAINTENANCE
Caution: The plug must be removed before cleaning to avoid electric
shock.
(1)Take out the mixing blade, wipe it with a dampened cloth.
(2)Take out the loading bowl, clean it with a dampened soft cloth.
(3)Wipe the transparent lid and refill lid with a dampened cloth.
(4)Remove the dirty on the body or other places with a dampened
cloth, and do not pour water on cord, plug and ventilation,
immerse the appliance in water or any other liquid.
(5)Allow drying thoroughly with a dry cloth, then return the
component to the home position.

-18 -
COMMON PROBLEMS
No. Existing problemsReason analysis Resolutions
1
Can not take out
the loading bowl easily
after the ice cream is
finished.
There are water drops
between the cooling
bowl and the loading
bowl that have not been
wiped away, resulting
in
freezing.
Wait 3-8 minutes
before taking out
the loading bowl.
2
The transparent lid is
lifted to the mixing blade,
and it cannot be stuck in
place
The mixing blade not in
place, and pay attention
to the alignment of the
convex hull at the bottom
Put the mixing
blade
in place
and rotate the
transparent
cover in place
3
The loading bowl
cannot be placed in
the cooling bowl
Deformation caused by
improper use of loading
bowl
B
uy a new
loading bowl
4
At the beginning of
making ice cream, the
mixing blade seriously
scratched or jammed.
Deformation caused by
improper use of loading
bowl
Buy a new
loading bowl
AFTER SALES SERVICE
One -year warranty service is available from the date of
purchase. The date of purchase of the invoice or after-sales
service warranty card is subject to the warranty service. The
problems you encounter when using our company's home
automatic ice cream machine can be helped and resolved through
the service hotline. We provide technical advice free of charge.
●One of the following conditions is not covered by the warranty;
1) Components are damaged due to improper use, maintenance and
storage;

-19 -
2) Damage caused by non-Donlim WEILI maintenance personnel or
designated personnel to disassemble the product by themselves.
3) No purchase invoice or purchase invoice does not match the
product;
4) Damage caused by force majeure;
5) Exceeding the warranty period;
★If you find any quality problems, please contact the service center
or special maintenance service point for repair.Do not
disassemble itby yourself. The company will not bear any
responsibility for quality problems or accidents caused by self-
disassembly.
★If the product isnot under warranty,the maintenance fee will be
waived and onlythe parts fee will be charged. Manufacturer
reserves the right of final interpretation of the above
commitments.
PART
S
Mixing blade 1 User manual 1
ICE CREAM RECIPE MANUAL
BASIC ICE CREAM
Make it according to the following formula. After mixing the formula
mixture evenly,itcan be made into ice cream within 60 minutes.
300gcream
200g powdered milk
This manual suits for next models
1
Table of contents