To program the oven:
1. Start with the oven off and red light on.
2. Press “Start”
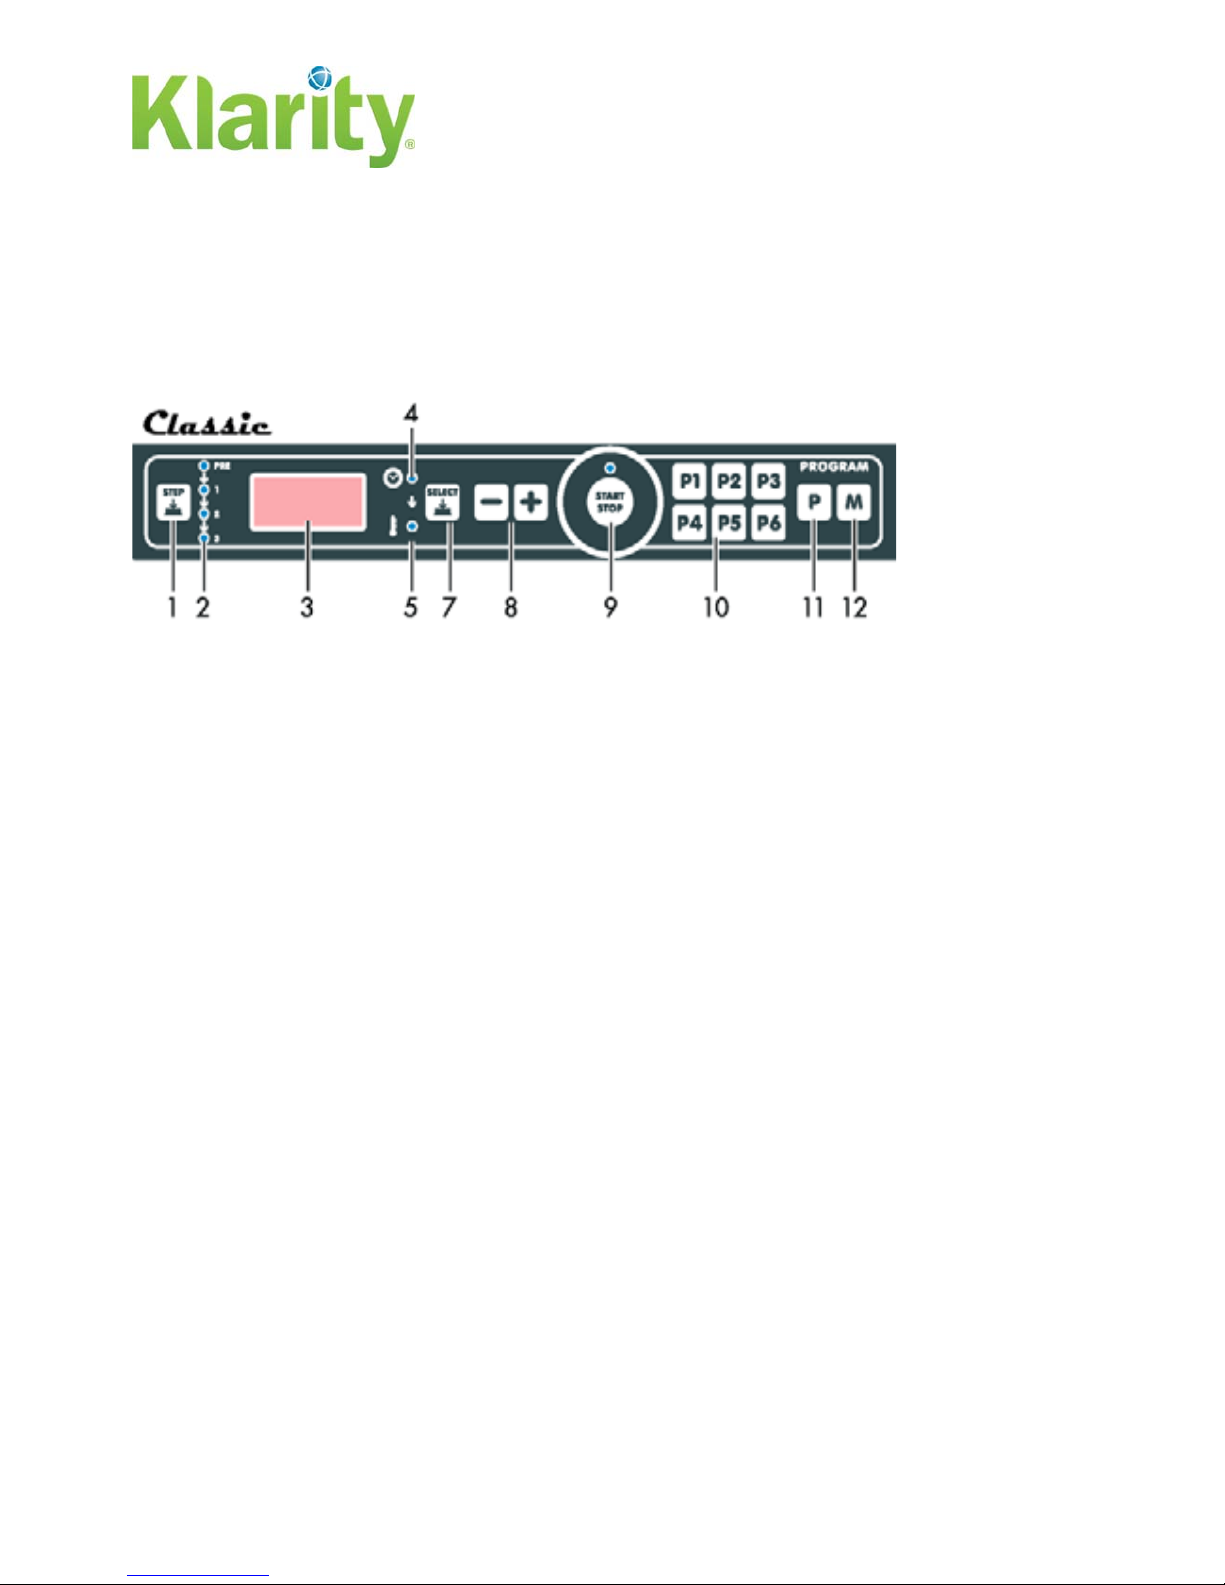
3. Press “P1”
4. Press the “step” button to select “preheat”
5. Use the (-) button to lower the temperature to 165 degrees
6. Press the “step” button again and select setting #1 (see figure 2)
7. Press “select” to choose time or temperature. The blue light will indicate which
mode is activated (see figure 5)
8. Use the (-) button to set the time to “inf” and the temperature to 165 degrees
9. Press “M” and hold until you hear a long beep. This means P1 is set
10. Repeat steps 1-9 to program P2-P6
Turning the Oven Off
1. Press the START button (#9) and hold until the oven beeps for a duration of a
few seconds.
2. The oven, when left undisturbed, will then shut itself off in 15-20 minutes.
Manual Controls Start
1. Line up the red line on the temperature dial to the notch on the oven case. This
will allow the inside temperature to reach the desired 165 degrees. *please note,
the inside temperature will vary. Adjust the dial as needed to keep the desired
temperature.
2. Turn the timer dial counterclockwise so the notch on the oven case lines up with
the “hand” symbol. This sets the oven to run continuously.
Turning the Oven Off
1. Turn the timer dial clockwise and line up the notch of the oven case with the “0.”
You will hear a lengthy series of loud beeps, signifying that the oven is off.
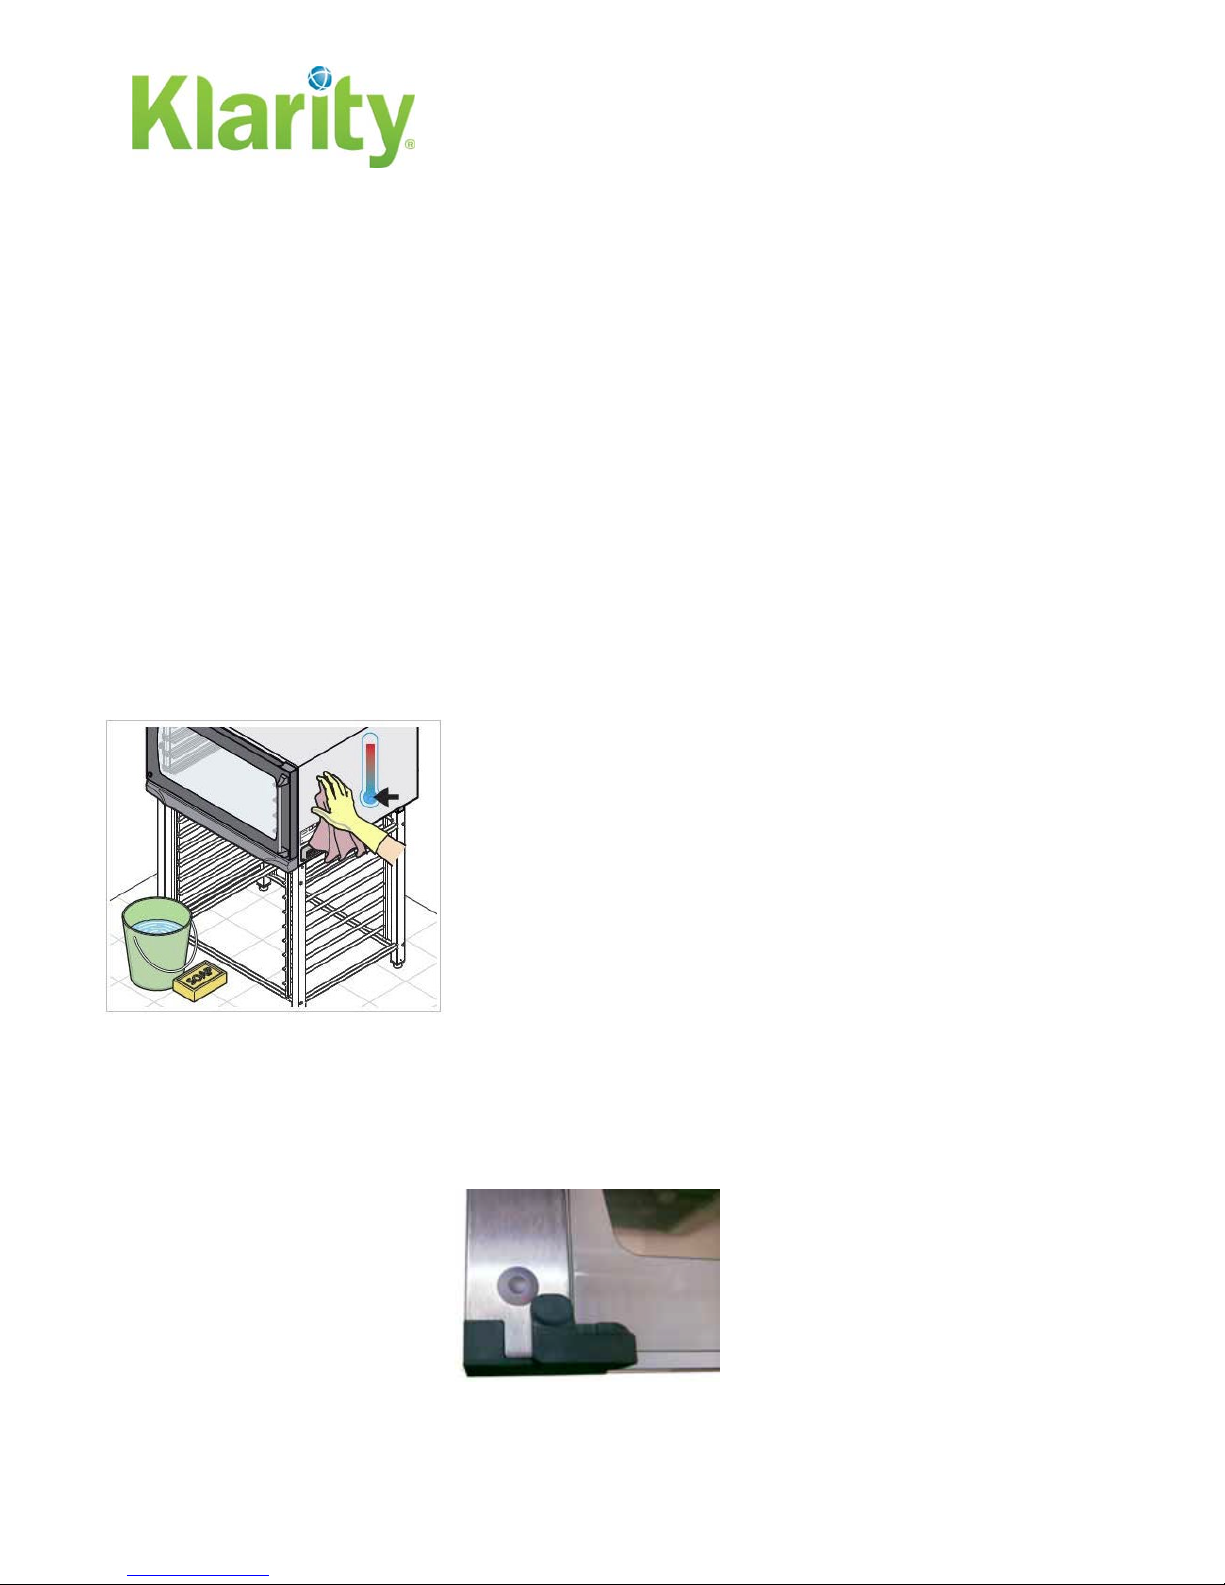
5Cleaning the Oven
Clean the appliance with a solution of warm water and liquid soap applied with a soft
sponge. Dry with a soft cloth.
Caution do not clean the display with water, only with a dry soft cloth.
Do not use a steam cleaner to clean this appliance. Pressurized steam
could penetrate electrical components and cause a short circuit.