Kodiak 1672 User manual

Model 1672 OWNER’S MANUAL
8 x 8 ft. Awning Accessory
Fits Cabin Lodge Tent Model 6170. (Sold Separately)
Visit us online at: www.KodiakCanvas.com
819-2
Important! For safe and proper assembly, use, and care, read and follow all
instructions. Everyone who uses this tent should first read this manual.

2
No Fire
This tent is flammable. Keep all flame and heat sources away from the tent
fabric. Never place a stove, campfire, or any other flame source in or near your
tent. Never use, light, or refuel a stove, lantern, heater, or any other heat source
inside your tent. Death by carbon monoxide poisoning and/or serious burns are
possible.
Ventilation
Maintain adequate ventilation inside your tent at all times. Death by asphyxiation
is possible.
Anchor
This tent is not free-standing. If not properly anchored it will collapse. Always
anchor your tent properly to reduce the risk of loss or injury to the tent or
occupants.
Campsite Choice
Carefully consider the possibility of falling rocks or tree limbs, lightning strikes,
flash floods, avalanches, strong winds, and other objective hazards when
choosing a campsite to reduce the risk of loss or injury to the tent or occupants.
Children
Do not leave children unattended inside a tent or camp. Do not allow children to
assemble or disassemble the tent.
Do not allow children to remain closed-up in a tent on hot days.
Do not allow children to swing on, or hang from any part of this tent, or guy
ropes.
Failure to follow these warnings may result in injury and/or death.
Before You Set Out
●
You should assemble this tent at least once before your trip to familiarize yourself with the
process, and make sure all the parts are in good condition.
At least two adults are required for set up.
IMPORTANT
1.
After initial set-up, it is recommended that you spray the tent with water and allow it to dry
completely.This seasons the canvas.The watercauses thecanvastoshrink slightly,closing
the
needle holes where the canvas was stitched. This process is only required once.
2. The tent must be completely dry before storage! STORING AWET OR DAMP
TENT, EVEN
FOR A SHORT TIME, WILL RUIN IT AND VOID THE WARRANTY.

3
Component Check List
Identify all components and make sure they are in good condition and working order.
Part
Description
Quantity
Poles
(1)
Corner Awning Upright
2
(2)
Center Awning Upright
1
(3)
Center Awning Ridge Pole
1
(4)
Side Awning Ridge Pole
2
(5)
Gable Pole
2
Other
Awning Roof
1
Awning Walls
1
Storage Bag
1
Pole Storage Bag
1
Stake Storage Bag
1
Guy Ropes (standard)
2
Tent Stakes
14
Kodiak Canvas
Limited Lifetime Warranty
This product is warranted, to the original purchaser, to be free of defects in materials and
workmanship for as long as you own the product. This product is made with quality materials and expert
workmanship but is not indestructible. This warranty does not cover damage attributed to or resulting
from normal wear and tear (e.g. exhausted zippers), natural hazards (e.g. weather, animals), abuse (e.g.
mold, mildew, burns, ultraviolet), or alterations or modifications of any kind. If your product is found
defective, we will repair or replace it free of charge. Charges for shipping your product to Kodiak Canvas
will be your responsibility. Wereserve the right to make substitutions if parts are unavailable or obsolete.
If your product needs repair beyond what is covered under warranty, we will provide parts and service at
a reasonable charge.
This warranty gives you, the original purchaser, specific legal rights. You mayalso have other
rights which vary from state to state. Do not return your product until you have received
authorization and instruction to do so.
To obtain service, contact us at www.KodiakCanvas.com, or write to:
Kodiak Canvas Customer Service
PO Box 762
Layton, UT 84041 USA

4

5
Assembly Instructions
The use of protective gloves and eyewear is recommended during assembly.
Step 1 - Stake the Tent. Attach the Awning. Erect the Tent.
First, stake the Cabin Lodge Tent (Sold separately). Next, zip the Awning Roof onto the Cabin Lodge tent
with corresponding zippers. Erect the Cabin Lodge Tent. Do not attach guy ropes to the front of the tent, as
this is where the Awning will attach. The top of the Main Upright pole (from the Cabin Lodge Tent) will
need to feed through the sleeved opening in the awning as shown in the image below.

6
Step 2 –Assemble the Awning Frame
This step is much easier with a few helpers. It requires at least 2 adults. Assemble the frame members as
shown in the diagram below. The numbers on the diagram refer to the parts on page 4.
Connect the Center Awning Ridge pole to the Main Upright pole on the tent, by inserting the elbow hook into
the hole near the top of the Main Upright pole as shown in the image below. Important Tip: When taking
down the tent, be sure to support the Center Awning Ridge pole until the hook is removed, or damage can
occur to your poles.

7
The other parts connect by placing the tip of the upright poles through the holes with the red plastic covers.
Extend the telescoping poles only part way (you will give a final tighten and extension once all canvas is in
place). All thumb screws, on awning poles should face down. Only hand tighten the thumb screws.
Step 3 –Install the Awning Walls
Find the tabs with grommets on the top edge of the Awning Walls. Place the hole in the grommets
over the tips of corresponding upright poles.
Secure the Awning Walls to the tent by joining the large hook and loop (similar to Velcro) strips, and tie
loops. Secure the top edge of the Awning Walls to the frame with hook and loop strips.
Step 4 –Put the Awning Roof in place.
Place the Awning Roof over the top of the awning frame. Insert tips of the upright poles through the
corresponding grommet holes. Extend the telescoping awning ridge poles and gables until taut. Secure to
the frame with hook and loop tabs.
Step 5 –Secure in place with guy ropes and stakes.
Place a small loop in the end of a Standard Guy Rope and place over the tip of the awning uprights. Use the
Long Guy Rope (supplied with the tent) for the Center Awning Upright. Attach the Standard Guy Ropes to
the small loops at the side of the Awning Roof. The diagram top of page 8 shows the location and correct
position for guy ropes (represented with dashed lines).

8
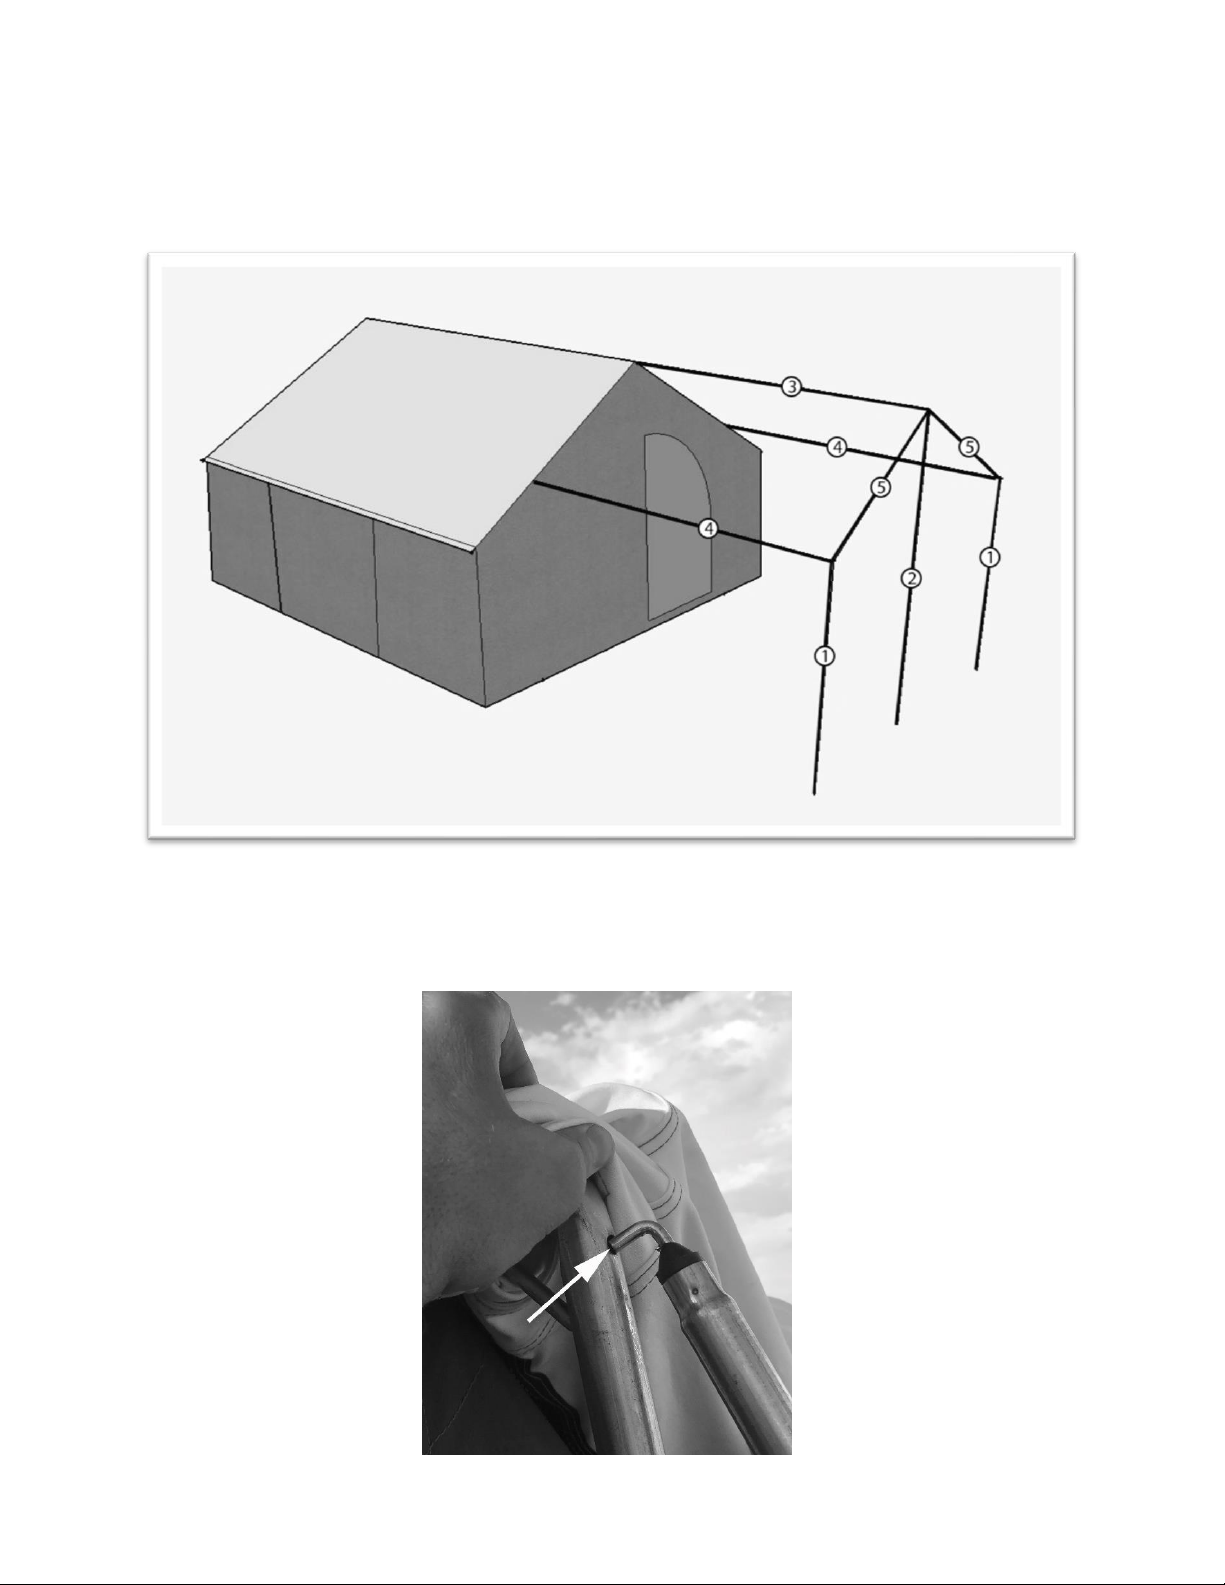
Secure the bottom of the Awning walls with tent stakes.
Take Down and Storage
First, dry and clean out tent. Make sure your tent is absolutely dry. Zip down the windows; open the door; let
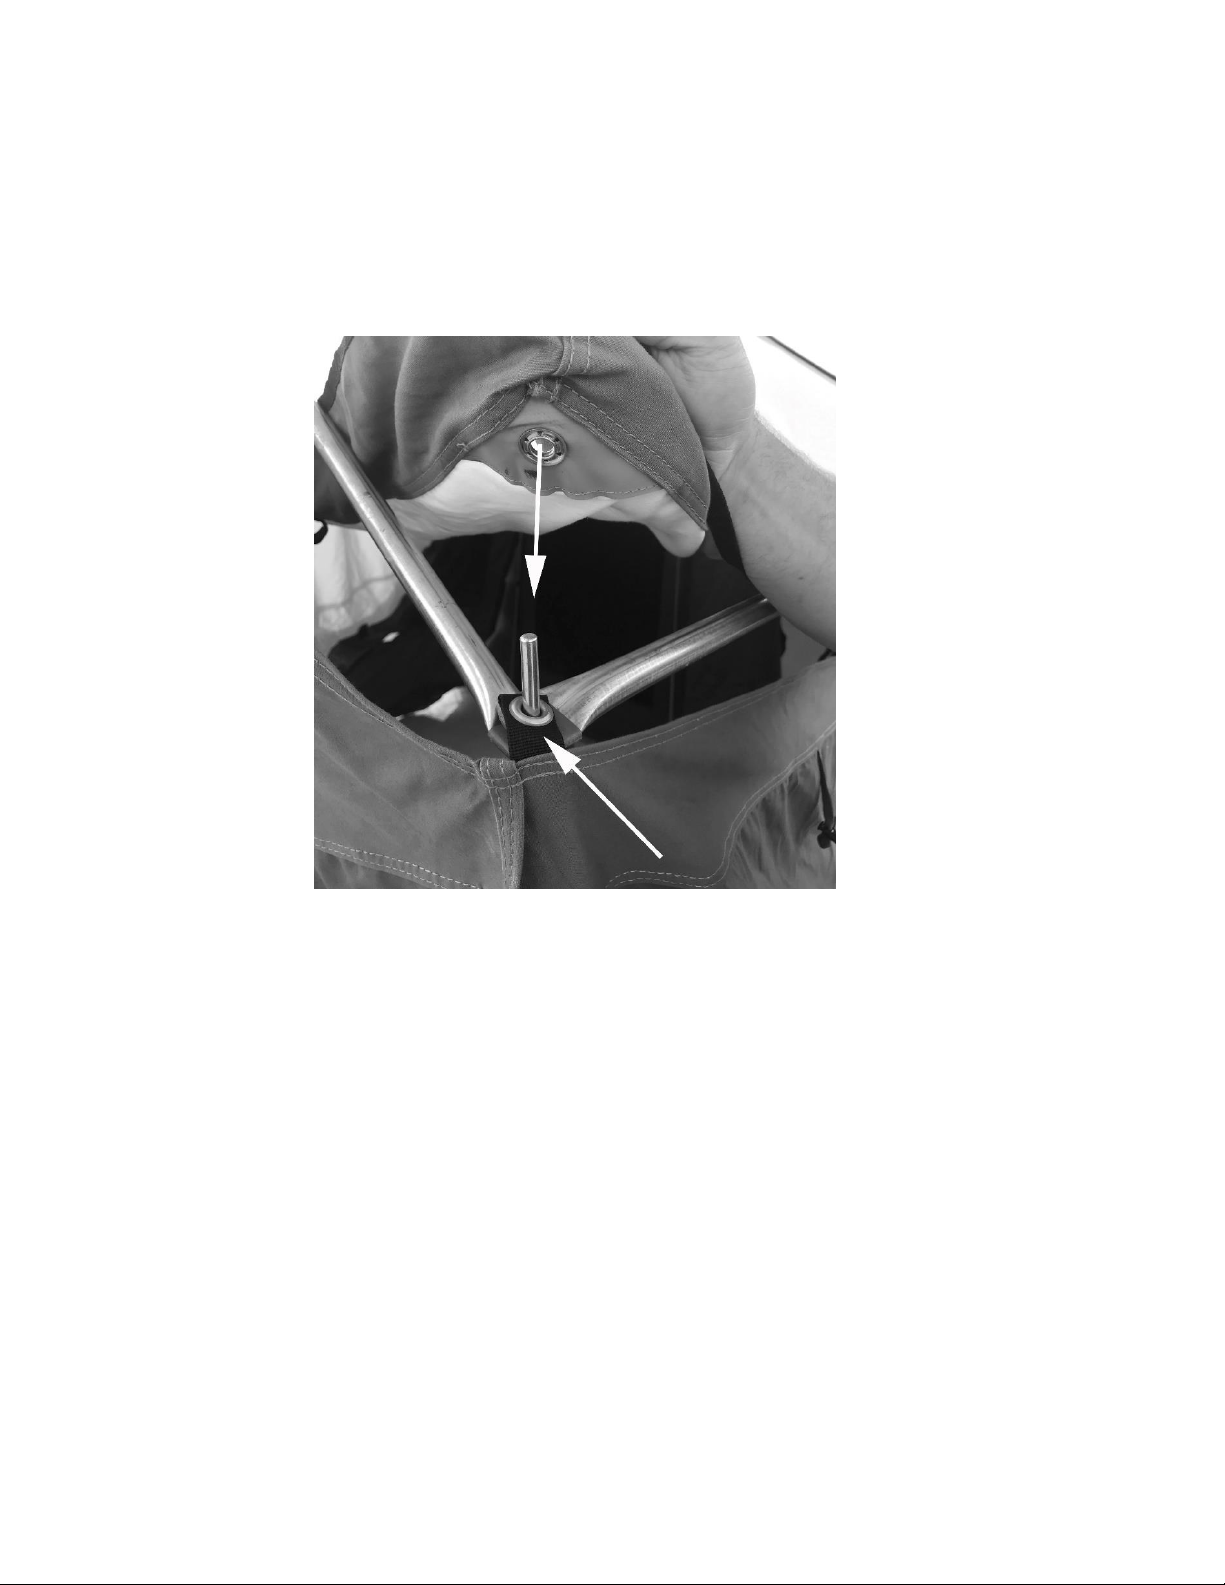
the tent air out inside. Collapse the tent and remove all the poles. It is important to support poles, and
not let them fall to the ground until they are disconnected from other poles. This can prevent the
connection tips from bending or breaking. Wrap and neatly store the guy ropes. Tips: 1) This tent has a
lot of guy ropes. Save yourself the frustration of a tangled guy rope mess. Wrap guy ropes and secure with
twist ties, elastics, or zip lock bags.
Care
●
VERY IMPORTANT—Your tent must be completely dry before storage! STORING A WET OR DAMP
TENT, CAN RUIN IT AND VOID THEWARRANTY.
●
To clean tent, hose down with water and wipe with a cloth. Do not use soaps and detergents as they
can damage the water-repellant treatment of the canvas.
●
Do not spray insecticides or bug repellant directly on the canvas. This may damage the water-repellant
treatment.
●
For long-term storage, store in a cool, dry location that is not exposed to direct sunlight.
●
This tent is equipped with quality zippers.Toprolong zipper life,do notgrind the zippers around corners.
If needed, pull the canvas, windows or doors to help zippers glide smoothly. Keep them clean from dirt.
●
The canvas on your tent has a special Hydra-Shield™ treatment that is watertight, yet breathable. You
should rarely, if ever, have to retreat the canvas. If you do need to spot treat the canvas for water
repellency, use a silicone-based repellent such as Kiwi Camp Dry®. Other treatments may clog the
tiny
pores in the canvas eliminating its breathability.
●
Winter camping can be an enjoyable experience in a Kodiak Canvas tent. However, this tent is not
designed to withstand heavysnow accumulations for extended periods of time. The tent will need to
be cleared of snow multiple times a day during heavy snowfall.
© Kodiak Canvas. Layton, UT USA Made in China
Table of contents
Other Kodiak Accessories manuals