Table of Contents
Safety Instructions.............................................................................................................................3
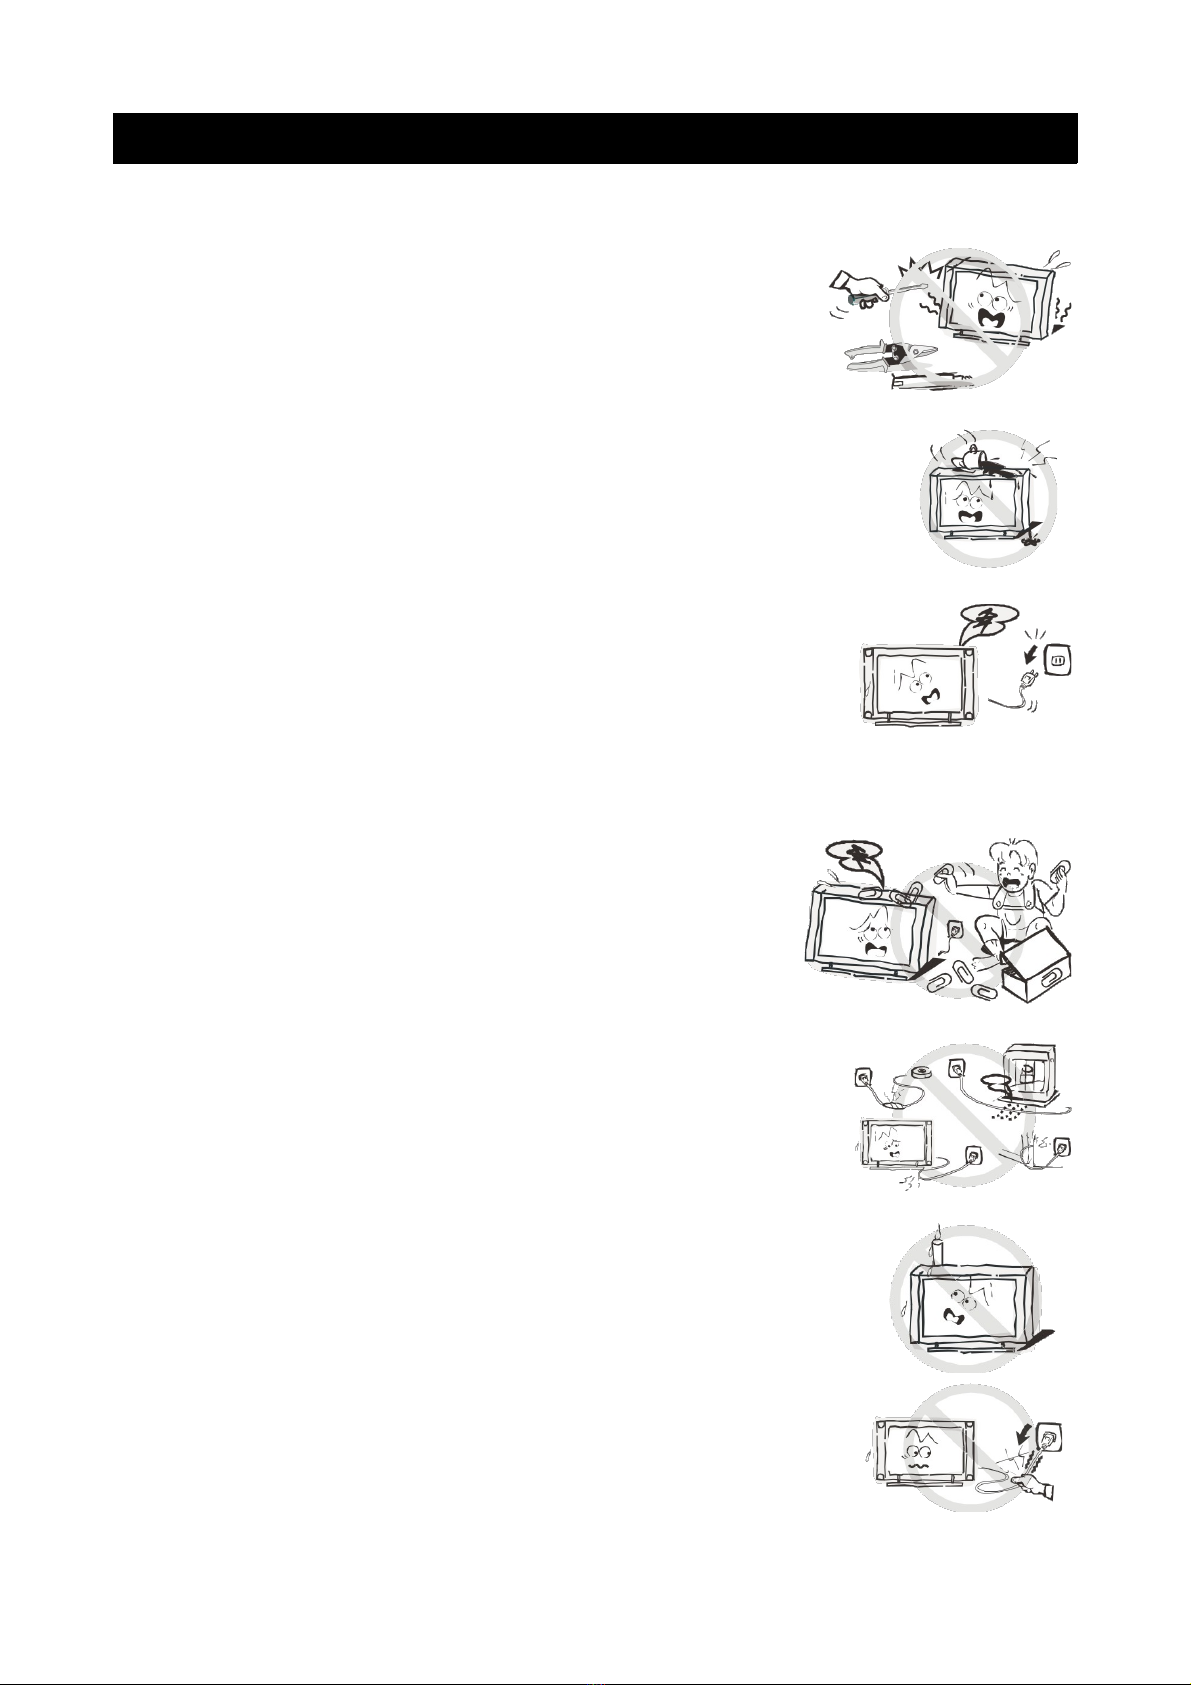
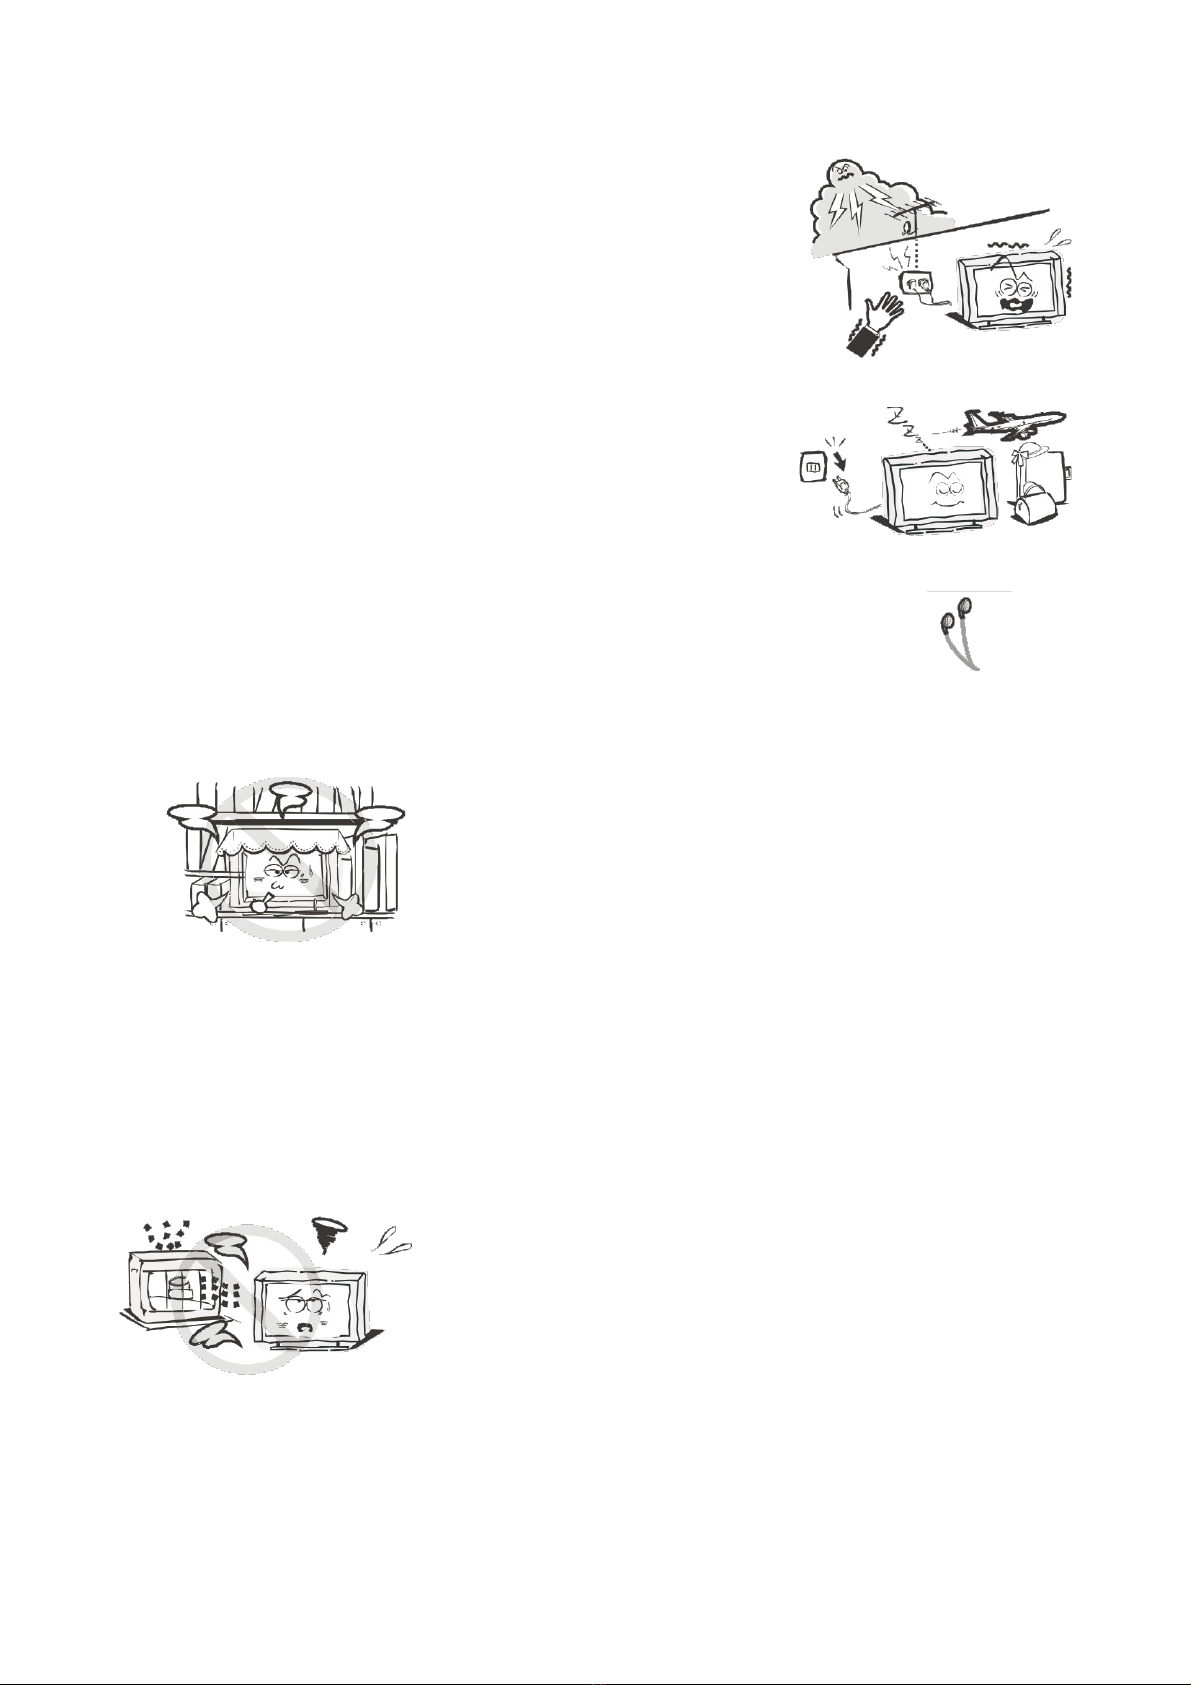
General Safety Instructions.......................................................................................................3
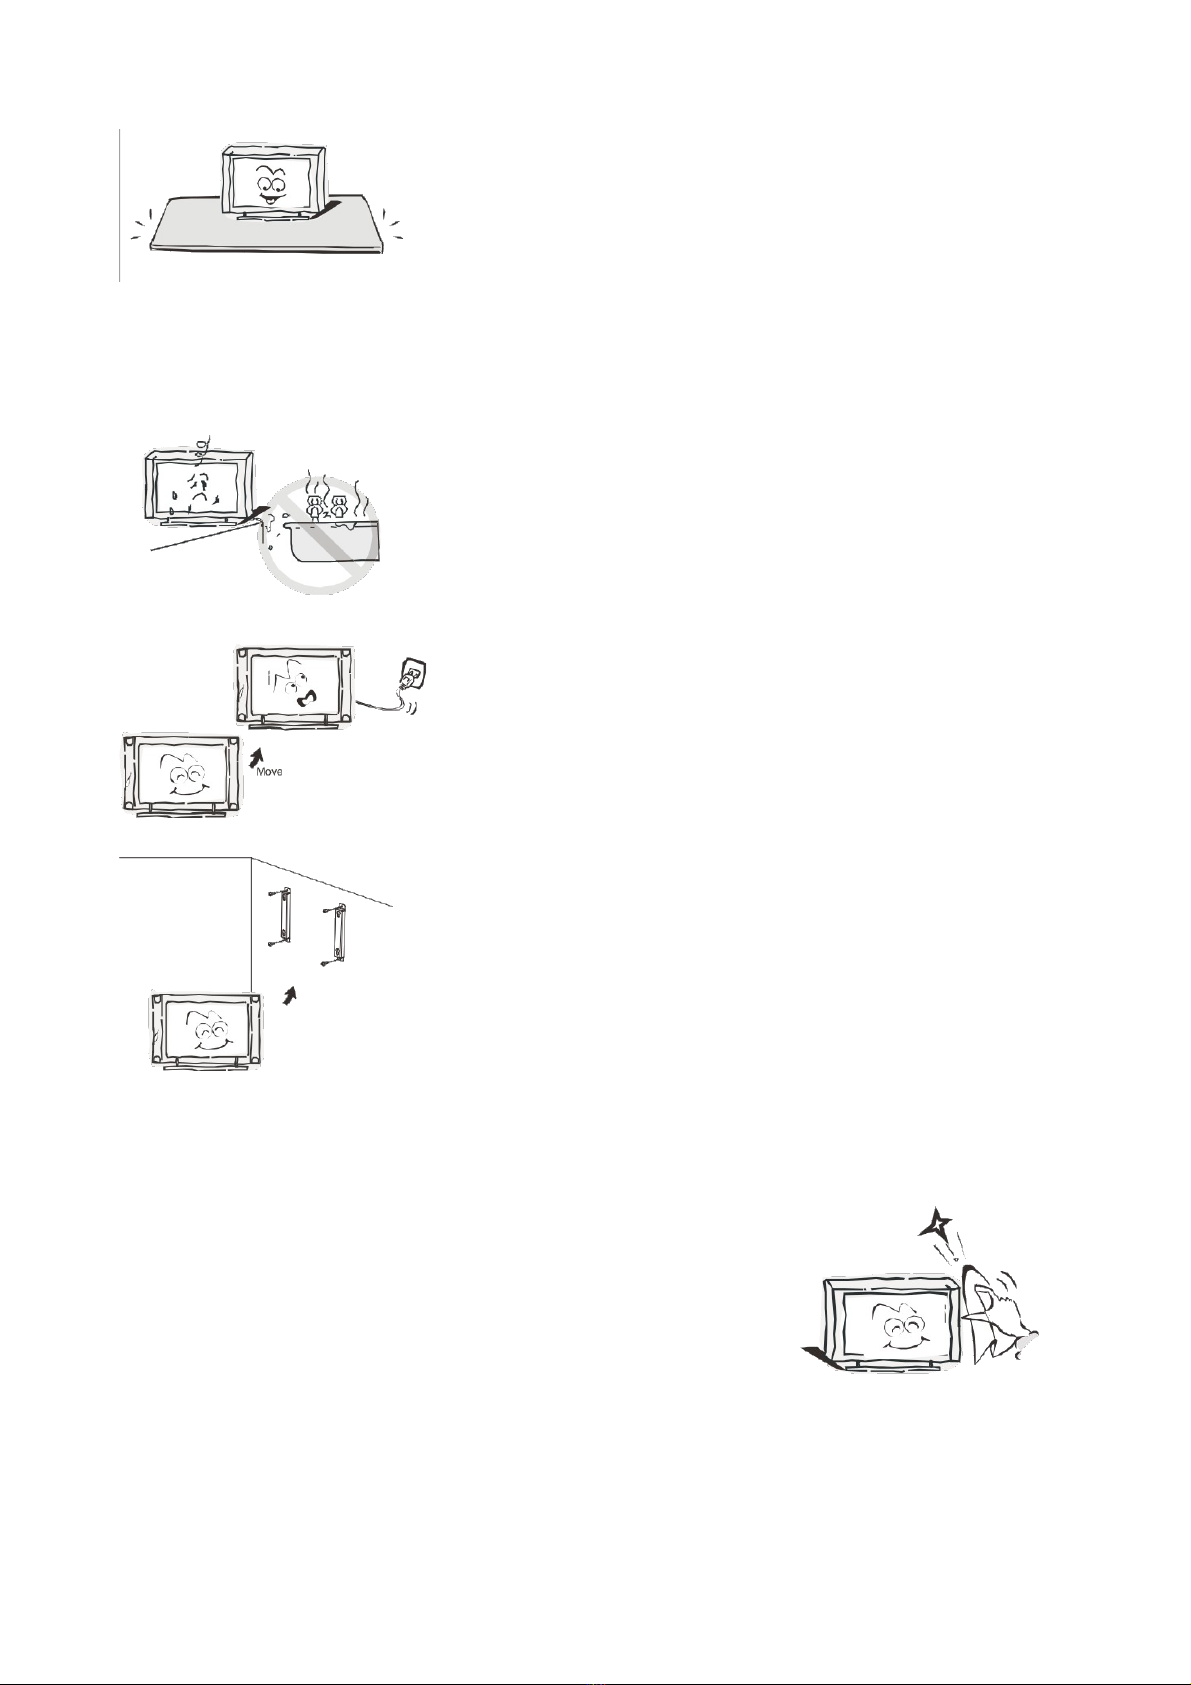
Installation........................................................................................................................................4
Cleaning............................................................................................................................................5
Specifications & Accessories........................................................................................................6
Specifications.................................................................................................................................6
Accessories......................................................................................................................................6
Buttons and Terminal Interface...................................................................................................
TV Buttons.......................................................................................................................................
Terminal Interface.........................................................................................................................
Installation of TV................................................................................................................................
TV placement..................................................................................................................................
Connect antenna and power....................................................................................................
Turn on the TV...............................................................................................................................
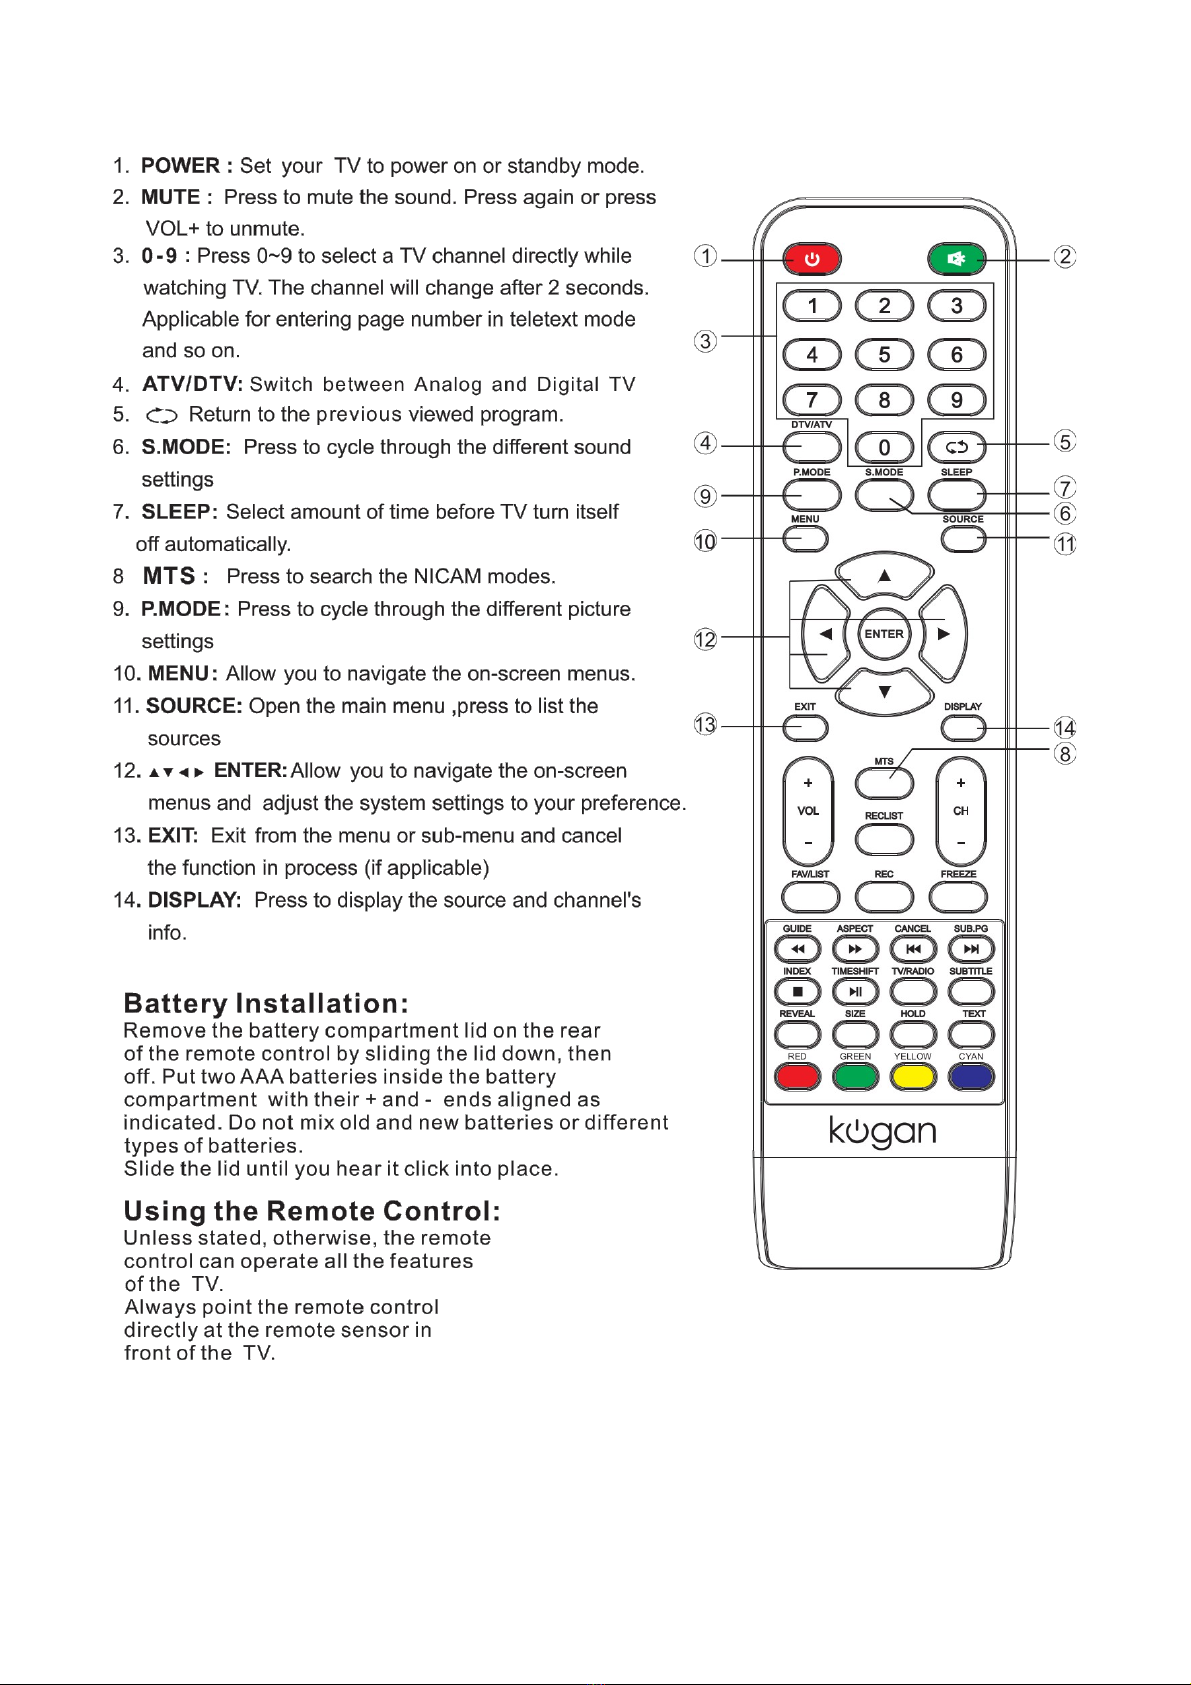
Remote Control.............................................................................................................................8
TV Menu...............................................................................................................................................10
Input Source..................................................................................................................................10
Picture Menu.................................................................................................................................10
Picture MODE...............................................................................................................................10
Brightness/Contrast/Sharpness/Saturation/Hue.....................................................10
Color Temp.................................................................................................................................11
Aspect Ratio..............................................................................................................................11
PC Setting...................................................................................................................................11
Advanced Settings..................................................................................................................11
Sound Menu....................................................................................................................................11
Sound MODE.................................................................................................................................12
Treble/Bass/Balance.............................................................................................................12
Surround Sound......................................................................................................................12
EQ Setting..................................................................................................................................12
AVL...............................................................................................................................................12
SPDIF...........................................................................................................................................12
Audio Description...................................................................................................................12
Sound Type...............................................................................................................................12
Channel Menu................................................................................................................................12
Auto Scan...................................................................................................................................13
Manual Scan..............................................................................................................................13
Digital Manual Scan................................................................................................................13
Analog Manual Scan..............................................................................................................13
Channel Edit..............................................................................................................................13
Signal Information..................................................................................................................14
Lock System..................................................................................................................................14
Channel Locks..........................................................................................................................14
Parental Rating........................................................................................................................14
Lock Keypad.............................................................................................................................14
New Password.........................................................................................................................14
SETUP MENU.................................................................................................................................15
1