6
Cuisson du riz
■ Vous pouvez cuire du riz dans le panier vapeur interne pour accompagner tous vos plats. Pour cela,
placez 0,7 l d’eau dans le bol sans accessoire. Recouvrez le panier vapeur interne d’un papier sulfurisé,
et ajoutez 300 ml d’eau avec 3 pincées de sel.
■ Ajoutez le riz et mélangez avec la spatule. Placez le panier vapeur interne dans le bol et fermez le
couvercle. Lancez le programme vapeur P1 pour 25 minutes. En fin de cuisson, égrainez le riz à la
fourchette et gardez le couvercle fermé jusqu’au moment de servir pour le maintenir au chaud.
Cuisson des œufs
■ Utilisez le panier vapeur interne pour cuire vos œufs en coquille et accompagner vos entrées. Pour cela,
placez 0,7 l d’eau dans le bol sans accessoire et lancez le programme vapeur P1 pendant 10 minutes.
Disposez vos œufs dans le panier vapeur interne et placez le panier vapeur interne dans le bol. Lancez
le programme P1 à nouveau en ajustant le temps selon le type de cuisson souhaitée. à la fin du temps
de cuisson, plongez les œufs dans l’eau froide (pour les œufs mollets ou œufs durs) ou dégustez
immédiatemment pour les œufs à la coque.
Cuisson des fruits
Cuisson des crèmes desserts
■ Réalisez vos desserts en verrines grâce au panier vapeur externe pour une cuisson douce et rapide. Pour
cela, placez 0,7 l d’eau dans le bol sans accessoire. Placez vos verrines remplies aux ¾ dans le panier
vapeur externe puis refermez avec le couvercle. Lancez le programme vapeur P2 pour 20 minutes, puis
Aliments Type Quantités Temps de cuisson et
programme Recommandations
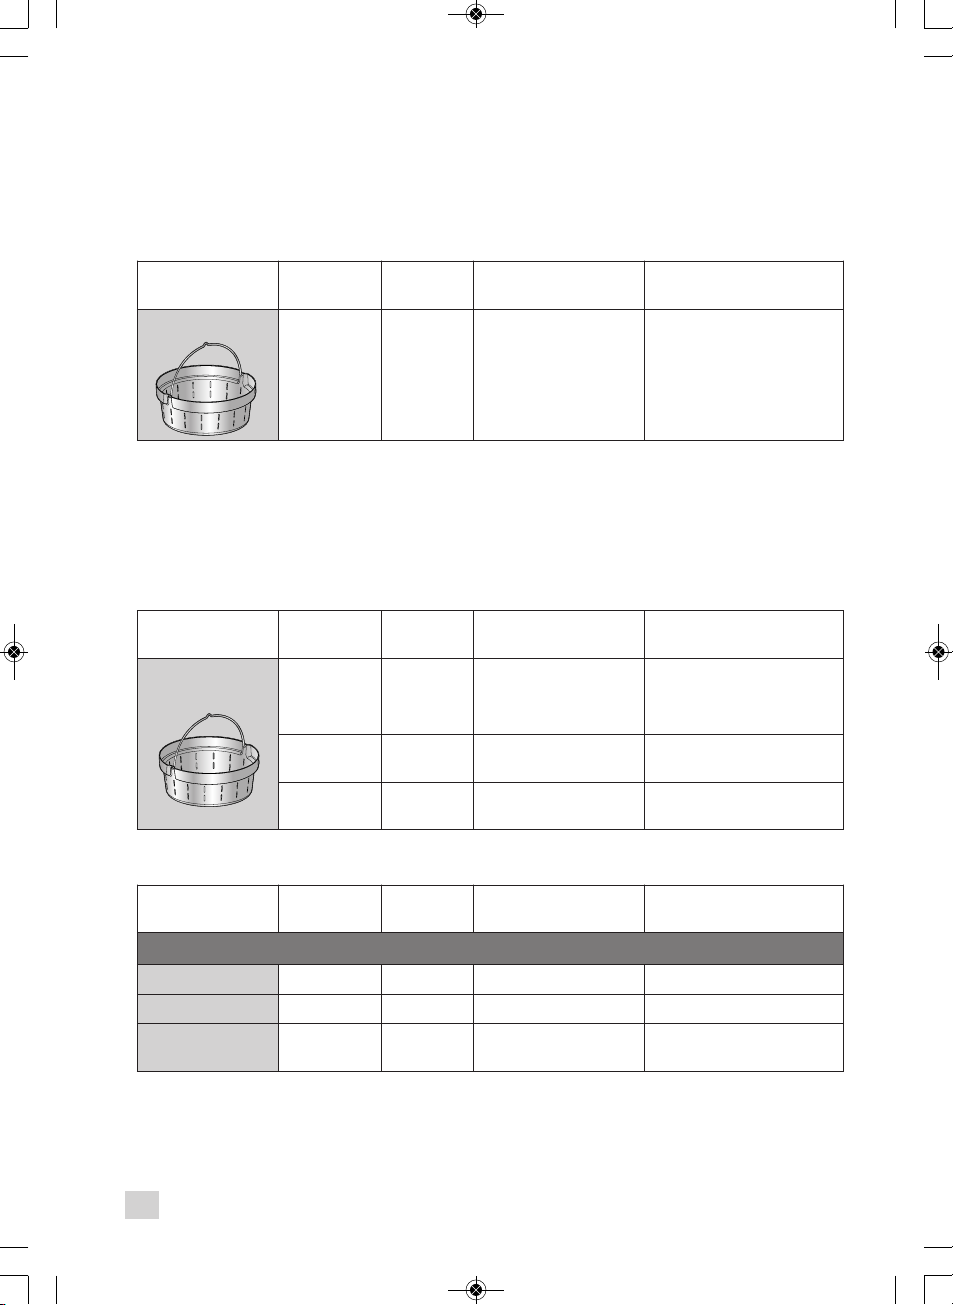
Riz
Basmati 300 g 25 min Papier cuisson
Aliments Type Quantités Temps de cuisson et
programme Recommandations
œ ufs
Durs 8 10 min / P1 Plonger dans l’eau froide
après cuisson
Mollets 8 5 min 30 s -6 min / P1
selon taille
Plonger dans l’eau froide
après cuisson
à la coque 8 3 min -3 min 30 s / P1
selon taille Déguster immédiatement
Aliments Type Quantités Temps de cuisson et
programme Recommandations
Fruits
Poires Fraîches 6 pcs 25 min / P2 Type “Comice” en quartiers
Bananes Fraîches 6 pcs 20 min / P2 Entières
Pommes Fraîches 6 pcs 18 min / P2 + 10 min
en maintien au chaud
Type “Royal Gala”
en quartiers