7
6
EnglishEnglishDeutsch
Hinweis:
Sollte sich eine Brotscheibe im Röstschacht verklemmt haben, Netzstecker ziehen, Gerät
abkühlen lassen und dann die Toastscheibe vorsichtig lösen ohne die Heizelemente zu
berühren.
ZUSÄTZLICHE AUSSTATTUNG
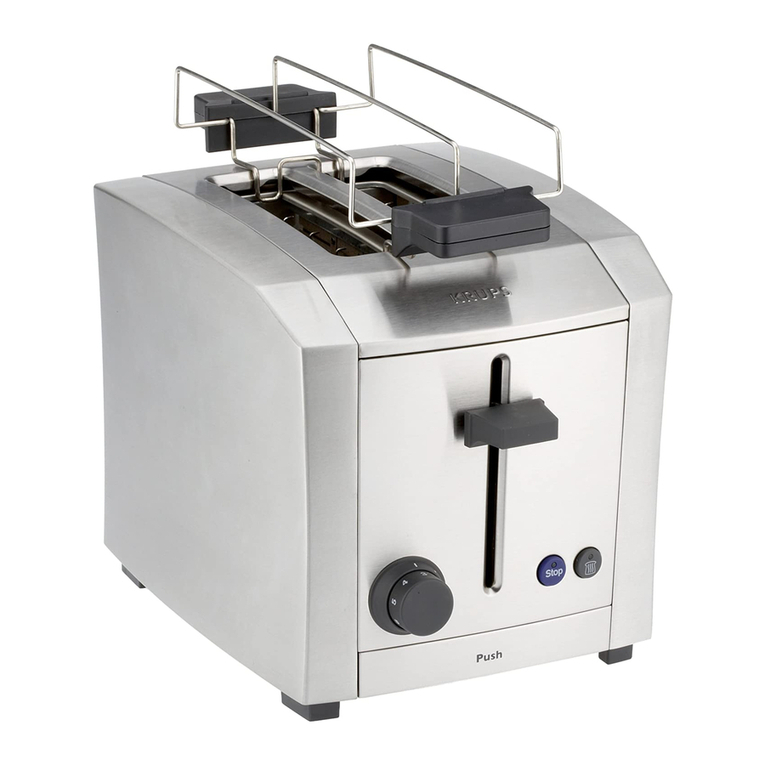
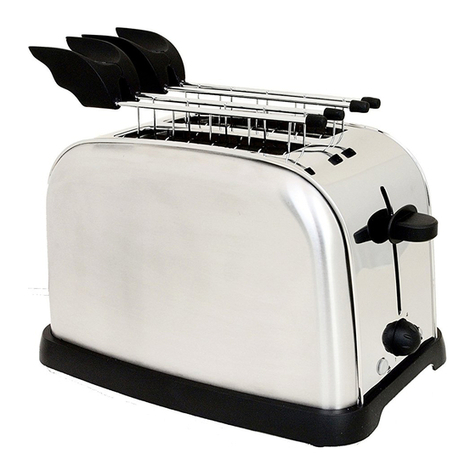
Brötchenlift
nRichten Sie die beiden Metallbügel auf, indem Sie die beiden Griffe des Brötchenlifts nach oben
schwenken (7).
nBrötchen auflegen und Röstgrad einstellen . Gerät einschalten (8).
nAchten Sie bei Benutzung der Brötchenaufwärmfunktion darauf, dass die Brötchen und der
Brötchenaufsatz in der richtigen Position sind (9).
n Die Backwaren zum Aufwärmen nicht direkt auf den Toaster legen (10), sondern immer
den Brötchenaufsatz benutzen.
nNicht zu viele Brötchen auf den Aufsatz legen (11).
Um ein besseres Ergebnis zu erhalten, empfiehlt es sich, die Brötchen umzudrehen und den
Toastvorgang zu wiederholen.
Nach Gebrauch den Brötchenlift absenken, indem Sie die beiden Griffe wieder nach unten schwenken.
Der Brötchenlift sollte nicht länger als 10 Minuten benutzt werden.
REINIGEN
nVor der Reinigung Netzstecker ziehen.
Gerät nicht ins Wasser tauchen.
nDen Toaster nie mit einem rauen Schwamm reinigen. Reinigen Sie den Toaster zuerst mit einem
feuchten Tuch und trocknen Sie ihn dann mit einem weichen Tuch ab, um den Glanz zu erhalten.
nToastreste regelmäßig entfernen.
nVor dem Herausziehen der Krümelschublade den Toaster mindestens 10 Minuten, nach
Beendigung des letzten Toastvorgangs, abkühlen lassen.
nKrümelschublade herausziehen und Krümel ausschütten (12).
nMit einem feuchten Tuch reinigen. Krümelschublade wieder einsetzen.
nDen Toaster nie ohne Krümelschublade benutzen.
ENTSORGUNG
Die Verpackung besteht ausschließlich aus umweltfreundlichen Materialien, die den örtlichen
Recyclestellen übergeben werden sollten. Entsorgungsmöglichkeiten für das ausgediente Gerät
erfahren Sie bei Ihrer Gemeinde bzw. Stadtverwaltung.
Denken Sie an den Schutz der Umwelt!
Ihr Gerät enthält zahlreiche wiederverwertbare oder recycelbare Materialien.
Entsorgen Sie Ihr Gerät deshalb umweltgerecht bei einer Sammelstelle Ihrer Stadt oder
Gemeinde.
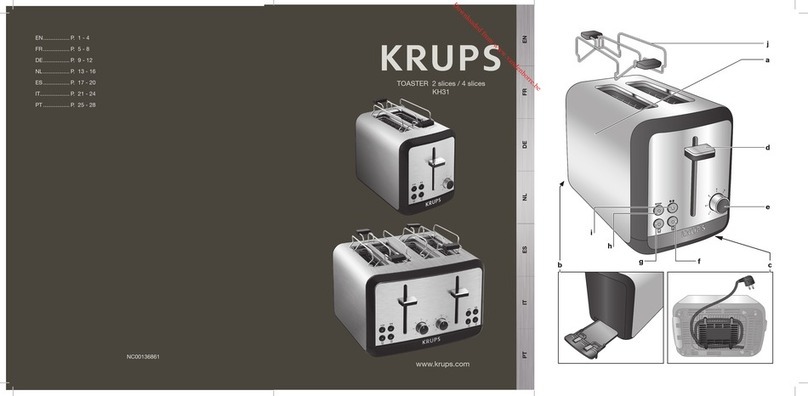
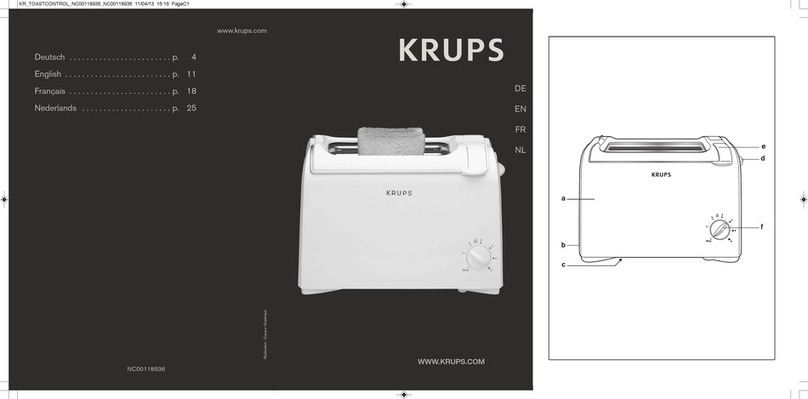
The toaster is a Krups quality product. The heat-insulated casing makes for increased safety during use.
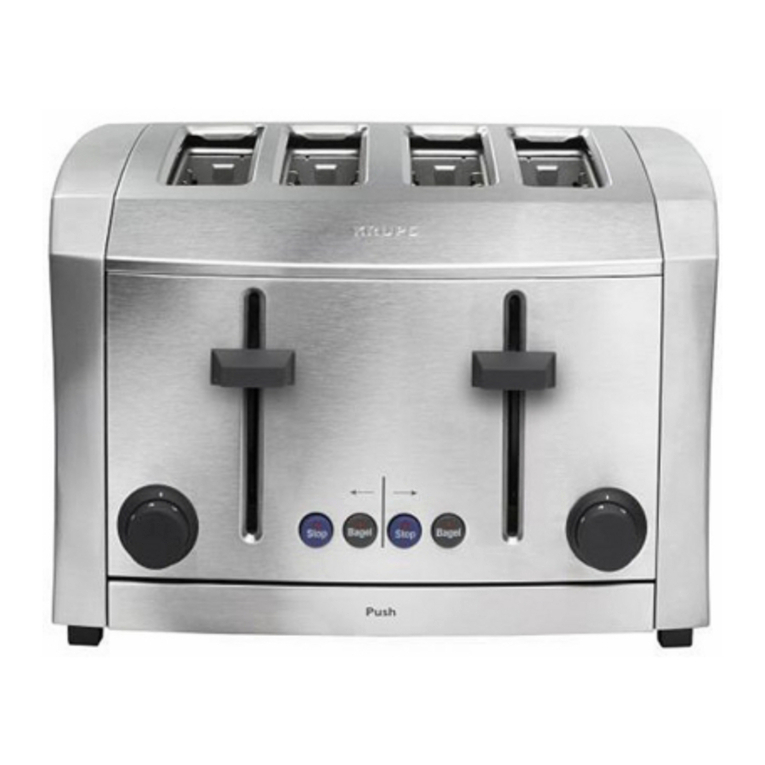
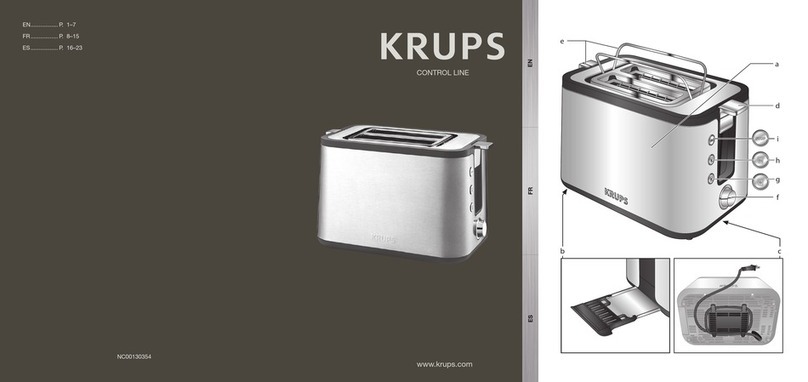
DESCRIPTION
aHeat insulated casing
bCrumb drawer
cFlex storage spool
dLowering lever
eSupport for bread rolls
fToasting regulator
CONNECTING THE APPLIANCE
nUse just the right length of flex and store the unnecessary part on the spool in the storage recess
underneath the appliance. Lead the flex out at the side of the appliance and plug in at the mains (1).
UPON FIRST USING THE TOASTER
nIn order to remove any possible remains from the manufacturing operation, the toaster should, before
being used for the first lot of toast, be heated up 1 to 2 times to the highest toasting temperature,
without any bread in the toasting well (ventilate the room).
USING THE TOASTER
nInsert the slices of bread (2).
Do not use slices which are too large or too thick, as they must not be allowed to stick in the toasting
well.
nSelecting the degree of toasting (3).
nChoose between 6 different degrees of browning by setting the selector to the appropriate position:
Position 1 = lightly toasted
Position 6 = very well toasted
nWhen first using, try out the toasting setting, as the result depends upon the type of bread and the
degree of moisture.
Generally speaking, a higher temperature is required for breads other than white. Turn the toasting
grade selector to a lower number if, for example, only one slice of bread is being toasted.
Caution:
Relatively dry slices of bread, or bread that has already been toasted once, will brown much
more quickly and may under certain circumstances catch fire. Therefore set the heat control to
a lower setting and do not leave the toaster unattended.
TOASTING
nFully depress the lowering lever, which will then lock into position (4).
This then causes the appliance to switch on.
TAKING OUT THE TOAST
nAfter completion of the toasting operation, the toast will automatically be raised and the appliance will
switch itself off (5).
nTake out the slices of toast.
To break off the toasting operation before it is completed, simply press the lowering lever upwards or
turn the toasting regulator on “stop” position (6).
Note:
Should a slice of bread become trapped in the toasting well, pull out the mains plug, let the
appliance cool down and then carefully free the toast without touching the heating elements.
