KS Kingston Light User manual

KINGSTON LIGHT
PORTABLE SOUND SYSTEM
USER MANUAL
Your product and batteries must be recycled or disposed of properly. Please contact your local
recycling centre for more information on proper disposal.
All trademarks are acknowledged as the property of their respective owners. Unless otherwise stated their use
does not imply that the trademark owner is aliated with KitSound or endorses the products herein.
JB. 4240 / Made in China. © KitSound™ 2015. Christchurch, Dorset, BH23 4FL, UK
BLUETOOTH
COnnECTiviTy

We are craftspeople. We are musicians. We are KitSound™
And we all commit ourselves to achieving one shared goal:
Bringing people closer to their music. By truly understanding
music we stay true to its craft. Pure, rich, incredible sound.
We’ll settle for nothing less.

At KS we believe your music deserves to be showcased on great
quality products that don’t cost the earth. We might not all share
the same taste in music (the ferocious disputes on music forums
prove that), but whether it’s Irish folk, death metal or any number
of obscure genres which seem to be multiplying by the minute, the
artists responsible for connecting with you through their craft have
bared their souls to do so. And we think that’s worth celebrating.

6 7
Please read this manual carefully before use.
Box contents
• KS Kingston Light portable sound system
• 2 x power cable ( UK and EU )
• 3.5 mm aux-in cable
•User manual
Functions
1. ¼"microphone jack
2. Microphone volume control
3. Aux-in port
4. Disconnect button
5. Master volume
6. Battery level LED indicator
7. USB charge input
8. ‘On’ LED indicator
9. FM ON/OFF switch
10. FM radio screen
11. Volume down/previous
12. Search
13. Volume up/next
14. Mute
15. Charge light
16. ON/OFF switch
17. Power cable input
18. AC adaptor fuse
19. Bluetooth LED indicator
20. Stand base
BT-LED
AUX-IN
5 V DC @ 1.2 A
VOL –
123457 8 11 1312 146
19 9
10
AC 240 V 50/60 Hz
1615
17
18
Instructions for use
Charging the speaker
It is recommended that you give the speaker a full charge before its rst use.
1. Plug the power cable into the power cable input (17)
2. Insert the plug into a mains socket
3. The Charge light (15) will be solid green whilst charging
4. When charging is complete, the green light will go out
Note: It may take up to 4 hours before the speaker is fully charged. Please allow up to 6 hours for the rst charge.
Battery Level
– The battery LED indicator (6) will inform you of how much battery you have left whilst not on charge
– The battery level will dier depending on how loudly you are playing this speaker
Getting started
1. To turn the speaker on press the On/O switch (16) to On
2. To turn the speaker o press the On/O switch (16) to O
3. Whilst the speaker is turned on, the ‘On’ LED indicator (8) will be solid blue
Pairing the speaker to your device
Before you can use the speaker via Bluetooth, it will need to be paired to your device. To do this:
1. Turn your device and the speaker on
2. The speaker will automatically enter pairing mode, and the Bluetooth indicator light will be ashing blue quickly
3. Turn your device’s Bluetooth ON and search for new devices
4. When the ‘KS Kingston Light’ appears in the list, select it and if asked for a passcode, enter ‘0000’
5. The speaker should then be paired to your device. Once paired the Bluetooth LED (19) will be a solid blue
Note: To re-activate pairing mode, either turn the speaker o then on again, or press the Disconnect button (4) and the light will start ashing again.
– To pair additional devices to the speaker, rst make sure the Bluetooth on any devices that have already been paired to the speaker is turned o
– Then follow the above instructions from step 1
20

8 9
35 mm speaker stands
(not included)
Playing music on your speaker
Bluetooth setup
When connected to the speaker via Bluetooth, simply nd and play the music on your device and the sound will play through the speaker. Some devices may require
you to select the audio output. You should be able to do this by going to the ‘Listen via’ or ‘Play via’ menu. If unsure, please refer to your device’s manual.
To change track please use your device. To control the volume either use your device or;
• Turn the Master volume (5) clockwise to increase the volume
• Turn the Master volume (5) anti-clockwise to decrease the volume
Auxiliary
Using the provided cable, you can connect your device directly to the speaker. To use this, simply plug the cable into the speaker’s aux-in port (3) and your device, and
then press play on your device. You will need to use your device to change track, and you can change volume either on your device, or as above.
FM radio
To use FM radio please do the following:
1. Turn the device on
2. Slide the FM On/O button (9) to on
3. The FM radio screen (10) will now turn on
4. Extend the aerial
5. Click Search (12) and the Kingston Light will automatically scan all available channels
6. To change station short press Volume down/previous (11) or Volume up/next (13) until you nd your desired station
7. Click Mute (14) to mute the radio
8. To increase volume long press Volume up/next (13)
9. To decrease volume long press Volume down/previous (11)
10. To increase volume further turn the Master volume (5) clockwise
11. To decrease volume further turn the Master volume (5) anti-clockwise
Note: You can play music via Bluetooth, auxiliary and radio at the same time, perfect if you want to mix your music.
Please note: Your device will have an internal amplier and if it is playing digital les like MP3s it will also have an integrated DAC (Digital Audio Converter). If you turn
the volume up to 100%, your device will be sending a distorted signal. To avoid this, and to get the best quality from the speaker, we recommend that you do not run
your device any higher than 95% volume. Some devices output higher than others, so you may need to reduce the volume if you experience distortion.
Microphone
To use a microphone please do the following:
1. Insert the microphone jack into the ¼" microphone jack (1)
2. Turn the Microphone volume control (2) clockwise to increase the volume
3. Turn the Microphone volume control (2) anti-clockwise to decrease the volume
USB charging
– To charge your device through USB, turn the device on and insert the USB into the USB input (7)
– Insert other side of cable into your device and it will automatically charge
Using speaker stands
– If you want to use speaker stands with the Kingston Light, please make sure the pole diameter is
35 mm Simply insert the speaker stand pole into the Kingston Light’s stand base (20)
Care for your Kingston Light
Please DON’T:
• Get the Kingston Light wet
• Drop the Kingston Light as this will invalidate your warranty
• Open up the Kingston Light. There are no user serviceable parts inside
• Expose the Kingston Light to extreme temperatures or rapid changes of hot to cold or vice versa
Please DO:
• Clean the Kingston Light with a soft dry cloth and no detergents
[continued...]

10 11
Specications
S/N 80 dB
Bluetooth V3 A2DP, AVRCP
Bluetooth range up to 10 m
Battery voltage DC 12 V
Battery Capacity 5 Amp-Hours
Frequency response 55 Hz – 20 kHz
Drivers 8"
Output RMS 25 W
Play time up to 5 hours @ 50% volume
Charging time up to 4 hours
Unit size H505 x W370 x D280 (mm) including wheels and handle
We apologise for any inconvenience caused by minor inconsistencies in these instructions, which may occur as a result of product improvement and development.
Troubleshooting
We hope you’ve now got all the information you need to get started, but if you’re having problems with anything, please feel free to contact us at: [email protected]
The use and operation of this speaker is beyond our control. Warranty of the Kingston Light is limited to defects caused by faulty manufacture or defects in materials
only. No warranty whatsoever is given or implied for damage caused by the user under any circumstances.
This does not aect your statutory rights.
Please do not attempt to open this product. There are no user serviceable parts inside, in particular if your product has an embedded, non-replaceable battery.
Warranty
Making any attempt to open the product or carry out repair voids any and all warranties.
IMPORTANT SAFETY INSTRUCTIONS
RISK OF ELECTRIC SHOCK
DO NOT OPEN
CAUTION: TO REDUCE THE RISK OF ELECTRIC
SHOCK, DO NOT REMOVE COVER (OR BACK).
THERE ARE NO USER-SERVICEABLE PARTS INSIDE.
REFER SERVICING TO QUALIFIED PERSONNEL.
The lightning ash with arrowhead symbol inside an equilateral triangle is intended to alert the user of the
presence of uninsulated “hazardous voltage” within the product’s enclosure, which may be of sucient
magnitude to induce a risk of electric shock to persons.
The exclamation mark inside an equilateral triangle is intended to alert the user of the presence of
important operating and maintenance (servicing) instructions in the literature accompanying the product.
1. Read these instructions
2. Keep these instructions
3. Heed all warnings
4. Follow all instructions
5. Do not use this apparatus near water
6. Clean only with a dry cloth
7. Do not block any ventilation openings. Install in accordance with the manufacturer’s
instructions
8. Do not install near any heat sources such as radiators, heat registers, stoves, or other
apparatus (including ampliers) that produce heat
9. Do not defeat the safety purpose of the polarized or grounding-type plug. A polarized
plug has two blades with one wider than the other. A grounding type plug has two
blades and a third grounding prong. The wide blade or the third prong are provided
for your safety. If the provided plug does not t into your outlet, consult an electrician
for replacement of the obsolete outlet
10. Protect the power cord from being walked on or pinched particularly at plugs,
convenience receptacles, and the point where they exit from the apparatus
11. Only use attachments/accessories specied by the manufacturer
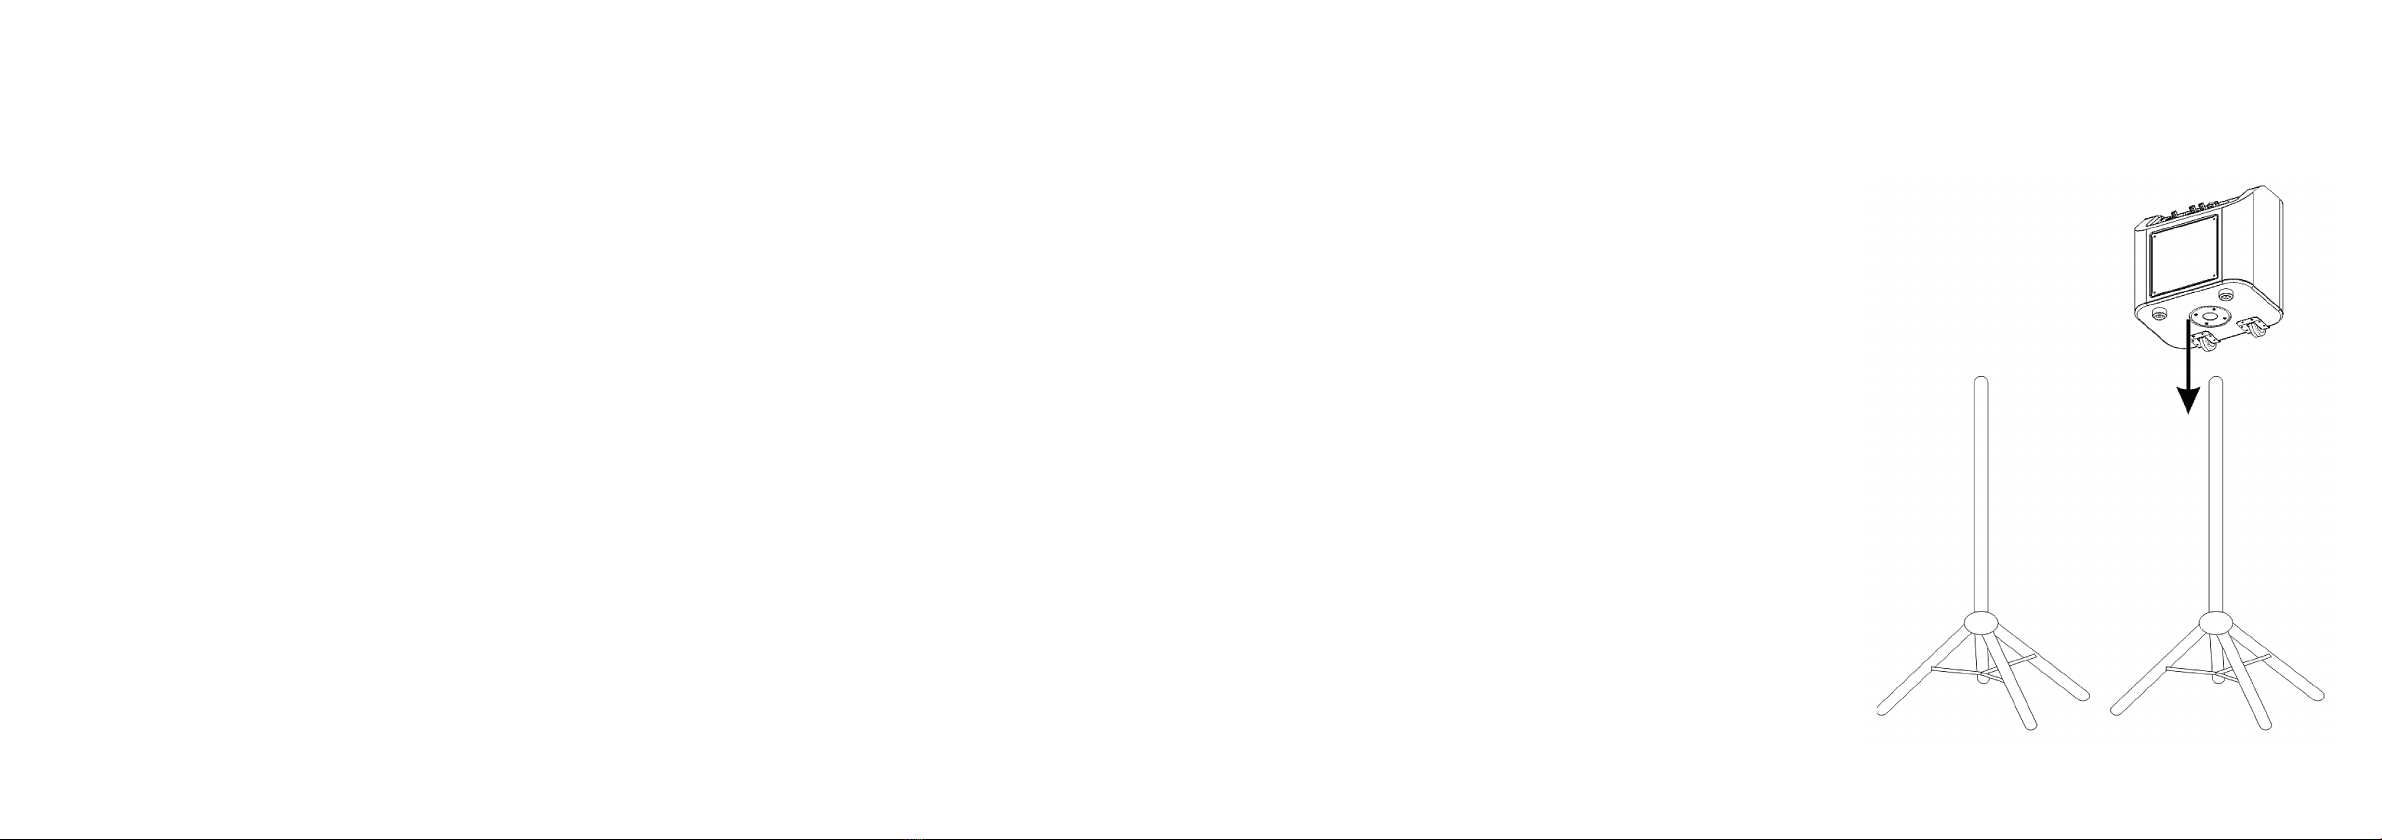
12. Use only with the cart, stand, tripod, bracket, or table specied by the manufacturer,
or sold with the apparatus. When a cart is used, use caution when moving the cart/
apparatus combination to avoid injury from tip-over
13. Unplug this apparatus during lightning storms or when unused for long periods of time
14. Refer all servicing to qualied service personnel. Servicing is required when the
apparatus has been damaged in any way, such as the power-supply cord or plug
is damaged, liquid has been spilled or objects have fallen into the apparatus, the
apparatus has been exposed to rain or moisture, does not operate normally or it has
been dropped
15. The apparatus should not be exposed to dripping or splashing and no objects lled
with liquids, such as vases, should be placed on the apparatus
16. The battery should not be exposed to excessive heat such as sunshine, re or similar
17. The mains plug is used as the disconnect device, which should remain readily operable
18. Do not attempt to access or remove the battery as this may cause personal injury
and will damage the product
Table of contents
Other KS Speakers manuals