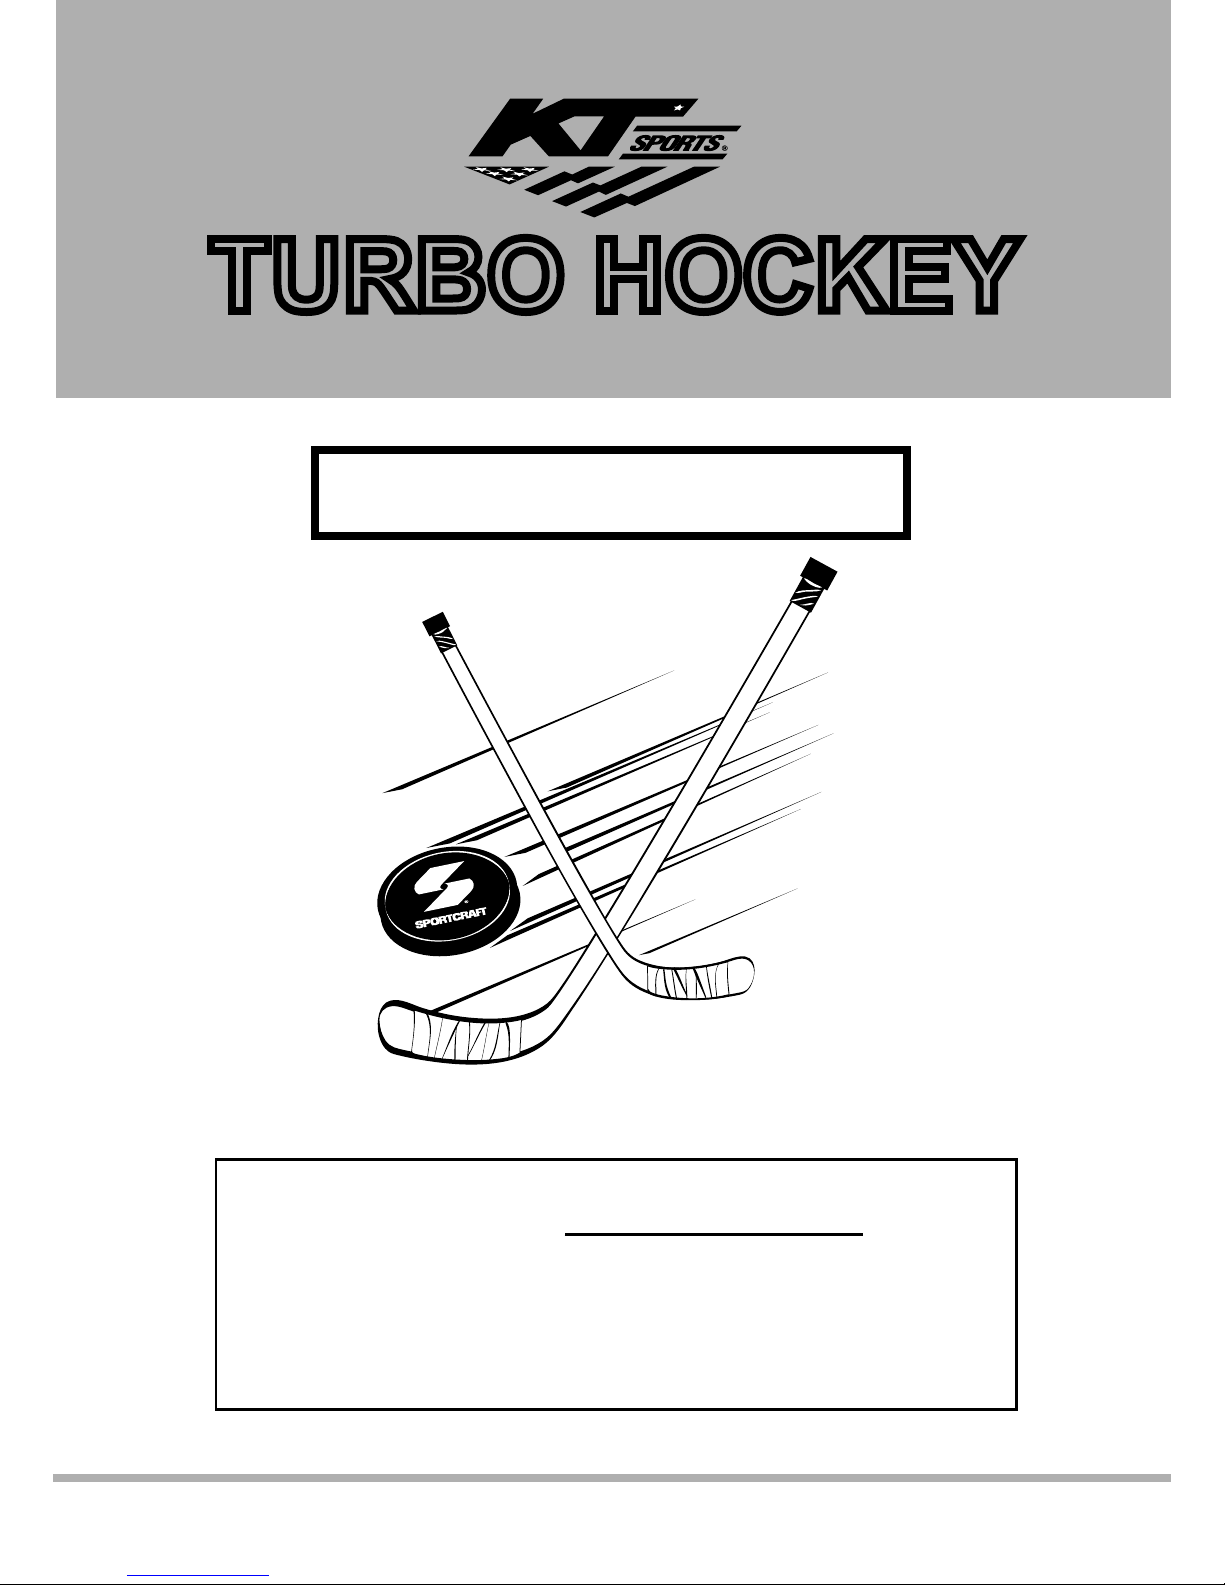
© 2005 K.T. Sports, Ltd.
P. 7
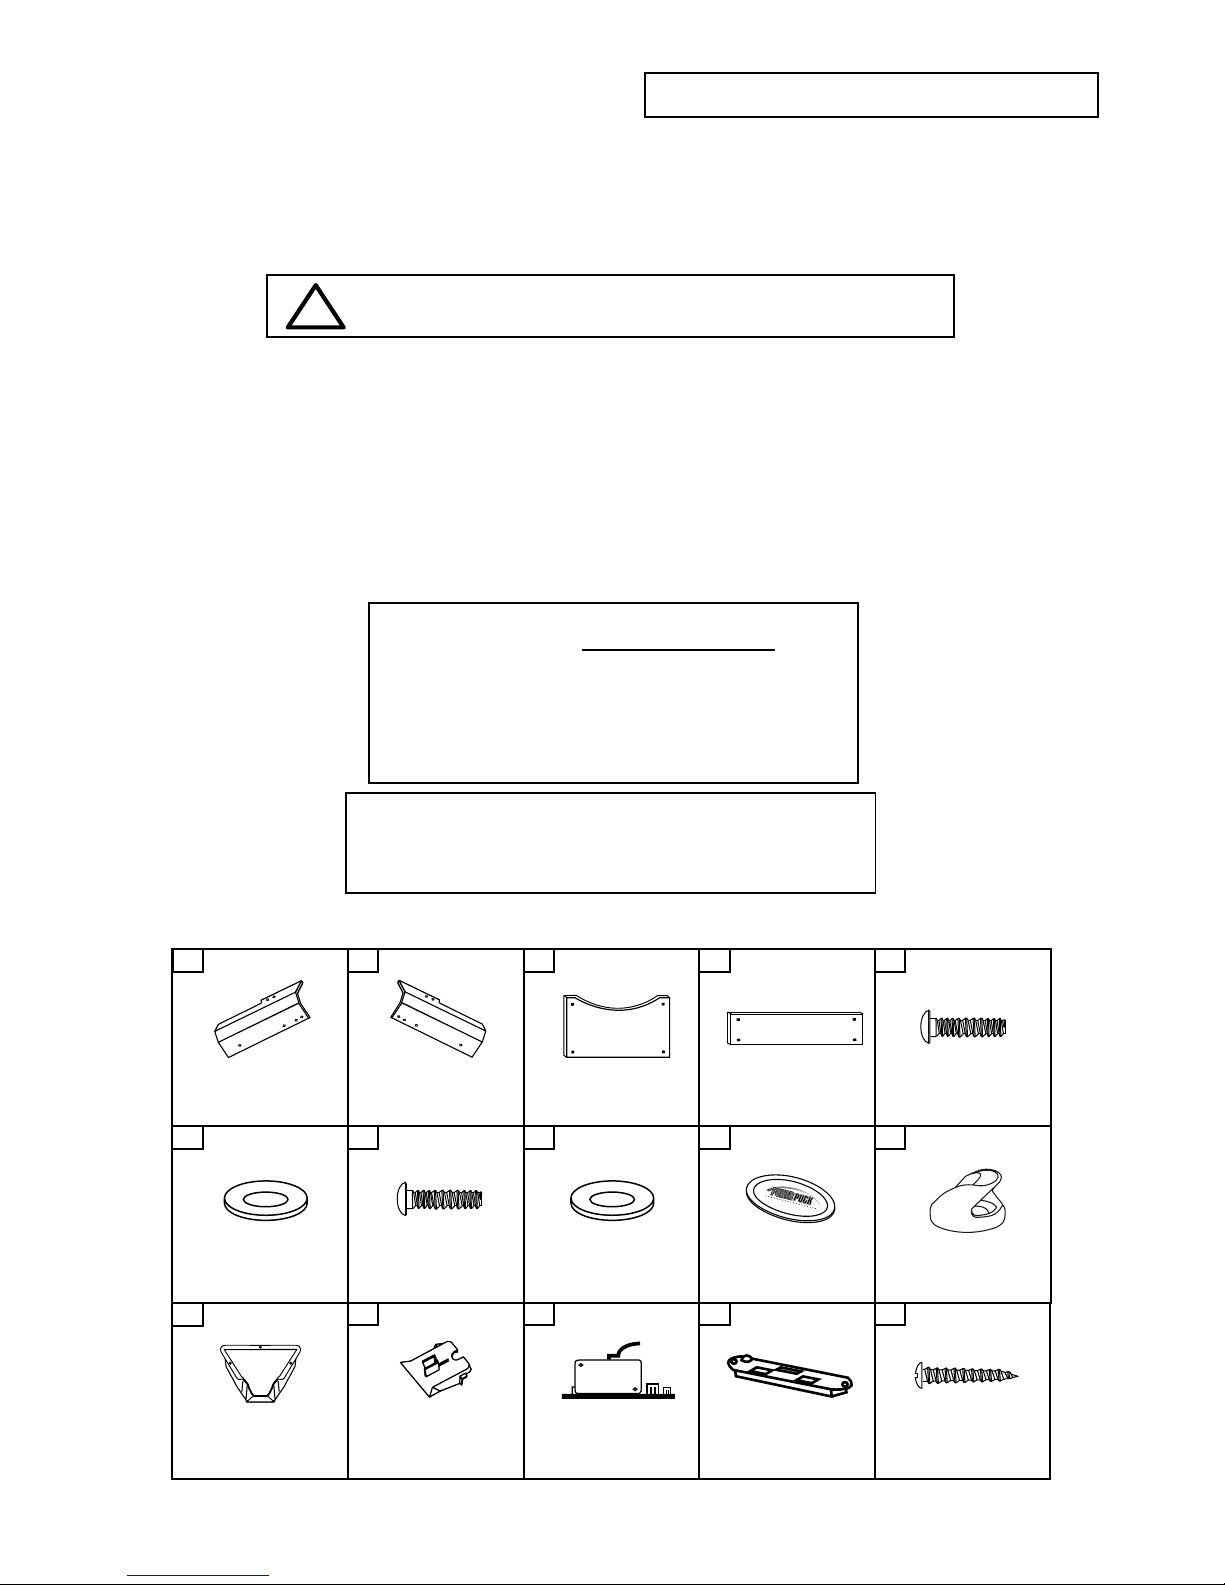
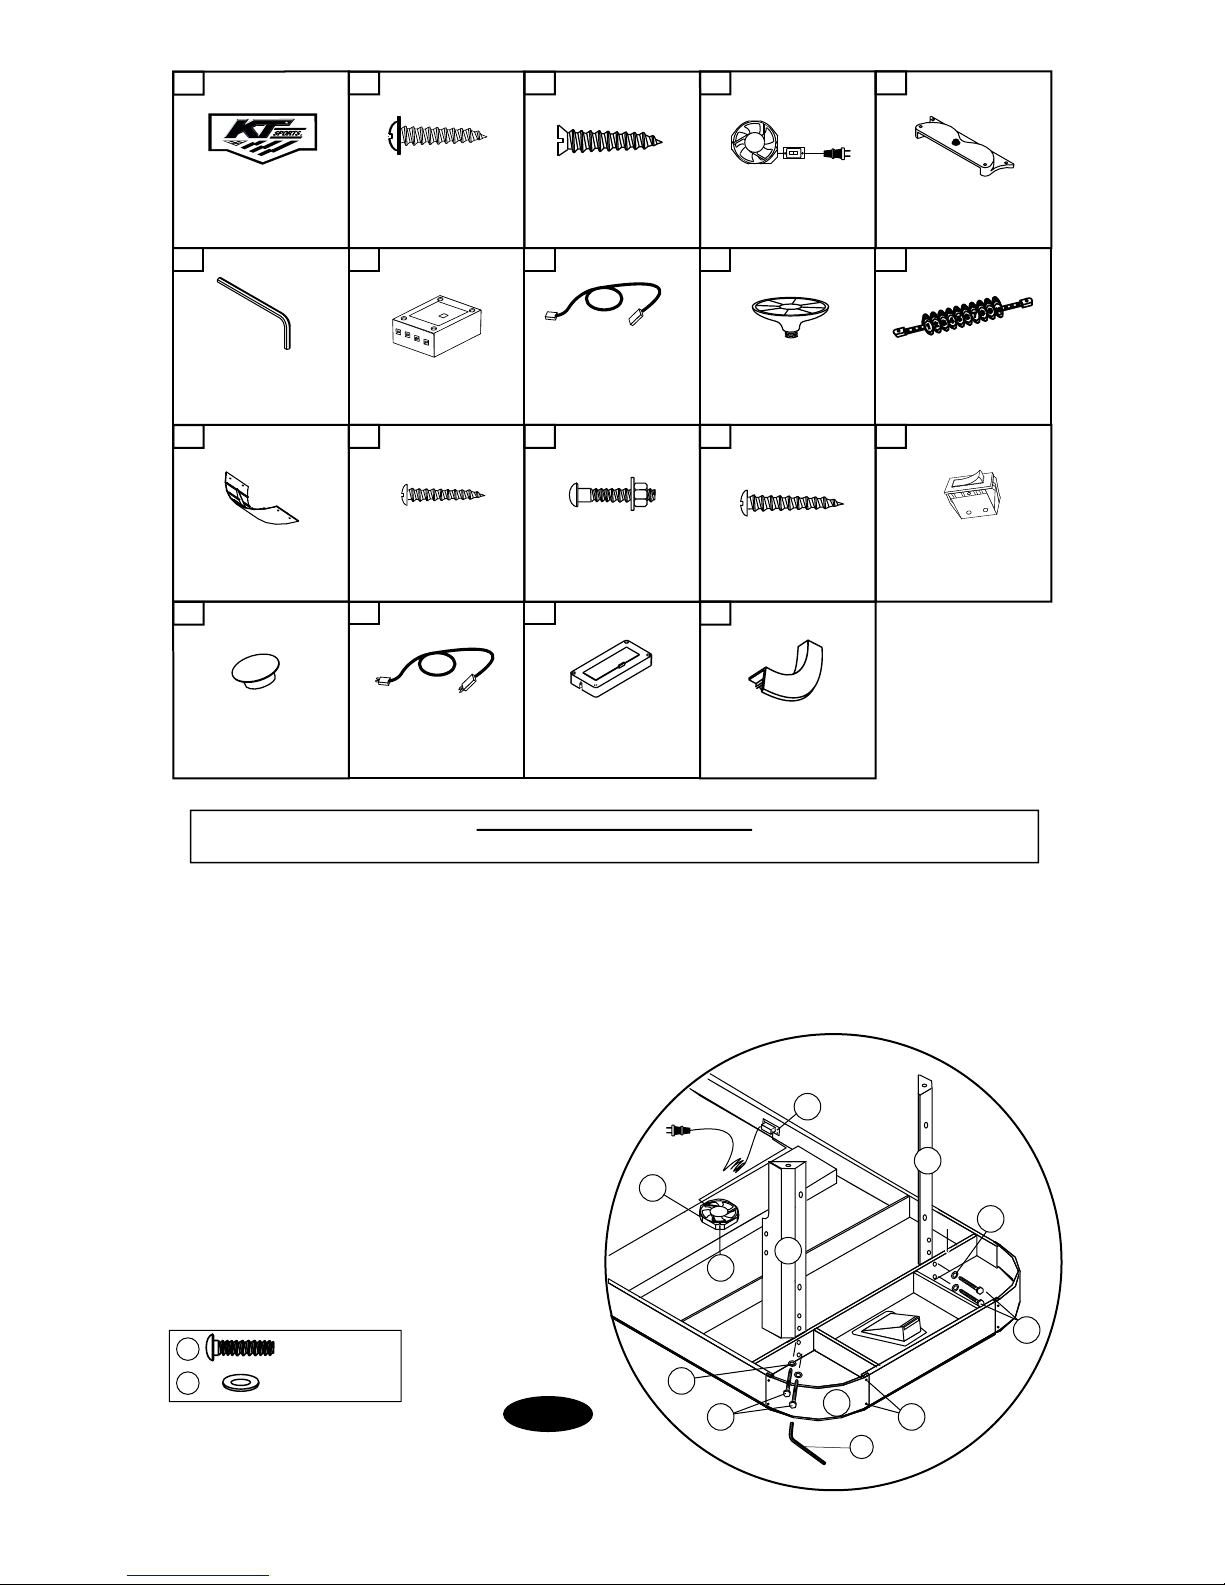
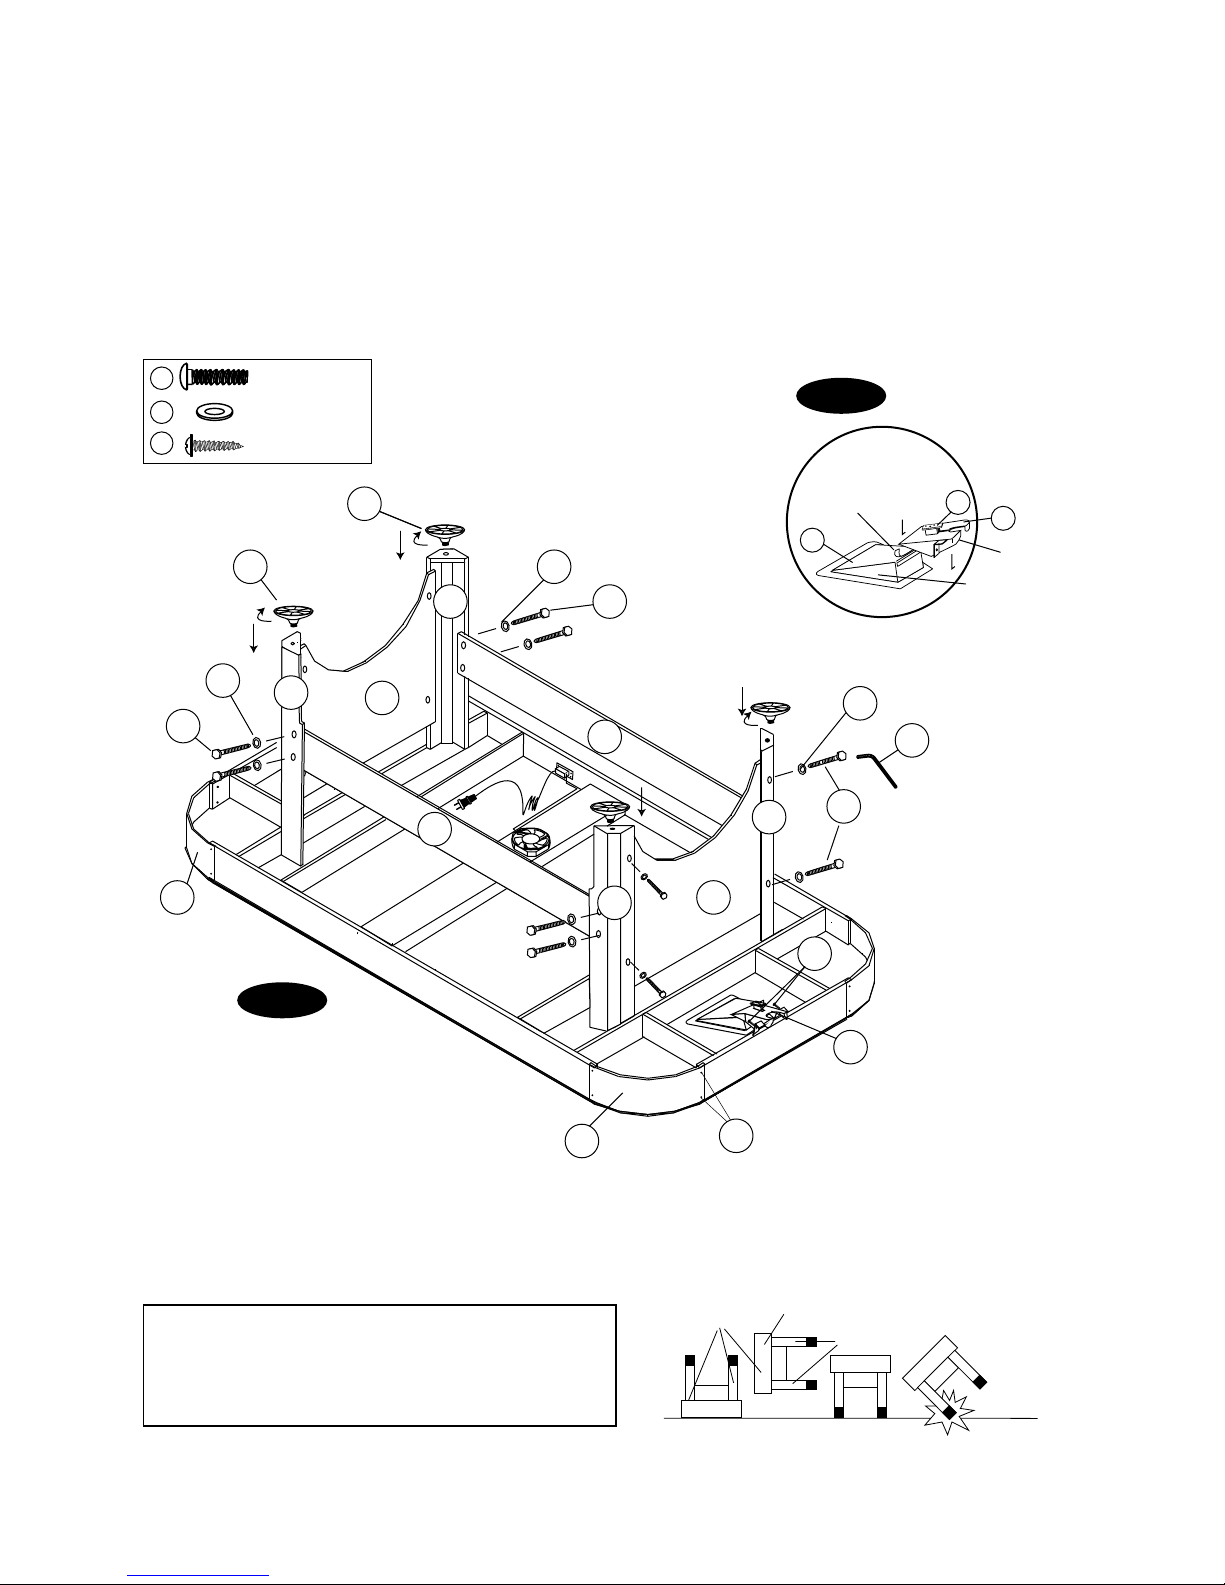
**NOTE: Please save your original proof of purchase as it is needed should you require warranty service.
LIMITED WARRANTY
Limited Warranty
KT Sports (the “Company”) warrants the Product to be free from defects in workmanship and materials under normal use
and conditions FOR A PERIOD OF ONE YEAR FROM THE DATE OF ORIGINAL PURCHASE in the United States and
Canada.
Product Registration Card
The Product Registration Card must be filled out completely and mailed to the Company at the address printed on the card
within 10 days from the date of your purchase of the Product.
What Is Covered
Except as provided below, this Limited Warranty covers all defects in materials and workmanship. This Limited Warranty
is void if the Product is:
• Damaged through improper usage, negligence, misuse, abuse, transportation damage, acts of nature, or accident
(including failure to follow the instructions supplied with the Product)
• Used in commercial applications or rentals
• Modified or repaired by anyone not authorized by the Company.
What Is Not Covered
This Limited Warranty does not cover expendable items such as batteries, light bulbs, fuses, accessories, cosmetic parts
and other items that wear out due to normal usage.
What The Company Will Pay For
If during the one year Limited Warranty period, any part or component of the Product is found by the Company to be
defective, the Company will, at its option, repair the Product, replace the Product with a new Product (either the same or
an equivalent model) or cause the original retailer of the Product to exchange the Product with a new Product (either the
same or an equivalent model) or refund the original purchase price of the Product, without charge for labor or parts. The
Company’s obligation to repair, replace or exchange the Product, however, shall be limited to the amount of the original
purchase price of the Product.
How To Obtain Warranty Service
In order to enforce your rights under this Limited Warranty, you must follow these procedures:
• You must have completed and mailed the Product Registration Card to the Company within 10 days of purchase of the
Product.
• You must include THE ORIGINAL COPY OF YOUR SALES RECEIPT.
• You must call the Company’s Consumer Service Department at 1-800-526-0244 from 9:00 A.M. to 5:00 P.M. (EST)
to notify the Company of the nature of the problem and to obtain instructions for how to obtain servicing. At the
Company’s option, the Product may be serviced at your location or at a location designated by the Company.
• If you are instructed to return the Product to the Company for servicing, you are responsible for shipping the Product,
at your expense, to the address designated by the Company in packaging that will protect against further damage.
• You must also include your name, address, daytime telephone number, model number of the Product and a description
of the problem.
• The Company will pay for any shipping charges to return the repaired or replaced Product to you.
THIS LIMITED WARRANTY IS AVAILABLE ONLY TO THE ORIGINAL PURCHASER OF THE PRODUCT AND IS VALID
IN THE UNITED STATES AND CANADA ONLY.
THE COMPANY’S LIABILITY IS LIMITED TO THE REPAIR OR REPLACEMENT, AT ITS OPTION, OF ANY DEFECTIVE
PRODUCT AND SHALL NOT INCLUDE ANY LIABILITY FOR INDIRECT, INCIDENTAL OR CONSEQUENTIAL
DAMAGES OF ANY KIND.
THIS WARRANTY IS EXPRESSLY MADE IN LIEU OF ALL OTHER WARRANTIES, EXPRESSED OR IMPLIED.
SOME STATES DO NOT ALLOW LIMITATIONS ON HOW LONG AN IMPLIED WARRANTY LASTS OR DO NOT ALLOW
FOR EXCLUSION OF INCIDENTAL OR CONSEQUENTIAL DAMAGES. TO THAT EXTENT, THE ABOVE LIMITATIONS
MAY NOT APPLY TO YOU.
This Limited Warranty gives you specific legal rights, but you may also have other rights that vary from state to state.
If you have questions regarding this Limited Warranty or the operation of the Product, you may call or write us:
Consumer Service Department
313 Waterloo Valley Rd.
Mt. Olive, NJ 07828
1-800-526-0244
0504 TG