Kusina G7I100E User manual

INSTRUCTION MANUAL
GRILL
ELECTRICAL
“Professionally with Professionals”

DESCRIPTION
The instructions in this manual contain important information on the safe mounting, usage,
cleaning and maintenance of the device. Thus, keep the manual at a place easily accessible
by the person who will use the machine, and the technician.
Mounting, conversions for different gas groups or electrical inlet, and maintenance works of
the device should be performed by a specialist authorized in this subject and in accordance
with the instructions of the manufacturer company.
Gas and electrical connections of the device should be arranged according to the tables and
electrical diagram given in this manual.
Manufacturer company accepts no responsibility for the final damages that are caused by any
procedure not conforming to the instruction manual, or maintenance or technical
interventions that are not performed by authorized people.
MOUNTING INSTRUCTIONS
Installation and adjustment of the device should be carried out by experienced technical staff.
Place the device beneath a filtered exhaust hood in order to eliminate smell and fume that
may be emitted during cooking.
Device should be placed on a flat surface by suitably balancing on the four adjustable legs.
(Figure 01)
Place the device at least 10 cm away the side walls.
Remove the protective nylon on the device. Clean the adhesive particles left on the device
with a suitable cleaner.
Never leave flammable material near the device.
ELECTRICAL CONNECTION
Connect the device to the electrical installation according to the electrical standards of the
relevant country.
Feed the device with suitable voltage written on the information plate.
Connect to the electrical installation over a suitable automatic fuse. Fix the said fuse on a
place that is easily accessible in case of a danger.
The cable connecting the device to the electrical installation should be at least type H07
RNF.
Before connecting the electrical inlet cable to the inlet clamp on the device, connect the cable
by passing it through the inlet coupling. And then tighten the coupling cover in a manner that
does not allow cable return.
Electrical inlet clamp can be seen by disassembling front panel.
Electrical inlet is indicated with a label on the device.
If the device will be used in a commercial kitchen, apply a correct grounding system. Here,
consider DIN VDE D100 Article 540.
Grounding screw is indicated with a label behind the device.

OPERATOR INSTRUCTIONS
WARNINGS
Pay attention not to contact hot surfaces of the device!
Device is designed for professional use and must be used only by person who are trained for this
intention.
Device is intended for cooking, do not use for another purpose.
If there is any failure in the device, disconnect electrical power by deactivating the main switch.
Before starting to use the device, carefully clean the surfaces especially those to be in contact with
foods.
During first operation, device will emit fume and smell for a short period. This fume and smell is the
result of the insulation material and the substances such as oil, etc. on the metal sheet surfaces. This is
not dangerous and will disappear by itself.
Clean the accumulated food residues that are burned and carbonized on the cooking platina with a
suitable scraper everyday at the end of operation. If the said daily maintenance is not performed,
accumulated burned food residues may cause a decline in cooking efficiency by creating a crust on the
plate. After the end of daily cleaning, cover the plate surface with a thin layer of vegetable oil.
Empty the oil drawer of the device periodically.
MAINTENANCE
Do not perform maintenance when the device is loaded with electrical power.
Commission only authorized services for maintenance and use genuine spare parts.
Before it cools down completely, wipe the device with a cloth immersed in warm soapy water.
Do not use cleaning substances and tools that may cause scratches on device surface.
If required, use chemical cleaners.
Clean the oil drawer inside the cabinet after each use.
Do not clean the device with water or vapour pressure. Otherwise, you may cause electrical resistor
failure.
If the device will not be used for a long period, coat the surfaces with a thin layer of Vaseline. In case of
any dangerous condition with the device, notify to the authorized service. Never let unauthorized people
to interfere in the device.
IMPORTANT
If the device is operated for a long time, the ground below it and its surrounding may be heated up to 80
°C. Therefore, pay attention that the ground material is heat resistant.
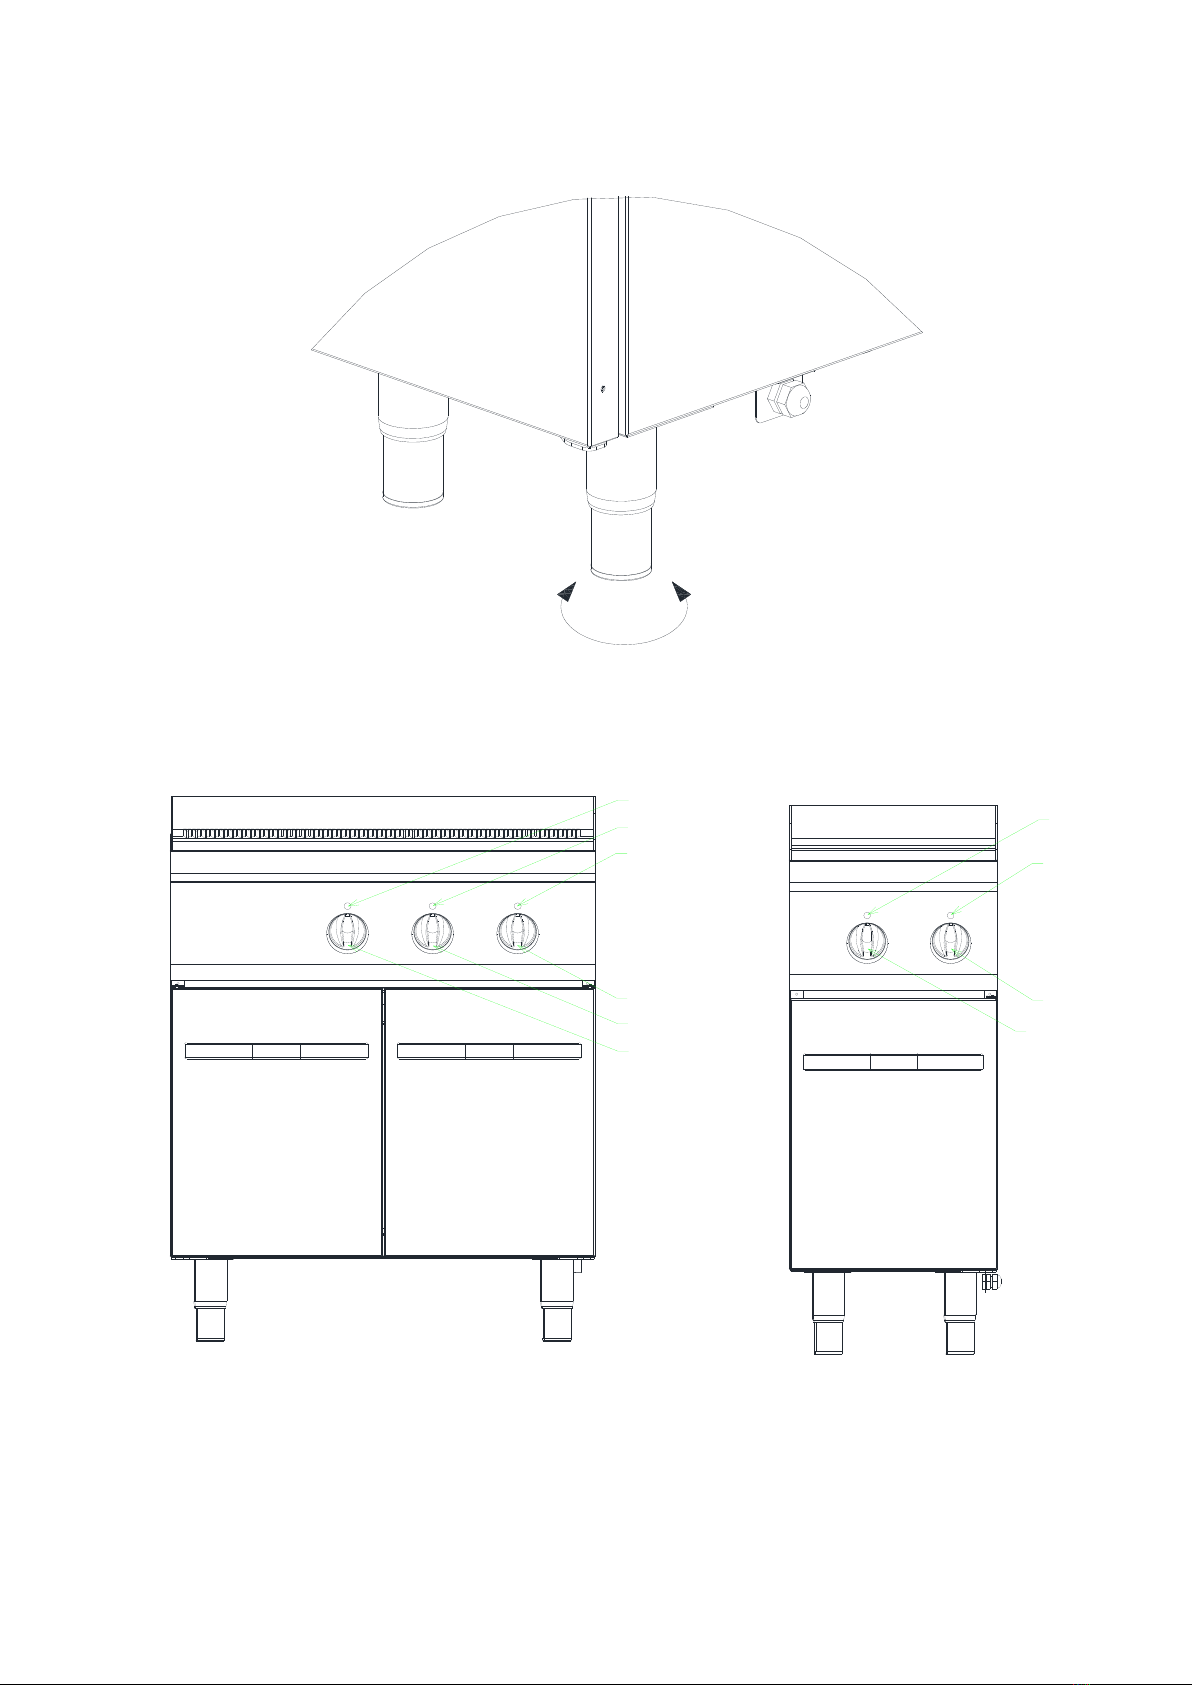
Do not operate the devices with its adjustable legs removed.
START-UP (Figure 02)
Turn switch a “A” to position “1”.
Adjust thermostat “1,2” to desired temperature.
When signal lights “C 1,2” are off, platina reaches to the desired temperature. You can now start to
cook.
TURNING OFF (Figure 02)
Turn thermostat “B” to position “O”.
Turn switch “A” to position “O”.

Fig.1
C1
C2
C3
A
B1
B2
C1
C2
A
B
Fig.2

MODELO
G7I100E
G7I110E
G7I200E
G7I210E
G7I220E
G9I100E
G9I110E
G9I200E
G9I210E
G9I220E
WIDTH
mm
730
730
900
900
DEPT
mm
400
800
400
800
HIGHT
mm
900
900
900
900
POWER
KW
3,6
7,2
6
12
ELECTRICAL INLET
400V 3N PE
400V 3N PE
400V 3N PE
400V 3N PE
CAVLE SECTIONS
mm²
5X 1,5
5X 2,5
5X 1,5
5X 2,5
700
900
400
ELEKTRİK GİRİŞİ
ELEKTRICAL INLET
G7I100E
G7I110E
G7I100E
G7I110E

800
G7I210E
G7I220E
G7I200E
730
900
ELEKTRİK GİRİŞ
ELECTRICAL INLET
G7I200E
G7I220E
G7I210E

G9I110E
A
900
900
400
ELEKTRİK GİRİŞİ
ELEKTRICAL INLET
G9I100E
G9I100E
G9I110E

900
900
A
ELEKTRİK GİRİŞ
ELECTRICAL INLET
G9I210E
G9I220E
G9I200E
800
G9I200E
G9I220E
G9I210E

400V AC 3N PE 3600 W
C1
PE
N
L3
L2
L1
M
K - CONTAKTOR
M - INLET CLAMP
R
R - HEATERS
C 1,2 - LIGHT INDICATOR
B - THERMOSTAT
A - MAIN SWITCH
C2 A
K
B
K
400V AC 3N PE 6000 W
G9I100E - G9I110E - G7I100E - G7I110E

400V AC 3N PE 7200 W
C2
PE
N
L3
L2
L1
M
K1 2 - CONTAKTOR
M - INLET CLAMP
R
R -HEATERS
C 1,2 3 - LIGHT INDICATOR
B - THERMOSTAT
A - MAIN SWITCH
C3 A
K1
B
K1
400V AC 3N PE 12000 W
R
K2
K2
B
C1
G9I200E - G9I210E - G9I220E - UDFT7DLAPE - G7I210E - G7I220E

This manual suits for next models
9
Table of contents
Other Kusina Grill manuals
Popular Grill manuals by other brands

Vintage
Vintage VBQ-56 Specifications

Livoo
Livoo DOC156 instruction manual

Grunkel
Grunkel GRL-12 MINI instruction manual

Kirkland Signature
Kirkland Signature 720-0193 Assembly & operating instructions

New House Kitchen
New House Kitchen NH02-180 user guide

Barbecook
Barbecook NINHO 2.0 installation instructions