Introduction
The name Labgear has been associated with quality
signal distribution since 1932 and the current range
of ampliers continues to uphold that tradition.
All LDL amps can carry analogue and digital TV and
radio, DAB, Freeview, DVB-T and DVB-T2 HD TV signals
and have:
• Improved gain atness delivering a better balance
across the performance range
• Lower noise gure for optimised signal quality
• Greater signal handling capacity to cope with
more channels
• Better impedance matching and therefore
improved signal transfer from amp to cable
• Labgear ampliers use F-type coaxial connectors
for better matching and security
These fully screened 2 and 4 way compact aerial
ampliers have an IR return path to enable channel
changing from remote locations and are compatible
with Labgear and other Digilink remote control systems.
This makes them ideal for use in Sky™ digital satellite home
installations, where the output from a digibox can be distributed
to several rooms with the capability for full remote control of the Sky™ box from these rooms.
The ampliers are also designed to be line powered by the RF2 output from satellite receivers.
The LDL compact ampliers are compliant with the Radio Equipment Directive 2014/53/EU and
meet harmonised standard EN 303 354 for product Type D Class 0, they are suitable for digital TV
signal distribution of Ch21-60 from a receiver or from an aerial tted with a 4G lter in the UK
and EIRE.
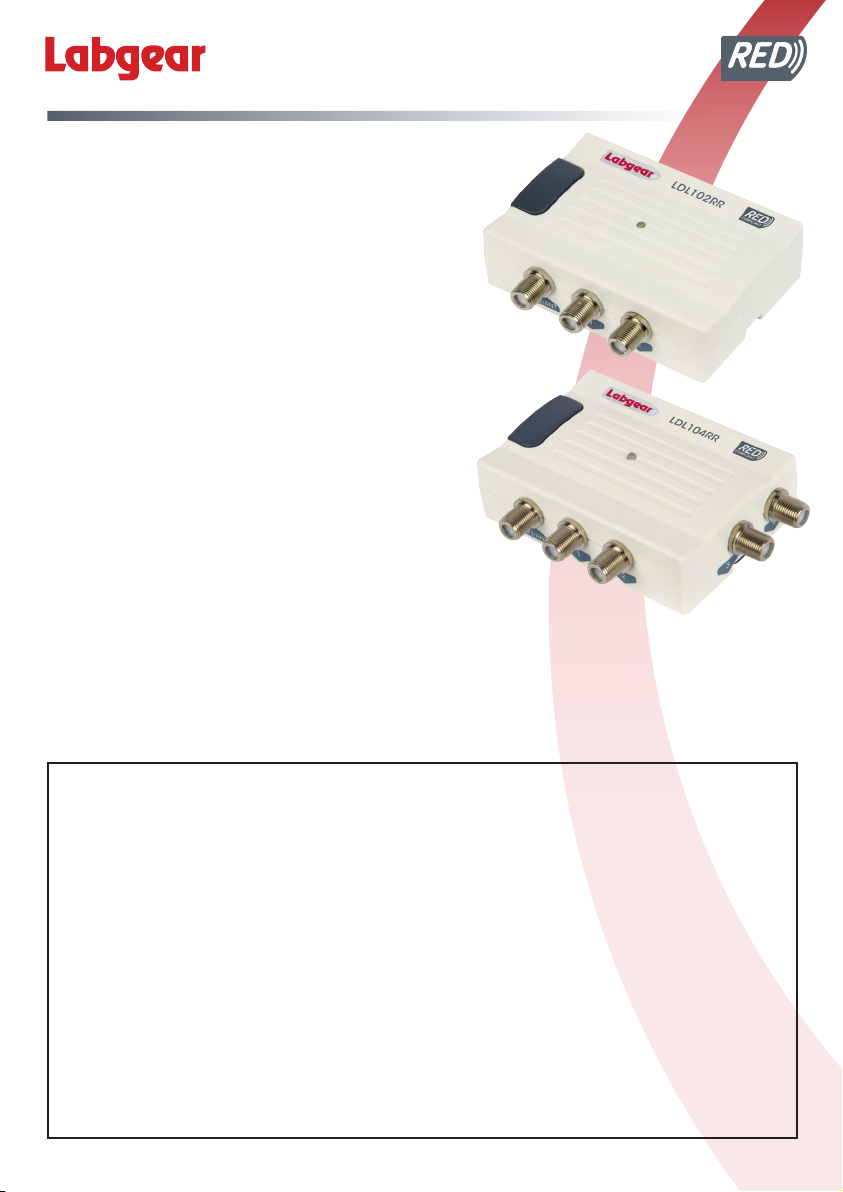
LDL102RR & LDL104RR
Line Powered Compact Distribution Ampliers
General Safety Precautions
To Prevent Overheating
The recommended clearances and other precautions given in these instructions must be
observed to prevent overheating. In addition, units should not be positioned where they are
likely to become covered by curtains, fabric or insulating material. The amp should not be
left resting on a carpet.
Other precautions
These appliances are not waterproof, they are intended for indoor use only and must not be
positioned where they could be exposed to dripping or splashing water. Objects containing
liquids should not be placed on or near the amplier.
To prevent re, make sure the unit and attached cabling is installed well away from
naked ames.
Mains Plug
Your amplier is supplied with a standard mains plug already tted, if you need to change
the plug use a competent professional (ELECSA or NICEIC) to make the connection.
If you need to change the fuse use a 3 Amp fuse to BS1362 carrying the ASTA or BSI
approved mark and ret the plastic fuse carrier.
1


