manuals.online logo
Brands
  1. Home
  2. •
  3. Brands
  4. •
  5. Labgear
  6. •
  7. Amplifier
  8. •
  9. Labgear LDL212R User manual

Labgear LDL212R User manual

Introduction
The name Labgear has been associated with
quality signal distribution since 1932 and the
current range of ampliers continues to
uphold that tradition. All LDL amps can carry
analogue and digital TV and radio, DAB,
Freeview, DVB-T and DVB-T2 HD TV signals and have:
• More efcient Switch-Mode Power Supplies
which run cooler
• Improved gain atness delivering a better
balance across the performance range
• Lower noise gure for optimised signal quality
• Greater signal handling capacity to cope
with more channels
• Better impedance matching and therefore improved
signal transfer from amp to cable
• Labgear ampliers use F-type coaxial connectors for better matching and security
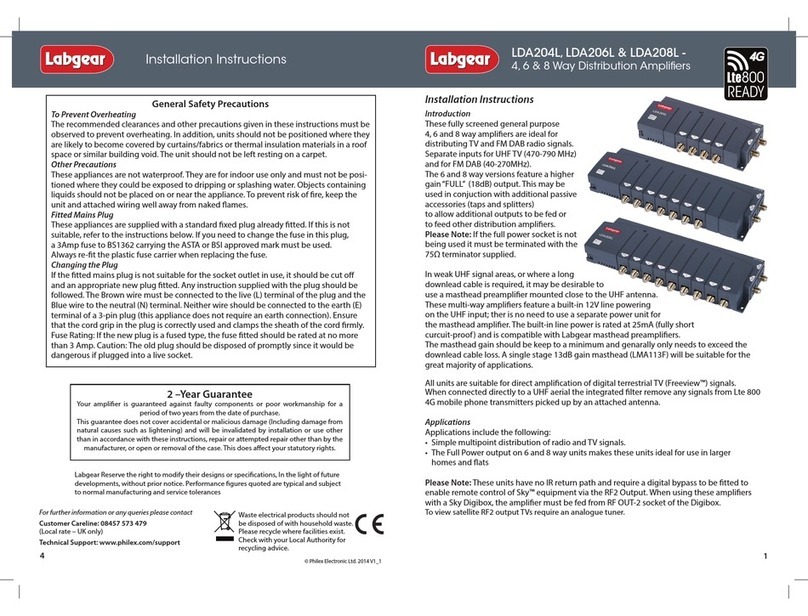
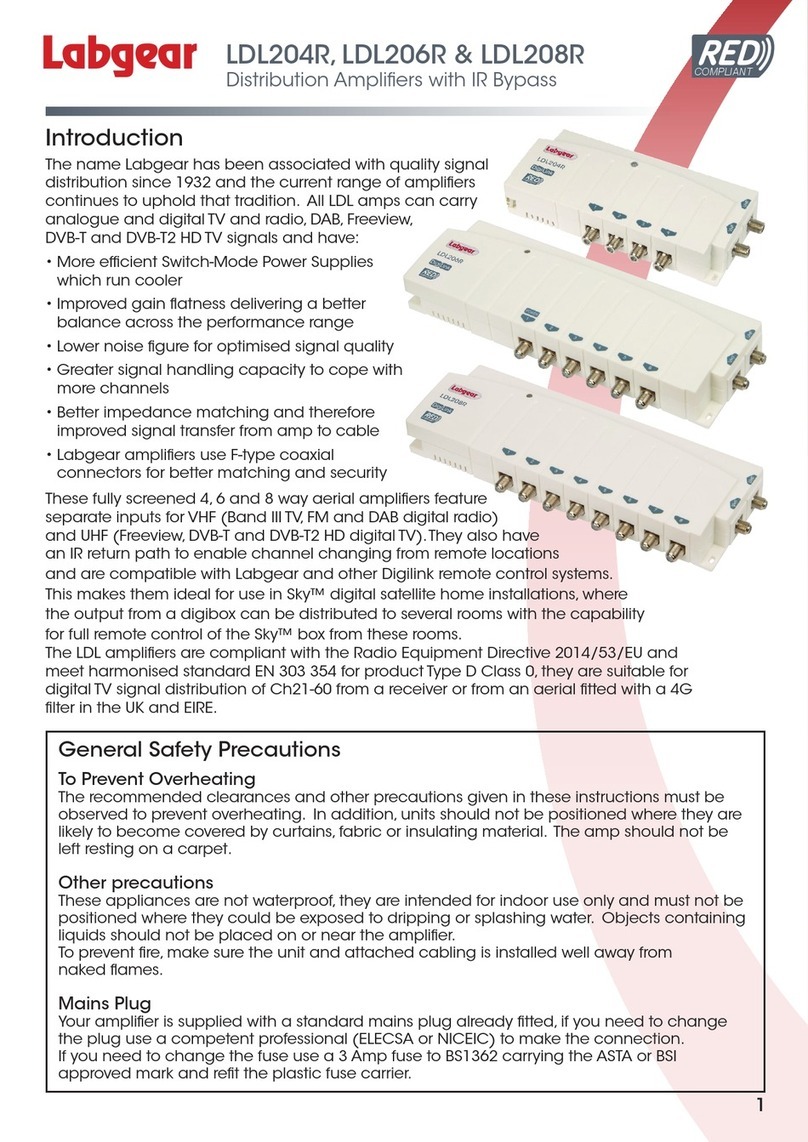
These fully screened 12 and 16 way aerial ampliers feature separate inputs for VHF (Band III TV,
FM and DAB digital radio) and UHF (Freeview, DVB-T and DVB-T2 HD digital TV).They also have
an IR return path to enable channel changing from remote locations and are compatible with
Labgear and other Digilink remote control systems.
This makes them ideal for use in Sky™ digital satellite home installations, where the output from a
digibox can be distributed to several rooms with the capability for full remote control of the Sky™
box from these rooms.
The LDL ampliers are compliant with the Radio Equipment Directive 2014/53/EU and meet
harmonised standard EN 303 354 for product Type D Class 0, they are suitable for digital TV signal
distribution of Ch21-60 from a receiver or from an aerial tted with a 4G
lter in the UK and EIRE.
LDL212R & LDL216R
Distribution Ampliers with IR Bypass
General Safety Precautions
To Prevent Overheating
The recommended clearances and other precautions given in these instructions must be
observed to prevent overheating. In addition, units should not be positioned where they are
likely to become covered by curtains, fabric or insulating material. The amp should not be
left resting on a carpet.
Other precautions
These appliances are not waterproof, they are intended for indoor use only and must not be
positioned where they could be exposed to dripping or splashing water. Objects containing
liquids should not be placed on or near the amplier.
To prevent re, make sure the unit and attached cabling is installed well away from
naked ames.
Mains Plug
Your amplier is supplied with a standard mains plug already tted, if you need to change
the plug use a competent professional (ELECSA or NICEIC) to make the connection.
If you need to change the fuse use a 3 Amp fuse to BS1362 carrying the ASTA or BSI
approved mark and ret the plastic fuse carrier.
1
COMPLIANT
LDL216R
Frequency: UHF 470-790MHz
FM/DAB 87-230MHz
Gain: 8dB
Noise: Typical <4dB
Return path: 5-30MHz with 2dB gain
DigiLink power: 9V DC on each outlet, 15mA
OUT 8OUT 7
OUT 15 OUT 16
OUT 12 OUT 13OUT 11OUT 10OUT 9
OUT 1 OUT 2 OUT 6OUT 5OUT 4OUT 3
FM/DAB
16-way Distribution Amplier
UHF
OUT 14
Remote Rooms
TV
FM/DAB
PSW122
Suitable for combined
TV and Radio outlet
PSW111
Suitable for TV outlet
Or
VCR/DVR
SAT
Main TV
Digi Eye
MRX955
9th TV
RF In
2nd TV
RF In
Digi Eye MRX955
RF2 OUT
4G
Filter*
Specications LDL212 LDL216
No of Inputs / Outputs 2 / 12 2 / 16
Frequency Range VHF 87-230MHz & UHF 470-790MHz
Gain per port 8dB 8dB
Noise Figure Typ. <4dB Typ. <4dB
Max Out put level (IMA3-60dB). EN50083-5 84dBµv 84dBµv
Isolation between outlets 22dB 22dB
Return Path Range 5-30MHz
Return Path Gain 6dB 6dB
All Ports IR Enabled 9V 15mA short circuit protected
RED, EMC and LVD Compliant
Built-in Power Supply 220-240V~50Hz at <3W
Dimensions 340 x 120 x 55mm
Typical Installation and Specications
COMPLIANT
2
Please Note:A UHF aerial can be connected
directly to the UHF input on the amplier or
connected via a Satellite Receiver
allowing terrestrial TV channels to be
distributed via the RF2 outlet
*Install a 4G lter If required
Applications, and Installation
COMPLIANT
3
Applications
These ampliers are designed to boost and distribute signals from the RF2 output of a satellite
receiver and or terrestrial TV and radio aerial signals. When using these ampliers with a Sky
Digibox, the amplier must be fed from the RF OUT-2 socket of the Digibox. However if the RF2
Channel is set to 59 or above (68 is usually the default channel) you will need to reset it to a
channel from 21-58 in the Digibox Setup Menu.
To view satellite RF2 output TVs require an analogue tuner.
Later Digibox models such as the Sky+HD 2TB are not tted with an RF OUT2 output and you will
need an I/O converter such as the Labgear MRX600K to distribute signals from the Digibox to
other TVs.
The LDL distribution ampliers are suitable for digital TV signal distribution for Ch21-60. If you are
affected by 4G interference in your area you may need a Ch60 lter (currently available from
at800 free of charge).
Resetting the RF Channel on a Digibox
1. Switch on your Sky™/Sky+™/ Sky+ HD™ receiver and view on your main television.
2. Press the SERVICES button on your Sky™ remote.
3. Select SYSTEM SETUP option (for SKY+ HD there is no SYSTEM SETUP option press 0 instead).
4. Press the following buttons in sequence: 0, 1, SELECT (for SKY+ HD this is a hidden
option and does not appear on screen). You should now see the installers’ menu.
5. Select the RF channel number option and key in a new channnel number from 21-58 and
select ‘Power On’. Make a note of the channel number you choose as you may need it when
tuning your other TVs.
Installation
Important note: please read the General Safety Precautions before installing this amplier.
Location
Try to choose a location for the amplier which is convenient for cable runs to the system outlets
but which is not too far from the aerial. Select a cool, dry, well ventilated area which is free of
any risk of dripping or splashing water. Stand on a stable at surface (not a carpet or insulating
material) or x to a wall or sturdy upright (screws not provided). Do not allow the amp to hang
on the cables.
Ensure that there is adequate space to ensure cables are not kinked when connecting (mini-
mum 120mm radius recommended) and that above and on the free sides of the amp there is
at least 25mm for ventilation. Do not cover.
Electricity supply
Each unit is supplied with a tted mains plug with 3A fuse, if this is not suitable get a competent
professional (ELECSA or NICEIC) to make the connection with an isolating switch to allow it to be
disconnected when necessary.
Labgear Reserve the right to modify their designs or specications, In the light of future
developments, without prior notice. Performance gures quoted are typical and subject to
normal manufacturing and service tolerances.
This product is intended for use within the UK and Eire.
Declaration of Conformity
Hereby, Labgear declares that this amplier for TV broadcast reception in domestic premises is in
compliance with the Radio Equipment Directive 2014/53/EU.
The full Declaration of Conformity is available by contacting the following internet address:
www.labgear.co.uk/DoC
2 –Year Guarantee
Your amplier is guaranteed against faulty components or poor
workmanship for a period of two years from the date of purchase.
This guarantee does not cover accidental or malicious damage
(Including damage from natural causes such as lightning) and will be
invalidated by installation or use other than in accordance with these
instructions, repair or attempted repair other than by the manufacturer, or
opening or removal of the case.This does not affect your statutory rights.
4
Waste electrical products should not
be disposed of with household waste.
Please recycle where facilities exist.
Check with your Local Authority for
recycling advice.
© Philex Electronic Ltd. 2017 V1
COMPLIANT
Technical Support
For further help, advice or information visit
Our website www.labgear.co.uk
Email: technical@labgear.co.uk
or live chat during ofce hours via our website
Member
No. M. 1125
Bedford MK42 0NX
www.labgear.co.uk
Guarantee and Technical Support
Signal connections
Input and output connections to the amp are
made using F-type (IEC 60169-24) connectors.
Connections can be made using a tool for
crimp or compression connectors or by hand
with twist-on connectors (see Fig.1 opposite).
Ensure that the correct size connector is used
to match the size of the coax cable.
Make sure that the external connections are
adequately weatherproofed to prevent water
ingress which could damage your amplier.
8mm
6mm
2mm approx.
fold braid back
over sheath
inner wire
cut or tear
away foil
screw connector
body onto cable
end of insulation
should be ush
with this face
Fig. 1

This manual suits for next models

1

Other Labgear Amplifier manuals

Labgear LMA209F User manual

Labgear

Labgear LMA209F User manual

Labgear LDL212 User manual

Labgear

Labgear LDL212 User manual

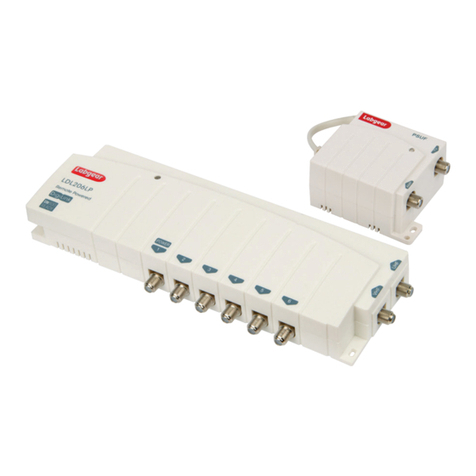
Labgear LDL206LP User manual

Labgear

Labgear LDL206LP User manual

Labgear LMA113R User manual

Labgear

Labgear LMA113R User manual

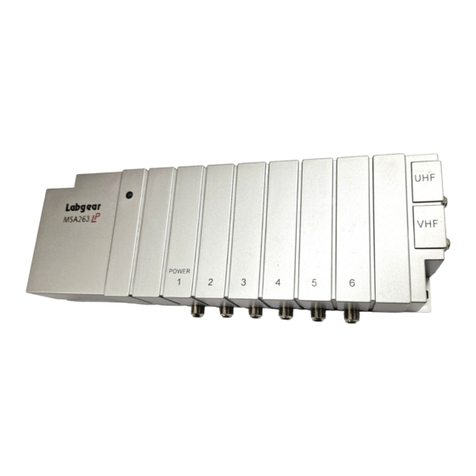
Labgear MSA263LP User manual

Labgear

Labgear MSA263LP User manual

Labgear CM 7281 User manual

Labgear

Labgear CM 7281 User manual

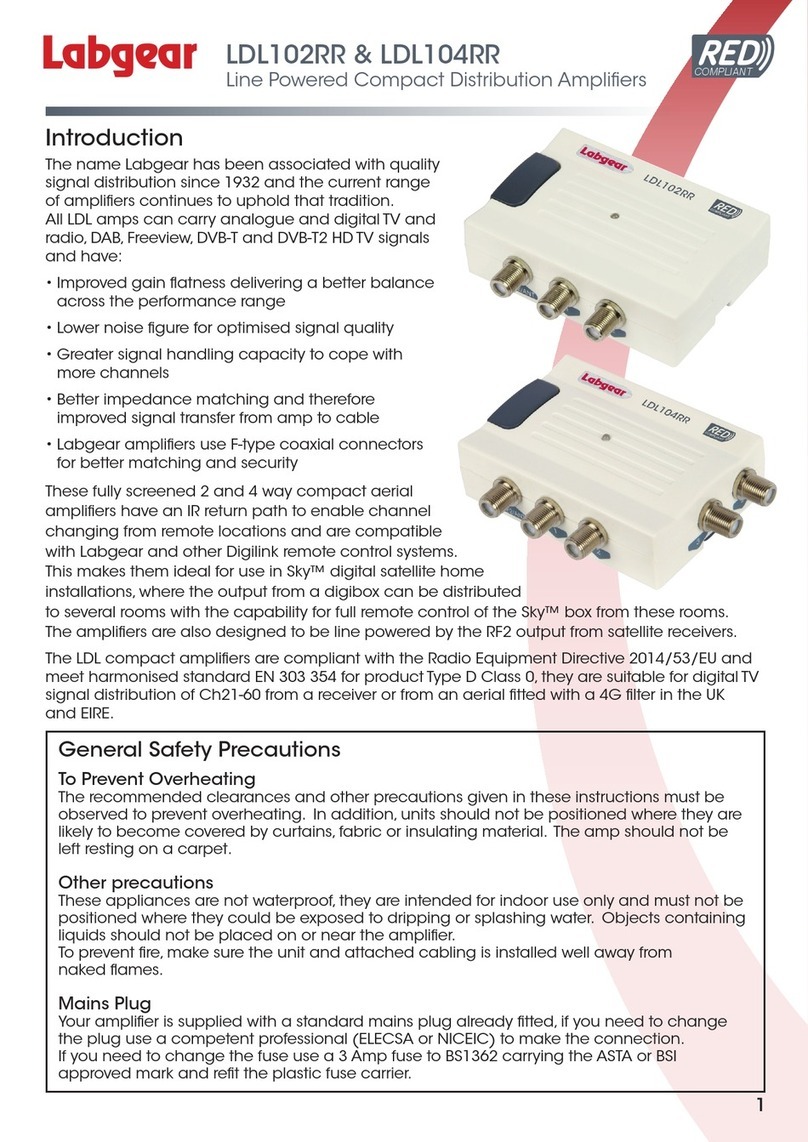
Labgear LDL102RR User manual

Labgear

Labgear LDL102RR User manual

Labgear MSA111 User manual

Labgear

Labgear MSA111 User manual

Labgear LDL204B User manual

Labgear

Labgear LDL204B User manual

Labgear MSA242 User manual

Labgear

Labgear MSA242 User manual

Labgear MSA111G User manual

Labgear

Labgear MSA111G User manual

Labgear LDA204L User manual

Labgear

Labgear LDA204L User manual

Labgear LDL204 User manual

Labgear

Labgear LDL204 User manual

Labgear LDU604G User manual

Labgear

Labgear LDU604G User manual

Labgear LDU608G User manual

Labgear

Labgear LDU608G User manual

Labgear PSM114V User manual

Labgear

Labgear PSM114V User manual

Labgear LDL206RLP User manual

Labgear

Labgear LDL206RLP User manual

Labgear CM 7283 User manual

Labgear

Labgear CM 7283 User manual

Labgear MSA263LP User manual

Labgear

Labgear MSA263LP User manual

Labgear MSA242 User manual

Labgear

Labgear MSA242 User manual

Popular Amplifier manuals by other brands

Marantz PM8200 Service manual

Marantz

Marantz PM8200 Service manual

Audio Note CONQUEROR Silver Signature Owner's Information

Audio Note

Audio Note CONQUEROR Silver Signature Owner's Information

Kaption Audio 570-AZR170X2 owner's manual

Kaption Audio

Kaption Audio 570-AZR170X2 owner's manual

Panphonics Sound Shower AA-160e Operation manual

Panphonics

Panphonics Sound Shower AA-160e Operation manual

Santec VVS-204 user manual

Santec

Santec VVS-204 user manual

C.F. Martin & Co Fishman Classic 4 user guide

C.F. Martin & Co

C.F. Martin & Co Fishman Classic 4 user guide

Groove Tubes Soul-o Series 75 operating manual

Groove Tubes

Groove Tubes Soul-o Series 75 operating manual

Majorcom: AP 30 operating manual

Majorcom:

Majorcom: AP 30 operating manual

Hama 00044200 operating instructions

Hama

Hama 00044200 operating instructions

BC Audio Amplifier No. 7 owner's manual

BC Audio

BC Audio Amplifier No. 7 owner's manual

Missing Link SP-3016 user manual

Missing Link

Missing Link SP-3016 user manual

Wheatfield Audio HA-4 user manual

Wheatfield Audio

Wheatfield Audio HA-4 user manual

Solisto .DAC-HP User guide and installation

Solisto

Solisto .DAC-HP User guide and installation

Elan Z Series Z-660 installation manual

Elan

Elan Z Series Z-660 installation manual

Luxman C-1000f owner's manual

Luxman

Luxman C-1000f owner's manual

Infineon Technologies IRAUDAMP17 Reference design

Infineon Technologies

Infineon Technologies IRAUDAMP17 Reference design

Ashdown CTM-30 Little Stubby user manual

Ashdown

Ashdown CTM-30 Little Stubby user manual

Inter-m Amplifier 300PLUS Service manual

Inter-m

Inter-m Amplifier 300PLUS Service manual

manuals.online logo
manuals.online logoBrands
  • About & Mission
  • Contact us
  • Privacy Policy
  • Terms and Conditions

Copyright 2025 Manuals.Online. All Rights Reserved.