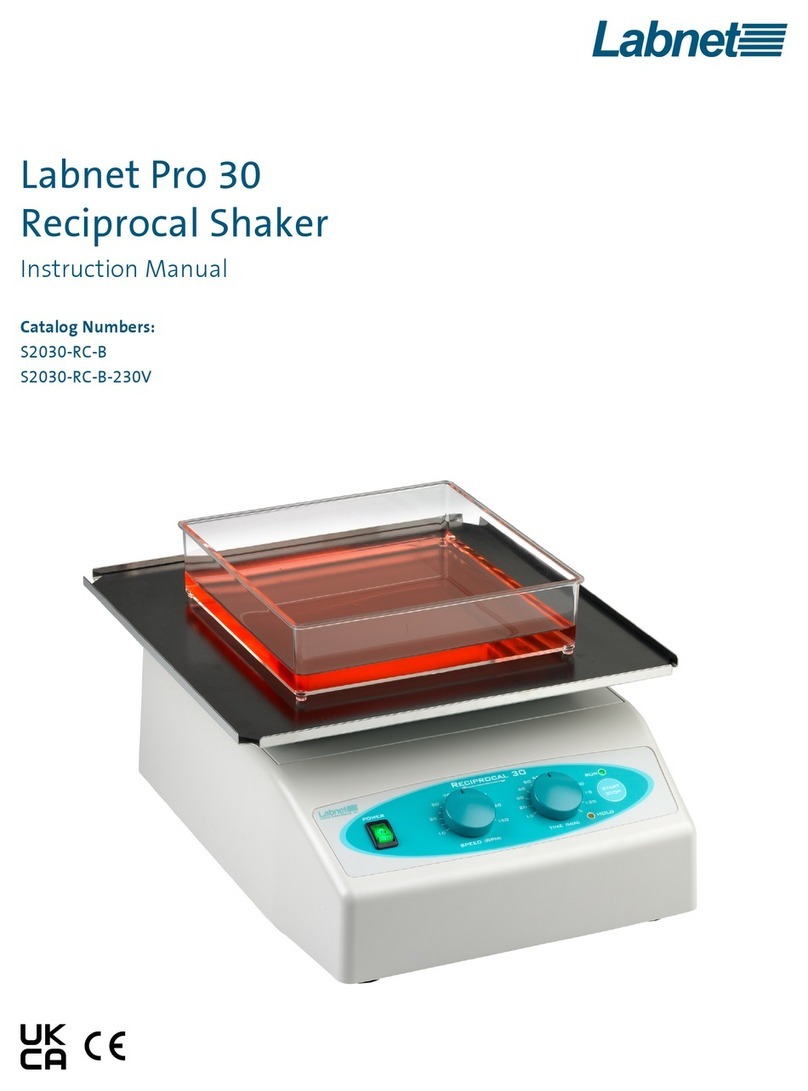
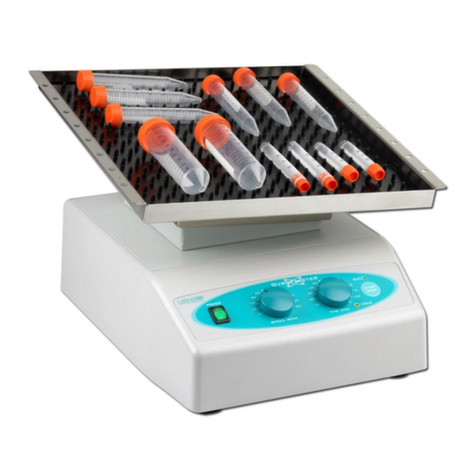
Labnet Pro 30 User manual

Pro 30 Laboratory Reciprocal Shaker
Instruction Manual
Catalog Numbers:
S2030-RC-B
S2030-RC-B-230V
This manual is available in additional languages at www.labnetlink.com.

Table of Contents
1.0 Introduction ...................................................................................1
2.0 Packing ........................................................................................1
3.0 Specifications ..................................................................................1
4.0 Safety Information .............................................................................1
5.0 Installation. . . . . . . . . . . . . . . . . . . . . . . . . . . . . . . . . . . . . . . . . . . . . . . . . . . . . . . . . . . . . . . . . . . . . . . . . . . . . . . . . . . . .2
5.1. Device Placement ..........................................................................2
5.2. Attaching the Power Cord...................................................................2
5.3. Mounting Platform.........................................................................2
6.0 Operating Instructions..........................................................................2
6.1. Control Panel. . . . . . . . . . . . . . . . . . . . . . . . . . . . . . . . . . . . . . . . . . . . . . . . . . . . . . . . . . . . . . . . . . . . . . . . . . . . . . .2
7.0 Troubleshooting................................................................................3
8.0 Maintenance and Cleaning .....................................................................3
8.1. Cleaning ...................................................................................3
9.0 Installation of Double Platform .................................................................4
10.0 Limited Warranty...............................................................................5
11.0 Equipment Disposal ............................................................................5

Instruction Manual | 1
1.0 Introduction
Congratulations on purchasing your Labnet Pro 30 Laboratory Reciprocal Shaker. This shaker features
a left to right linear action to provide gentle to vigorous shaking. Four platform configurations make this
model valuable for a variety of applications.
2.0 Packing
The Labnet Pro 30 Laboratory Reciprocal Shaker includes the following components:
Pro 30 Reciprocal Shaker
Instruction Manual
NOTE: Platform needs to be purchased separately.
3.0 Specications
Electric Power Supply 115V ± 10%, 50/60Hz, 0.2A or 230V ± 10%, 50/60Hz, 0.1A
230V includes EU and UK power cords
Fuse 2 x 0.5A (115V); 2 x 0.25A (230V)
Speed From 5 to 150 strokes per minute
Stroke Length 30 mm
Timer 20 to 120 minutes, in 10 minute steps, HOLD function
Load 11 lbs. (5 kg) including platform
Dimensions (W x D x H) 10 x 12.6 x 6.3 in. (25.5 x 32 x 16 cm)
Platform Dimensions (W x D) 12 x 12 in. (30 x 30 cm)
Weight 15 lbs. (6.6 kg)
Operating Conditions 4°C to 70°C, up to 85% RH, non-condensing
4.0 Safety Information
Do not use the shaker near water sources. Be sure that water doesn’t get on the device, especially
during the cleaning procedures.
Do not expose the shaker to aggressive vapors (e.g. organic solvents).
Do not insert objects into the shaker (such as screw driver or metal rods).
Never operate the shaker without platform securely attached.
Hazardous samples should be shaken only in appropriate containment vessels.
NOTE: If the equipment is used in a manner not specified by the manufacturer, the protection provided
by the equipment may be impaired.
Do not shake flammable or explosive samples.

2| PRO 30 RECIPROCAL SHAKER
5.0 Installation
5.1. Device Placement
When selecting the right place for device, please consider following:
Put the device on smooth, horizontal and stable place.
Leave enough space beyond the device for normal air circulation, min. 10 cm.
Leave enough space around the device, for easy access and maintenance.
Avoid locations subject to shocks and vibrations.
Avoid locations subject to frequent power fluctuations or power losses, it may affect shaker performance.
NOTE: There has to be easy access to the shaker control panel and main plug in case of emergency.
5.2. Attaching the Power Cord
First connect the main power cord to the shaker then connect the plug end of the cord to a grounded
wall socket. Avoid lines on which powerful electric motors, refrigerators and similar devices are
connected.
Be careful when you plug the cord to a grounded wall socket.
Do not touch the plug with wet hands.
Do not pull the plug by the cord.
5.3. Mounting Platform
Mount the accessory platform by firmly inserting the four platform mounting pins into the four rubber
grommet points on the shaker.
6.0 Operating Instructions
6.1. Control Panel
1. POWER switch – to turn the shaker ON (power switch illuminates) or OFF.
2. SPEED potentiometer – to set the shaker speed.
3. TIME potentiometer – to set the timed operation.
4. HOLD potentiometer – yellow light illuminates when the shaker is set to HOLD (continuous operation).
5. START/STOP button – to START or STOP the shaking operation.
6. RUN – green light illuminates when the shaker is running.
NOTE: The speed can be adjusted at any time during shaker operation. The time, however, can not be
changed while the shaker is in motion. To change the time press the STOP button first, allow the shaker
platform to come to a full stop and set the time value again. Restart the shaker.
2
1
3
4
5
6

Instruction Manual | 3
7.0 Troubleshooting
Should you have a question about the operation of the Labnet Pro 30 Reciprocal Shaker or if service is
required, contact your Corning representative. Do not send in a unit for service without first calling to
obtain a repair authorization number. Should the unit require return to Corning for service, it should
be properly packed to avoid damage. Any damage resulting from improper packaging shall be the
responsibility of the user.
Problem Explanation/Solution
POWER switch doesn’t illuminate
when turned ON.
Check the connection to main power supply.
Check fuses
Call authorized service
Shaker doesn’t start when you press
START/STOP button.
Check the connection to main power supply.
Check fuses
Call authorized service
HOLD yellow signal light and RUN
green signal light are blinking.
Motor overload - reduce the load on the platform.
Call authorized service.
8.0 Maintenance and Cleaning
No routine maintenance or lubrication is required.
It is recommended that the shaker is kept clean to ensure long trouble-free operation.
8.1. Cleaning
The housing of the shaker can be cleaned with a soft, damp cloth or special cleaners for plastic surfaces
(e.g. for car interior – armature). Do not immerse the device or spill liquids on the device.
NOTE: Do not use any aggressive or abrasive cleaners (acetone, nitro, polish etc.) because the surface can
get permanently damaged.
Prior to any cleaning or maintenance of the device, unplug the power cord from the wall socket.

4| PRO 30 RECIPROCAL SHAKER
9.0 Installation of Double Platform
Before the installation of double platform, turn off the POWER switch.
For installation of double platform, prepare upper platform with rubber pad and posts kit, which
includes four posts, four washers, four screws and four nuts.
1. Set four posts (A) above four holes at the corners of the bottom platform.
2. Put the washer (B) on each screw (C) and then screw it into each post from the bottom side
of the platform.
3. Fit upper platform (D) on the top of four posts, so that the threads of the posts are protruding through
four corner holes.
4. Screw four nuts (E) on the threads of four posts, to fix the upper platform.
Posts kit
E
A
B
C
D
A
E
B
C

Instruction Manual | 5
10.0 Limited Warranty
Corning Incorporated (Corning) warrants that this product will be free from defects in material
and workmanship for a period of one (2) years from date of purchase. CORNING DISCLAIMS ALL
OTHER WARRANTIES WHETHER EXPRESSED OR IMPLIED, INCLUDING ANY IMPLIED WARRANTIES OF
MERCHANTABILITY OR OF FITNESS FOR A PARTICULAR PURPOSE. Corning’s sole obligation shall be
to repair or replace, at its option, any product or part thereof that proves defective in material or
workmanship within the warranty period, provided the purchaser notifies Corning of any such defect.
Corning is not liable for any incidental or consequential damages, commercial loss or any other damages
from the use of this product.
This warranty is valid only if the product is used for its intended purpose and within the guidelines
specified in the supplied instruction manual. This warranty does not cover damage caused by accident,
neglect, misuse, improper service, natural forces or other causes not arising from defects in original
material or workmanship. This warranty does not cover motor brushes, fuses, light bulbs, batteries or
damage to paint or finish. Claims for transit damage should be filed with the transportation carrier.
In the event this product fails within the specified period of time because of a defect in material or
workmanship, contact Corning Customer Service at: USA/Canada 1.800.492.1110, outside the U.S.
+1.978.442.2200, visit www.corning.com/lifesciences, or contact your local support office.
Corning’s Customer Service team will help arrange local service where available or coordinate a return
authorization number and shipping instructions. Products received without proper authorization will
be returned. All items returned for service should be sent postage prepaid in the original packaging or
other suitable carton, padded to avoid damage. Corning will not be responsible for damage incurred by
improper packaging. Corning may elect for onsite service for larger equipment.
Some states do not allow limitation on the length of implied warranties or the exclusion or limitation
of incidental or consequential damages. This warranty gives you specific legal rights. You may have other
rights which vary from state to state.
No individual may accept for, or on behalf of Corning, any other obligation of liability, or extend the
period of this warranty.
For your reference, make a note of the serial and model number, date of purchase, and supplier here.
Serial No. __________________________________________ Date Purchased _______________________________________
Model No. _________________________________________ Supplier _____________________________________________
11.0 Equipment Disposal
According to Directive 2012/19/EU of the European Parliament and of the Council of 4 July 2012
on waste electrical and electronic equipment (WEEE), this product is marked with the crossed-out
wheeled bin and must not be disposed of with domestic waste.
Consequently, the buyer shall follow the instructions for reuse and recycling of waste electronic and
electrical equipment (WEEE) provided with the products and available at www.corning.com/weee.

To request certificates, please contact us at www.labnetlink.com.
Warranty/Disclaimer: Unless otherwise specified, all products are for research use only. Not intended
for use in diagnostic or therapeutic procedures. Corning Life Sciences makes no claims regarding the
performance of these products for clinical or diagnostic applications.
For additional product or technical information, visit www.corning.com/lifesciences or call 800.492.1110.
Outside the United States, call +1.978.442.2200 or contact your local Corning sales ofce.
www.labnetlink.com
For a listing of trademarks, visit www.corning.com/clstrademarks. All other trademarks are the property of their respective owners.
© 2021 Corning Incorporated. All rights reserved. 6/21 CLSLN-AN-1006DOC REV1
Corning Incorporated
Life Sciences
www.corning.com/lifesciences
NORTH AMERICA
t 800.492.1110
t 978.442.2200
ASIA/PACIFIC
Australia/New Zealand
t 61 427286832
Chinese Mainland
t 86 21 3338 4338
India
t 91 124 4604000
Japan
t 81 3-3586 1996
Korea
t 82 2-796-9500
Singapore
t 65 6572-9740
Taiwan
t 886 2-2716-0338
EUROPE
LATIN AMERICA
Brazil
t 55 (11) 3089-7400
Mexico
t (52-81) 8158-8400
This manual suits for next models
2
Table of contents
Other Labnet Paint Sprayer manuals