Laboratory 2,LTD
Version of 12.05.2020 Page 8
Run dict.exe program into the created directory and follow chapter 2.7 of this docu-
ment, create a configuration file named dict.ini.
Write down the created file dict.ini to the memory card.
Insert the memory card into the voice recorder and switch it on. The voice recorder will
read configuration file and save it to the internal memory. After reading the settings from the
file, the voice recorder will automatically remove it and continue to work in a user-
defined mode (indication as shown in Table 3).
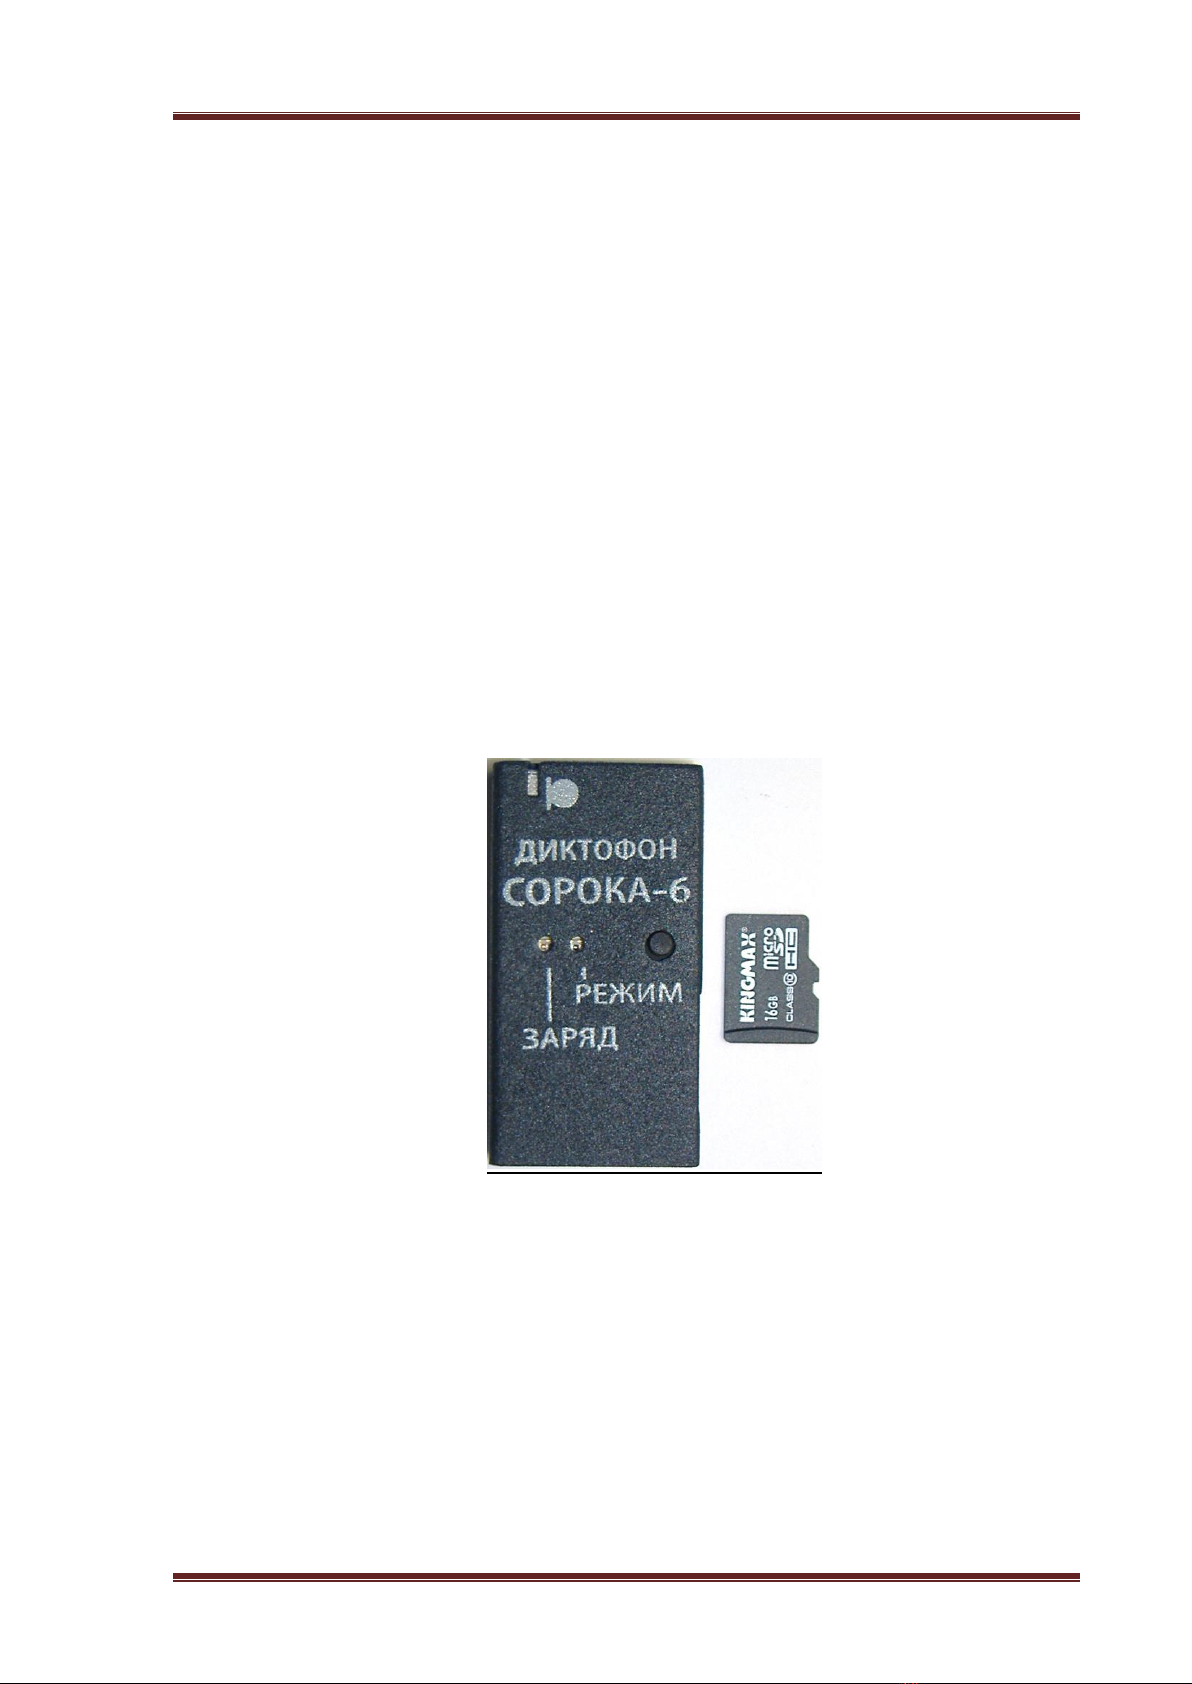
2.5 Usage of the voice recorder.
Insert the formatted under FAT32 micro SD card into the voice recorder.
Turn on the voice recorder by pressing the control button for 4 seconds. After turning on,
the voice recorder enters the operating mode which has been set by the user at the last setting
(c.2.4).
To display the current status of the voice recorder, briefly press the control button. The
current state is determined according to the indications on the table. 3.
To switch off the recorder, press the control button and hold it down till the mode
indicator stops flashing and goes out (indicator must either begin to turn solid green, or goes
off). Moreover, if the operation has been set for the alarm clock, the operation of all alarms is
canceled.
After switching off the voice recorder, remove the memory card from it and insert it into
a card reader. To decode the recorded files and verify their digital signatures, use the tab
"Decoding and verifying files integrity" of the program dict.exe. When using program,
please, read c. 2.8 of this document.
To listen to the audio files produced, use any player that supports "WAV" format
(recommended is SOUND FORGE version 6.0 and above).
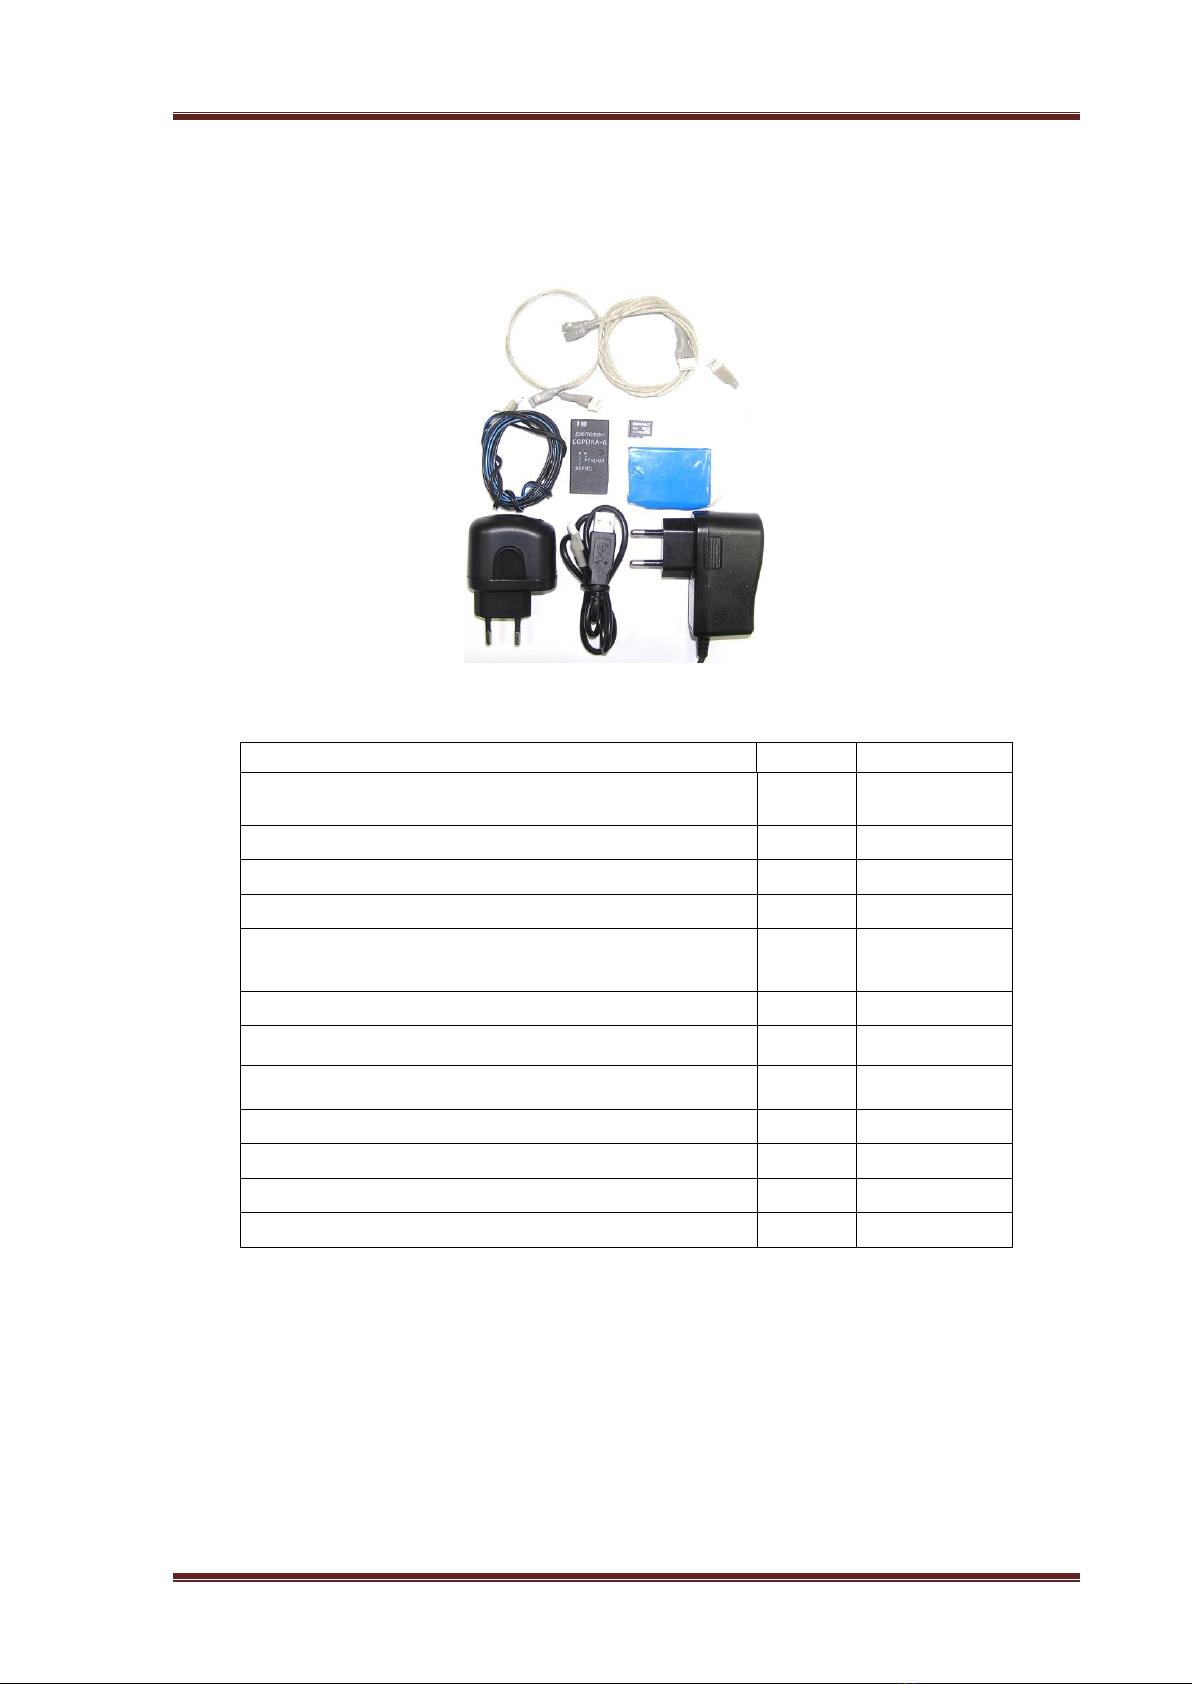
To use the external accumulator or power supply, simply connect the supplied
accumulator or power cable to the voice recorder and turn it on. The power cord must be
firstly connected to the external power supply voltage of 5 ... 28 V.
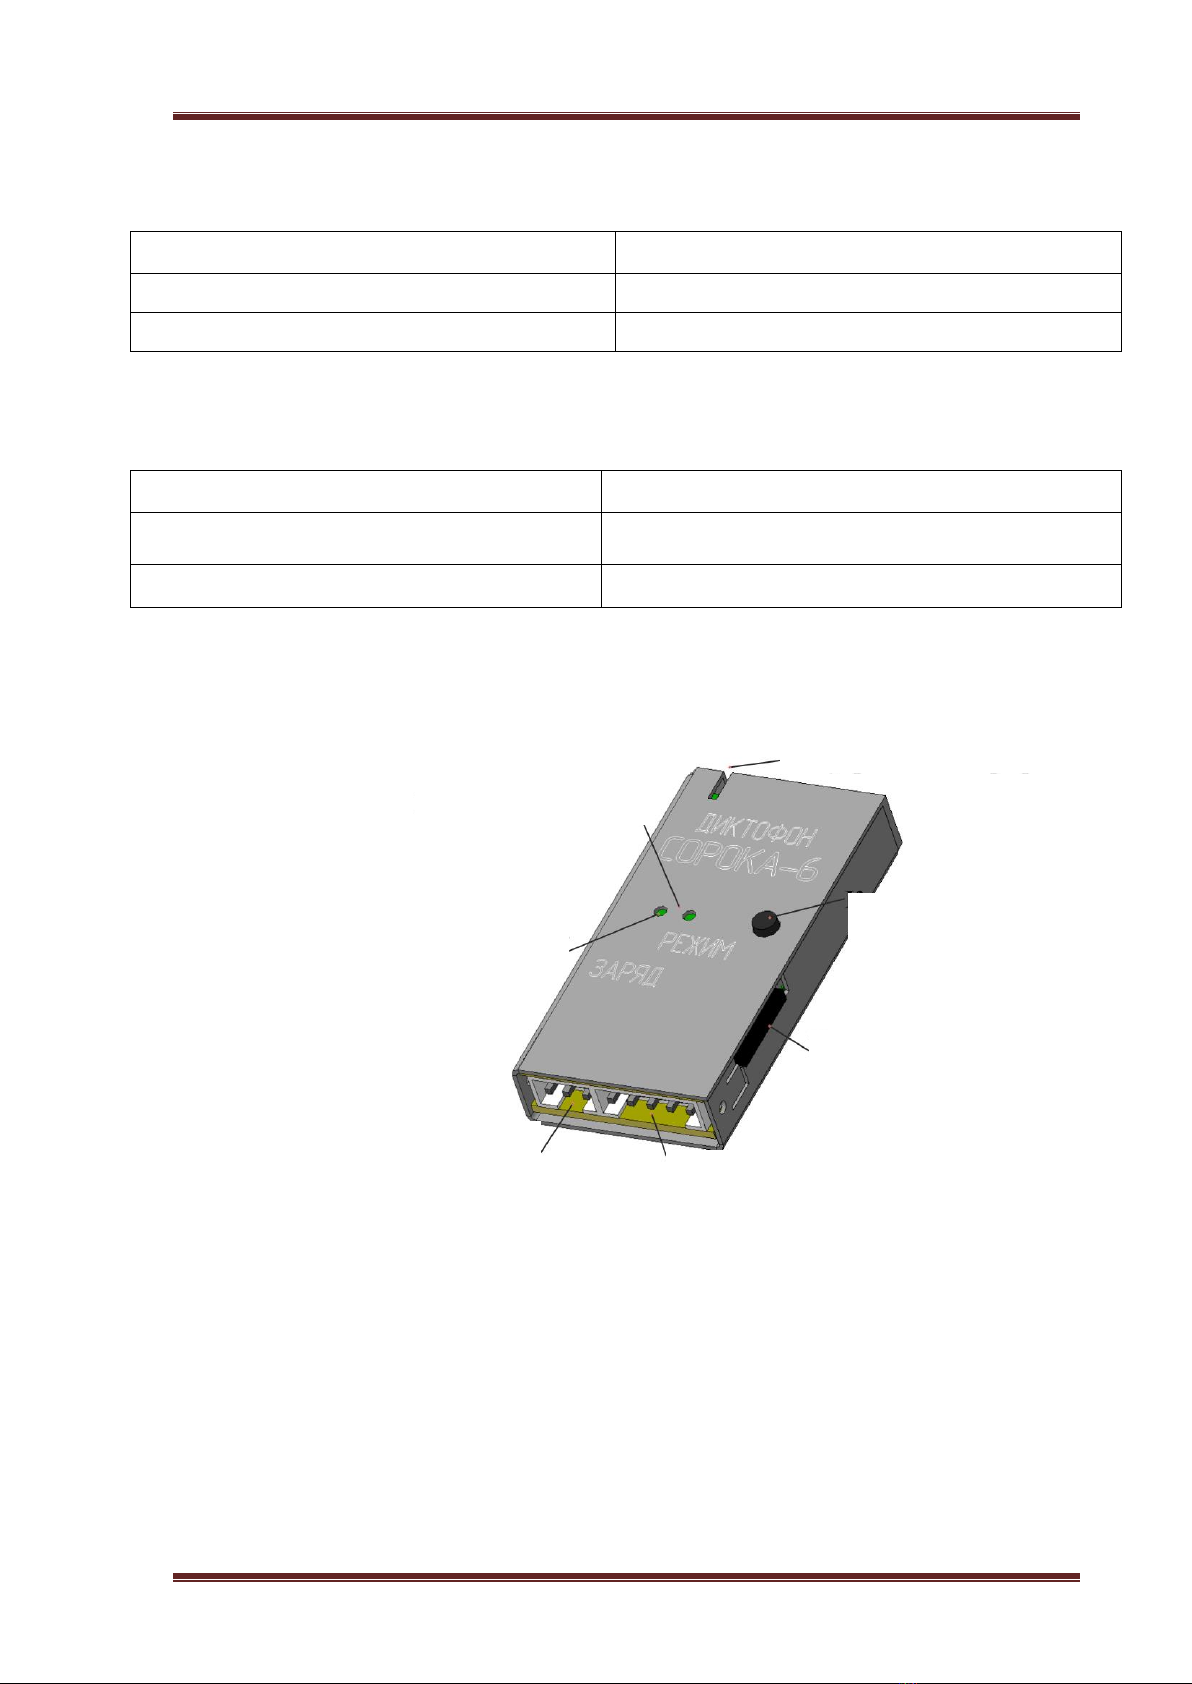
2.6 Selection of operation from the external microphones and mono / stereo recording
mode.
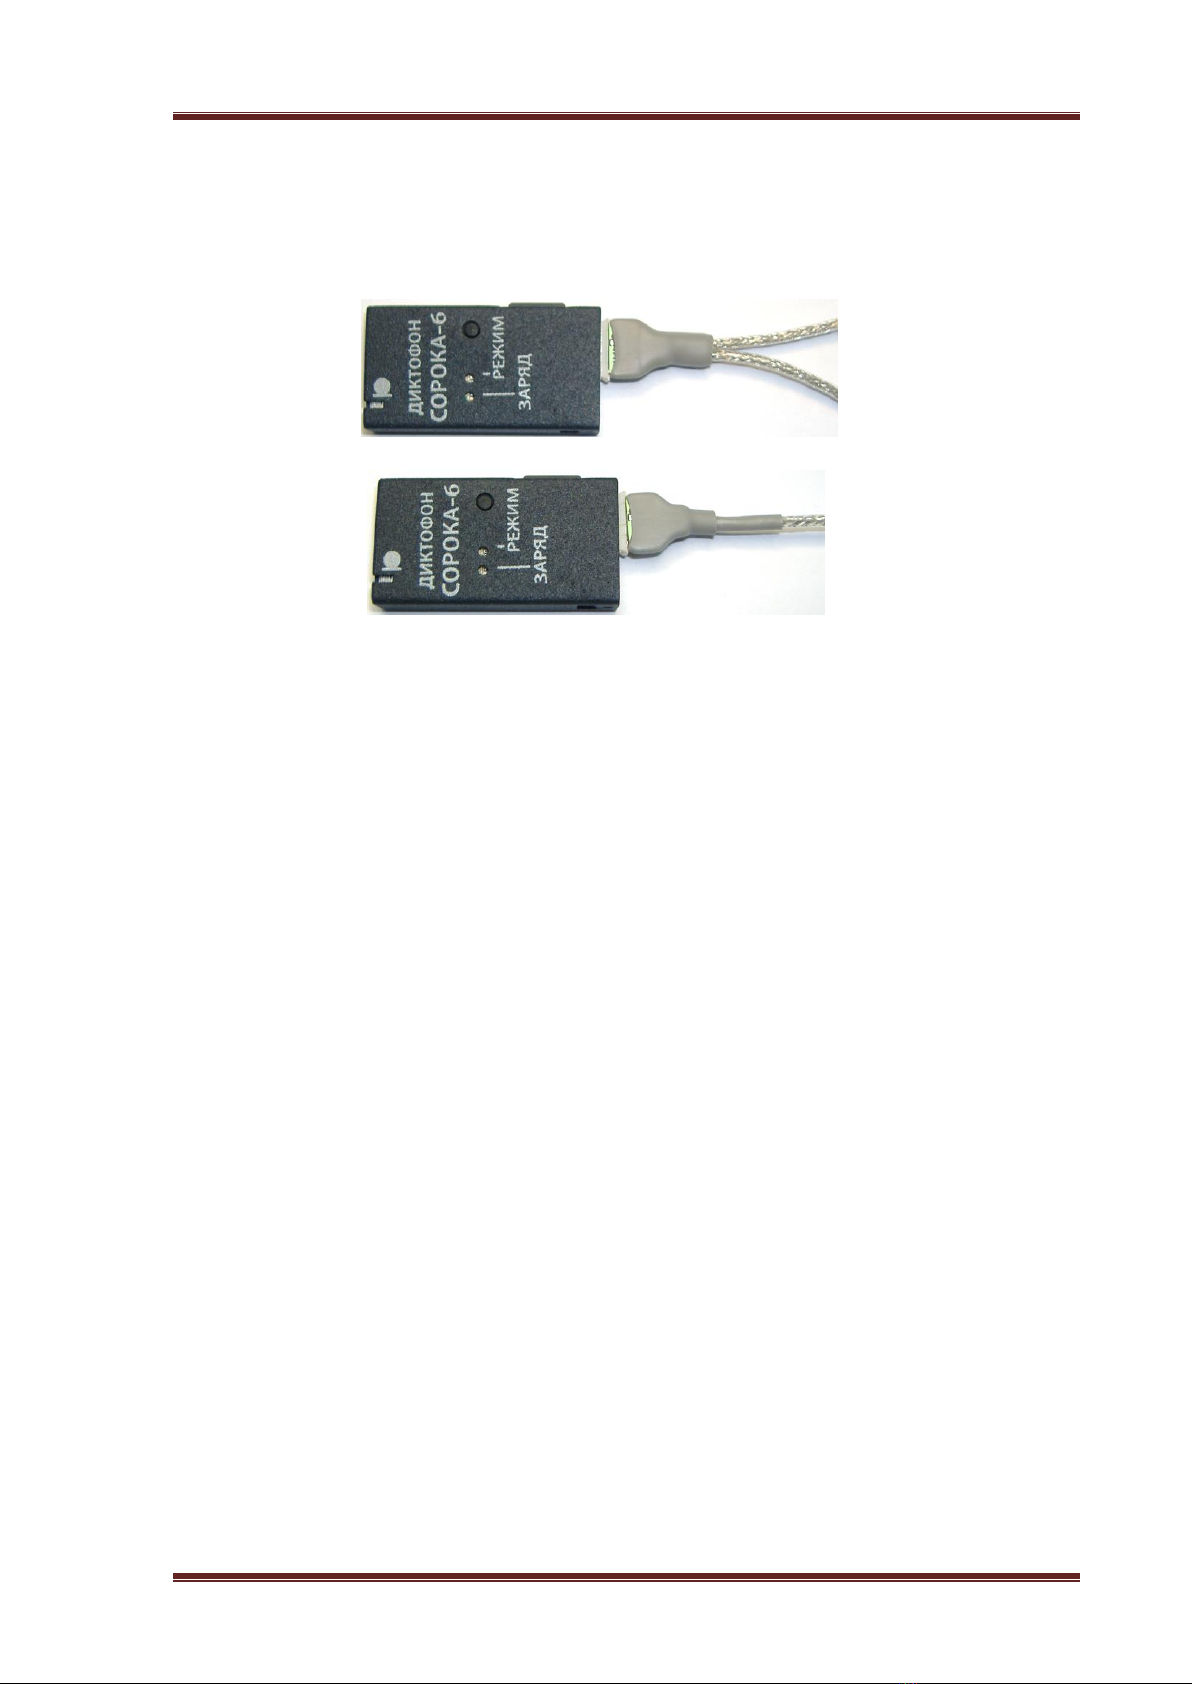
To record sound using the external microphone / microphones, it is necessary to connect
them to the voice recorder's connector before you start (see. Fig. 3). After turning on, the