manuals.online logo
Brands
  1. Home
  2. •
  3. Brands
  4. •
  5. Lacava
  6. •
  7. Plumbing Product
  8. •
  9. Lacava Cigno 1514S User manual

Lacava Cigno 1514S User manual

LACAVA®
6630 west wrightwood ave chicago il 60707 usa tel 773 637 9600 fax 773 637 9601 [email protected]om www.lacava.com
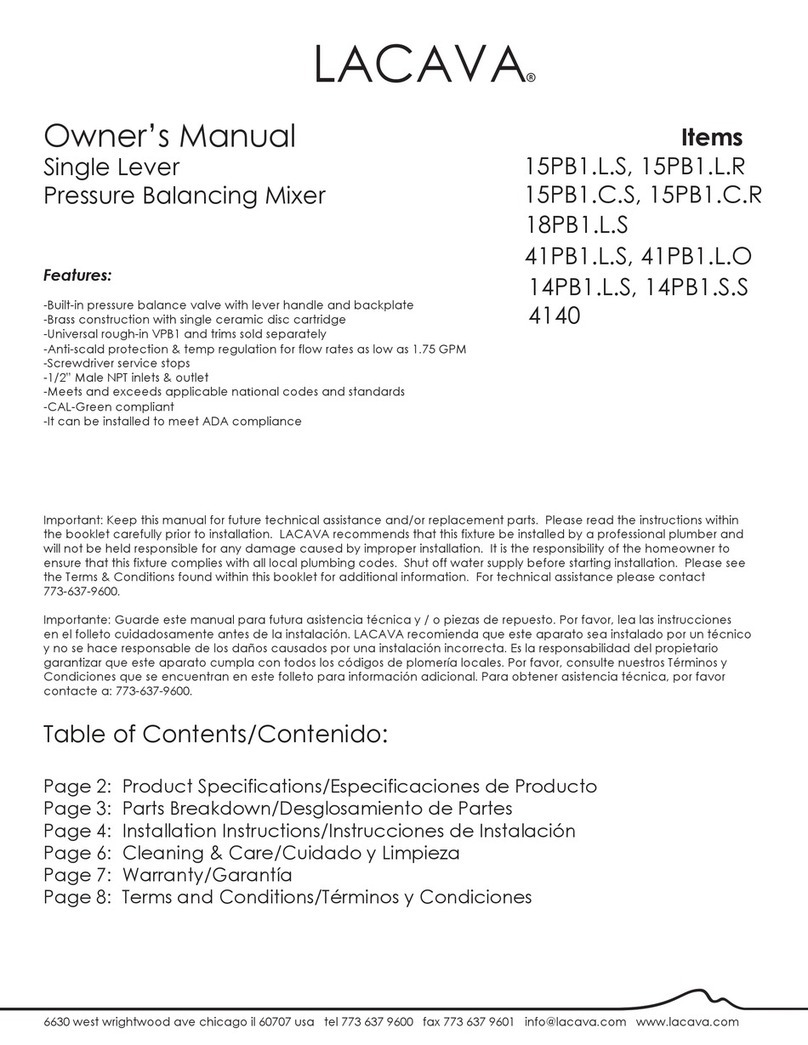
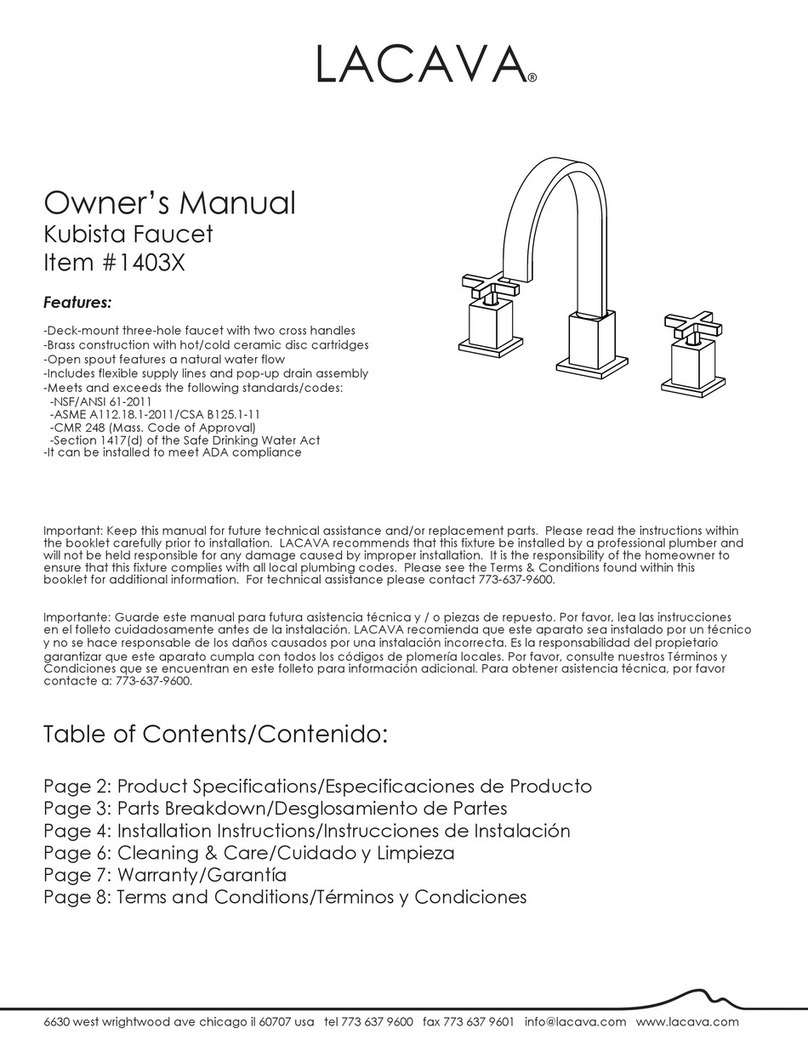
Owner’s Manual
Cigno Faucet
Item #1514S, 1514L
Important: Keep this manual for future technical assistance and/or replacement parts. Please read the instructions within
the booklet carefully prior to installation. LACAVA recommends that this fixture be installed by a professional plumber and
will not be held responsible for any damage caused by improper installation. It is the responsibility of the homeowner to
ensure that this fixture complies with all local plumbing codes. Shut off water supply before starting installation. Please see
the Terms & Conditions found within this booklet for additional information. For technical assistance please contact
773.637.9600.
Importante: Guarde este manual para futura asistencia técnica y / o piezas de repuesto. Por favor, lea las instrucciones
en el folleto cuidadosamente antes de la instalación. LACAVA recomienda que este aparato sea instalado por un técnico
y no se hace responsable de los daños causados por una instalación incorrecta. Es la responsabilidad del propietario
garantizar que este aparato cumpla con todos los códigos de plomería locales. Por favor, consulte nuestros Términos y
Condiciones que se encuentran en este folleto para información adicional. Para obtener asistencia técnica, por favor
contacte a: 773.637-9600.
Table of Contents/Contenido:
Page 2: Product Specifications/Especificaciones de Producto
Page 3: Parts Breakdown/Desglosamiento de Partes
Page 4: Installation Instructions/Instrucciones de Instalación
Page 6: Cleaning & Care/Cuidado y Limpieza
Page 7: Warranty/Garantía
Page 8: Terms and Conditions/Términos y Condiciones
Features:
-Wall-mount two-hole faucet with one lever handle
-Brass construction with single ceramic disc cartridge
-Flow rate: 1.2 GPM pressure compensating aerator
-Includes rough-in and trim
-Meets and exceeds the following standards/codes:
-NSF/ANSI 61-2011
-ASME A112.18.1-2012/CSA B125.1-12
-CMR 248 (Mass. Code of Approval)
-Section 1417(d) of the Safe Drinking Water Act
-It can be installed to meet ADA compliance
LACAVA 2
Product Specifications/Especificaciones de Producto
Note:
Drawings provided herein are meant to give the user an idea of the product and are not made to scale. The sizes in
inches are rounded up to the nearest 1/16.
Nota:
Los planos proporcionados en este documento tienen el propósito de dar al usuario una idea del producto y no
están hechos a escala. Los tamaños de pulgadas se redondean al más cercano 1 / 16.
1514S: 6 3/4” (170)
1514L: 9 5/8” (245)
2 3/4”
70
1 1/4”
32
1/2”
12
1 3/4”
45
1 1/2”
38
2 3/8”
60
3 3/8”
87
1 1/2”
37
1/2”
12
2 1/2”
67
1514S: 6 1/8 ” (155)
1514L: 9 ” (230)
Ø 1"
Ø 3"
77
4 3/8”
111
2 7/8”
Ø 2 1/4”
59
Ø 7/8”
22
2 x F 1/2"
H
C
3/4”
19
1 3/4”
46
Ø
3/4”
19
4 3/8”
111
1 1/4”
30
WALL THICKNESS
5/8”-1 1/4”
15-30
FINISHED WALL
LACAVA3
Parts Breakdown/Desglosamiento de Partes
Parts:
R054 - Replacement ceramic disc cartridge
1514S-A or 1514L-A - Complete trim set
1514S/L-B - Rough-in assembly
R1514-AER - Replacement aerator
Note:
Please reference this sheet and the corresponding part number when requesting parts.
Nota:
Por favor referirse a esta pagina y la parte correspondiente cuando ordene partes.
LACAVA 4
Installation Instructions/Instrucciones de Instalación
4. Remove the plaster guards and set up a bucket below the
spout opening to collect water.
5. Turn water supply on. Slowly open the cartridge and allow
the water to flow for a minute.
6. Close the valve and check for any leaks. Repair if necessary.
Turn water supply off.
7. Reattach the plaster guards to the rough-in and finish the
surrounding wall (use the plaster guards as a
guide for correct hole diameter).
8. Remove plaster guards once the finished wall is complete.
1. Determine the location of the valve. Make sure the center
of the valve will measure 1 1/4” - 1 3/4“ from the surface of
the finished wall. Then install supportive framing to mount
valve to. IMPORTANT: NO EXTENSIONS AVAILABLE.
2. Position the valve in the wall (check depth) and secure into
place on the support framing using the included screws.
3. Install 1/2”NPT threaded copper adapters to the hot & cold
inlets, applying teflon tape to all threaded connections.
Then solder copper piping onto adapters and run to
designated water supply or outlet.
IMPORTANT: Take the following precautions if soldering copper
piping directly onto valve:
a) Remove ALL components from the valve prior to soldering,
including plaster guards & cartridges.
b) Wrap valve body with cold rag before soldering. Take
special care not to overheat brass rough-in.
c) Use copper piping only, do not attempt to solder steel
piping to valve.
d) Flush the lines and reinstall all components after soldering.
1
2
3
4
4
1 1/4”- 1 3/4”
FINISHED WALL
Cold water
Hot water
10. Slide the escutcheon over the spout and
push it back until it is flush with the wall.
9. Insert the spout onto the spout base,
align and then tighten the screws into the rough-in.
11. Press the large escutcheon into place over the cartridge
housing until flush against the wall.
12. Press the handle onto the cartridge stem and then using
the provided Allen wrench, tighten the set screw to keep
in place, and then cover the hole with the cap.
13. If desired, place a small bead of silicone around outside
edge of each escutcheon.
14. Turn on the water supply and check for any leaks.
LACAVA5
Maintenance
AERATOR
In case the flow rate is low, please remove the aerator
by hand and clean the debris.
1
1 2 3
1
2
3
4
1
2
If the faucet leaks from the handle or drips from the spout,
please replace the cartridge as shown below.
Remove the screw cap
undo the set screw,
take the handle off
along with the handle cap.
Unscrew the cartridge
locking nut, and
take out the cartridge.
Place the new cartridge in,
replace the locking nut, and
reassemble the handle.

This manual suits for next models

1

Other Lacava Plumbing Product manuals

Lacava ELEGANZA 1845 User manual

Lacava

Lacava ELEGANZA 1845 User manual

Lacava ELEGANZA 1803 User manual

Lacava

Lacava ELEGANZA 1803 User manual

Lacava EX22 User manual

Lacava

Lacava EX22 User manual

Lacava BLOCK 4500G User manual

Lacava

Lacava BLOCK 4500G User manual

Lacava 13016FL User manual

Lacava

Lacava 13016FL User manual

Lacava ZOOM EX42-D1 User manual

Lacava

Lacava ZOOM EX42-D1 User manual

Lacava MINIMAL 0140 User manual

Lacava

Lacava MINIMAL 0140 User manual

Lacava Cigno 1595.1 User manual

Lacava

Lacava Cigno 1595.1 User manual

Lacava 4288 User manual

Lacava

Lacava 4288 User manual

Lacava EX25A User manual

Lacava

Lacava EX25A User manual

Lacava ARCH 13013 User manual

Lacava

Lacava ARCH 13013 User manual

Lacava 1586 User manual

Lacava

Lacava 1586 User manual

Lacava Libera 5301 User manual

Lacava

Lacava Libera 5301 User manual

Lacava TORRE 5150P User manual

Lacava

Lacava TORRE 5150P User manual

Lacava 14D2.L.S User manual

Lacava

Lacava 14D2.L.S User manual

Lacava TORRE 5125 User manual

Lacava

Lacava TORRE 5125 User manual

Lacava ARCH 12340.1 User manual

Lacava

Lacava ARCH 12340.1 User manual

Lacava Kubista 1403X User manual

Lacava

Lacava Kubista 1403X User manual

Lacava Kubista 1424L User manual

Lacava

Lacava Kubista 1424L User manual

Lacava CIGNO VPB1 Series User manual

Lacava

Lacava CIGNO VPB1 Series User manual

Lacava 1586.1 User manual

Lacava

Lacava 1586.1 User manual

Lacava EX20A User manual

Lacava

Lacava EX20A User manual

Lacava EX31 User manual

Lacava

Lacava EX31 User manual

Lacava Libera 5302 User manual

Lacava

Lacava Libera 5302 User manual

Popular Plumbing Product manuals by other brands

Moen SANI-STREAM 8797 manual

Moen

Moen SANI-STREAM 8797 manual

Grohe Allure Brilliant 19 784 manual

Grohe

Grohe Allure Brilliant 19 784 manual

Cistermiser Easyflush EVO 1.5 manual

Cistermiser

Cistermiser Easyflush EVO 1.5 manual

Kohler Triton Rite-Temp K-T6910-2A installation guide

Kohler

Kohler Triton Rite-Temp K-T6910-2A installation guide

BEMIS FNOTAB100 Installation instruction

BEMIS

BEMIS FNOTAB100 Installation instruction

Hans Grohe ShowerTablet Select 700 13184000 Instructions for use/assembly instructions

Hans Grohe

Hans Grohe ShowerTablet Select 700 13184000 Instructions for use/assembly instructions

Akw Stone Wash Basin Installation instructions manual

Akw

Akw Stone Wash Basin Installation instructions manual

Enlighten Sauna Rustic-4 user manual

Enlighten Sauna

Enlighten Sauna Rustic-4 user manual

Moen ShowHouse S244 Series quick start guide

Moen

Moen ShowHouse S244 Series quick start guide

Sanela SLWN 08 Mounting instructions

Sanela

Sanela SLWN 08 Mounting instructions

Franke 7612982239618 operating instructions

Franke

Franke 7612982239618 operating instructions

Heritage Bathrooms Granley Deco PGDW02 Fitting Instructions & Contents List

Heritage Bathrooms

Heritage Bathrooms Granley Deco PGDW02 Fitting Instructions & Contents List

Tres TOUCH-TRES 1.61.445 instructions

Tres

Tres TOUCH-TRES 1.61.445 instructions

STIEBEL ELTRON WS-1 Operation and installation

STIEBEL ELTRON

STIEBEL ELTRON WS-1 Operation and installation

Miomare HG00383A manual

Miomare

Miomare HG00383A manual

BELLOSTA revivre 6521/CR1 quick start guide

BELLOSTA

BELLOSTA revivre 6521/CR1 quick start guide

American Standard Heritage Amarilis 7298.229 parts list

American Standard

American Standard Heritage Amarilis 7298.229 parts list

BorMann Elite BTW5024 quick start guide

BorMann

BorMann Elite BTW5024 quick start guide

manuals.online logo
manuals.online logoBrands
  • About & Mission
  • Contact us
  • Privacy Policy
  • Terms and Conditions

Copyright 2025 Manuals.Online. All Rights Reserved.