Lafferty 925025-E Installation instructions
Lafferty Equipment Manufacturing, LLC
Installation & Operation Instructions
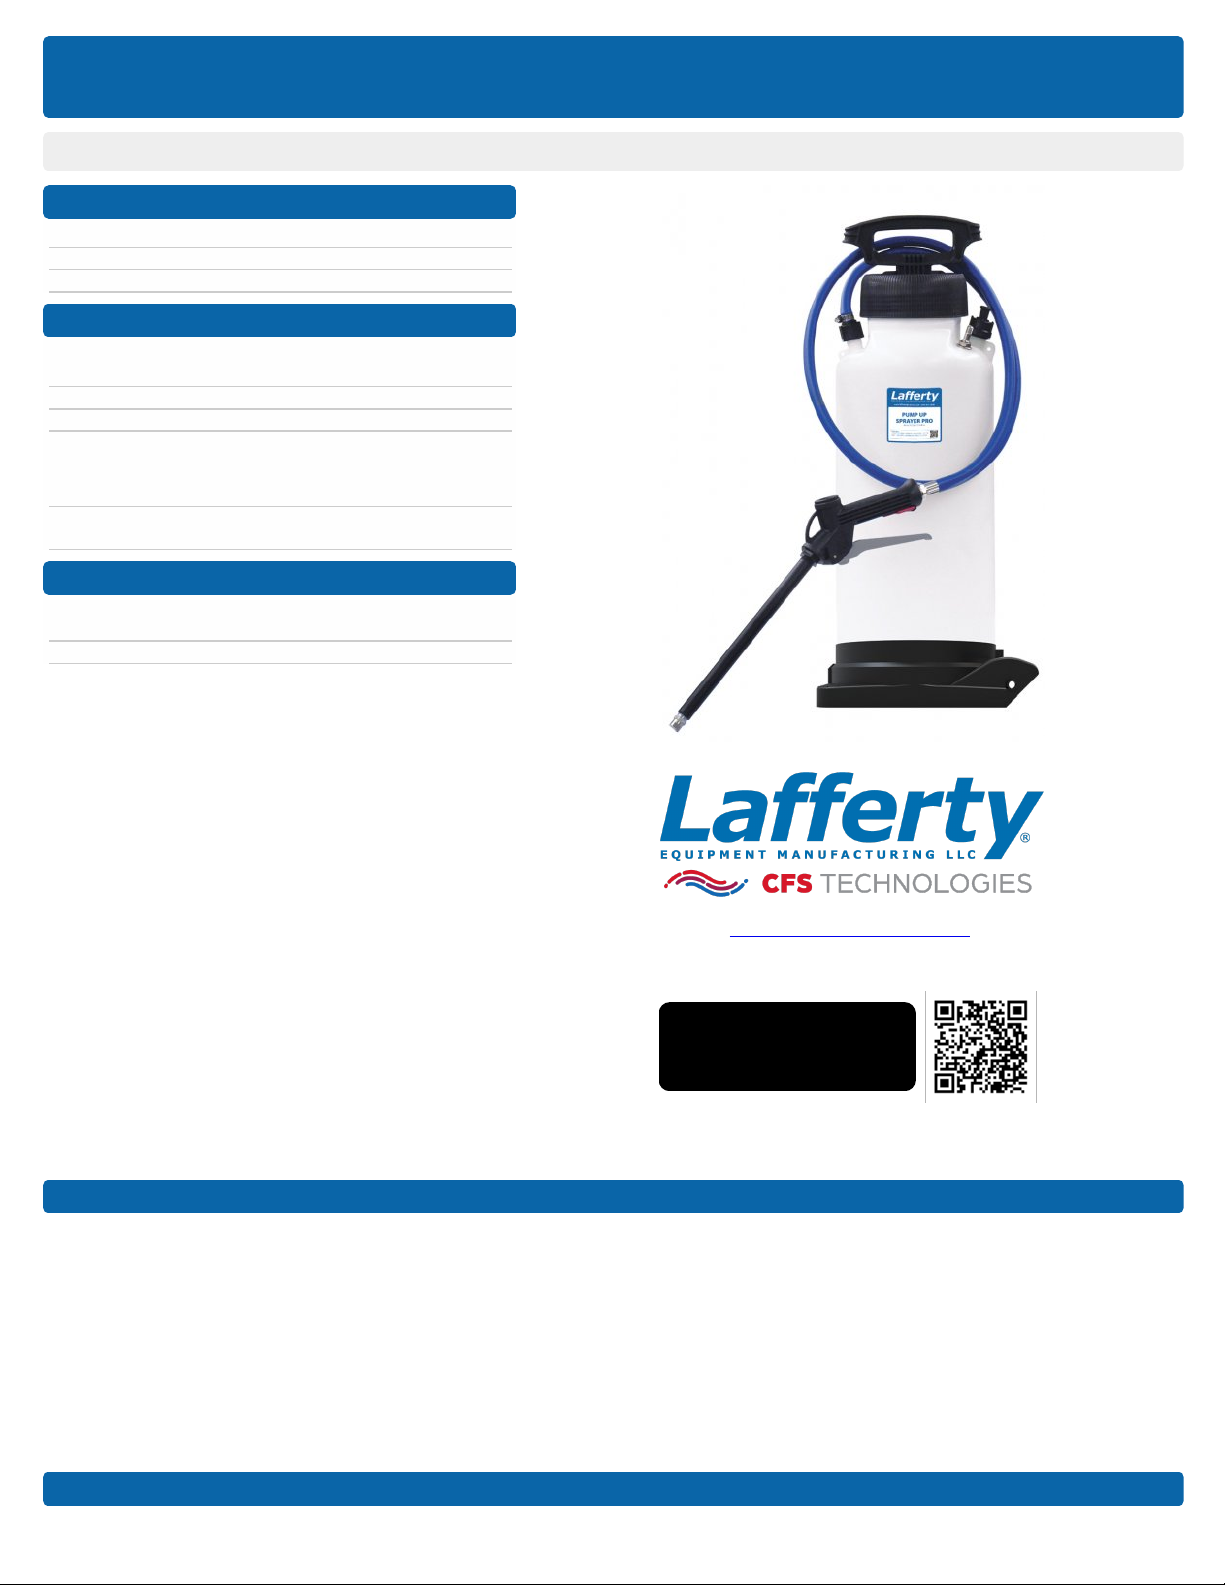
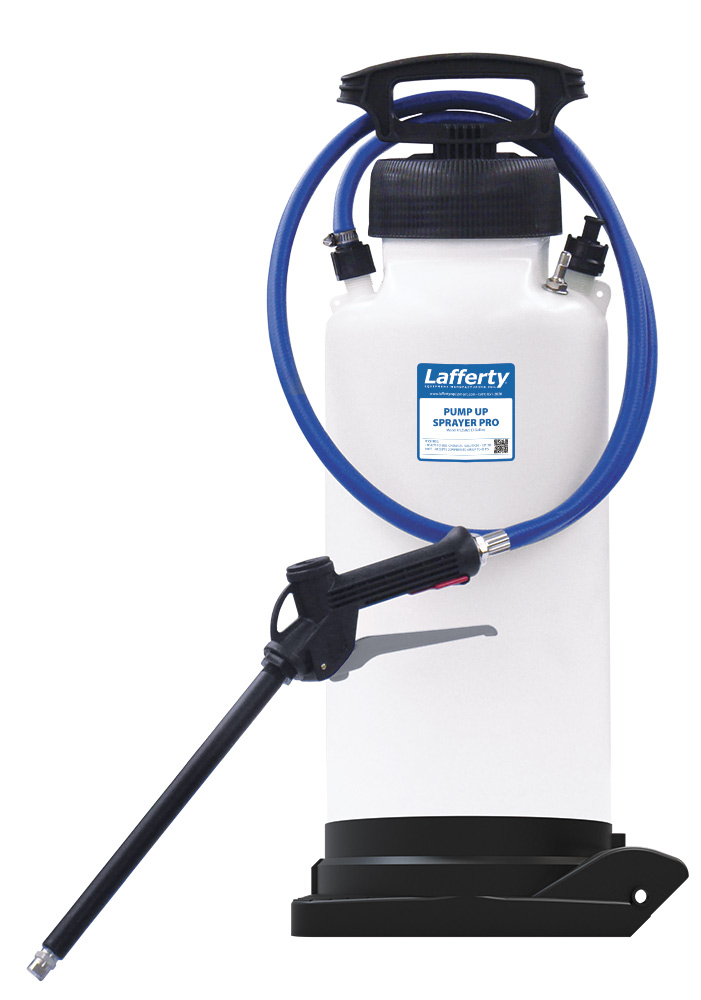
Model # 925025-E · Pump Up Sprayer Pro, 3 Gallon (EPDM Seals)
# 709040
# 709040-E
# 709049
# 985100
# 981100
REQUIREMENTS
Ready-to-Use Chemical Solution
Temperature up to 120°F
Accepts Compressed Air up to 45 PSI
OPTIONS
Repair Kit
O Ring & Seal Repair Kit (Viton)
O-Ring & Seal Repair Kit (EPDM)
Silicone Lubricant, 5 Gram Tube
Proportioning / Filling Options
1-Way Ball Valve Mixing Station (4
GPM)
1-Way Push Lever Mixing Station (4
GPM)
WEIGHT & DIMENSIONS
Single Package
Shipping Weight 9 lbs.
Shipping Dimensions 11" x 11" x 32"
www.laffertyequipment.com
501-851-2820
OVERVIEW
The 3 Gallon Pump-Up Sprayer Pro is a heavy-duty, portable spray applicator for applying ready-to-use chemicals on to any surface. Includes EPDM o-rings and
internal seals. This professional model features a more durable 6' hose, trigger gun, wand, and fan nozzle compared to your typical pump-up sprayer. Equipped with a
compressed air "quick charge" valve to eliminate pumping if compressed air is available.
W AR N I N G ! R E A D A L L
I N S T R U C T I O N S B E F O R E
U S I N G E Q U I P M E N T !
Lafferty Equipment Manufacturing, LLC • 5614 Oak Grove Road • North Little Rock, Arkansas 72118

SAFETY & OPERATIONAL PRECAUTIONS
Manufacturer assumes no liability for the use or misuse of this unit.
Wear protective clothing, gloves and eye wear when working with chemicals.
Always direct the discharge away from electrical devices and people/animals (as appropriate)
Follow the chemical manufacturer's safe handling instructions.
SPECIAL PRECAUTIONS
This high density polyethylene unit is fitted with EPDM seals. Chemicals and lubricants not compatible with polyethylene or EPDM should not be used. (Viton seals are available
for separate purchase.)
Do not alter pressure relief valve or plug valve hole.
Regularly lubricate pressure relief valve with a non-water-soluble grease (such as a silicone compound) and ensure proper operation, using water in the tank, prior to each use.
Regular lubrication of cap seal and threads with a non-water-soluble grease will help ensure proper sealing of cap.
Do not lift or carry by the hose or trigger gun.
Securely tighten pump: loose pump can be forcibly ejected.
Carefully follow chemical manufacturer's safe handling instructions and recommended precautions/practices when using flammable chemicals. Do not use hot liquids.
Do not exceed 45 psi pressure and do not inflate without liquid in the tank
Do not fill the tank over 3/4 full. Relieving pressure in an overfill condition can cause harmful venting of contents.
Never stand with face or body over the top of tank when loosening pump or relieving pressure.
After pumping, be sure the handle is in the locked down position
On completion of operation, with the tank in the upright position, relieve pressure in the tank by gently pulling up on the pressure relief valve on the side of the tank.
WARNING
This unit is equipped with a built-in inflation valve and can be pressurized using an air compressor. Extra caution is required when using a compressor, as the unit will be pressurized
much more rapidly than when hand-pumping. Failure to follow the following procedure could result in serious injury to the operator or others.
1. Before each use of a compressor be certain that:
a. The umbrella valve, located at the bottom of the cylinder, is installed and functioning properly.
b. The pump assembly is screwed tightly to the tank.
c. The pressure relief valve is functioning properly. Check by pulling up on the valve until the red stem shows. The valve stem should move freely and spring back to its original
position when released.The O-ring and valve stem must be greased.
d. Check the hose clamp and tighten if loose.
2. Additional Precautions:
a. Do not stand over the pump handle while pressurizing with an air compressor or while releasing the handle from the locked position. Compressed air can cause the pump
handle to pop up upward if the umbrella valve is worn or damaged or if the pressure relief valve is not functioning.
b. Do NOT leave the airline attached to the tank during operation.
TO INSTALL (REFER TO DIAGRAM ON NEXT PAGE)
1. Turn pump lid counterclockwise to remove pump and lid.
NOTE: Do not remove or tighten the lid using the handle. Rotational force on the handle can cause damage.
2. Add chemical solution to the tank. Leaving extra "air space" in the tank and less chemical will give longer spraying time between re-pressurizing. DO NOT FILL THE TANK
OVER 3/4 FULL (75%) .
3. Tighten cap and pump for a good seal. Regular lubrication of cap seal and threads will help ensure proper sealing and removal of cap.
NOTE: It is a good idea to thoroughly rinse out the tank, fill with water, partially re-pressurize, and discharge to flush out the entire hose/nozzle assembly after use
and before storing sprayer. When using aggressive or corrosive chemicals never leave chemical solution in the tank after use.
TO OPERATE
1. Pump up sprayer manually until the pressure relief valve starts to rise/relieve. Pressurize less if a lighter spray pressure and volume is desired.
2. Pull the trigger to start and stop spraying. Re-pump up as spray begins to slow down.
3. On completion of spraying, with the tank in the upright position, relieve pressure in the tank by gently pulling up on the pressure relief valve on the side of the tank.
4. Prior to every refill of the tank, pull up on relief valve to ensure it is depressurized before removing the lid and pump.
5. To store: Partially fill the tank with fresh water and pump it up. Pull the trigger and rinse the sprayer out.
WHEN USING AN AIR COMPRESSOR: Place pump handle in the unlocked position and pressurize slowly till the pop-off valve starts to rise. If the pump handle rises...DISCONTINUE
PRESSURIZING! Relieve pressure by pulling up on the pressure relief valve, remove pump and check the umbrella valve for wear or damage. Do not pressurize until worn or damaged
parts have been replaced and the handle does not rise during pressurization.
925025-E • Pump Up Sprayer Pro, 3 Gallon (EPDM Seals)
- Page 2 -

925025-E • Pump Up Sprayer Pro, 3 Gallon (EPDM Seals)
- Page 3 -
Troubleshooting Guide
Problem Possible Cause / Solution
Startup Maintenance
A) Sprayer sputtering
B) No output / unit will not spray
C) Tank will not pressurize and/or hold pressure
1
1
2
2
2
Possible Cause / Solution
Startup Maintenance
1. Not enough air pressure
Pump up the sprayer several strokes
Less liquid in the tank will allow for more air pressure to
build and spray for longer
The air relief valve will rise when maximum pressure is
achieved
2. Air leaks due to loose lid, worn or damaged
components/fittings
Ensure lid is snug, but not overtight. Lubricate the lid
and pressure relief o-rings. Order repair kit and replace
damaged o-rings, gaskets, umbrella valve etc. See page
3 for part numbers
Refer to the Pump-Up O-Ring Replacement Guide
http://appequip.net/uploads/documents/pump-up-o-ring-
replacement.pdf
The o-ring on the piston (inside the shaft) creates
pressure and should be kept well-lubricated since it is
exposed to friction from pumping. Replace as needed.
The umbrella valve on the bottom of the piston shaft
holds pressure in the tank and needs to form a tight
seal. Do not scratch the valve seat! Replace as
needed.
Ensure that your chemical and lubricant are compatible
with the o-ring seals for this equipment. Incompatible
chemicals or lubricants can quickly degrade the o-rings.
PREVENTIVE MAINTENANCE: * Prior to storage, empty, clean and dry the foamer. * Lubricate o-ring in pressure relief valve and the piston/cylinder
with a compatible non-water soluble grease (such as a silicone lubricant) on a regular basis. * Lubricate tank cap threads and both sides of the gasket
to achieve a tight seal and to ease tightening and loosening. * Replace cracked or damaged seals before use.
925025-E • Pump Up Sprayer Pro, 3 Gallon (EPDM Seals)
June 16th 2023 - Page 4 -
Table of contents
Other Lafferty Paint Sprayer manuals

Lafferty
Lafferty 925025 Installation instructions

Lafferty
Lafferty Pump Up Sprayer Pro Installation instructions

Lafferty
Lafferty 931108FPS Installation instructions

Lafferty
Lafferty Pump Up Sprayer Pro Installation instructions

Lafferty
Lafferty A-40 SS Installation instructions

Lafferty
Lafferty A-40 SS Installation instructions

Lafferty
Lafferty 901008 Installation instructions
Popular Paint Sprayer manuals by other brands


Bonide
Bonide 051 Operation and service instructions

zogics
zogics Z-DAS instruction manual

KISANKRAFT
KISANKRAFT KK-KBS-165 Operation manual

Matrix
Matrix SG 650 Translation of the original instructions

Anest Iwata
Anest Iwata SGA-3 Installation, use & maintenance instruction manual

paasche
paasche VV Instructions and parts list


