Laipac Technology Inc.
20 Mural Street, Unit 5, Richmond Hill Ontario L4B 1K3 Canada
Tel:
905-762-1228
|
Fax:
905-763-1737 | E-mail: [email protected] | http://www.laipac.com 3
Content
1. Knowing about your S911 LOLA
2. Getting Started
2.1 Setup Summary
2.2 Requested by the set-up process
2.3 Charging the Battery
2.4 Installation of the SIM Card
3. Installation of utility software
3.1 Introduction to utility software
3.2 How to get utility software
3.3 Installation of utility software
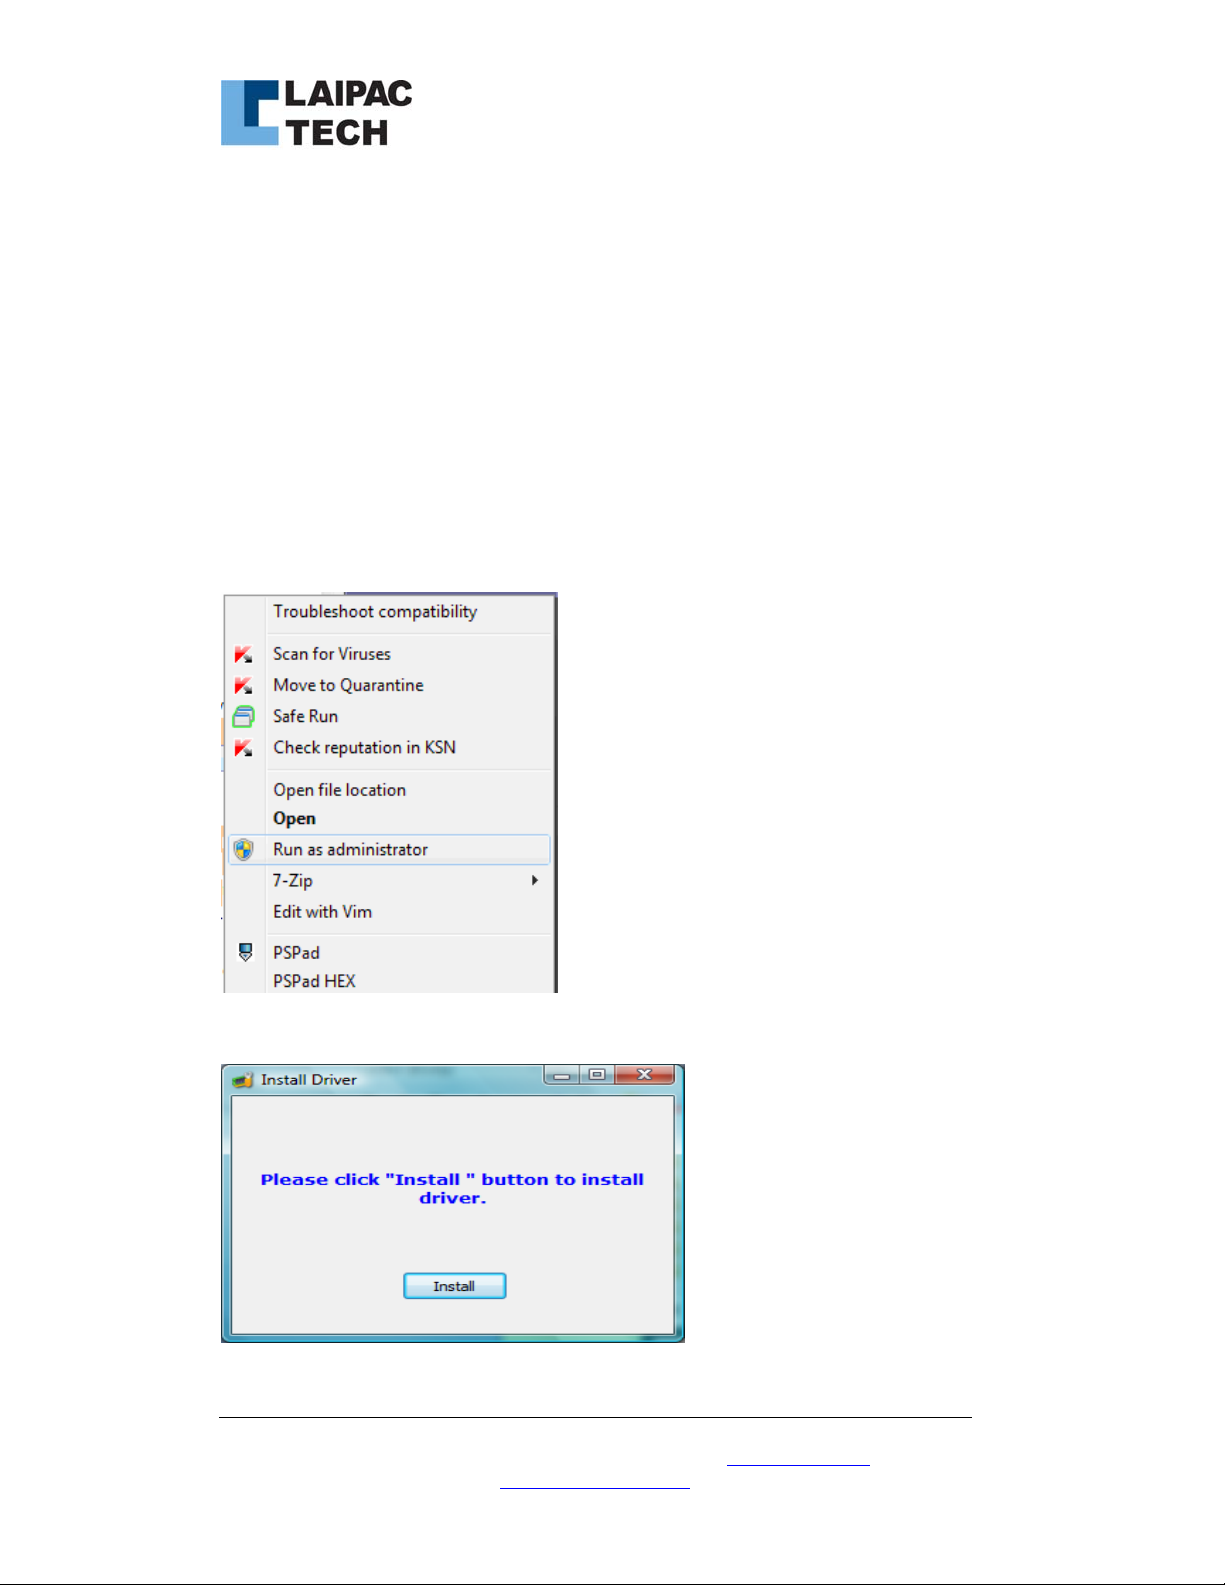
4. Installation of USB driver
4.1 Installing USB driver on PC with Windows 7 (Automatically)
4.2 Installing USB driver on PC with Windows 7 (Manually)
4.3 Installing USB driver on PC with Windows XP
5. How to start configuration of your unit
5.1 Enter into utility
5.2 Action on S911 LOLA (unit)
6. Quick configuration of your unit
6.1 General setting menu
6.2 Save the setting to unit
6.3 Read the unit’s existing configuration
6.4 Save utility’s setting to a file reside in utility’s database
6.5 Load a configuration file reside in utility’s database
6.6 Save utility’s setting to a file on user’s computer
6.7 Load a configuration file from user’s computer
7. Know more about configuration of LOLA
8. Go to LocationNow
9. Introduction to function buttons
10. LED indicator, vibrator and unit’s working status
11. Firmware Update
11.1 Get new LOLA application firmware
11.2 Update firmware