7
USING THE COFFEE POD MACHINE FOR THE FIRST TIME
• Unpack the Coffee Pod Machine, remove all the packaging materials.
• Before rst use, wipe the main unit with a clean damp cloth.
• Wash the water tank, water tank lid, drip tray, drip plate, used capsule container in hot
soapy water, rinse and dry thoroughly.
• Make sure all parts are clean and dry before assembling the product.
• Place the appliance on a dry, level heat resistant surface.
ADJUSTING THE DRIP TRAY AND DRIP PLATE
• The drip tray can be used in the down position for espresso cups and pivoted upwards
for coffee mugs and glasses.
• Hold the drip tray and plate at the end and general move it upwards.
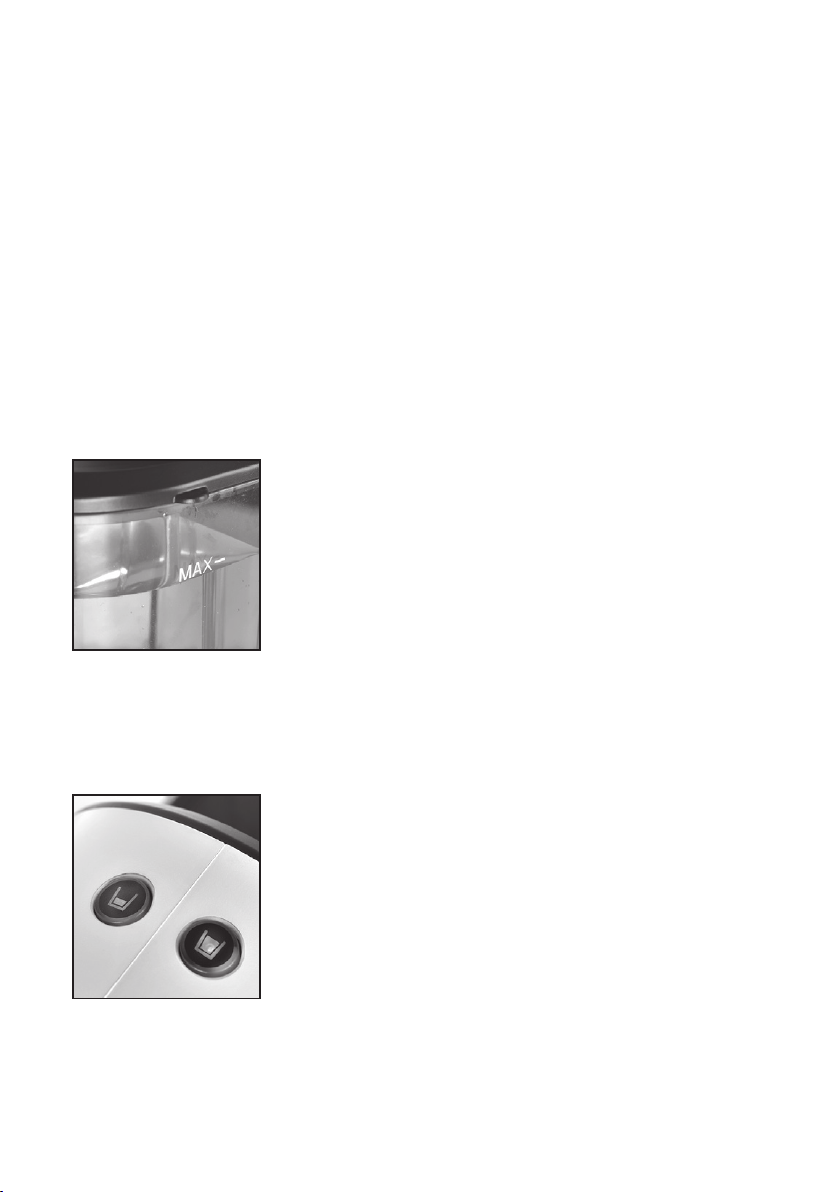
FILLING THE WATER TANK
• Before rst use, the ll the water tank with fresh cold water.
• Remove the water tank lid and ll to the MAX mark and
then replace the lid.
• The water tank can be removed from the appliance for
easier lling or cleaning. Lift the whole tank straight up
from the appliance.
• To replace the removable water tank make sure the groove
lip is located over the notch on the back of the appliance.
• WARNING: To avoid the risk of burning or scalding from hot coffee or steam DO NOT
ll beyond the MAX mark, or the appliance may spit boiling water. Always make sure it
is lled above the MIN mark.
START-UP MODE
• Plug in and switch on at the socket. The button icons will
ash twice (0.5s on, 0.5s off, cycle ashing; referred to as
slow ashing).
• After about 2 seconds if everything is correct, the button
icons will go off and then enter into the power saving mode.
• If there is a problem, the button icons will turn on for
0.20s and turn off for 0.20s cycling ash (referred to
as ash quickly).
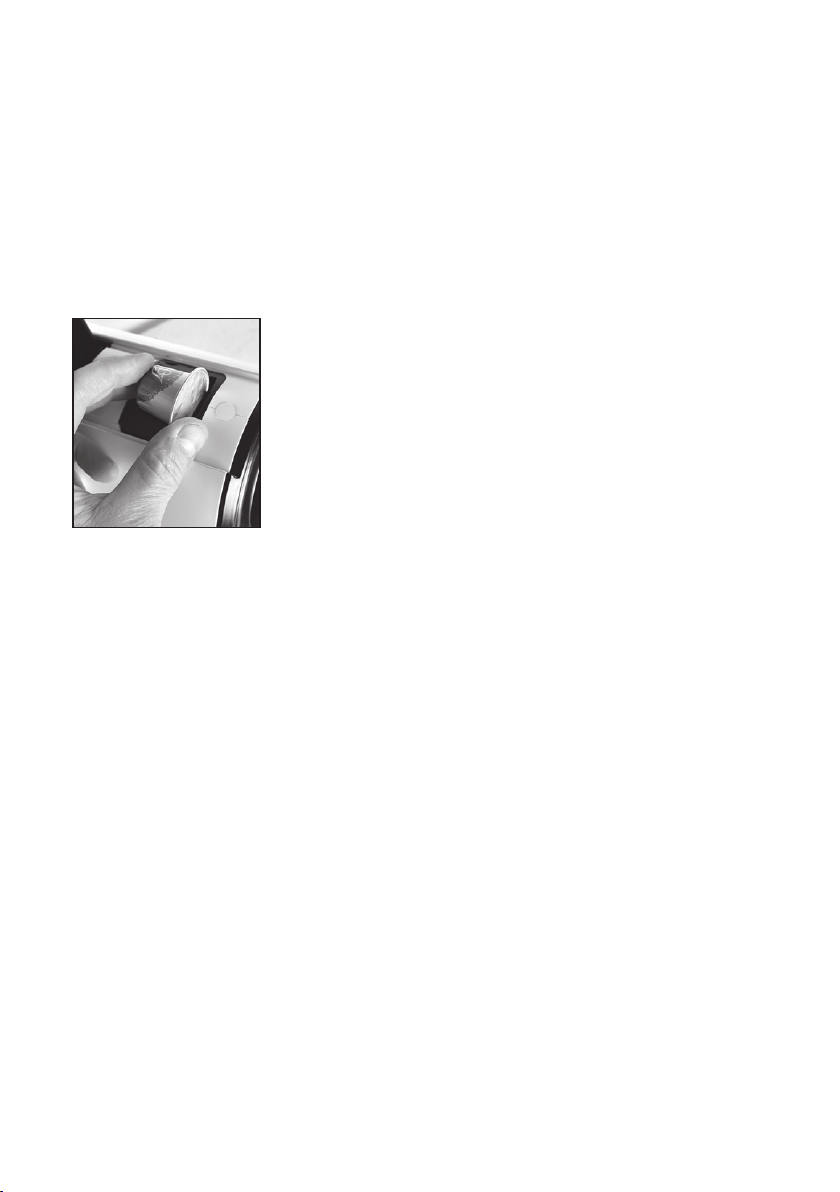
• If
you press the Espresso button (small cup) and Lungo
button (large cup) together, at the same time by mistake, you will have entered into a
cleaning function, both the button icons will ash alternatively, continuously. Switch off
and unplug the appliance at the wall for 5 minutes to reset.
• During the this mode, if there is no operation for 5 minutes, the button icons will
go out
at the same time, and the appliance will automatically enter the power saving mode.