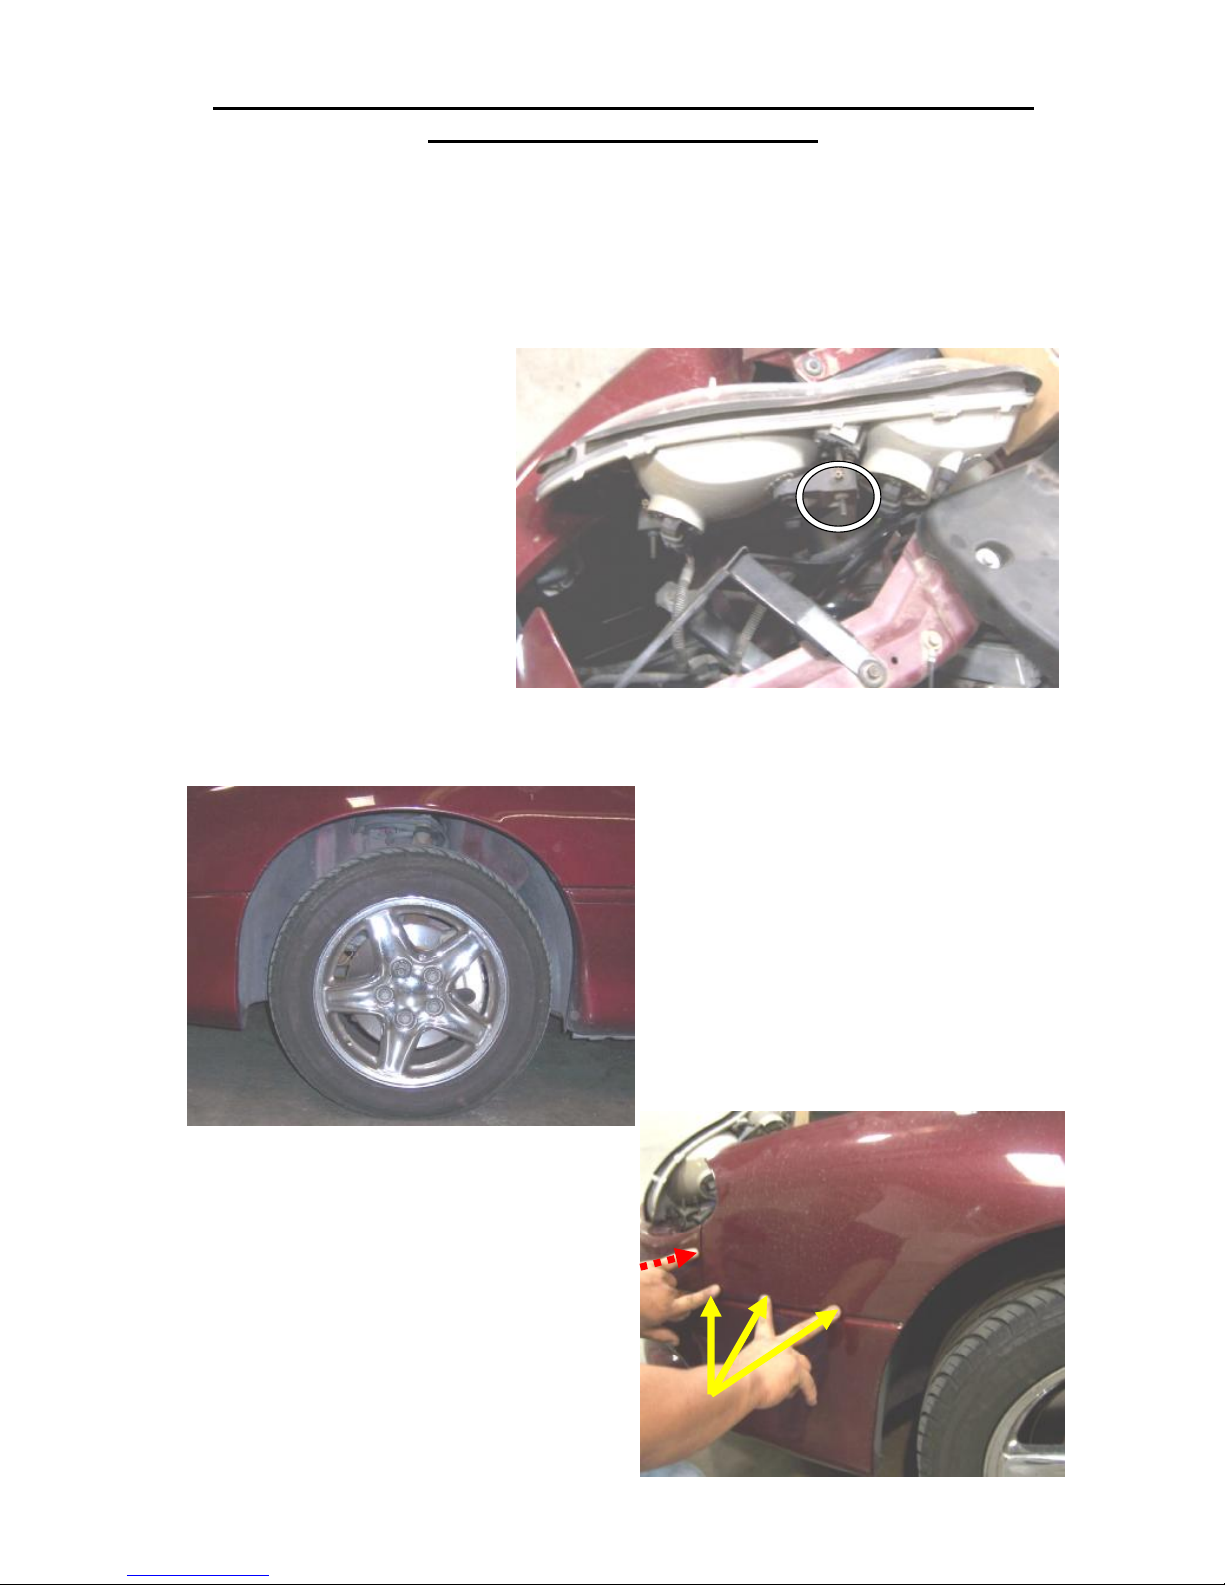
4) ModifyApron:
InorderforthenewVerticalDoorInc.
systemtosit properlyyouwillhaveto
cuttheapron(about5” inlengthand
1”-3”indepth). Aftercuttingtheapron
usea grindertoremoveanysharp
edges. (VDInotresponsibleforany
errors)
Usea 10mm bolttoremovethefender
holddownasshowed.
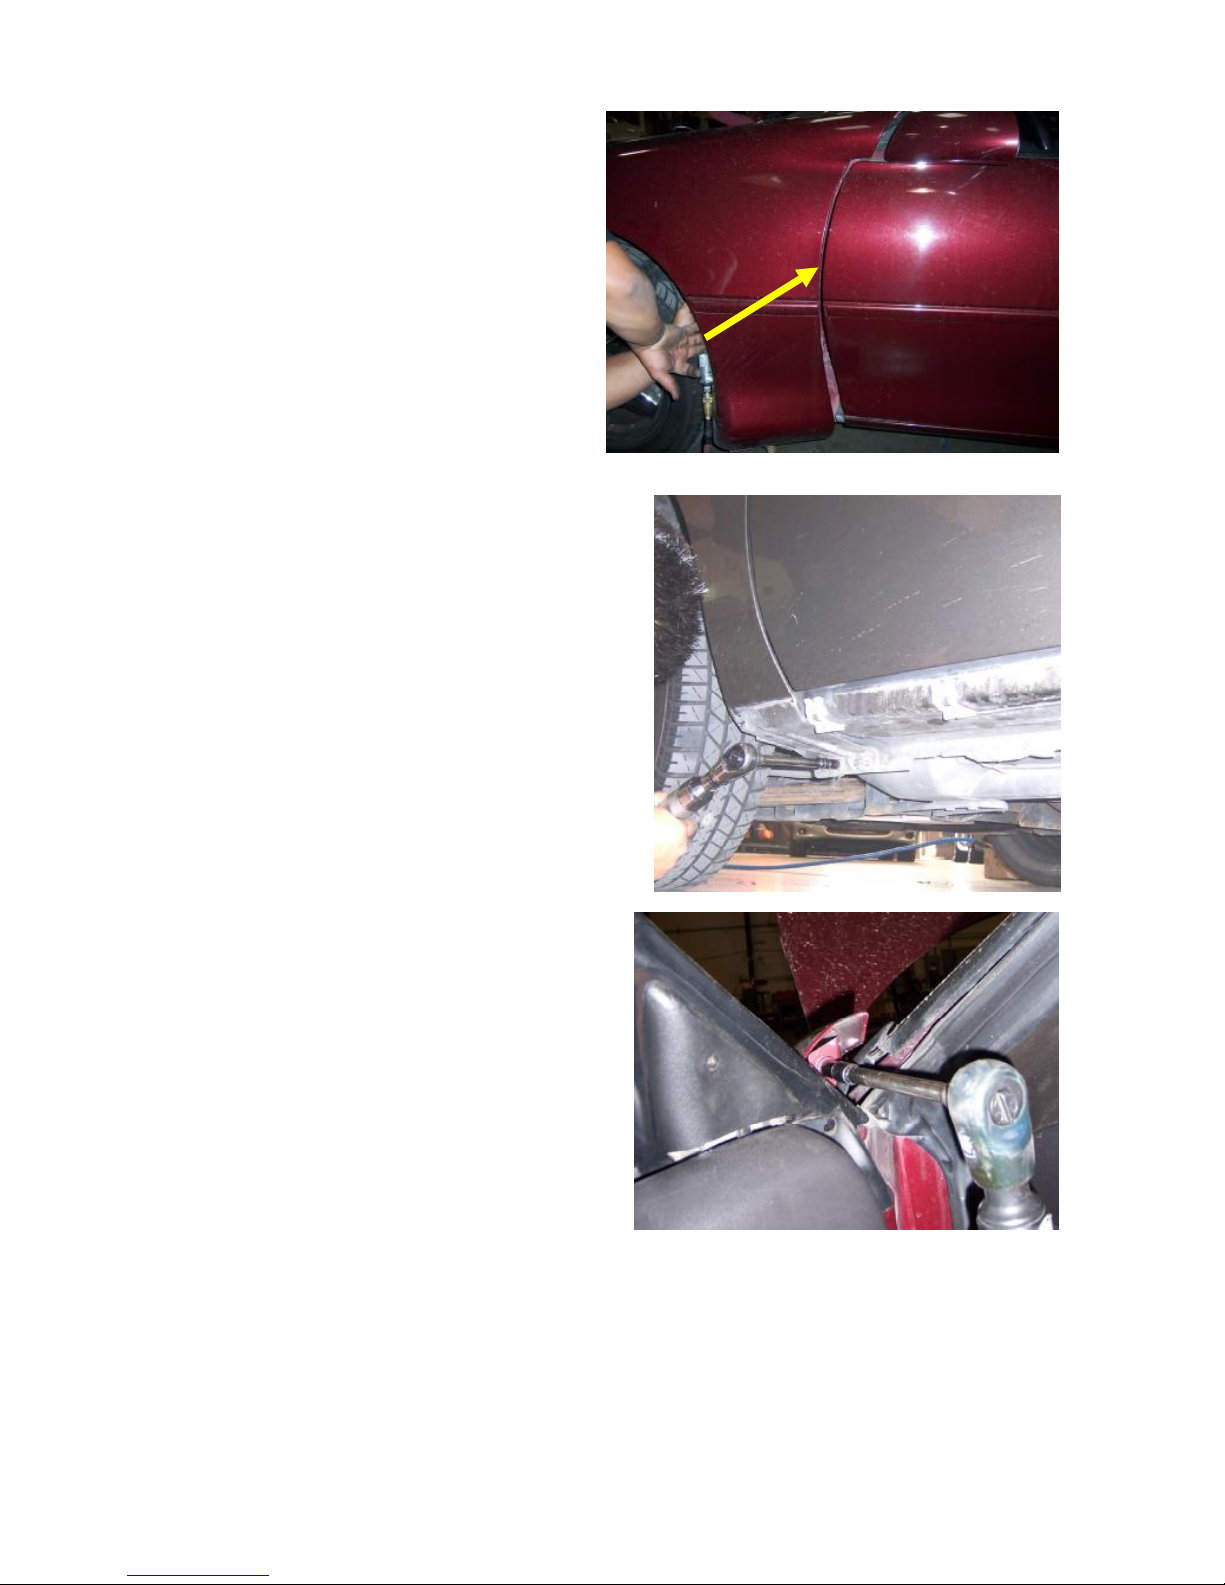
5) Howtogainwireslack:
Wireslackisneededforthenew
VerticalDoorInc.systemtofully
open,wireslackwill begainfrom
insidethedoor.
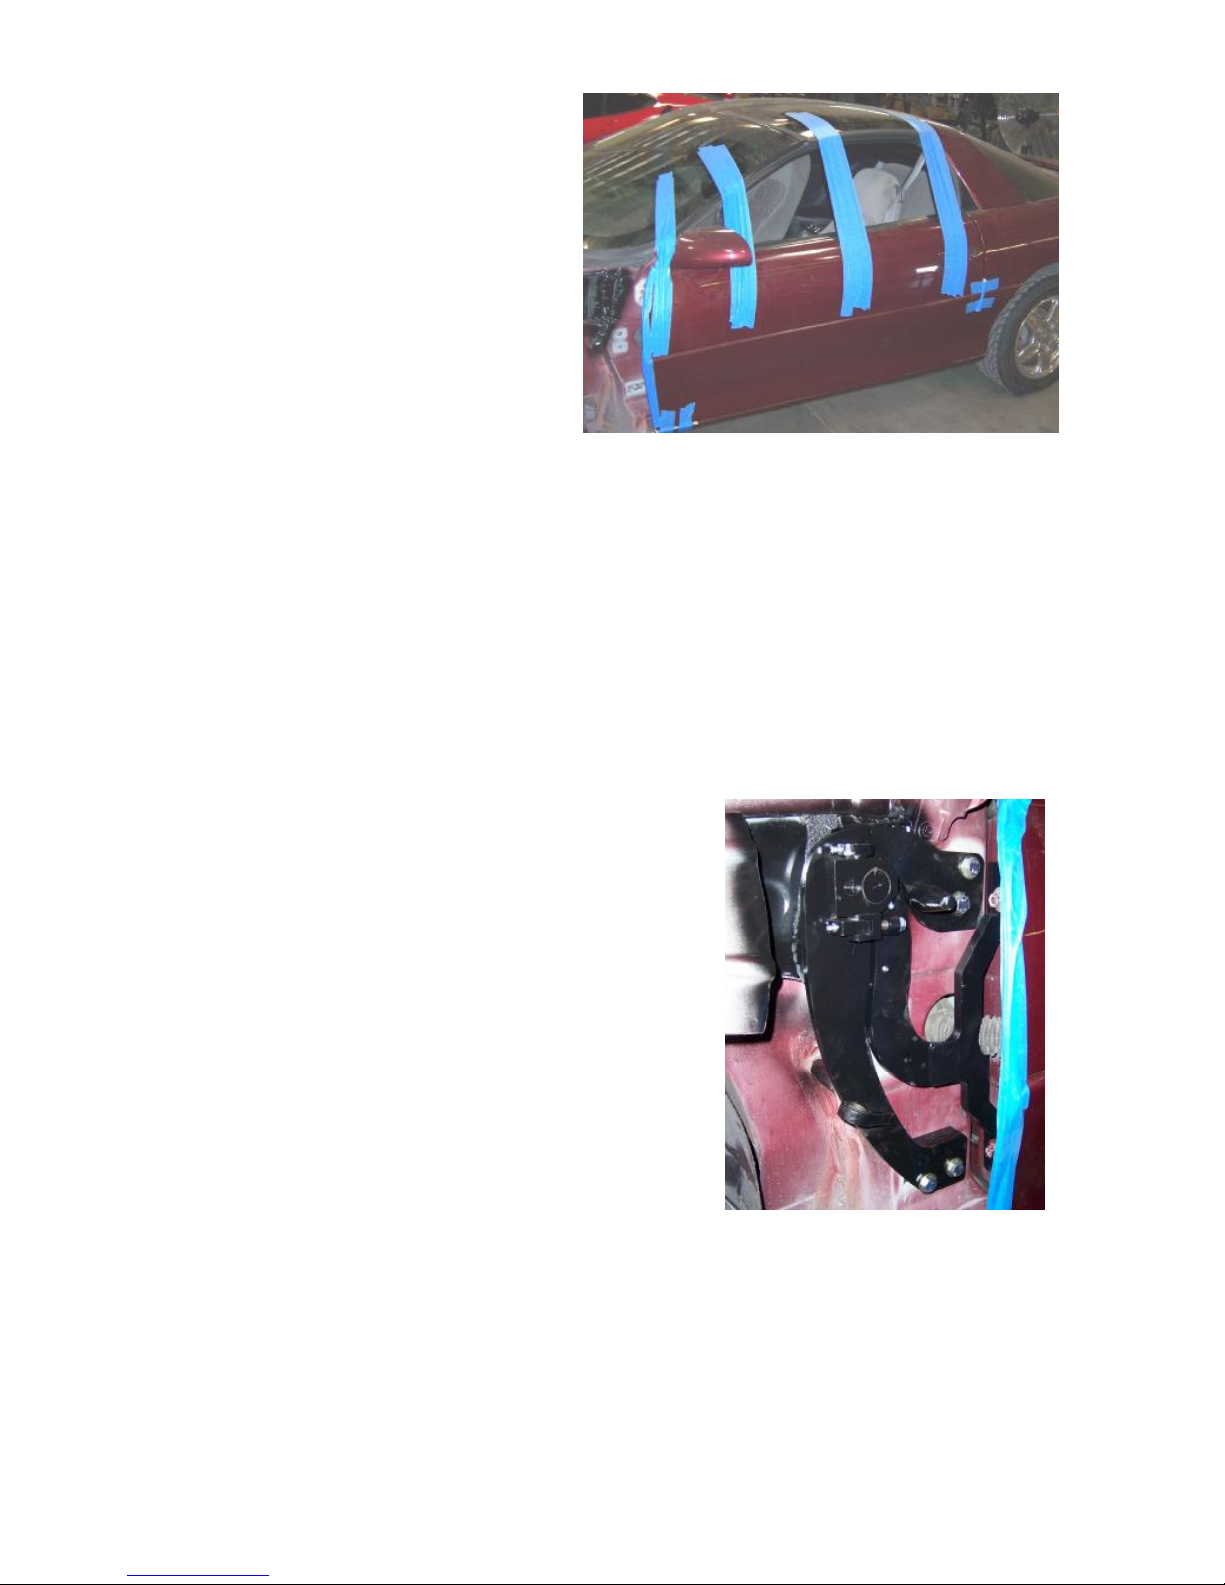
Doorpanelremoval:
You will havetoremovethedoor
paneltogainwireslack.
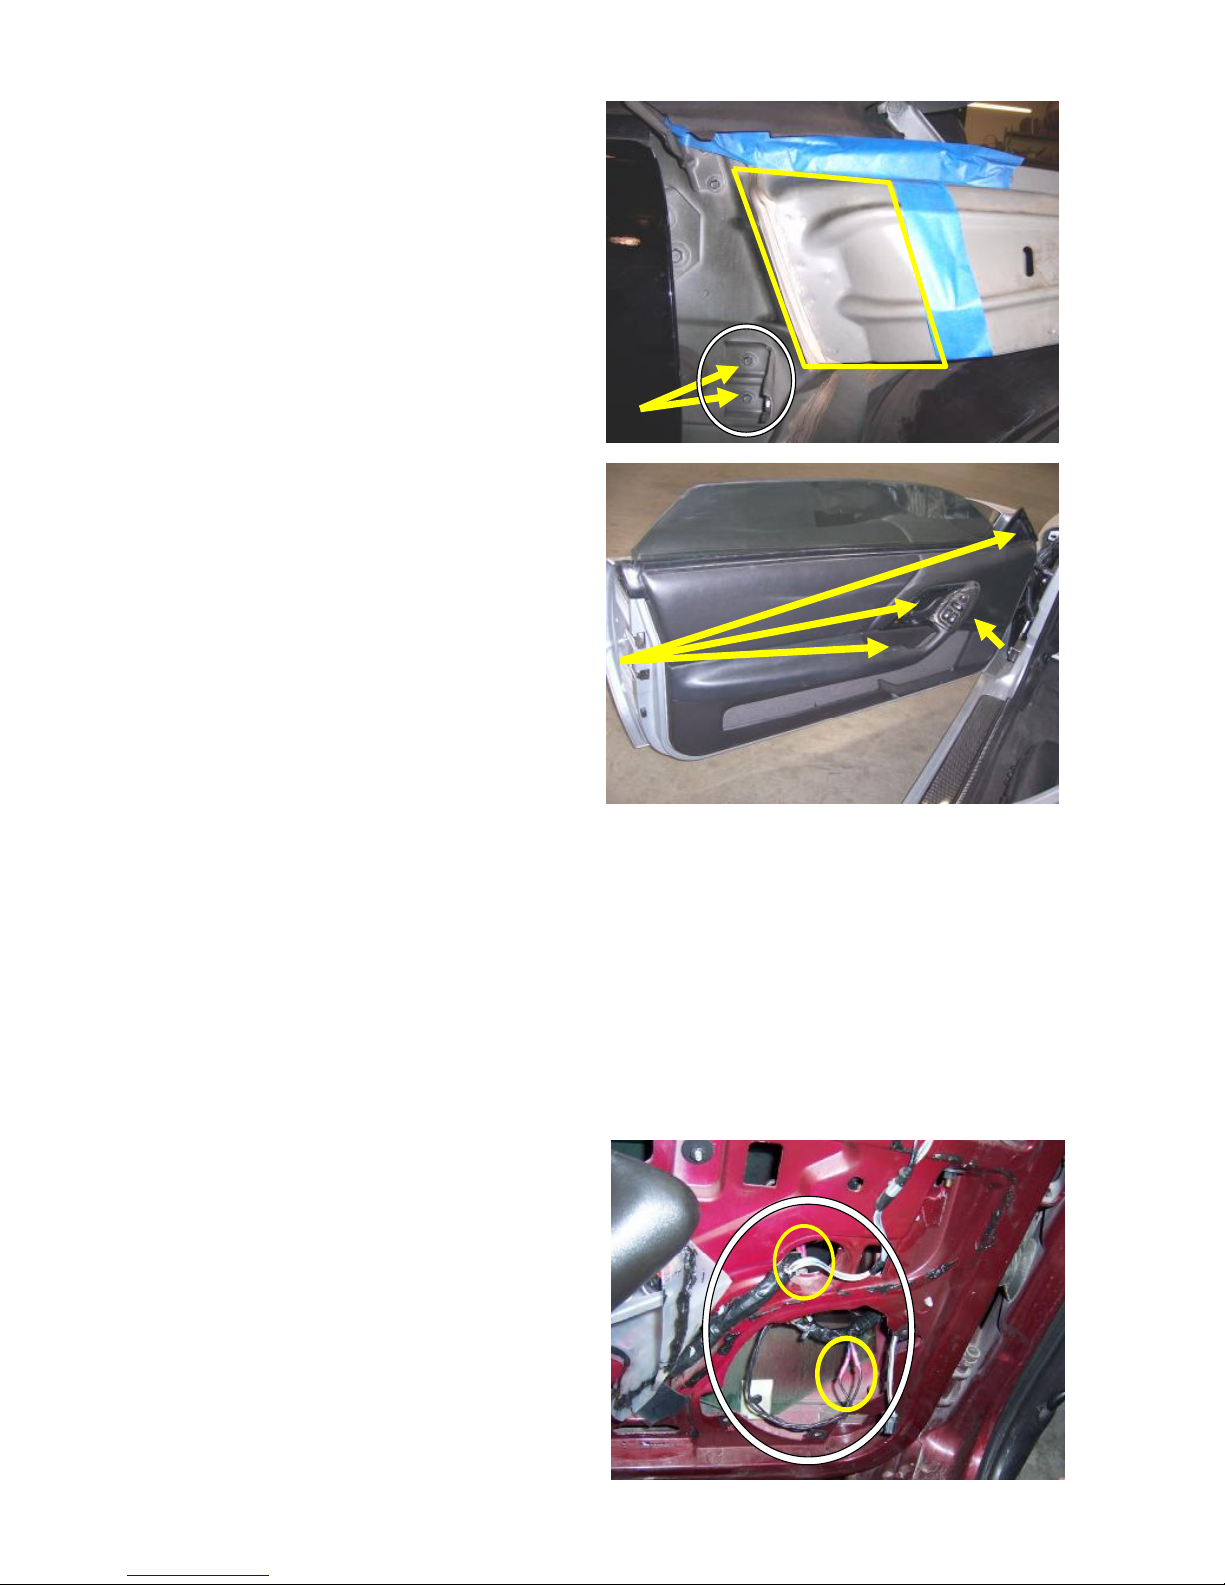
Removethecoversand thescrews.
Note:onmodelswithpowerwindowsusetheforktoprythecontrolpanel
fromthedooranddisconnectthewireharnesses.
Once all ofthescrewsareremoved,detachthetrimpanelfromthedoor,
workingaround thedoorwithaplastictrimpaneltooltodisengagetheclips,
disconnectanyelectricalconnectorsandremovethetrimpanelfromthe
vehiclebyliftingit upandawayformthedoor.
Withthedoorpaneloff removethespeaker, insidetheholeyou will find a
plasticclipthatholdsdownthewires, removetheclipthesewill giveyou
theneededwireslack.
NOTE: on modelswithpower
windowsyou will havetoadd (2)
extracablesasshowed.