Laurens HE0900 User manual
timeless radiators
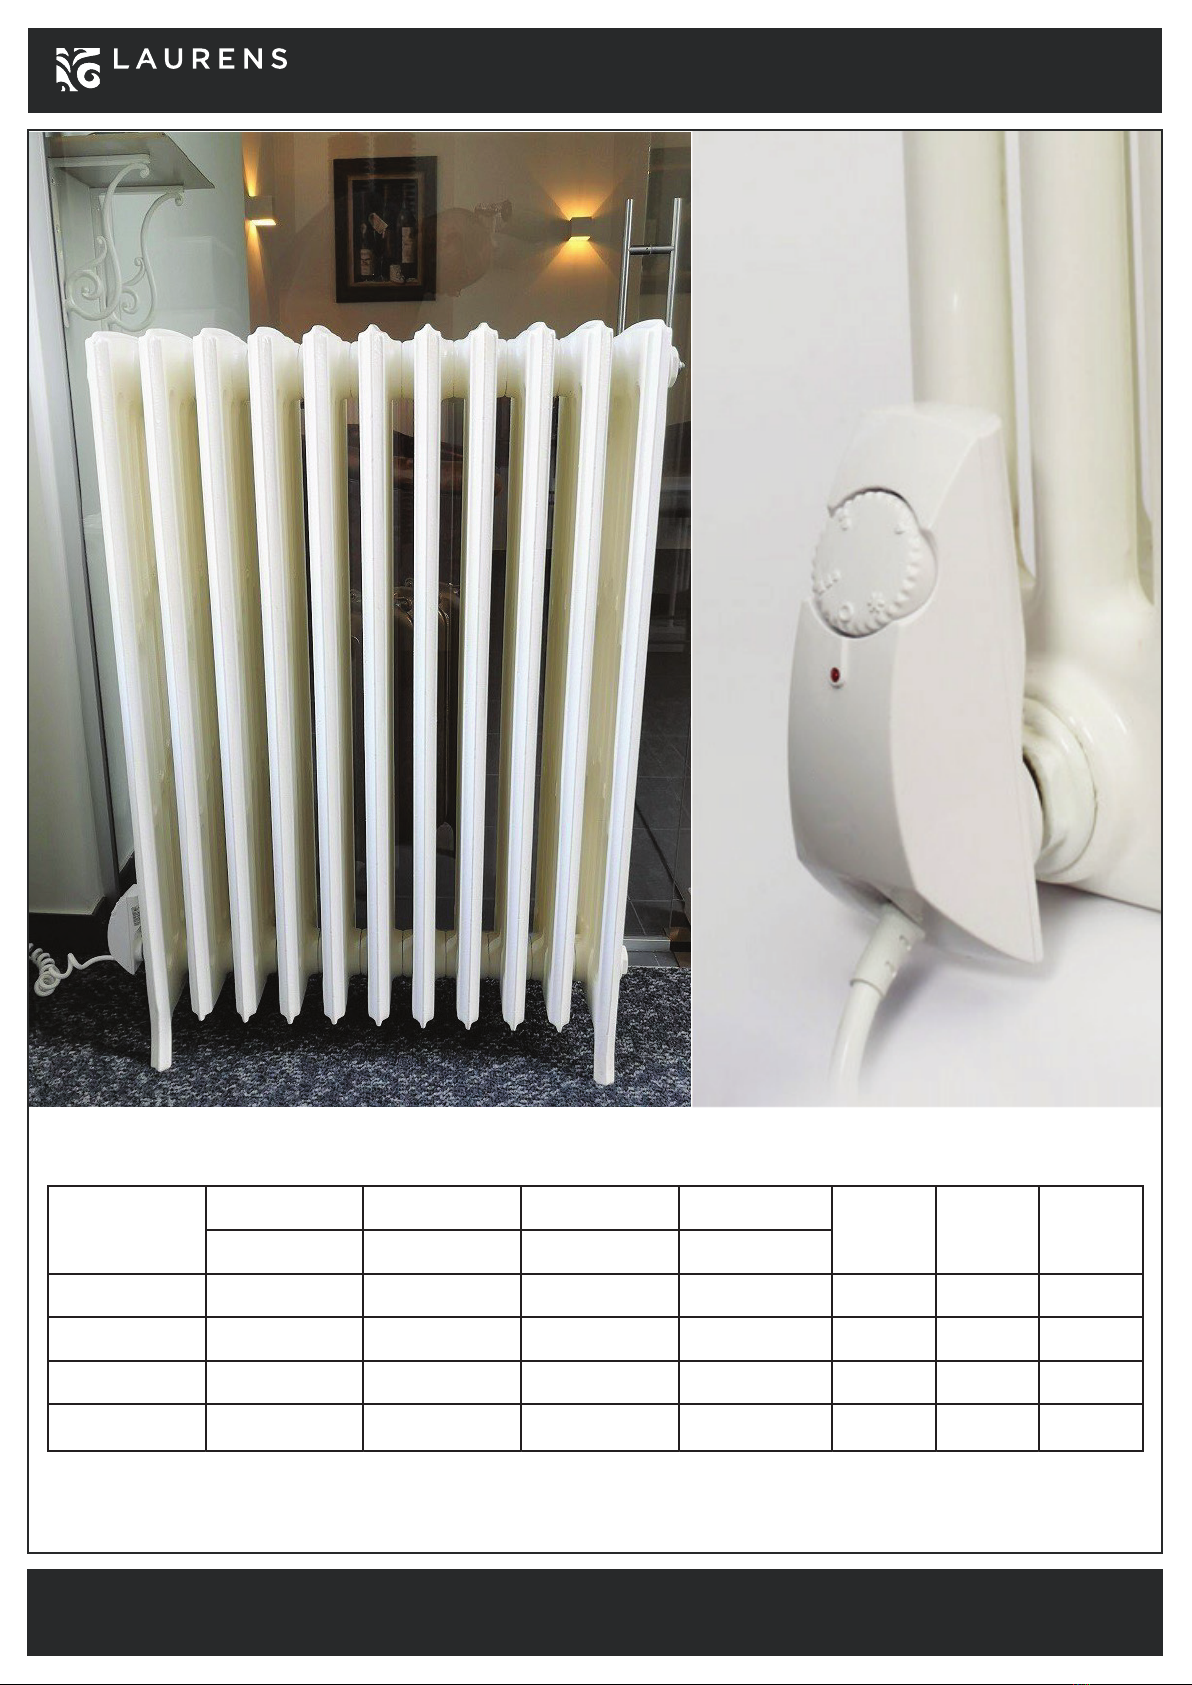
EL.HE 900 - 2000 W
drawing | tech. Zeichnung | tech. fiche
technickývýkres | технический рисунок
last update: 2021-03-22
(c) 2021 by Laurens
example of installation | Beispiel von Einbau - Direktanschluss
příklad instalace | пример установки
HE0900
HE1200
HE1500
HE2000
U
[V]
230
230
230
230
1/2“
1/2“
3/4“
3/4“
P
[W]
900
1200
1500
2000
L
[mm]
440
470
520
570
Tmax
[°C]
65°C
65°C
65°C
65°C
Vmin
[liter]
4,5
5,5
6,5
8,5
Vmax
[liter]
7,5
8,5
10,0
18,0
RCode

timeless radiators
EL.HE 900 - 2000 W
drawing | tech. Zeichnung | tech. fiche
technickývýkres | технический рисунок
last update: 2021-03-22
(c) 2021 by Laurens
Typ EL.HE, all dimesions in mm
Cable with plug | Kabel mit Stecker | kabel s koncovkou | кабель
UNI
SCHUCKO
L = ~1,2m
ON/OFF
turn | drehen | otoč| beurt | повернут
ON
Setting point
Aktuelle Einstellung
Ukazatel nastavení
Actuele instelpunt
точка установки
Antifreeze
Antifrost
nezámrzný
antivries
антифриз
L (440 - 570)
Tmax ~65°C, 230V/50Hz, IP 54, Class | Klasse 1
Fuse | Sicherung | pojistka | предохранитель 130°C
6055
130
G 1/2“
G 3/4“
Do not remove distance rubber
Die Distazgummi nicht etnfernen
Neodstraňovat distanční gumu
Afstandsrubber niet verwijderen
Не снимайте прокладку

timeless radiators
EL.HE 900 - 2000 W
drawing | tech. Zeichnung | tech. fiche
technickývýkres | технический рисунок
last update: 2021-03-22
(c) 2021 by Laurens
- 5 - - 6 - - 7 - - 8 -
Before inserting the HGT heater into the
radiator, a small amount of Loctite Adhesive
(included) should be smeared over half of
the circumference of the thread. DO NOT
put Loctite on the conical gasket, AVOID
CONTACT WITH THE SKIN.
The Loctite adhesive bonds within 15 min.
Because of the shape of HGT heater casing,
with some aluminium and brass
radiators it may be necessary to use
a spacer bush to permit the heater
to be turned fully into position.
I radiator in CH system
Open valves and vent the radiator.
Next close inlet valve
(thermostatic controller).
Caution! Only one valve must be closed.
II electric radiator
only up to 95% of its capacity
(leave 4-5cm of air in the manifold),
taking into account thermal
expansion of water.
Check the capacity in the instruction
manual of the radiator manufacturer.
Check that the radiator is
Installation and structure
Top view
S22
DO NOT connect
to the mains
heating
element
controller
Pushing
of the knob
thermostatic valve
4-5cm
4-5cm
4-5cm
I radiator in CH system II electric radiator
Safety valve is obligatory
- 9 - - 10 - - 11 - - 12 -
The HGT heater is switched on by turning the
control knob clockwise, and the LED on the
casing will light up. The star shaped position
on the control knob is for frost protection
(approx. 10°C). The range of temperature
regulation is from 20°C to 65°C (±5°C).
The heater is turned off by turning the control
knob as far as possible anticlockwise (Fig. 1)
Maintenance:
The HGT heater MUST BE DISCONNECTED
before cleaning the casing. The casing may
be cleaned using a soft cleaning agent on a
damp cloth.
AVOID SOAKING THE CASING.
The heating element must be fully immersed
The radiator should be fully purged of air
GUARANTEE TERMS:
Guarantee is granted by manufacturer
for 24 months period starting from date
of sale, but no longer than 36 months
from date of the heater manufacture.
Defects revealed within this period,
resulting from a fault of manufacturer
will be repaired free of charge or the item
replaced with new, equivalent one.
Term of complaints’ investigation up
to 14 (fourteen) days from date
of submission to the manufacturer.
Guarantee does not cover:
1. Using of product in a manner
incompliant with attached instructions.
2. Any visible damage to the heating
element or controller due
to improper use.
Damaging of manufacturer’s seals
makes the guarantee null and void.
After placing the adhesive on the thread
screwed into the radiator by hand.
No special tools are required.
or 3/4” connection of the heater enables
the heater to be screwed into the radiator
until the control box is vertical.
Installation and structure
Do not remove
silicone
spacer
from
heating
element
Widok
z góry
S22
Top view
S22
DO NOT connect
to the mains
heating
element
controller
Pushing
of the knob
thermostatic valve
4-5cm
Electrical installation in a bathroom
electrician for hard wiring in compliance
with UK electrical regulations.
This equipment requires RCD
protection with rated residual
operating current not exceeding 30mA.
Wire colours:
Brown = live;
Blue = Neutral;
Green/Yellow = Earth.
Connect the heater
to the mains 230V.
- 1 - - 2 - - 3 - - 4 -
HGT electric heater
with capillary
temperature regulator
Please read the instructions
before use.
The heater complies with EC standards
Widok
z góry
S22
IP54
SAFETY
1. The heater should be installed
by a qualified person.
2. Bathroom radiators fitted with
electric heaters should be fixed not
less than 60 cm from a bath,
shower or wash basin, and never
above a bath.
3. This equipment requires RCD
protection with rated residual
operating current not exceeding 30mA.
4. This equipment must be connected
to circuit protective conductor
(earth).
5. For the heater permanently
connected (hard wire) there must be
applied a cut-offdevice from the
mains. Such a device must discon-
nect the heater from the supply
mains in 2 poles, with contact
separation of at least 3 mm.
6. This appliance can be used by
children aged from 8 years and
above and persons with reduced
physical, sensory or mental
capabilities or lack of experience
and knowledge if they have been
given supervision or instruction
concerning use of the appliance
in a safe way and understand
the hazards involved.
7. Children shall not play
with the appliance.
8. Cleaning and user maintenance
shall not be made by children
without supervision.
HGT electric heaters are designed for use in water,
water/glicol filled column and aluminium radiators
For aluminium radiators please use a water content (instead of radiator’s output)
Water content [l] Radiator output [W] Recommended HGT Heater
Flange
min. max. min. max. HGT heater
output [W]
Lenght of heating
element [mm]
1,5
3,0
4,5
7,5
8,5
10,0
3,0
4,5
7,5
8,5
10,0
18,0
350
500
700
900
1050
350
550
850
1050
1300
1800
300
600
900
1200
1500
2000
340
390
440
470
520
570
R 1/2”
R 1/2”
R 1/2”
R 1/2”
R 3/4”
R 3/4”
If the radiator parametres are different from the ones in the table, there is the need to consult the proper selection with the heater vendor or producer
HHGTUK1712
Typ EL.HE, all dimesions in mm
This manual suits for next models
3
Other Laurens Heater manuals


