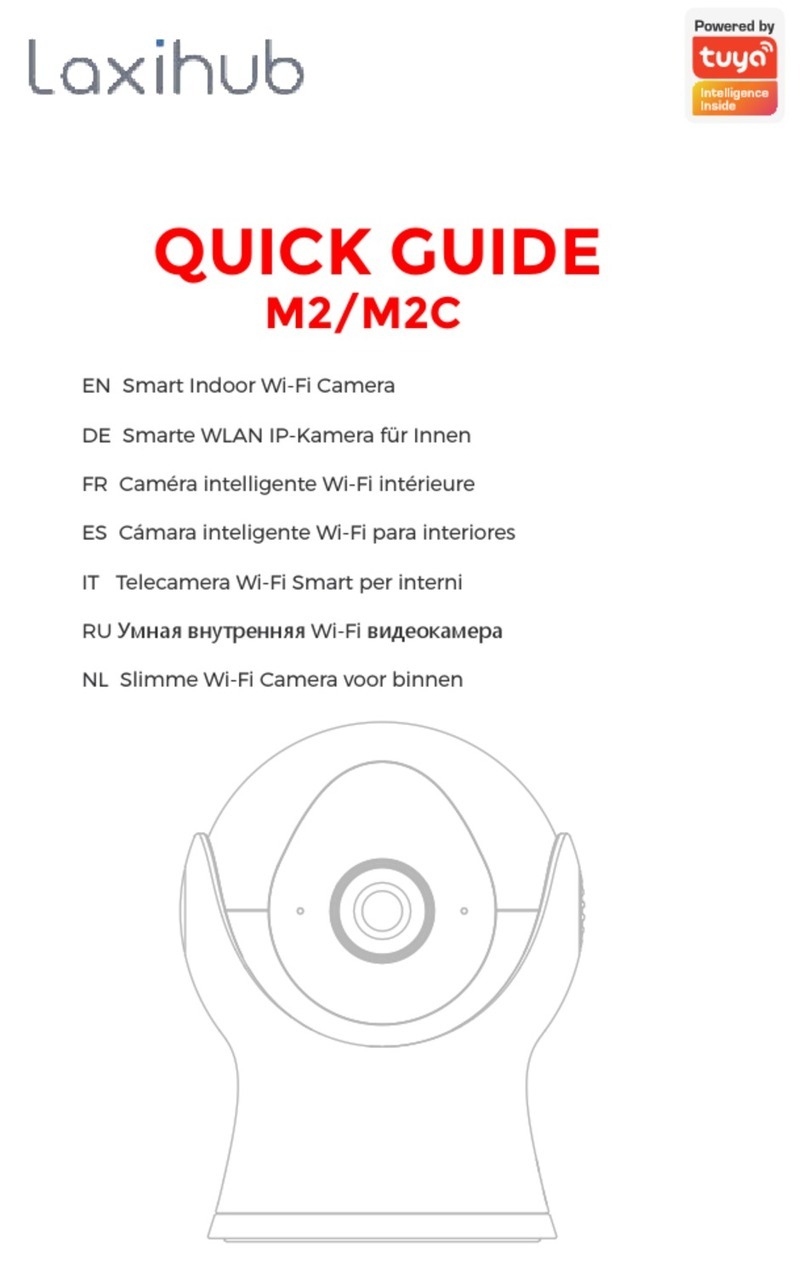
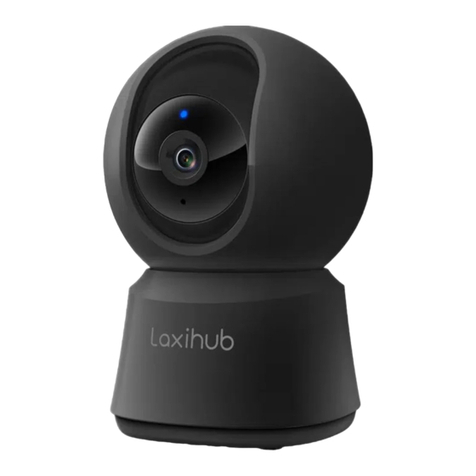
laxihub P1-TY User manual

QUICK GUIDE
P1-TY
EN Smart Indoor Wi-Fi Camera
DE Smarte WLAN IP-Kamera für Innen
FR Caméra intelligente Wi-Fi intérieure
ES Cámara inteligente Wi-Fi para interiores
IT Telecamera Wi-Fi Smart per interni
RU Умная внутренняя Wi-Fi видеокамера
NL Slimme Wi-Fi Camera voor binnen


English
Deutsch
Français
Español
Italiano
01
12
23
34
45
CONTENT
Pусский 56
Dutch 67

What's in the box
Please consult this checklist for all parts.
1
English
P1-TY Power adapter
User manual
USB cable Adhesive pad
Protective strip
Bracket
Screws

2
Description
Power DC5V±10%
Status light
Microphone Capture sounds for your video
Red light solid on: the
camera network is abnormal
Blinking red light: awaiting
WiFi connection; or currently
connecting (fast blinking)
Blue light solid on: camera
working correctly
Blinking blue light: currently
reconnecting (fast blinking)
English

3
SD card slot
Reset
1 Stick the adhesive pad in the middle of camera
bottom
Support local SD Card storage
(Max.128GB)
Press and hold for 5 seconds
with pin to reset the device (if
you have modified settings,
then they will return to factory
defaults)
Install
English
Peel off the sticker and
apply it to the circle

2 Use the included mounting bracket to fix the camera
to a clean surface.
4
Set-up
Plug in
Plug the camera into an outlet. An audible sound
will play when the system is ready for operation.
English
(Optional) Apply the protective strip on the camera’s
edge to avoid any damage or hurt.

Adding
Registration
5
Download our Smart Life App by scanning the
following QR codes or searching in your app store.
Follow the prompts on the App to finish setup.
Step 1 Open the Smart Life App, click "Sign Up", and
select the country or region where your account is
located. Input a legal and valid phone number or
email address and then click "Get Verification Code".
your network
SUPPORT
Download App
(iOS & Android)
iPad iOS Android
English

Few notice before adding the device
6
Step 2 Input Verification Code and create a password
which is required a combination of numbers and
letters, not less than 6 digits. Then click "Log In".
Note: Make sure your router, camera, and
mobile phone are nearby.
QR Code Configuration
1. This camera only supports 2.4GHz WiFi network, so
please make sure you are using a wireless router that
supports 2.4GHz band.
2. Please follow the instructions and make sure the
password is inputted correctly.
English

7
Process
Step 1 Open the Smart Life App, click "+", and select
"Video Surveillance".
Step 2 Please confirm the indicator rapidly blinks.
Click "QR Code", then click "Next".
Step 3 Input WiFi password, click “Next”, and scan
the QR Code with this camera.
English

8
Step 4 Click "I Heard a Prompt" when the device plays
a tone "dong dong dong". And you can complete the
configuration in about 30s.
About 20cm
English

9
Q: During the network configuration process, if the
progress bar is always not 100%, meaning the
adding failed?
A: This camera only supports 2.4GHz WiFi network,
please make sure you are using a wireless router that
supports 2.4GHz band.
Q: What to do when the live video cannot be viewed
properly?
A: Check whether the network is normal, you can
place the camera close to the router, and if not, it is
recommended to reset the device and add it again.
Q: Why is it still in the list of devices after resetting?
A: The resetting function will only reset the network
configuration of the camera, while other settings
including the camera info. will remain on the App. To
remove the camera, please delete it from the device
list on the App.
FAQ
English

10
Q: How to switch the camera network to another
router?
A: First remove the device on the App and/or reset it
and then add the device again.
Q: Why doesn't the device identify the SD card?
A: It is recommended to insert the SD card while keep
the power off. Confirm whether the SD card is
normally workable and its format is FAT32. And the
SD card cannot be identified when network is not in
good conditions.
Q: Why I can’t get the notifications with my cell phone
app?
A: Please confirm that the App has been running on
your cell phone after registration, and the reminder
functions have been enabled on the App, also make
sure notifications and the relevant authorities in your
cell phone system have been enabled.
English

11
Pan/Tilt
Rotate your camera by sliding on your smartphone,
providing you with a good vision.
Video flip
Flip your video stream vertically anytime for
maximum flexibility.
Motion detection
Motion detection will notify you when movement is
detected.
Record
Record every moment using high capacity SD card
storage.
Day & Night
Powerful night vision means no interruptions, even in
complete darkness.
Functions
Daytime Night
English

Was ist in der Box
12
Bitte checken Sie die Liste unten für alle
Komponenten in der Box.
Deutsch
P1-TY Halterung
Schrauben
Schutzstreifen
Netzteil
USB-Kabel Klebepad
Handbuch
Halterung
Schrauben

13
Beschreibung
Strom DC 5V±10%
Statuslicht
Mikrofon Erfasst Geräusch für Ihr Video
Rotes Licht leuchtet dauerhaft: Das
Kameranetzwerk funktioniert nicht
Rotes Licht blinkt: Wartet auf
WLAN-Verbindung, oder versucht zu
verbinden (schnelleres Blinken)
Blaues Licht leuchtet dauerhaft: die
Kamera funktioniert normal
Blaues Licht blinkt: Versucht erneut zu
verbinden (schnelleres Blinken)
Deutsch
Statuslicht
Mikrofon
Stromanschluss
SD-Karten-
steckplatz
Zurück setzen
Lautsprecher

14
Zurücksetzen
Bitte halten Sie die Taste 5
Sekunden lang gedrückt, um die
Kamera zurückzusetzen (Wenn
Sie die Einstellungen geändert
haben, wird die Kamera dann auf
die Werkseinstellungen
zurückgesetzt).
Installieren
SD-Karten-
steckplatz Unterstützt lokale SD-Karten-Spe-
icherung (Max.128GB)
1.Bitte kleben Sie das Klebepad auf die Mitte der
Unterseite von der Kamera.
Deutsch
Ziehen Sie den Aufkleber ab
und bringen Sie ihn auf dem Kreis an

15
Einrichtung
Einstecken
Bitte stecken Sie die Kamera in eine
Steckdose.Wenn das System bereit für die Operation
ist, ertönt ein akustisches Signal.
Deutsch
2 Befestigen Sie die Kamera mit der mitgelieferten
Halterung an einer sauberen Oberfläche.
(Optional) Bringen Sie den Schutzstreifen am Rand der
Kamera an, um Beschädigungen oder Verletzungen zu
vermeiden.

Hinzufügen
Registierung
16
Bitte scannen Sie die folgende QR-Code oder suchen Sie
im App-Store, um die "Smart Life" App herunterzuladen.
Dann befolgen Sie die Anleitungen in der App, um die
Kamera richtig einzustellen.
Schritt 1: Bitte öffnen Sie die Smart Life App, klicken Sie
auf "Registieren", wählen Sie das Land oder die Region
aus, in der sich Ihr Konto befindet. Dann geben Sie eine
legale und verfügbare Handynummer oder Email-Adres-
se ein und dann klicken Sie auf "Bestätigungscode
erhalten".
Ihr Netzwerk
SUPPORT
App Herunterladen
(iOS &Android)
iPad iOS Android
Deutsch

Einige Hinweise bevor Sie das Gerät hinzufügen.
17
Schritt 2: Bitte geben Sie den Verifikationscode ein
und erstellen Sie ein Passwort, das mindestens 6
zeichen lang und eine Kombination aus Nummern
und Buchstaben sollte sein. Dann klicken Sie suf
"Einloggen".
Hinweis: Bitte stellen Sie sicher, dass sich Ihr Router,
Ihre Kamera und Ihr Handy in der Nähe befinden.
QR-Code-Konfiguration
1. Diese Kamera unterstützt nur 2,4 GHz WLAN
Netzwerk. Deshalb stellen Sie bitte sicher, dass Sie
einen WLAN-Router verwenden, der 2,4-GHz-Band
unterstützt.
2. Bitte folgen Sie die Anleitungen und stellen Sie
sicher, dass das Passwort richtig eingegeben ist.
Deutsch
Table of contents
Languages:
Other laxihub Security Camera manuals

