4 Installation
Note: Prior to installing your light , HPM recommends that you first observe the overall lighting effectiveness in the dark.
To connect your garden lights, follow the instructions below:
STEP 1 Place your garden lights in the approximate position you want them to be.
STEP 2 Lay out the cable where you want your lights to be located, remembering to allow sufficient cable to connect to the transformer. Try to avoid laying the
cable where frequent digging may occur.
STEP 3 - Installation of a 12V Timer (if applicable)
If a 12 volt timer (HPM Cat No RGL10) is purchased, it must be positioned between
the transformer and the lights. With the power turned off, connect the wire strands,
on the end of the timer cable, into the output terminals of the transformer. Secure
firmly with a screwdriver.
STEP 4 - Installation of the transformer
Connect the cable to the transformer terminals (or timer, if applicable) by stripping
back a small amount of insulation from each wire strand (approx. 10mm). Be careful
not to damage wires. Twist wire strands to prevent loose wire escaping from terminal
and to help ensure a tight connection. Place stripped ends into screw terminals on
transformer, or timer, and secure firmly with a screwdriver.
STEP 5 First connect the garden light that will be positioned the furthest away from
the transformer.
The special connector on each light is designed to make electrical connection by
piercing the insulation cable as the two halves of the connector are pushed together. (See connection diagrams).
5 Connecting your garden lights
The special jaw lock connectors are designed to make electrical
connection by piercing the insulation cable as the jaw lock
connecter is attached.
STEP 1 Lay the cable flat on one half of the connector as shown.
STEP 2 Lay the other half of the connector on top of the cable,
upside down, taking care to align the pins into their matching
holes on the other half. Push together firmly until they lock.
Check that the two halves are pushed tightly together. (This will
cause the spikes to deeply pierce into the copper centre of the
cable and make a solid electrical connection).
STEP 3 Plug the transformer into the powerpoint and check
whether the furthest positioned garden light operates. (If it doesn’t light up, refer to ‘Troubleshooting’ section). If light does light up, switch off the transformer
and proceed to connect all the other garden lights using the steps above.
To check each light connection is secure, first turn the transormer on from the powerpoint, then gently wiggle the cable and connector.
(This is perfectly safe - the voltage at this point is very low). If the light flickers, the connection is not firm enough and should be re-connected
(repeat ‘Connecting your garden lights’ Steps 1-2).
6 Setup
STEP 1 Switch off the transformer from the powerpoint.
STEP 2 If you wish to cover the cable in the ground, dig a narrow channel, about 100mm deep (just deep enough to hide the cable).
STEP 3 Lay the cable at the bottom of the channel, or fasten the cable to the wall or step using appropriate fixings.
If your cable will be covered in the ground, we recommend, at this point, that you observe the overall lighting effectiveness in the dark before covering the
channel.
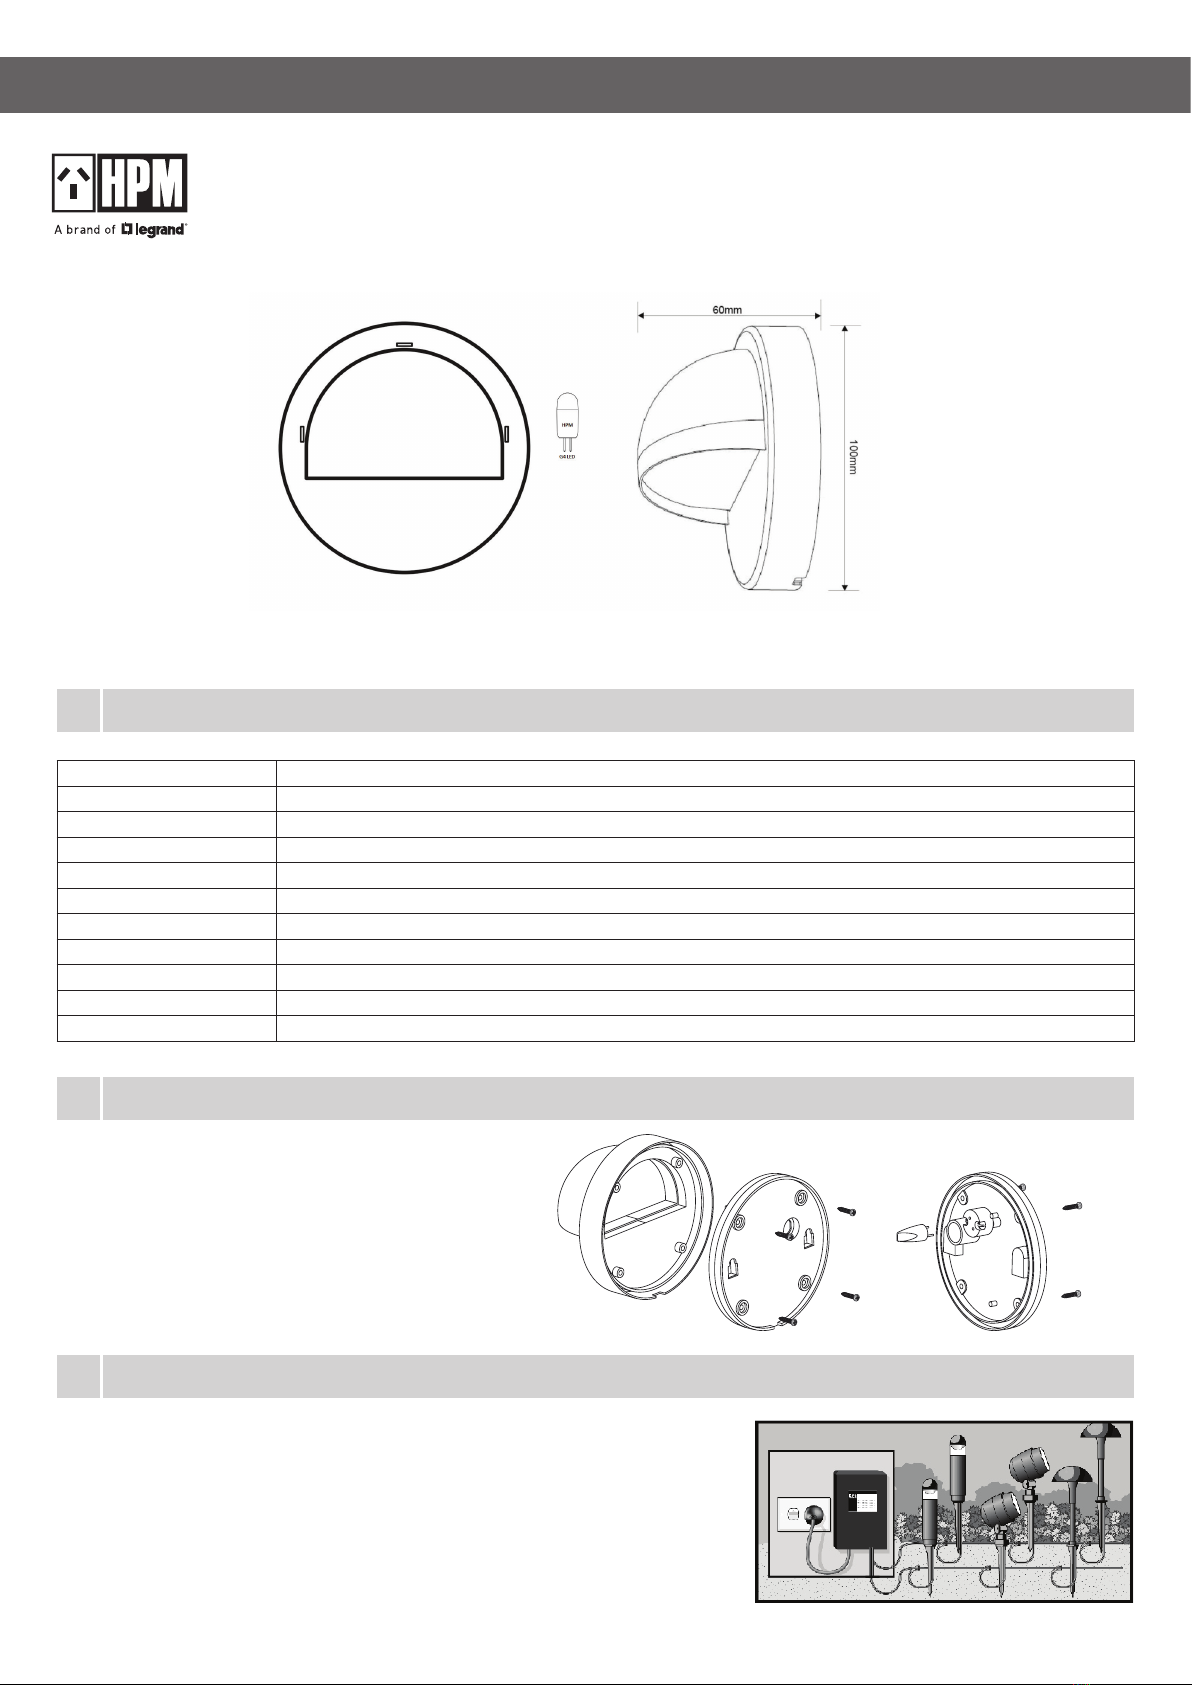
7 Fixing
STEP 1 Choose suitable location for mounting. Mark location for holes using template provided to pitch as shown in
figure below, drill and fix screws (Use screws and lugs provided)
STEP 2 Ensure the screw head face is proud off the wall face by 5mm.
STEP 3 Now locate the screw head in the key-holes in the rear of the fixture and press down firmly into place.
If fixture is loose , repeat STEP 2 to adjuct screw height and then follow STEP 3 again.
70