manuals.online logo
Brands
  1. Home
  2. •
  3. Brands
  4. •
  5. Lencarta
  6. •
  7. Camera Flash
  8. •
  9. Lencarta safari User manual

Lencarta safari User manual

Many thanks for buying the Lencarta Safari Li-on portable flash system.
It’s very simple and intuitive to set up and use, but these instructions should make it even easier…
lease check that the following items are included in your delivery:
1. Safari Li-on generator unit
2. Battery
3. Charger with mains lead
4. Carry strap
5. Flash bracket
6. Flash head handle
7. Safari carry case (a free gift, while stocks last)
There will also be either one or two standard flash heads or a ringflash head, depending on your order,
plus a removable lead (for each flash head) which goes from the flash head to the generator unit.
Next, fit the head lead to the flash head, after undoing the protective dust cap fitted to the head. The
ends of the lead are different to each other, and only the correct end will fit.
Remove the protective dust cap from either socket A or socket B on the generator unit. Either socket
can e used ut only socket A can e used to o tain the full flash power. If you have two heads, you can
fit oth if you wish, one to each socket.
Now switch the generator unit on. Whenever you switch it on it will cycle through a self testing
procedure, which will appear on the LED display. If you switch it on WITHOUT a flash head fitted the
testing procedure will fail to complete, and you’ll get an error message instead. If this happens, switch
the unit off again, then attach a flash head, then switch it on again.
The LED display will now show the power setting selected, which will vary etween 1 and 5. Increase the
power y turning the adjustment dial (17) clockwise. This adjustment is extremely precise. When you
increase the power setting, the LED display will flash momentarily while the unit produces the amount
of power needed. If you reduce the power, you should press the test utton to dump the excess stored
power.
Your flash system is now ready for testing. Press the ‘test’ utton (No.15 on the nomenclature elow)
and the flash will fire. You will then see the LED display flash while the unit prepares itself for the next
shot, and you will hear an audi le eep when it is ready to fire again.
The standard head is supplied with a protective cap, which should
always e in place when the head is eing stored or transported.
The head cap MUST e removed when in use and replaced y either
a reflector, other type of light modifier or a soft ox.
The first thing to do is to attach the attery to the generator unit.
It simply clicks into position and can only go on one way.
Remove the attery y pressing in oth release uttons at the
same time.
Power adjustment and settings. The maximum power is 600 joules (or watt seconds). To use the unit at
full power, either attach a flash head to each socket or, if only one flash head is in use, attach it to
socket A.
Used on its own, socket A produces a maximum of 400 watt seconds and socket B produces a maximum
of 200 watt seconds. To add the 200 watt seconds from socket B to the 400 watt seconds from socket A,
you must press utton 14, which will then e illuminated. With this button pressed, all of the power
will be sent to socket A.
The ig advantage of this method of power
distri ution is that, with the linking utton
(14) pressed and a single flash head fitted to
socket A, the full 600 watt seconds of power
is supplied to just one flash head. With the
utton switched off, 400 watt seconds is
availa le to socket A and 200 watt seconds is
availa le to socket B, so you can adjust the
power downwards y a half stop when
plugged into socket A y switching off utton
14, and can reduce it y a further full stop
just y plugging a single flash head into
socket B if required.
The modelling lamp
To set the lamp timer:
1. Press ‘set’ and release (indicator light will come on)
2. Press ‘lamp’ repeatedly to increase the num er of seconds, to a maximum of 99
3. Press ‘fast’ repeatedly to reduce the num er of seconds, to a minimum of 5
4. Press ‘set’ and release again
Press ‘lamp’ and release to turn the lamp on without using the timer
Press ‘lamp’ and release again to switch it on using the timer
Recycling speed and battery
Button 10 controls the recycling speed, and the recycling speed affects the num er of flashes that the
generator unit can produce efore it needs to e recharged.
With the utton pressed in, it recycles very quickly and will produce around 404 shots at the full power
of 600 watt seconds. With utton 10 switched off, it will recycle slightly less quickly ut will produce
approximately 630 full power flashes to a single charge. At lower power settings, it will produce far more
flashes in either mode, for example when it is set to 250 Ws it will produce 1364 flashes on fast recycling
or 1986 flashes on normal recycling. Excessive use of the modelling lamp will of course reduce the
num er of flashes availa le.
Battery indicator
When the attery is fully charged, the highest indicator light (6) is illuminated. When the middle light is
lit, the attery may have very little remaining charge and should e recharged as soon as possi le. The
Lithium ion attery includes a protective circuit that protects it from complete discharge, and ecause of
this the attery, when it finally runs out of power, does so a ruptly.
harging the battery
Simply plug the charger into the attery and then connect it to the mains. The charger may e damaged
if it is not plugged into the attery efore it is connected to the mains. The total attery charging time,
The standard flash head has an extremely right LED modelling lamp
,
covered y a yellow filter (see photo on the left). This produces a powerful,
consistent light at 5500K, ideal for video use as well as its primary function as
a modelling lamp. It is not user replacea le ut, with reasona le care, it
should have a very long life. LED modelling lamps are very cool running and
are very efficient, but they do get hot if used for long periods of time.
DO NOT LEAVE THE MODELLING LAMP SWIT HED ON FOR LONG PERIODS
OF TIME and, after initial setting up, DO NOT LEAVE IT SWIT HED ON
WHEN USING A HONEY OMB OR A FO USSING SPOTLAMP ATTA HMENT.
from empty, is 6 hours. When the battery is empty or nearly empty, it charges rapidly. The rate of
charge then reduces as the battery charge increases, and eventually becomes a trickle charge. The
charger shows a red light whilst the battery is charging and shows a green light when it is fully charged.
Battery maintenance
The battery is maintenance free, and because it is a Lithium-Ion battery it has no memory effect. This
means that it can be recharged regardless or whether or not it is fully discharged, without affecting its
performance.
Air travel
All Lithium batteries can catch fire if subjected to intense heat, and will burn fiercely if they do catch fire.
This is not a problem under any normal circumstances because the battery contains substantially less
than the maximum amount of lithium allowed, and as far as we are aware, all airlines are happy to allow
a lithium battery to be carried on their aircraft. You may have heard that airlines do not allow lithium
batteries to be carried, but the restrictions apply to commercial quantities of lithium batteries, not on
personal use items or where the battery is an essential part of the equipment, as with the Safari Li-on.
Carry strap
A carry strap is included and can be fitted to both lugs (1)
Auto power off
If you forget to switch the unit off after use, it will save power by going into sleep mode, and indicator
light (11) will be illuminated. To take it out of sleep mode, switch the unit off and switch it back on
again.
Error codes
1.
E1 = Low battery. Recharge the battery.
2.
E2 = Overheat protection tripped. Depending on ambient temperature, speed of repeated firing
etc., the overheat protection can sometimes cut in to protect the unit from overheating. Switch
off the unit and allow it to cool down.
3.
E3. No flash head is connected. Switch off the unit, connect either one or two heads to either or
both sockets and switch on again.
Synchronising the Safari Li-on to your camera
The test button (15) can be used as an open flash button, but the normal procedure is to fire the flash in
synch with your camera shutter. There are two normal ways of doing this
a.
Fit a radio transmitter to your camera hotshoe (or plug a synch socket into both the radio
transmitter and the camera C socket) and plug a radio receiver to socket (16)
b.
Fit a synch cable to your camera C socket and plug the other end into socket (16)
Radio triggers are more convenient, and any attery powered radio trigger can e used as long as it has
the standard 3.5mm jack plug fitted to it.
The Safari Li-on does NOT have an optical slave cell, ecause slave cells are unrelia le in normal outdoor
lighting conditions and useless in right sunlight. If you wish to use one or more Safari Li-on units as
slaves, you should fit a radio receiver to each unit. You can however, plug an optical slave unit into the
synch socket if you wish.
The maximum shutter speed that can e used with the Safari Li-on (and with all other flash equipment)
is determined y the specification of the camera used with it, and not the flash equipment itself.
As with all flash lighting, when using the Safari Li-on in the studio, the shutter speed is relatively
unimportant, ut when used outdoors in right lighting conditions, you should always use the fastest
shutter speed that your camera will allow. Cheap radio triggers tend to have an in uilt delay that limits
the usa le speed, so should e avoided.
With suita le accessories, it is possi le to use fast shutter speeds. If you have a Nikon DSLR and a pair of
our Mach 1N radio transceivers it is possi le to use any shutter speed that the camera is capa le of
(usually either 1/4000
th
or 1/8000
th
second). This trigger is not currently availa le for Canon cameras,
ut there are 3
rd
party rands availa le that produce roadly similar effects with Canon cameras. We
understand that they are less efficient with consumer level cameras than with professional models.
Using your Safari Li-on as a powerful hammerhead flashgun
Your kit includes a handle that can e
fitted
to the standard flash head,
this allows you to hand-hold the head instead of fitting it to a lighting
stand, if required. The ase of the handle is fitted with a standard
screw thread, so it can e attached to a tripod if required.
Your kit also includes a simple camera racket that screws into oth
your camera tripod mount and the flash head handle, allowing your
Safari Li-on flash head to e used as an extremely powerful
hammerhead flashgun. These photos show a wide angle reflector,
complete with a diffuser, fitted to the flash head. This and other light
shaping tools is availa le from www.lencarta.com
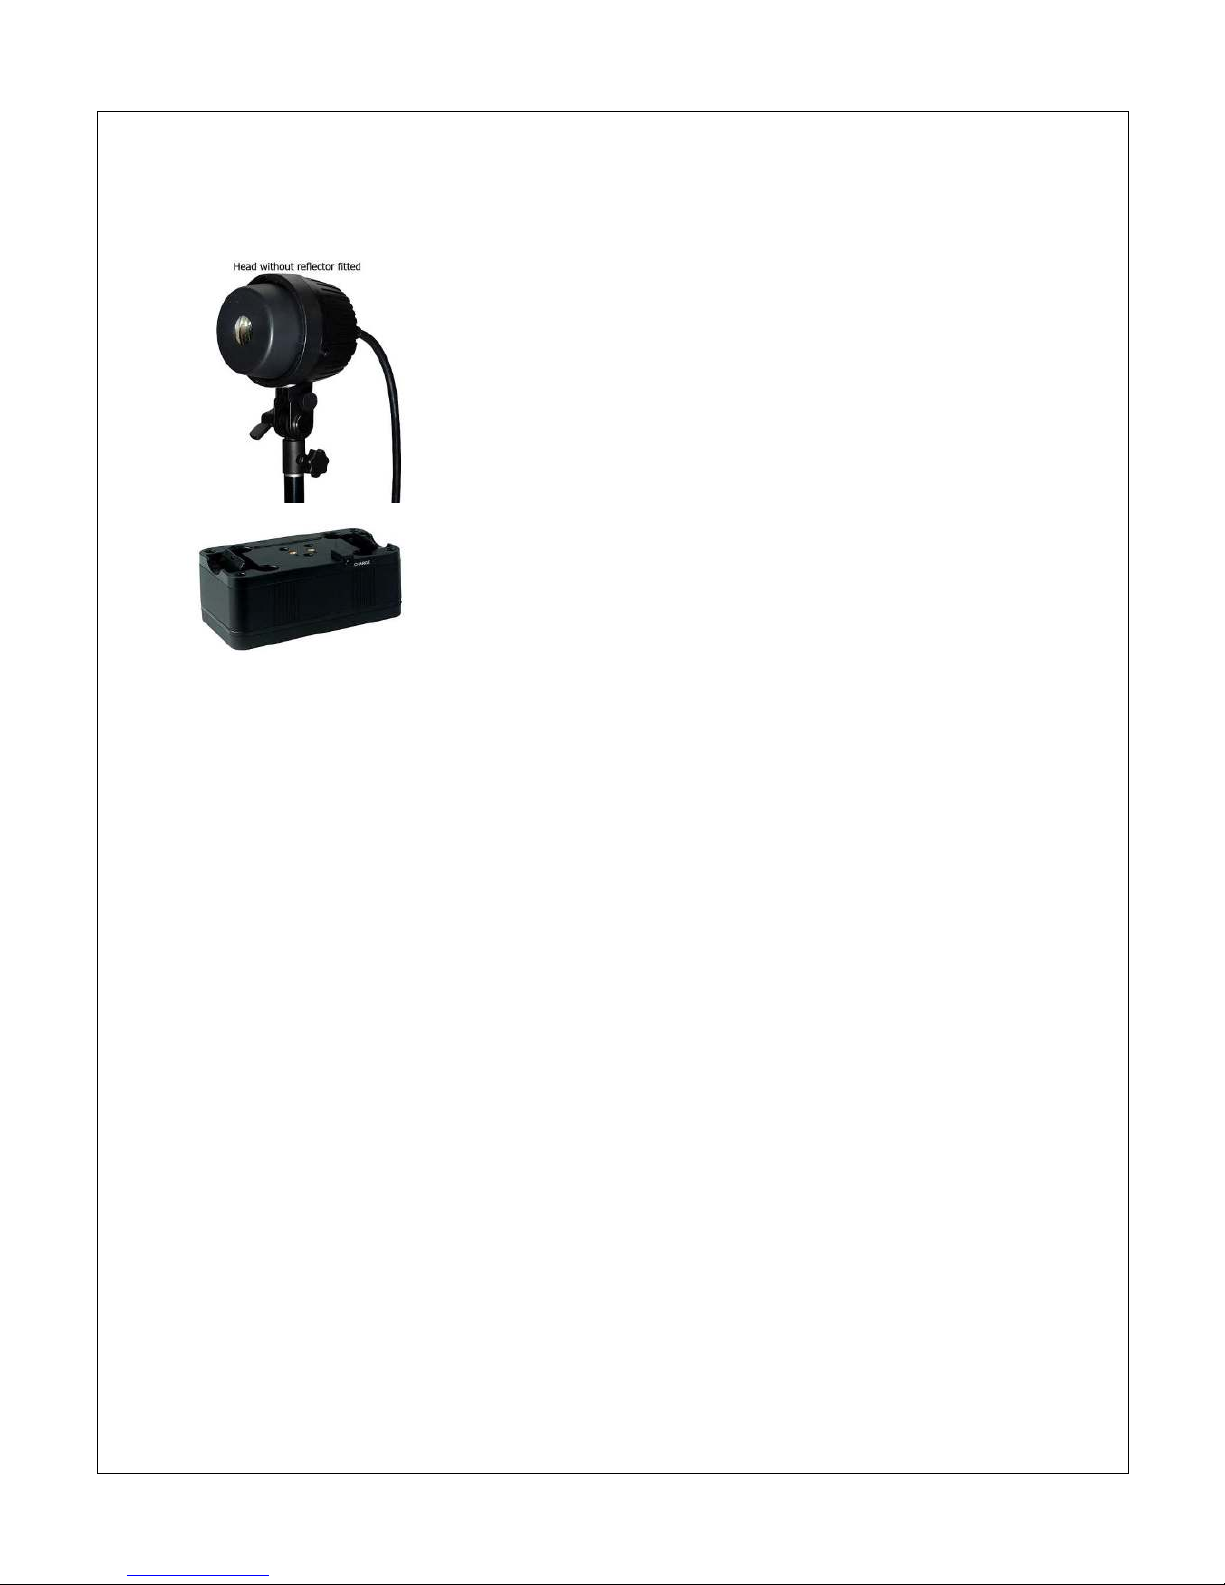
Using your Safari Li-on as a ringflash
If you have ought a Li-on ringflash kit, or have ought the optional ringflash head to go with your Li-on
kit then you have the est ringflash kit on the market!
The ringflash head can e used either on its own, as a pure ringflash, on its own as a fill flash or it can e
used in conjunction with a standard flash head.
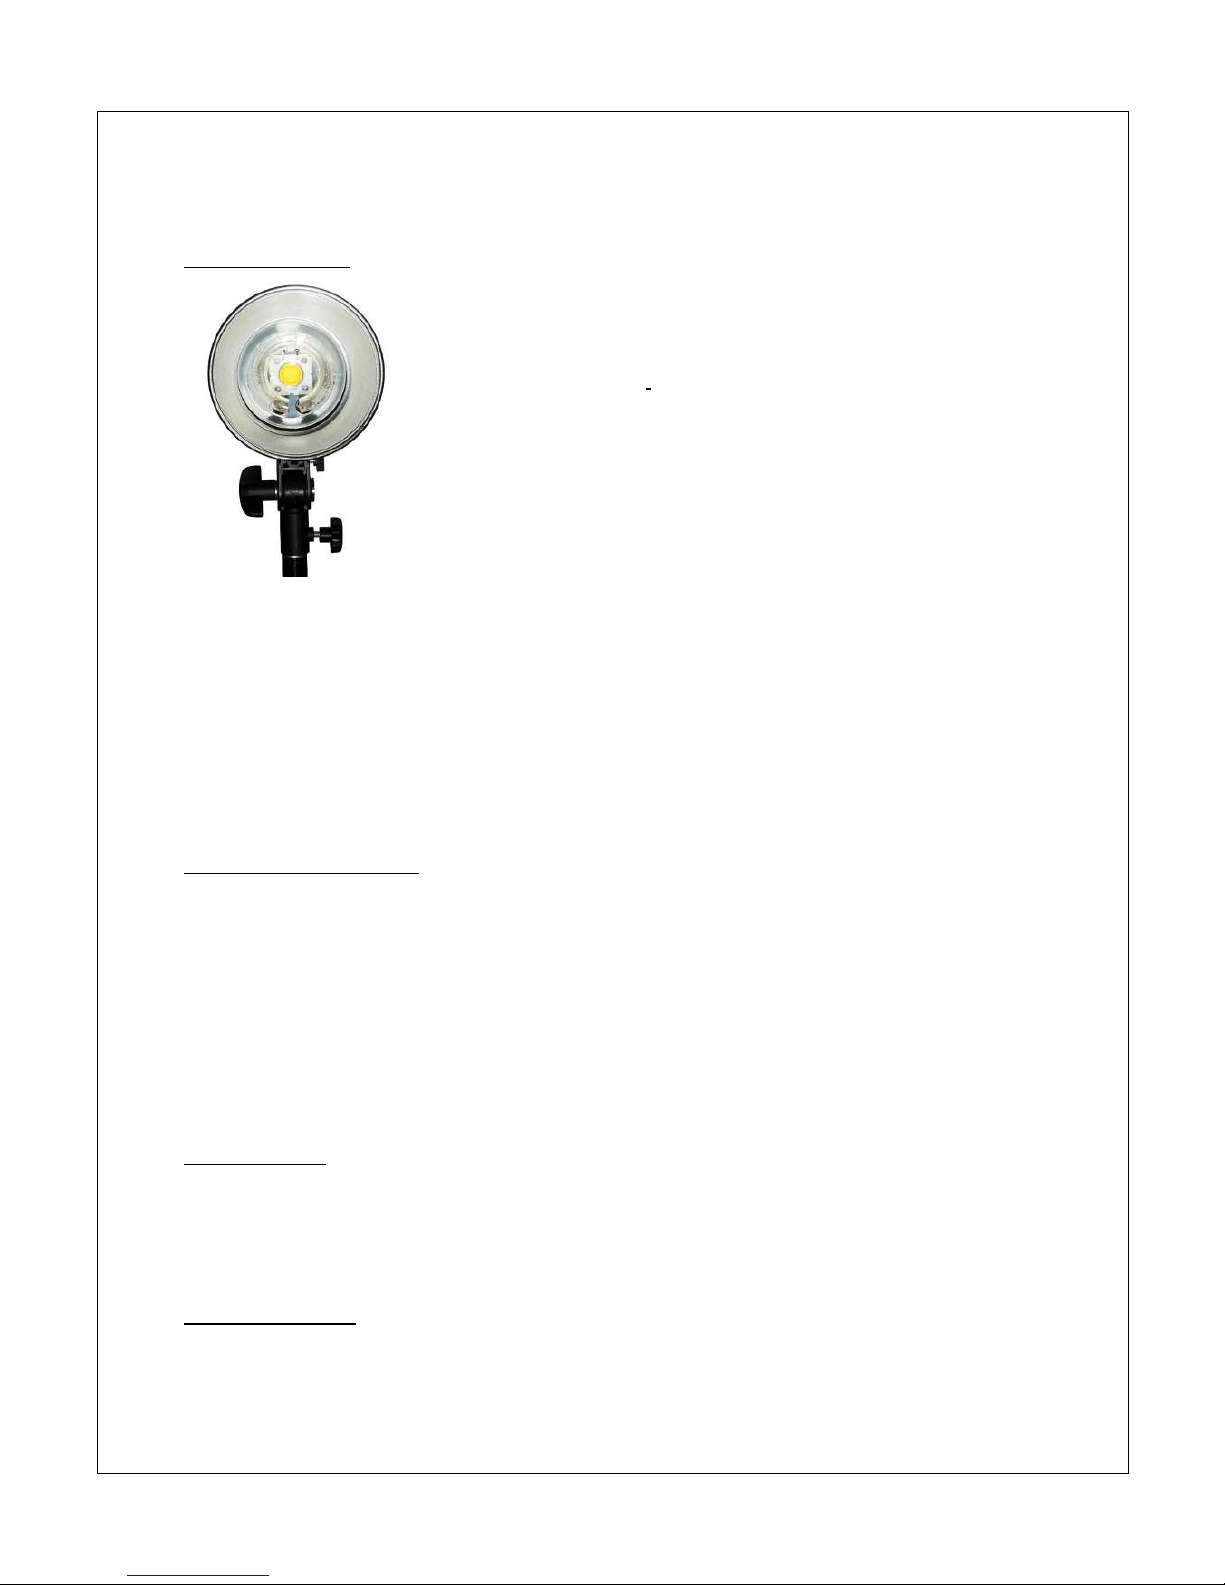
Used on its own as a ringflash, you may wish to plug it into socket B, which will give you a minimum of
12.5 Ws and a maximum of 200 Ws. That’s usually plenty of power for a ringflash, ut if more power is
needed you can of course plug it into socket A, which will provide a minimum of 25 Ws and a maximum
of 400 Ws – or, if you press the A+B utton, a minimum of 38 Ws and a maximum of 600 Ws.
To get the full ‘ringflash effect’ of gentle outwardly radiating shadows, you need to e as close as
practica le to your su ject, although of course if you’re very close you may see perspective distortion.
Exposure: With a flash head mounted on a stand, the distance to su ject is constant regardless of the
distance from camera to su ject, allowing the photographer to change position without having to adjust
the exposure, ut with the ringflash mounted to the camera any change to distance will also affect
exposure. Because of this you may wish to use a wideangle zoom, something like a 17-55mm on a
cropped-frame camera or a 24-70mm on a full frame camera, and use the zoom to create different
effects without changing the distance, instead of moving closer to or further from your su ject.
Ringflash diffuser: If you fit the optional ringflash diffuser the light will e softer and the shadows will e
less pronounced. Fitting the diffuser will also allow you to easily fit lighting gels etween the flash head
and the diffuser, to colour part or all of the foreground of a scene or, if a neutral density gel is used, to
create less light at the top, ottom or one side of the image. *However, if you fit the diffuser you must
ensure that the camera lens protrudes eyond the diffuser, otherwise there is a real risk of lens flare
from light entering the lens, transmitted through the diffuser. If it is impossi le to fit it so that the lens
protrudes eyond the ringflash, for example if the lens is a ‘nifty fifty’ or similar, you must fit a lenshood
to prevent flare.
Redeye: Redeye is caused y light on axis with the camera lens, striking the eye and reflecting straight
ack. It isn’t created y a ringflash ut, ecause the ringflash is directly on axis with the camera lens, it
can sometimes e a pro lem. Using your ringflash in good lighting conditions will normally prevent
Mounting the ringflash: The ringflash head can e used with all
camera/lens com inations as long as the lens has a diameter of no
more than 98mm. Mount it and adjust the rackets so that it’s
comforta le and allows plenty of room to operate the camera
controls. Used without the diffuser, it doesn’t matter whether the
front of the lens is ehind or in front of the flash tu e.
*
redeye, and it is usually possible to increase the ambient light levels (by introducing a continuous light,
which will not affect your flash in any way)
Reflectors, light modifiers and the safety of your equipment
Where kits are supplied with either one or two standard flash heads, they are not supplied with any
reflectors or other light shaping tools so you may wish to purchase one or more standard reflectors. Our
standard reflectors can be used with umbrellas and they also accept honeycombs.
All other S-fit accessories and light shaping tools will also fit your Safari Li-on standard flash head BUT
you should not fit heavy accessories such as large beauty dishes or very large softboxes, because the
plastic construction of the flash head is not designed to cope with the strain of heavy accessories.
Even with smaller accessories such as medium sized softboxes and umbrellas, there is a very real risk of
damaging lighting equipment and of causing injury if it is used in windy conditions. As always when
shooting outdoors, and especially when using the equipment in windy conditions and/or on uneven
ground, it is essential to protect both people and equipment by securing lighting stands with weights
and guy ropes, and by securing accessories such as softboxes, small beauty dishes and umbrellas so that
they cannot place undue strain on the flash head.
ater resistance
The unit can safely be placed on wet grass because the battery is sealed and has no ingress points on its
base. However, the control panel and any flash heads in use MUST be protected from water, excessive
humidity, sand etc.
Safe handling
All flash units operate at very high voltages and careless use can create a risk of injury or death.
1.
Never handle or use the equipment if your hands or the equipment are wet
2.
Never handle or use the equipment in excessively humid conditions
3.
Never handle or use the equipment if the casing has been damaged or if electric wiring is
exposed
4.
To avoid risk of both burns and damage to the equipment, never touch either the flash tube or
the modelling lamp when hot, and never touch them with your bare hands.
5.
Do not incinerate the battery or expose it to risk of fire.
© Lencarta Ltd., 2012
Warranty
Our warranty is 24 months and covers all components and labour with the exception of modelling lamps
and batteries.
All Lencarta products are fully compliant with both ROHS and EU standards and have been issued with the necessary
certificates. We are also fully compliant with WEE Re ulations and are happy to accept any Lencarta electrical products for
recyclin , once they have reached the end of their useful life.

0845 618 2889
| 
07879 119610
| 
[email protected]
| 
www.lencarta.com
Company No. 05750369 | VAT No. GB 898 3998 22 | Reg. Address 5 King Street, Woodmansey, Beverley, East orkshire, HU17 0TE, United
Kingdom
Read our blog | Facebook| Follow us on Twitter | Join our Flickr group | Watch our videos

Other Lencarta Camera Flash manuals

Lencarta SmartFlash 200 User manual

Lencarta

Lencarta SmartFlash 200 User manual

Lencarta Superfast 300 User manual

Lencarta

Lencarta Superfast 300 User manual

Lencarta Atom 180 User manual

Lencarta

Lencarta Atom 180 User manual

Popular Camera Flash manuals by other brands

Nikon Autofocus Speedlight SB-20 instruction manual

Nikon

Nikon Autofocus Speedlight SB-20 instruction manual

Sony HVL-FDH2 operating instructions

Sony

Sony HVL-FDH2 operating instructions

CULLMANN Culight FR 60MFT manual

CULLMANN

CULLMANN Culight FR 60MFT manual

Genesis SP692b instruction manual

Genesis

Genesis SP692b instruction manual

Bolt VS-510OP user manual

Bolt

Bolt VS-510OP user manual

Metz MECABLITZ 34 AF-3 N operating instructions

Metz

Metz MECABLITZ 34 AF-3 N operating instructions

REGULA Variant 740 CTX manual

REGULA

REGULA Variant 740 CTX manual

Metz mecablitz 64 AF-1 digital operating instructions

Metz

Metz mecablitz 64 AF-1 digital operating instructions

Nikon Autofocus Speedlight SB-22 instruction manual

Nikon

Nikon Autofocus Speedlight SB-22 instruction manual

Godox QT300 instruction manual

Godox

Godox QT300 instruction manual

Hahnel modus 600rt instruction manual

Hahnel

Hahnel modus 600rt instruction manual

Square Perfect SP3700 manual

Square Perfect

Square Perfect SP3700 manual

Sony HVL-F60RM Help guide

Sony

Sony HVL-F60RM Help guide

Priolite MBX 500 HotSync instruction manual

Priolite

Priolite MBX 500 HotSync instruction manual

Godox MF12 instruction manual

Godox

Godox MF12 instruction manual

Leica SF C1 manual

Leica

Leica SF C1 manual

Genaray LED-7100T user manual

Genaray

Genaray LED-7100T user manual

pro master SystemPRO 300C owner's manual

pro master

pro master SystemPRO 300C owner's manual

manuals.online logo
manuals.online logoBrands
  • About & Mission
  • Contact us
  • Privacy Policy
  • Terms and Conditions

Copyright 2025 Manuals.Online. All Rights Reserved.