manuals.online logo
Brands
  1. Home
  2. •
  3. Brands
  4. •
  5. Lenovo
  6. •
  7. Laptop
  8. •
  9. Lenovo Flex 7i User manual

Lenovo Flex 7i User manual

User Guide
Lenovo Flex 7i (14″, 7)
Read this first
Before using this documentation and the product it supports, ensure that ou read and understand the
following:
• Generic Safety and Compliance Notices
• Safety and Warranty Guide
• Setup Guide
Second Edition (August 2022)
© Copyright Lenovo 2022.
LIMITED AND RESTRICTED RIGHTS NOTICE: If data or software is delivered pursuant to a General Services
Administration “GSA” contract, use, reproduction, or disclosure is subject to restrictions set forth in Contract No. GS-
35F-05925.
Contents
About this guide . . . . . . . . . . . . . iii
Chapter . Meet your computer . . . . .
Front . . . . . . . . . . . . . . . . . . . . 1
Base . . . . . . . . . . . . . . . . . . . . 2
Left . . . . . . . . . . . . . . . . . . . . 3
Right . . . . . . . . . . . . . . . . . . . . 4
Bottom . . . . . . . . . . . . . . . . . . . 5
Features and specifications . . . . . . . . . . . 6
Statement on USB transfer rate . . . . . . . . 7
Operating environment . . . . . . . . . . . 7
Avoid constant bod contact with specific hot
sections . . . . . . . . . . . . . . . . . 7
Chapter 2. Get started with your
computer . . . . . . . . . . . . . . . . . 9
Work with Windows . . . . . . . . . . . . . . 9
Windows help information . . . . . . . . . 10
Lenovo Vantage and Lenovo PC Manager . . . . 10
The Novo Button menu . . . . . . . . . . . . 10
Open the Novo Button menu . . . . . . . . 10
Interact with our computer . . . . . . . . . . 11
Ke board hotke s . . . . . . . . . . . . 11
Touch operations supported b Windows . . . 12
Use a pen . . . . . . . . . . . . . . . 13
Chapter 3. Explore your computer . . 7
Manage power . . . . . . . . . . . . . . . 17
Check the batter status . . . . . . . . . 17
Charge the batter . . . . . . . . . . . . 17
Set power button behavior. . . . . . . . . 17
A power plan . . . . . . . . . . . . . . 17
Change settings in UEFI/BIOS setup utilit . . . . 18
What is UEFI/BIOS setup utilit . . . . . . . 18
Open the UEFI/BIOS setup utilit . . . . . . 18
Select boot devices . . . . . . . . . . . 18
Change hotke mode . . . . . . . . . . . 18
Enable or disable alwa s-on . . . . . . . . 19
Set passwords in UEFI/BIOS setup utilit . . . . . 19
Password t pes . . . . . . . . . . . . . 19
Set administrator password . . . . . . . . 19
Change or remove administrator password . . 20
Set user password . . . . . . . . . . . . 20
Enable power-on password . . . . . . . . 20
Set hard disk password . . . . . . . . . . 20
Change or remove hard disk password . . . . 21
Chapter 4. Help and support . . . . . 23
Frequentl asked questions . . . . . . . . . . 23
Self-help resources . . . . . . . . . . . . . 23
What is a CRU? . . . . . . . . . . . . . . . 24
CRUs for our product model . . . . . . . . . 25
Call Lenovo . . . . . . . . . . . . . . . . 26
Before ou contact Lenovo . . . . . . . . 26
Lenovo Customer Support Center . . . . . . 26
Purchase additional services. . . . . . . . . . 27
Appendix A. Notices and
trademarks . . . . . . . . . . . . . . . 29
© Cop right Lenovo 2022 i
ii User Guide
About this guide
• This guide applies to Lenovo product model(s) listed below. Illustrations in this guide ma look slightl
different from our product model.
Model name Machine type (MT)
Lenovo Flex 7 14IAU7 82VC
• For further compliance information, refer to the Generic Safety and Compliance Notices at https://
pcsupport.lenovo.com/docs/generic_notices.
• This guide ma contain information about accessories, features, and software that are not available on all
models.
• This guide contains instructions that are based on the Windows operating s stem. These instructions are
not applicable if ou install and use other operating s stems.
• Microsoft® makes periodic feature changes to the Windows® operating s stem through Windows Update.
As a result, the operating s stem related instructions ma become outdated. Refer to Microsoft resources
for the latest information.
• The content of the guide is subject to change without notice. To obtain the latest version, go to https://
support.lenovo.com.
© Cop right Lenovo 2022 iii
iv User Guide
Chapter . Meet your computer
Front
1. Microphones Capture or record sound and voice.
2. Camera Capture still and moving images for taking photos, recording videos,
and video chatting.
3. Camera switch Turn the camera on or off.
4. Camera light If the light is on, the camera is in use.
5. Screen Displa text, graphics, and videos. Selected models support multi-
touch function.
© Cop right Lenovo 2022
Base
1. Ventilation slots (outlet) Maintain the outgoing airflow to dissipate internal heat.
Attention: Do not block the ventilation slots. Otherwise, the
computer ma overheat.
2. Speakers Produce sound.
3. Fingerprint reader Enroll and read our fingerprint for user authentication.
4. Touchpad Perform finger touch and all the functions of a traditional mouse.
Note: The touchpad also supports multi-touch function.
5. Wireless antennas Send and receive radio waves for the built-in wireless LAN (local area
network) and Bluetooth module.
Notes:
• The antennas are not visible from the outside of the computer.
• If the location of the antennas is close to the user’s bod (< 20 cm),
ou can find the Specific Absorption Rate (SAR) values in the Setup
Guide that comes with our computer.
6. Ke board Enter characters and interact with programs.
Note: The ke board also includes hotke s and function ke s for
changing settings and performing tasks quickl .
2User Guide
Left
1. HDMI™ connector Connect to a compatible digital audio device or video monitor, such
as an HDTV.
2. Multi-purpose USB T pe-C® connector
(Thunderbolt™ 4 enabled)/Power connector • Connect to power with the included power cord and ac power
adapter.
• This multi-purpose connector is Thunderbolt 4 enabled. When
connected with a Thunderbolt enabled device, data transfer ma
be established in Thunderbolt mode. It can also be used to
connect displa devices and devices that utilize the USB data
transfer technolog .
Note: When connecting displa devices, ou need to use
appropriate cables and adapters (if needed) according to the
connection capabilities of the displa device.
3. Combo audio jack Connect to headphones or headsets with a 3.5 mm (0.14 inch), 4-pole
plug.
Note: This jack does not support standalone external microphones. If
ou use headsets, choose one with a single plug.
4. Novo button hole
Press the Novo button to open the Novo Button menu. From the
menu, ou can choose to open the UEFI/BIOS setup utilit , the Boot
menu, or the Windows startup options screen.
Chapter 1.Meet our computer 3
Right
1. Power button with power light Press the button to turn on the computer or put the computer into
sleep mode. The light on the power button shows the s stem status
of our computer.
• On: The computer is turned on.
• Blinking fast: The computer is turned on; batter charge
percentage 1% - 20%.
• Blinking slowl : The computer is in sleep mode.
• Off: The computer is turned off or in hibernation mode.
2. SD card slot Insert an SD card or a MultiMediaCard (MMC) into the slot for data
transfer or storage.
3. USB (3.2 Gen 1) T pe-A connector Connect to a USB-compatible device, such as a USB ke board, a
USB mouse, a USB storage device, or a USB printer.
4. USB (3.2 Gen 1) T pe-A connector
(alwa s-on)
The alwa s-on connector can charge external devices when the
computer is turned off, in sleep or hibernation mode. The alwa s-on
function can be turned on or off in the UEFI/BIOS setup utilit .
Note: If Lenovo Vantage is pre-installed on our computer, ou can
also set alwa s-on function within that software.
4User Guide
Bottom
1. Ventilation slots (inlet) Maintain the incoming airflow to dissipate internal heat.
Attention: Do not block the ventilation slots. Otherwise, the
computer ma overheat.
Chapter 1.Meet our computer 5
Features and specifications
Dimensions • Width: 313.1 mm (12.33 inches)
• Depth: 224.9 mm (8.85 inches)
• Thickness (metal version):
– Thinnest: 17.4 mm (0.69 inches)
– Thickest: 18.9 mm (0.74 inches)
ac power adapter • Input: 100 V ac–240 V ac, 50 Hz–60 Hz
• Output: 20 V dc, 3.25 A
• Power: 65 W
Batter pack • Capacit : 59 Wh
Note: The batter capacit is the t pical or average capacit as measured in a specific test
environment. Capacities measured in other environments ma differ but are no lower than the
rated capacit (see product label).
Microprocessor To view the microprocessor information of our computer, t pe s stem information in the
Windows search box and then press Enter.
Memor • T pe: On-board low power double data rate 4X (LPDDR4X)
• Number of ph sical slots: 0
Storage device • T pe: solid-state drive
• Form factor: M.2 (2242 or 2280)
• Bus: PCI Express
Screen • Size: 355.6 mm (14 inches)
• Displa resolution: 2240 × 1400 pixels
Ke board • Function ke s
• Hotke s
• Ke board backlight
Connectors and slots • Combo audio jack
• USB T pe-A connector × 2 (one connector with Alwa s-On function)
• Multi-purpose USB T pe-C connector
– Supports the maximum signaling rate of 41.25 Gbps in Thunderbolt mode
– Supports SuperSpeed USB 10 Gbps
– Supports Displa Port Alt Mode
– Supports USB Power Deliver
– Supports power output up to 15 W (5 V, 3 A)
• HDMI connector
• SD card slot
Note: Data rates and performance ratings are dependent on connected devices and cables if
the are used. For Displa Port connection through a USB-C port, the listed maximum output
capacit is onl available on external displa s with a Displa Port, a Mini Displa Port, or a
USB-C port that supports Displa Port Alternate Mode. For connections using a converter or
an adapter, the actual output resolution ma be lower.
6User Guide
Securit • Fingerprint reader
• UEFI/BIOS passwords
– Administrator password
– User password
– Master hard disk password
– User hard disk password
Network • Bluetooth and Wi-Fi combo adapter
Statement on USB transfer rate
Depending on man factors such as the processing capabilit of the host and peripheral devices, file
attributes, and other factors related to s stem configuration and operating environments, the actual transfer
rate using the various USB connectors on this device will var and will be slower than the data rate listed
below for each corresponding device.
USB device Data rate (Gbit/s)
3.2 Gen 1 5
3.2 Gen 2 10
Operating environment
Maximum altitude (without pressurization)
3048 m (10 000 ft)
Temperature
• At altitudes up to 2438 m (8000 ft)
– Operating: 5°C to 35°C (41°F to 95°F)
– Storage: 5°C to 43°C (41°F to 109°F)
• At altitudes above 2438 m (8000 ft)
– Maximum temperature when operating under the unpressurized condition: 31.3°C (88°F)
Note: When ou charge the batter , its temperature must be no lower than 10°C (50°F).
Relative humidity
• Operating: 8% to 95% at wet-bulb temperature 23°C (73°F)
• Storage: 5% to 95% at wet-bulb temperature 27°C (81°F)
Avoid constant body contact with specific hot sections
CAUTION:
When the computer is operating, it should be placed on a hard and flat surface with its bottom area
not in contact with user’s bare skin. Under normal operating conditions, the temperature of the
bottom surface will remain within an acceptable range as defined in IEC 62368-1, but such
temperatures can still be high enough to cause discomfort or harm to the user if directly touched for
over one minute at a time. As such, it is recommended that users avoid prolonged direct contact with
the bottom of the computer.
Chapter 1.Meet our computer 7
Note: Some Lenovo computers include a displa that can be rotated 360 degrees. When those products are
used as a tablet computer, the temperatures of all the accessible parts are within an acceptable range as
defined in IEC 62368-1.
8User Guide
Chapter 2. Get started with your computer
Work with Windows
The following table contains Windows frequentl used settings. You can learn the basics and start working
with Windows right awa .
To configure settings, t pe the corresponding ke words in the Windows search box and select the best
match. Follow the on-screen instructions to customize settings.
Ta le 1. Basic settings
Functions Descriptions Search by
keywords
Control Panel View or change Windows settings, including hardware and software setup
and configuration.
Control Panel
Connect to Wi-Fi
networks
For models with a wireless LAN module, ou can connect our computer to
a Wi-Fi® network. Click the network icon in the Windows notification area,
and then select a network for connection.
Note: The wireless LAN module on our computer ma support different
standards. For some countries or regions, use of 802.11ax ma be disabled
according to local regulations.
Wi-Fi
Airplane mode Airplane mode is a convenient setting to turn all wireless communications of
our computer on and off. You ma need to turn it on when boarding an
airplane.
Airplane mode
Night light mode Night light is a switch in Windows that ou can turn on and off. When it is
turned on, our screen shows warmer colors and the amount of emitted
blue light is reduced. Enabling night light reduces the chances of developing
e e fatigue or e e strain.
Note: For more guidance on reducing e e fatigue or e e strain, go to
https://www.lenovo.com/us/en/compliance/visual-fatigue.
Night light
Adjust color
temperature
If night light mode is turned on, ou can adjust the color temperature of the
screen.
Note: Selected Lenovo computers are low blue light certified using night
light mode and color temperature settings available in the pre-installed
operating s stem. These computers are tested with night light turned on
and color temperature set to 48 or greater.
Night light
Windows
Updates
Microsoft periodicall releases feature and securit updates to the Windows
operating s stem. Updates that are applicable to our Windows version are
downloaded automaticall when our computer is connected to the
Internet. When updates are downloaded, ou are prompted to restart the
computer to install these updates. You can also manuall check if there are
available updates for the installed version of Windows.
Attention: Onl use Windows Update to download and install updates.
Updates downloaded from other sources ma include securit risks.
Windows Updates
Ta le 2. Optional settings
Functions Descriptions Search by
keywords
Enroll our
fingerprint
For models with a fingerprint reader, ou can enroll our fingerprint for
Windows sign-in.
Sign-in options
© Cop right Lenovo 2022 9
Windows help information
If the on-screen instructions cannot solve our problem, refer to the following to get the online Windows help
information.
• T pe Get Help or Tips in the Windows search box and then press Enter. When the app opens, t pe the
problem description and select the matched result.
• Visit Microsoft support Web site: https://support.microsoft.com. Enter what ou are looking for in the
search box and get search results.
Lenovo Vantage and Lenovo PC Manager
The are both apps developed b Lenovo. Using either of them, ou can:
• View product information and s stem status
• Manage and change device settings
• Check for and perform s stem update
Note: This feature is onl available on Lenovo Vantage. In Lenovo PC Manager, ou can check for and
perform driver update.
Depending on the countr or region in which our computer is purchased, one of the apps ma be pre-
installed on our computer. To open it, t pe its name in the Windows Search box and select the matched
result. If neither of the apps is pre-installed, ou ma install one on our own. Lenovo Vantage is available for
download free of charge from the Microsoft Store.
Note: App features are subject to change with updates and specific features ma not be available on all
Lenovo products.
The Novo Button menu
The Novo Button menu can be displa ed before the operating s stem starts. From the menu, ou can
choose to
• Open the BIOS/UEFI setup utilit
• Open the boot device selection menu
• Open the Windows startup options screen
Note: From the Windows startup options screen, ou can then choose to
Start our computer using a recover drive
Reset our computer
Open advanced options screen
Open the Novo Button menu
For Lenovo computers with a Novo button, ou can press the button to open the Novo Button menu.
Step 1. Turn off the computer.
Step 2. Open the LCD screen and press the Novo button.
Note: Alternativel , turn off the computer. Press Fn and the power button to open the Novo Button menu.
0 User Guide
Interact with your computer
Keyboard hotkeys
Some ke s on the ke board are printed with icons. These ke s are called hotke s and can be pressed alone
or in combination with the Fn ke to open certain apps or change certain settings quickl . The functions of
the hotke s are s mbolized b the icons printed on them.
Hotkey Function
Mute/Unmute sound.
Decrease/Increase s stem volume.
Mute/Unmute the microphone.
Increase/Decrease screen brightness.
Switch displa devices.
Turn airplane mode on and off.
Open the Windows Settings app.
Lock the screen.
Displa thumbnails of all open apps.
Open the Windows Calculator app.
Displa an app launcher for quick access to Lenovo apps and services.
Note: For some models, ou ma need to connect to the Internet and complete
s stem update for this function to take effect.
Open the Windows snipping tool.
Turn on/off or adjust the brightness of the ke board backlight.
Note: This hotke must be used with the Fn ke .
Hotkey mode
Some hotke s share ke s with function ke s (F1 to F12). The hotke mode is a UEFI/BIOS setting that
changes how hotke s (or function ke s) are used.
Hotkey mode setting How to use hotkeys How to use function keys
Disabled Hold down the Fn ke and press one
of the hotke s.
Press the function ke s directl .
Enabled Press the hotke s directl . Hold down the Fn ke and press one
of the function ke s.
Note: Hotke s that do not share ke s with function ke s are not affected b the hotke mode setting. The
should alwa s be used with the Fn ke .
The FnLock switch
The FnLock is a switch that reverses the default and hidden function of a hotke . The following table
provides an example of how the FnLock switch changes the default function of the F1 ke .
Chapter 2.Get started with our computer
FnLock FnLock light Default function of the F key
Off Off Mute/Unmute sound
On On F1 function *
Note: The F1 function is application-dependent. It ma have no function if the active application does not
have a definition for the ke .
The FnLock switch shares the ESC ke (in the upper left corner of the ke board). To turn it on or off, press Fn
+ ESC.
Touch operations supported by Windows
For computers with a touch-enabled screen, ou can touch the screen directl with our fingers and interact
with our computer in a more natural wa . The following table lists frequentl used touch operations that are
supported b the Windows operating s stem.
Touch operation Used for
Tap
Opening apps, documents, and other functions on the
taskbar or the Start menu
Tap twice quickl
Opening apps that are pinned on the desktop
Tap, hold and lift
Opening the context menu
Pinch
Zooming out
2 User Guide
Touch operation Used for
Spread
Zooming in
Swipe in from the left edge
Opening the widgets panel
Swipe in from the right edge
Opening the notification center
The Windows operating s stem also supports 3- and 4-finger gestures on the screen and the touchpad. You
can set them up in Settings ➙ Bluetooth & devices.
Use a pen
Depending on the model, our computer might come with a pen. The pen enables ou to write and draw in a
natural manner.
You can view or change functions of pen buttons in the Lenovo Pen Settings. For more information, refer to
the User Guide of the software.
Notes:
• The pen is not waterproof. Take care not to drop the pen in water.
• The pen contains pressure sensors. Do not push the tip of the pen for an extended period of time. Do not
subject the pen to shock or vibration.
• The default function of each pen button might var in different apps.
• The Lenovo Pen Settings ma be pre-installed on our computer. To open it, enter the software name in
Windows Search and select the matched result. If the software is not pre-installed, ou can download and
install the latest drivers from https://support.lenovo.com.
Lenovo Digital Pen (for selected models)
Selected models are equipped with Lenovo Digital Pen. The pen is not waterproof. Keep the pen awa from
water and excessive moisture. To purchase Lenovo Digital Pen, go to https://www.lenovo.com/accessories.
Chapter 2.Get started with our computer 3
Use Lenovo Digital Pen
Figure 1. Lenovo Digital Pen – overview
1. Pen tip 2. Bottom button
3. Top button
Install the AAAA battery
Lenovo Digital Pen uses AAAA batter . The AAAA batter ma or ma not ship with the pen.
Note: Make sure the positive (+) end of the batter pointing toward the pen tip.
Check the pen's battery status
Step 1. Tap the pen tip on the computer screen.
Note: Alwa s tap the pen tip on the screen before viewing the pen’s batter status. Otherwise, the
reading as shown in Lenovo Pen Settings is not accurate.
Step 2. Open Lenovo Pen Settings. A batter icon is displa ed in the upper right corner.
Step 3. Move the mouse pointer on top of the batter icon to view the charge reading.
If the remaining batter power of the pen is low, replace the batter .
Set Lenovo Digital Pen
You can configure the Lenovo Digital Pen settings in Windows Settings and Lenovo Pen Settings.
• Windows Settings: T pe Pen & Windows Ink settings in the Windows search box and press Enter.
Under Pen & Windows Ink, ou can configure the following settings as desired:
– Show or hide pen cursor.
– Set the font size and famil for handwriting.
– Improve handwriting recognition for some languages.
• Lenovo Pen Settings: Enter Lenovo Pen Settings in the Windows search box, and then select the matched
result to set the pen. From Lenovo Pen Settings, ou can configure the following settings as desired:
– View the batter status of the pen.
4 User Guide

Other manuals for Flex 7i

1

This manual suits for next models

1

Other Lenovo Laptop manuals

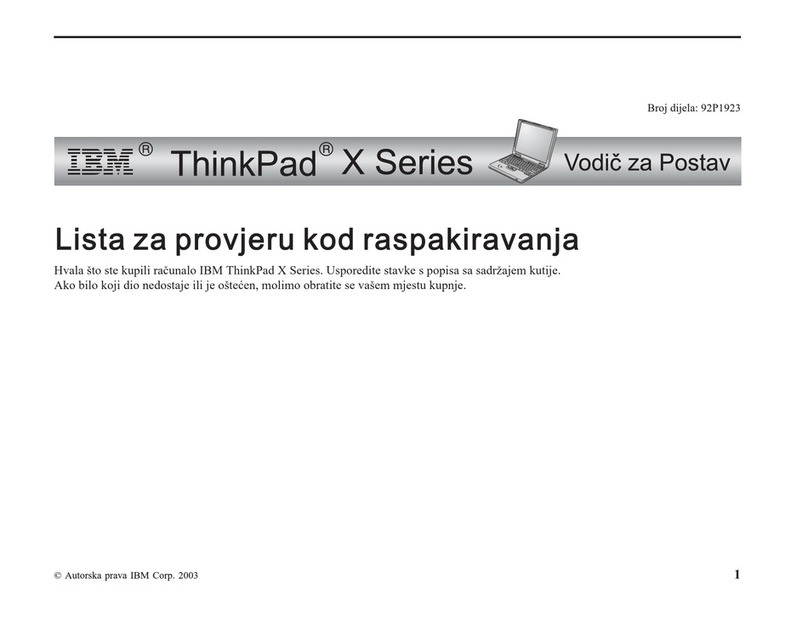
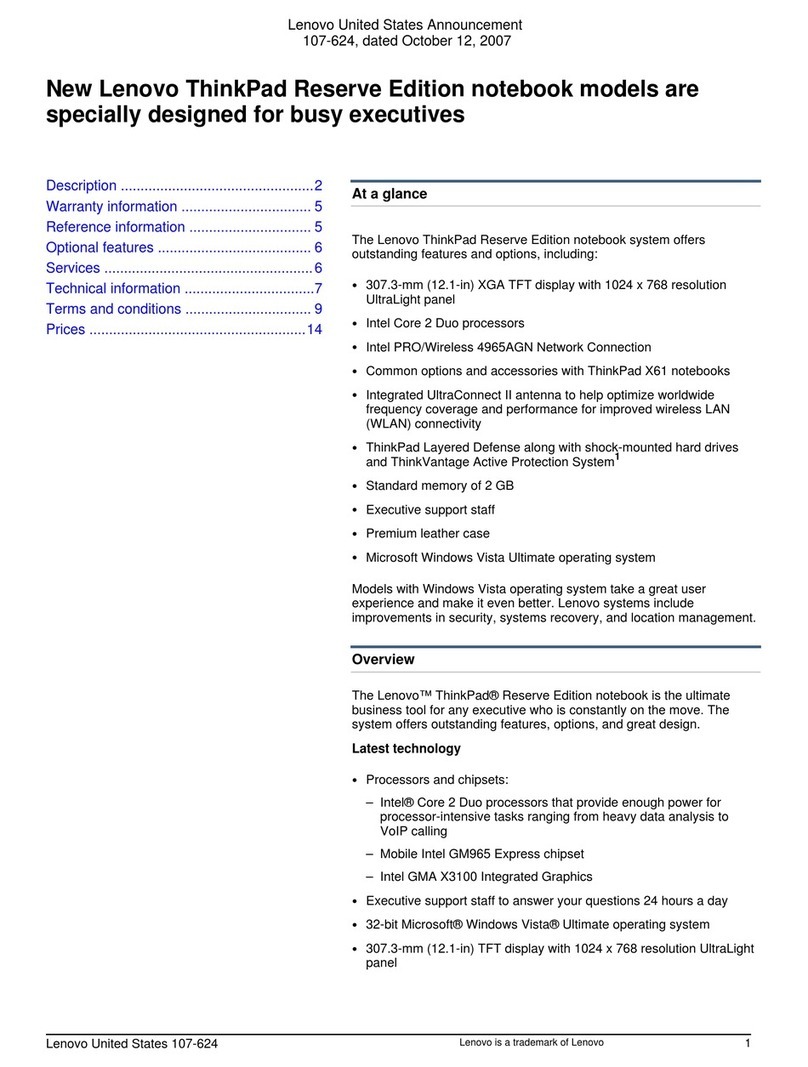
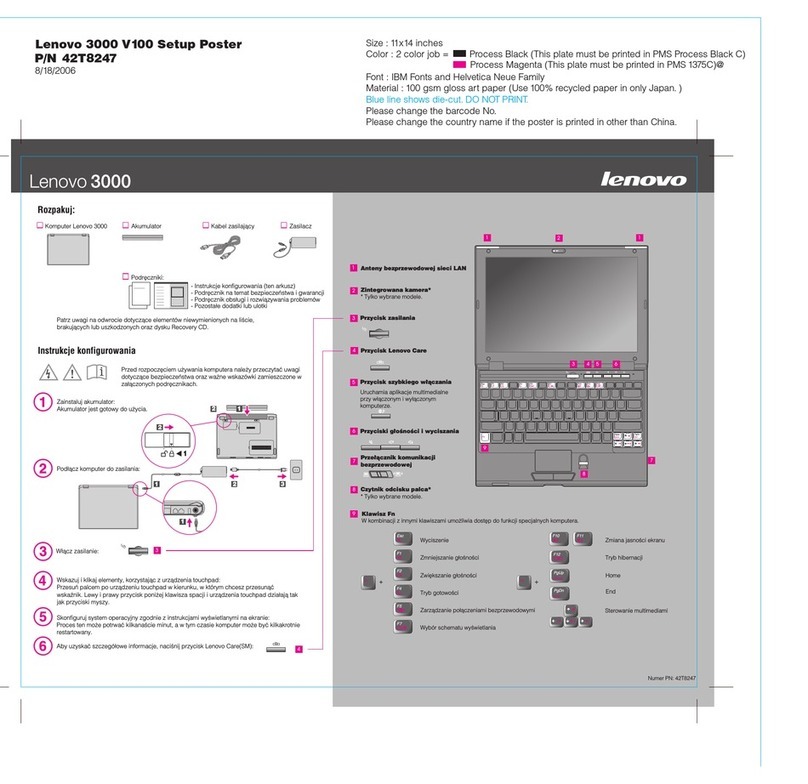
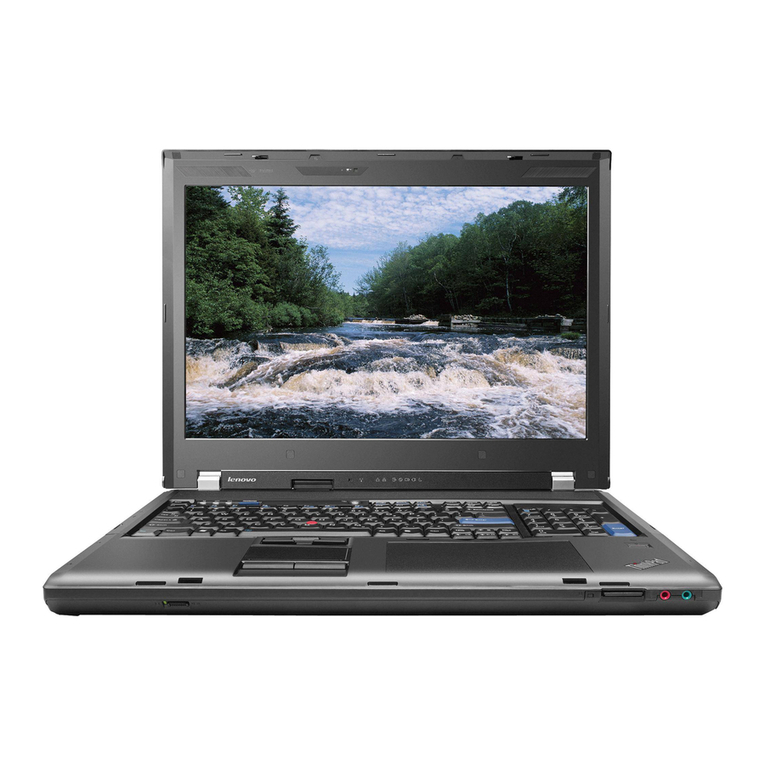
Lenovo ThinkPad X131e User manual

Lenovo

Lenovo ThinkPad X131e User manual

Lenovo ThinkPad X61 User manual

Lenovo

Lenovo ThinkPad X61 User manual

Lenovo Y430 User manual

Lenovo

Lenovo Y430 User manual

Lenovo ThinkCentre M90s User manual

Lenovo

Lenovo ThinkCentre M90s User manual

Lenovo 13w Yoga User manual

Lenovo

Lenovo 13w Yoga User manual

Lenovo ThinkPad X230 Tablet User manual

Lenovo

Lenovo ThinkPad X230 Tablet User manual

Lenovo ThinkPad T400 How to use

Lenovo

Lenovo ThinkPad T400 How to use

Lenovo ThinkPad L412 How to use

Lenovo

Lenovo ThinkPad L412 How to use

Lenovo B480 User manual

Lenovo

Lenovo B480 User manual

Lenovo E41-80 Owner's manual

Lenovo

Lenovo E41-80 Owner's manual

Lenovo THINKPAD X31 User manual

Lenovo

Lenovo THINKPAD X31 User manual

Lenovo 82VA002UIX Owner's manual

Lenovo

Lenovo 82VA002UIX Owner's manual

Lenovo ThinkPad X1 Extreme User manual

Lenovo

Lenovo ThinkPad X1 Extreme User manual

Lenovo IdeaPad U310 User manual

Lenovo

Lenovo IdeaPad U310 User manual

Lenovo 0769AKU User manual

Lenovo

Lenovo 0769AKU User manual

Lenovo ThinkPad Z60m Series Instruction Manual

Lenovo

Lenovo ThinkPad Z60m Series Instruction Manual

Lenovo ThinkPad X60 Tablet Owner's manual

Lenovo

Lenovo ThinkPad X60 Tablet Owner's manual

Lenovo ThinkPad T480S User manual

Lenovo

Lenovo ThinkPad T480S User manual

Lenovo ThinkPad R51 Guide

Lenovo

Lenovo ThinkPad R51 Guide

Lenovo ThinkBook 16 Gen 6 User manual

Lenovo

Lenovo ThinkBook 16 Gen 6 User manual

Lenovo ThinkPad Hard Disk Drive Owner's manual

Lenovo

Lenovo ThinkPad Hard Disk Drive Owner's manual

Lenovo ideapad FLEX 6 Series Owner's manual

Lenovo

Lenovo ideapad FLEX 6 Series Owner's manual

Lenovo ThinkPad X240 User manual

Lenovo

Lenovo ThinkPad X240 User manual

Lenovo Legion Y740S-15IRH Owner's manual

Lenovo

Lenovo Legion Y740S-15IRH Owner's manual

Popular Laptop manuals by other brands

Dell Latitude D410 Quick reference guide

Dell

Dell Latitude D410 Quick reference guide

Toshiba R830-S8320 Specifications

Toshiba

Toshiba R830-S8320 Specifications

Gigabyte Q1585 Series user manual

Gigabyte

Gigabyte Q1585 Series user manual

Asus M5N Software guide

Asus

Asus M5N Software guide

Toshiba 5205-S119 Specifications

Toshiba

Toshiba 5205-S119 Specifications

Dell Inspiron 11 manual

Dell

Dell Inspiron 11 manual

HP EliteBook 2540P Maintenance and service guide

HP

HP EliteBook 2540P Maintenance and service guide

Mecer Xpression W950AU Service manual

Mecer Xpression

Mecer Xpression W950AU Service manual

Fujitsu Siemens Computers AMILO Si 1520 Getting started

Fujitsu Siemens Computers

Fujitsu Siemens Computers AMILO Si 1520 Getting started

SVOA Iris M548SR user manual

SVOA

SVOA Iris M548SR user manual

Asus C202SA user guide

Asus

Asus C202SA user guide

Sony VAIO VPCSE1CGX/B Specifications

Sony

Sony VAIO VPCSE1CGX/B Specifications

Toshiba Qosmio G30 Maintenance manual

Toshiba

Toshiba Qosmio G30 Maintenance manual

Asus Z65H manual

Asus

Asus Z65H manual

Toshiba A355-SC2902 user manual

Toshiba

Toshiba A355-SC2902 user manual

Toshiba Tecra M9-ST5511 Specifications

Toshiba

Toshiba Tecra M9-ST5511 Specifications

Panasonic Toughbook CF-74JDMBD2M operating instructions

Panasonic

Panasonic Toughbook CF-74JDMBD2M operating instructions

NEC VERSA 6060 WINDOWS 98 - UPGRADE INFORMATION user guide

NEC

NEC VERSA 6060 WINDOWS 98 - UPGRADE INFORMATION user guide

manuals.online logo
manuals.online logoBrands
  • About & Mission
  • Contact us
  • Privacy Policy
  • Terms and Conditions

Copyright 2025 Manuals.Online. All Rights Reserved.