manuals.online logo
Brands
  1. Home
  2. •
  3. Brands
  4. •
  5. Lenoxx Sound
  6. •
  7. Cassette Player
  8. •
  9. Lenoxx Sound CR-186 User manual

Lenoxx Sound CR-186 User manual

CASSETTE PLAYER
®
WITH AM / FM CLOCK RADIO
MODEL CR-186
OPERATING INSTRUCTIONS
PLEASE READ CAREFULLY BEFORE USE
WAKE UP TO TAPE, RADIO OR ALARM
AM/FM RADIO RECEIVER
ELECTRONIC DIGITAL CLOCK
PLAYS ALL STANDARD CASSETTE TAPES
EASY TO SET CLOCK FUNCTIONS
PM & AUTO INDICATORS
SNOOZE BUTTON
SLEEP TO MUSIC
BATTERY BACK-UP (9V BATTERY, NOT INCLUDED)
CR-186_032200 NLv.2 E
Get user manuals: See SafeManuals.com
IMPORTANT SAFETY INSTRUCTIONS
The lightning flash and
arrow head within the
triangle is a warning sign
alerting you of
dangerous voltage
inside the product.
See bottom of the unit
WARNING: TO REDUCE THE RISK OF FIRE OR ELECTRIC SHOCK, DO NOT EXPOSE
THIS APPLIANCE TO RAIN OR MOISTURE.
THESE IMPORTANT SAFETY INSTRUCTIONS ARE INCLUDED, AS APPLICABLE TO THE
APPLIANCE, CONVEYING TO THE USER THE INFORMATION ITEMIZED BELOW:
1. Read Instructions - All the safety and operating instructions should be read before the
appliance is operated.
2. Retain Instructions - The safety and operating instructions should be retained for future
reference.
3. Heed Warnings - All warnings on the appliance and in the operating instructions should be
adhered to.
4. Follow Instructions - All operating and use instructions should be followed.
5. Water and Moisture - The appliance should not be used near water - for example near a
bathtub, washbowl, kitchen sink, laundry tub, in a wet basement, or near a swimming pool,
and the like.
6. Wall or Ceiling Mounting - The appliance should not be mounted to a wall or ceiling.
7. Ventilation - The appliance should be situated so that its location or position does not
interfere with its proper ventilation. For example, the appliance should not be situated
on a bed, sofa, rug, or similar surface that may block the ventilation openings; or, placed
in a built-in installation, such as a bookcase or cabinet that impede the flow air through
the ventilation openings.
8. Heat - The appliance should be situated away from heat sources such as radiators,
heat registers, stoves, or other appliances (including amplifiers) that produce heat.
9. Power Sources - The appliance should be connected to a power supply only of the type
described in the operating instructions or as marked on the appliance.
10. Grounding or Polarization - Precautions should be taken so that the grounding or
polarization means of an appliance is not defeated.
11. Power Cord Protection - Power supply cords should be routed so that they are not
likely to be walked on or pinched by items placed upon or against them, paying particular
attention to cords a plug, convenience receptacles, and the point where they exit from
the appliance.
The exclamation point
within the triangle is a
warning sign alerting you
of important instructions
accompanying the
product.
CAUTION
RISK OF ELECTRIC SHOCK
DO NOT OPEN
CAUTION: TO REDUCE THE
RISK OF ELECTRIC SHOCK,
DO NOT REMOVE COVER
(OR BACK). NO USER
SERVICEABLE PARTS
INSIDE. REFER SERVICING
TO QUALIFIED SERVICE
PERSONNEL.
CR-186_032200 NLv.2 E
1
Get user manuals: See SafeManuals.com
12. Cleaning - The appliance should be cleaned only as recommended by the manufacturer.
13. Nonuse periods - The power cord of the appliance should be unplugged from the outlet
when left unused for a long period of time.
14. Object and Liquid Entry - Care should be taken so that objects do not fall and liquids
are not spilled into the enclosure through openings.
15. Damage Requiring Service - The appliance should be serviced by qualified service
personnel when:
A. The power supply cord or the plug has been damaged; or
B. Objects have fallen, or liquid been spilled into the appliance; or
C. The appliance has been exposed to rain; or
D. The appliance does not appear to operate normally or exhibits a marked change in
performance; or
E. The appliance has been dropped, or the enclosure damaged.
16. Servicing - The user should not attempt to service the appliance beyond that described
in the operating instructions. All other servicing should be referred to qualified service
personnel.
17. Power lines - An outdoor antenna should be located away from power lines.
18. Outdoor Antenna Grounding - If an outside antenna is connected to the receiver, be
sure the antenna system is grounded so as to provide some protection against voltage
surges and built up static charges. Section 810 of the National Electrical Code, ANSI/
NFPA 70 provides information with respect to proper grounding of the mast and
supporting structure, grounding of the lead-in wire to an antenna discharge unit, size of
grounding conductors, location of antenna-discharge unit, connection to grounding
electrodes, and requirements for the grounding electrode. See Figure.
IMPORTANT SAFETY INSTRUCTIONS
EXAMPLE OF ANTENNA GROUNDING AS PER NATIONAL ELECTRICAL CODE
ANTENNA
LEAD IN WIRE
ANTENNA DISCHARGE
UNIT (NEC SECTION
810-20)
GROUNDING
CONDUCTORS
(NEC SECTION 810-21)
POWER SERVICE GROUNDING
ELECTRODE SYSTEM
(NEC ART 250, PART H)
ELECTRIC
SERVICE
EQUIPMENT
GROUND
CLAMP
GROUND CLAMPS
CR-186_032200 NLv.2 E
2
Get user manuals: See SafeManuals.com
LOCATION OF CONTROLS
17
89
4
1
3
5
2
20
16 15 21 18
19
141312
11
10
76
1. SLEEP BUTTON
2. ALARM SET/OFF BUTTON
3. HOUR SET BUTTON
4. FUNCTION SWITCH (BUZZ/AUTO/OFF/ON)
5. BAND SWITCH (AM/FM)
6. MINUTE SET BUTTON
7. TIME SET BUTTON
8. SNOOZE BUTTON
9. CASSETTE DOOR
10. VOLUME CONTROL
11. TUNING CONTROL
12. CASSETTE PLAY BUTTON
13. CASSETTE FAST FORWARD BUTTON
14. CASSETTE STOP BUTTON
15. CLOCK DISPLAY
16. AUTO INDICATOR LAMP (ALARM ON)
17. PM INDICATOR LAMP
18. AC POWER CORD
19. EARPHONE JACK
(EARPHONE NOT INCLUDED)
20. 9V BATTERY COMPARTMENT
(AT BOTTOM)
(FOR OPTIONAL BATTERY BACK-UP)
21. FM ANTENNA WIRE
(STRETCH OUT FOR BEST FM RECEPTION)
TOP VIEW
BOTTOM VIEWFRONT VIEW
CR-186_032200 NLv.2 E
3
Get user manuals: See SafeManuals.com
OPERATING INSTRUCTIONS
NOTE: This cord is polarized. This means the cord will only fit one way into the socket or wall
outlet. If it does not fit, do not force it, just reverse it and try again.
NOTE:
ONE BLADE OF THE PLUG IS WIDER
THAN THE OTHER. ALSO DO NOT USE
AN OUTLET CONTROLLED BY A WALL
SWITCH.
BATTERY PRECAUTION
Follow these precautions when using a battery in this device:
1. Use only the size and type of battery specified (9 volt)
2. Be sure to follow the correct polarity when installing the battery as indicated in the battery compartment .
3. If the device is not to be used for a long period of time, remove the battery to prevent damage or injury from
possible battery leakage.
4. Do not try to recharge batteries not intended to be recharged; they can overheat and rupture (Follow
battery manufacturers directions).
Setting the Clock
Your new AM/FM CLOCK RADIO CASSETTE PLAYER is a specially designed all solid state
set which, with proper care, will give you years of trouble-free service.
Powering Up
Plug the AC POWER CORD into a 120V, 60Hz wall outlet . The CLOCK DISPLAY will light up or
flash indicating the power is on.
BATTERY BACK-UP
If the AC cord is disconnected or if there is a short time power failure, this electronic clock and
timer are designed to continue operating internally (without showing in the display) if a 9 volt
battery (not included) is installed.
To connect the battery, locate the BATTERY COMPARTMENT on the bottom of the set. Open
the BATTERY COMPARTMENT by pushing in on the tab, open the door, and connect the
battery to the terminals of the battery snap inside the compartment (Alkaline battery is
recommended). Replace the battery compartment door. The back-up battery will keep your
alarm and time setting to avoid your having to reset these if power fails.
NOTE: Be sure to check the condition of the battery every few months by disconnecting the
AC cord and connecting it again 2 or 3 minutes later. The preset times will show. If the
time flashes, it indicates the battery is dead or not connected properly.
The radio will work fine without this back up battery.
1. Press the TIME set button together with the HOUR set button until the display shows the
desired hour.
2. Press the TIME set button together with the MINUTE set button until the display shows the
desired minutes.
NOTE: When the PM indicator is off, the time is AM (advance 12 hours to change from AM
to PM).
CR-186_032200 NLv.2 E
4
Get user manuals: See SafeManuals.com

Other manuals for CR-186

1

Other Lenoxx Sound Cassette Player manuals

Lenoxx Sound CT-99 User manual

Lenoxx Sound

Lenoxx Sound CT-99 User manual

Lenoxx Sound CT-99 User manual

Lenoxx Sound

Lenoxx Sound CT-99 User manual

Lenoxx Sound 9190M User manual

Lenoxx Sound

Lenoxx Sound 9190M User manual

Lenoxx Sound SL-6703 User manual

Lenoxx Sound

Lenoxx Sound SL-6703 User manual

Lenoxx Sound CR-186 User manual

Lenoxx Sound

Lenoxx Sound CR-186 User manual

Lenoxx Sound 1135 User manual

Lenoxx Sound

Lenoxx Sound 1135 User manual

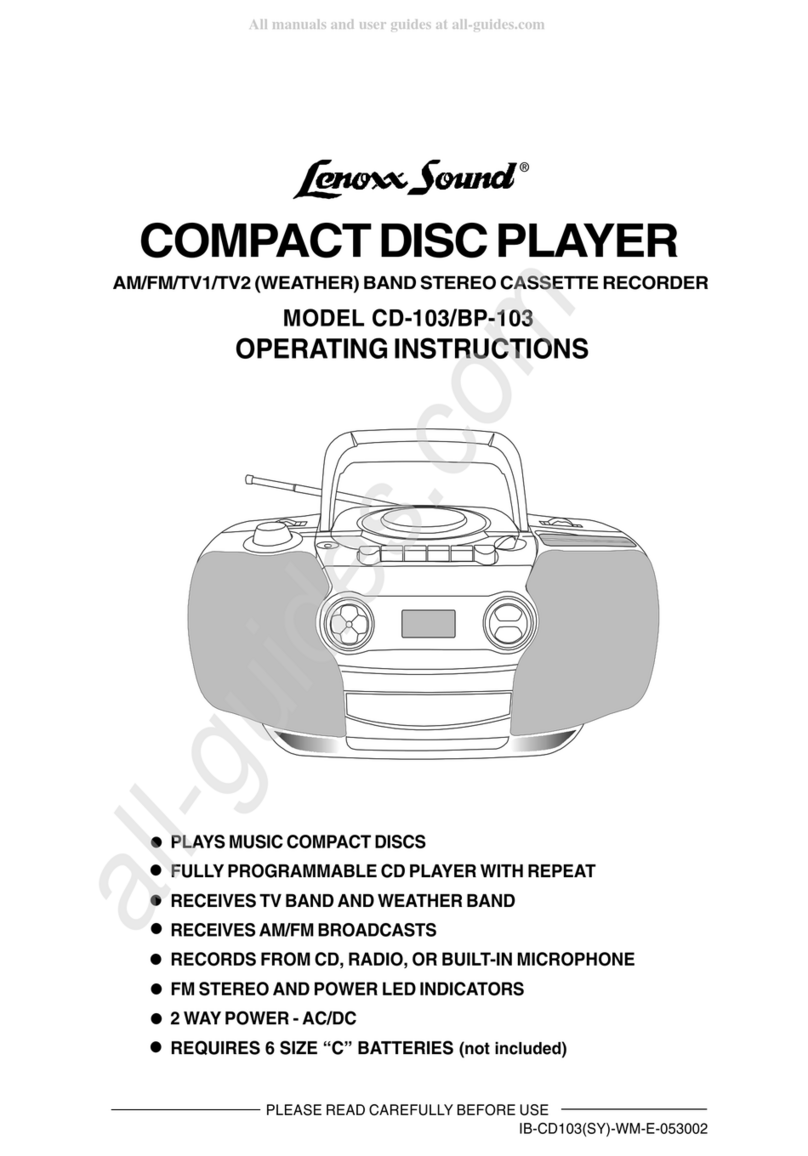
Lenoxx Sound CD-103 User manual

Lenoxx Sound

Lenoxx Sound CD-103 User manual

Lenoxx Sound CT-99 User manual

Lenoxx Sound

Lenoxx Sound CT-99 User manual

Lenoxx Sound 9190M User manual

Lenoxx Sound

Lenoxx Sound 9190M User manual

Lenoxx Sound CD-104 User manual

Lenoxx Sound

Lenoxx Sound CD-104 User manual

Lenoxx Sound CT-99 User manual

Lenoxx Sound

Lenoxx Sound CT-99 User manual

Popular Cassette Player manuals by other brands

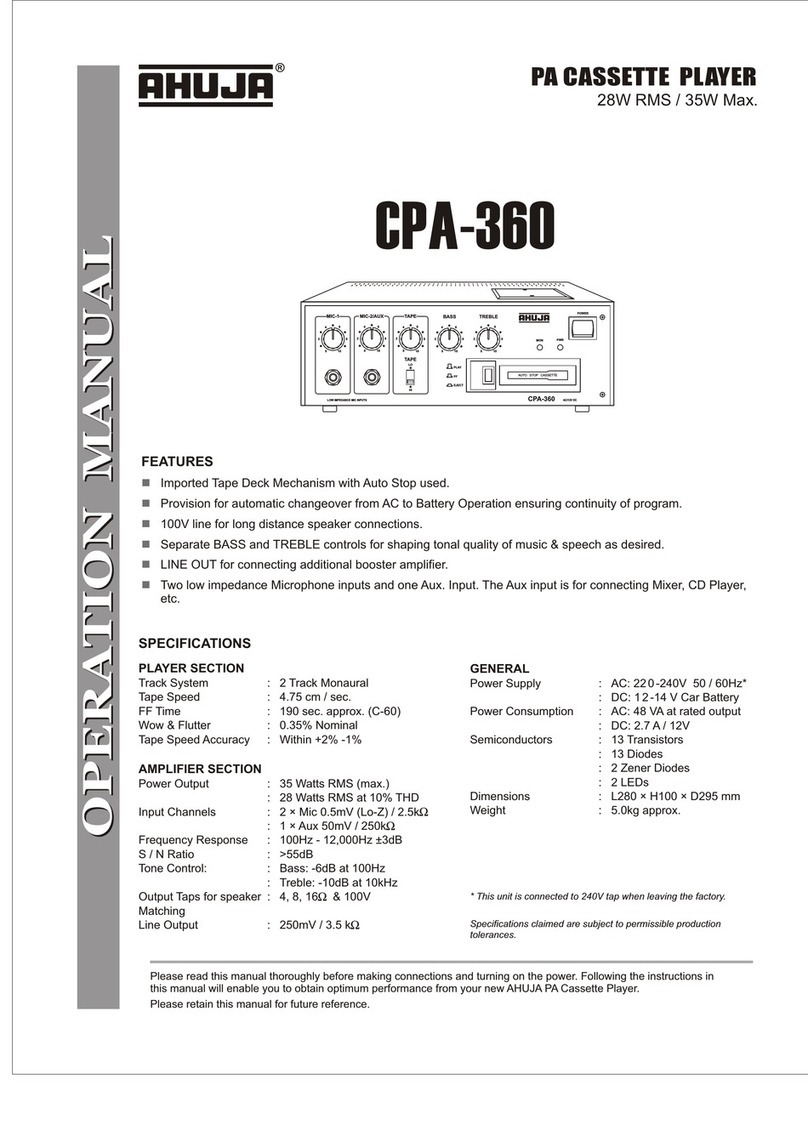
Ahuja CPA-360 Operation manual

Ahuja

Ahuja CPA-360 Operation manual

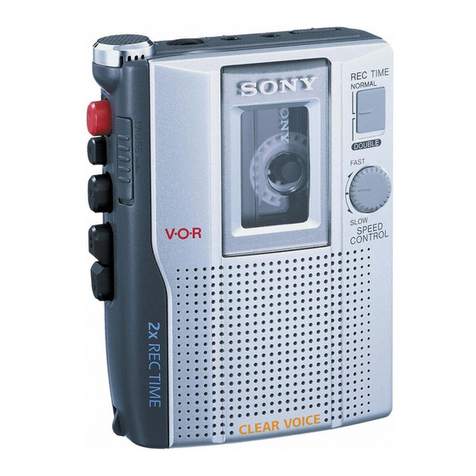
Sony Pressman TCS-60DV Specifications

Sony

Sony Pressman TCS-60DV Specifications

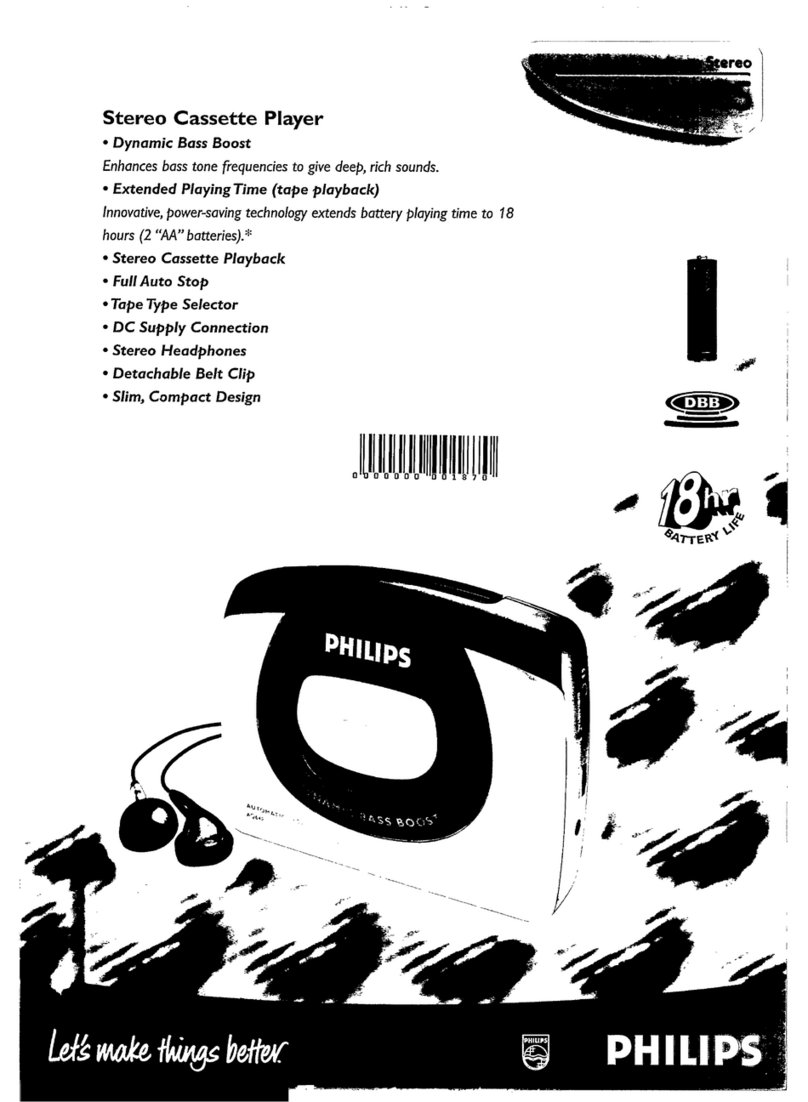
Philips AQ6485/14 Product information

Philips

Philips AQ6485/14 Product information

Sony TCM-200DV - Cassette Recorder operating instructions

Sony

Sony TCM-200DV - Cassette Recorder operating instructions

Nakamichi BX-300 Service manual

Nakamichi

Nakamichi BX-300 Service manual

Panasonic RQ-E25V operating instructions

Panasonic

Panasonic RQ-E25V operating instructions

Aiwa TP-VS535 operating instructions

Aiwa

Aiwa TP-VS535 operating instructions

Yamaha MT8X Operation manual

Yamaha

Yamaha MT8X Operation manual

Sherwood Newcastle D-480 operating instructions

Sherwood

Sherwood Newcastle D-480 operating instructions

Manta MA408 user manual

Manta

Manta MA408 user manual

GPO W0162B user guide

GPO

GPO W0162B user guide

Marantz CP230 Service manual

Marantz

Marantz CP230 Service manual

Sony HST-471 Service manual

Sony

Sony HST-471 Service manual

Sharp JC-AV1 Operation manual

Sharp

Sharp JC-AV1 Operation manual

Pioneer CT-W103 Service manual

Pioneer

Pioneer CT-W103 Service manual

Sony CFS-B15 - Am/fm Stereo Cassette Recorder operating instructions

Sony

Sony CFS-B15 - Am/fm Stereo Cassette Recorder operating instructions

Sony WMFS220 - Portable Sports AM/FM Cassette... operating instructions

Sony

Sony WMFS220 - Portable Sports AM/FM Cassette... operating instructions

Aiwa HS-TA21 operating instructions

Aiwa

Aiwa HS-TA21 operating instructions

manuals.online logo
manuals.online logoBrands
  • About & Mission
  • Contact us
  • Privacy Policy
  • Terms and Conditions

Copyright 2025 Manuals.Online. All Rights Reserved.